Fudgy Avocado Brownies (GF, dairy free)
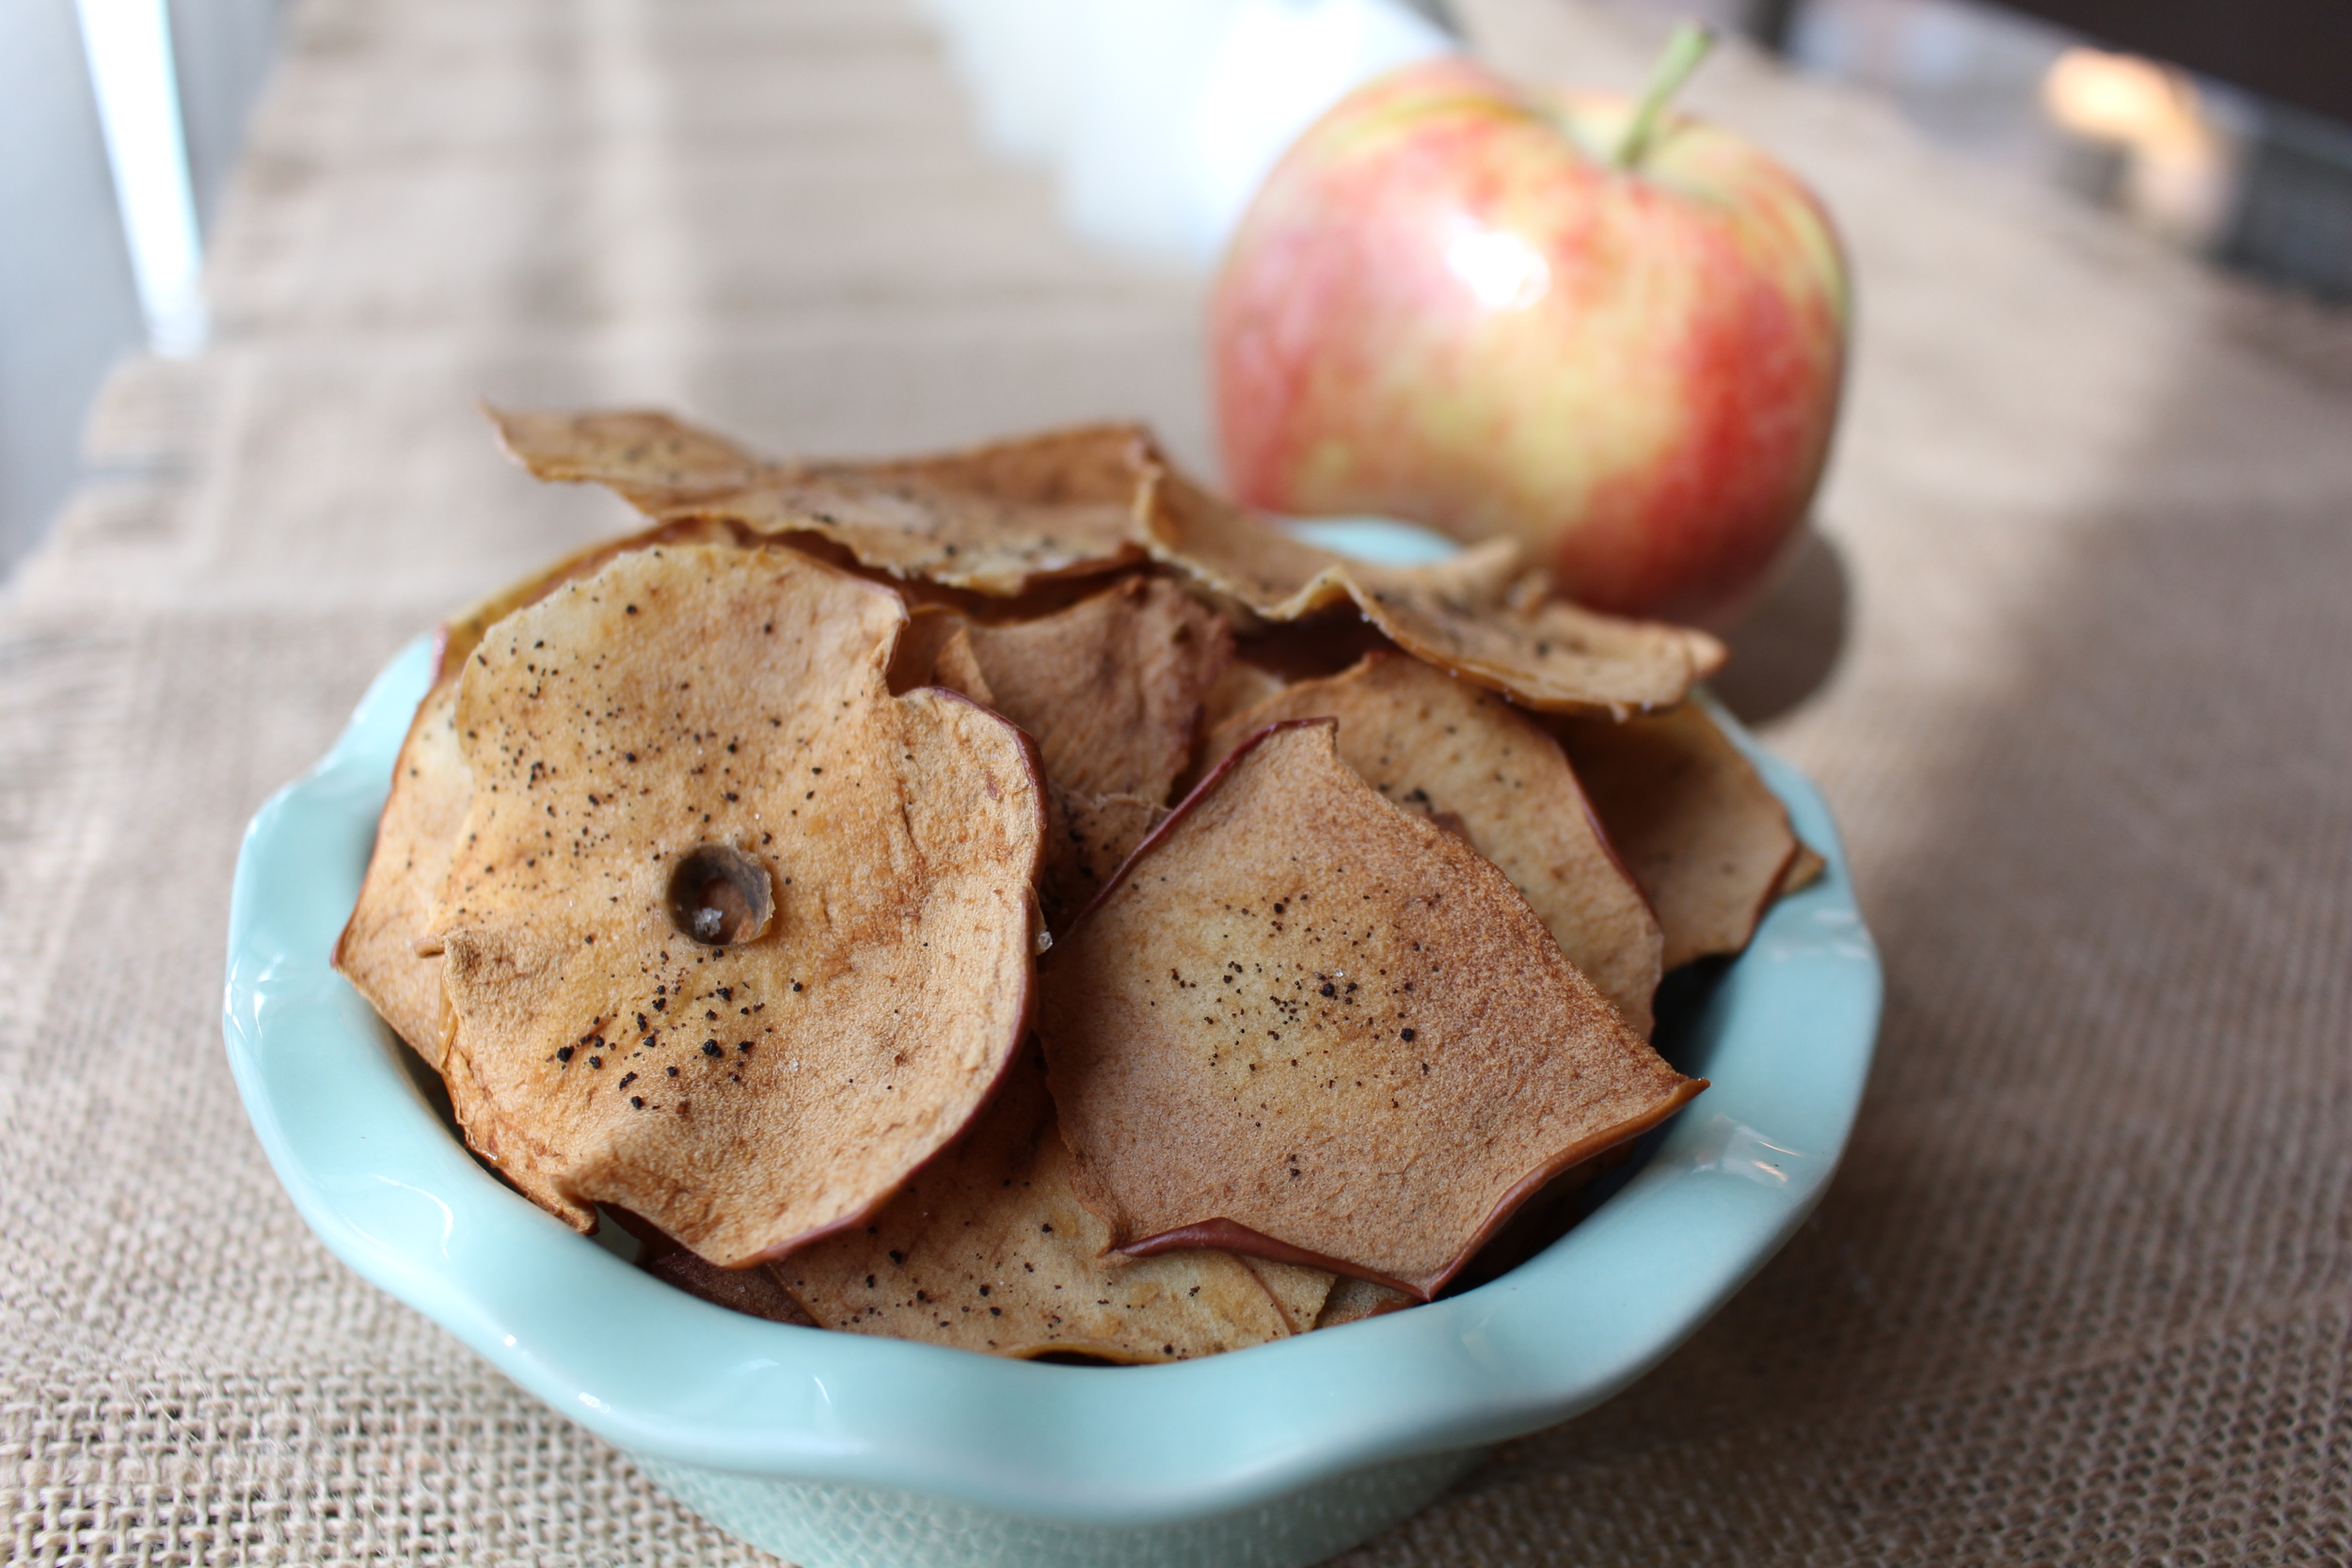
I LOVE avocados. I always try to have avocados in our home. My dream one day, is to be able to have an avocado tree in my backyard. Wouldn't that be something? :) For breakfast, I enjoy spreading a half of an avocado on a piece of toast with a sprinkle of salt. It's delicious and I feel good about eating it. For lunch, I would throw it on a salad or in a sandwich. The smoothness of avocados make it a perfect substitute for butter in any baking recipe. And it pairs well with chocolate. What more could you ask for? First, you will need a ripe, tender avocado.

I made these brownies for a friend that will be coming over tonight that is trying to eat clean. It's tough to make completely clean desserts…but these come pretty close. I'm hoping that she will enjoy them and that they will satisfy her chocolate craving and sweet tooth, all in one bite. I hope these do the same for you!
Ingredients:
1 Ripe Avocado
5 oz. of dairy free, soy free, nut free Chocolate Chips (or regular chips if you eat dairy)
2 Eggs
1 Cup of cocoa
1/3 cup of turbinado raw can sugar
1 tspn Vanilla
dash of salt
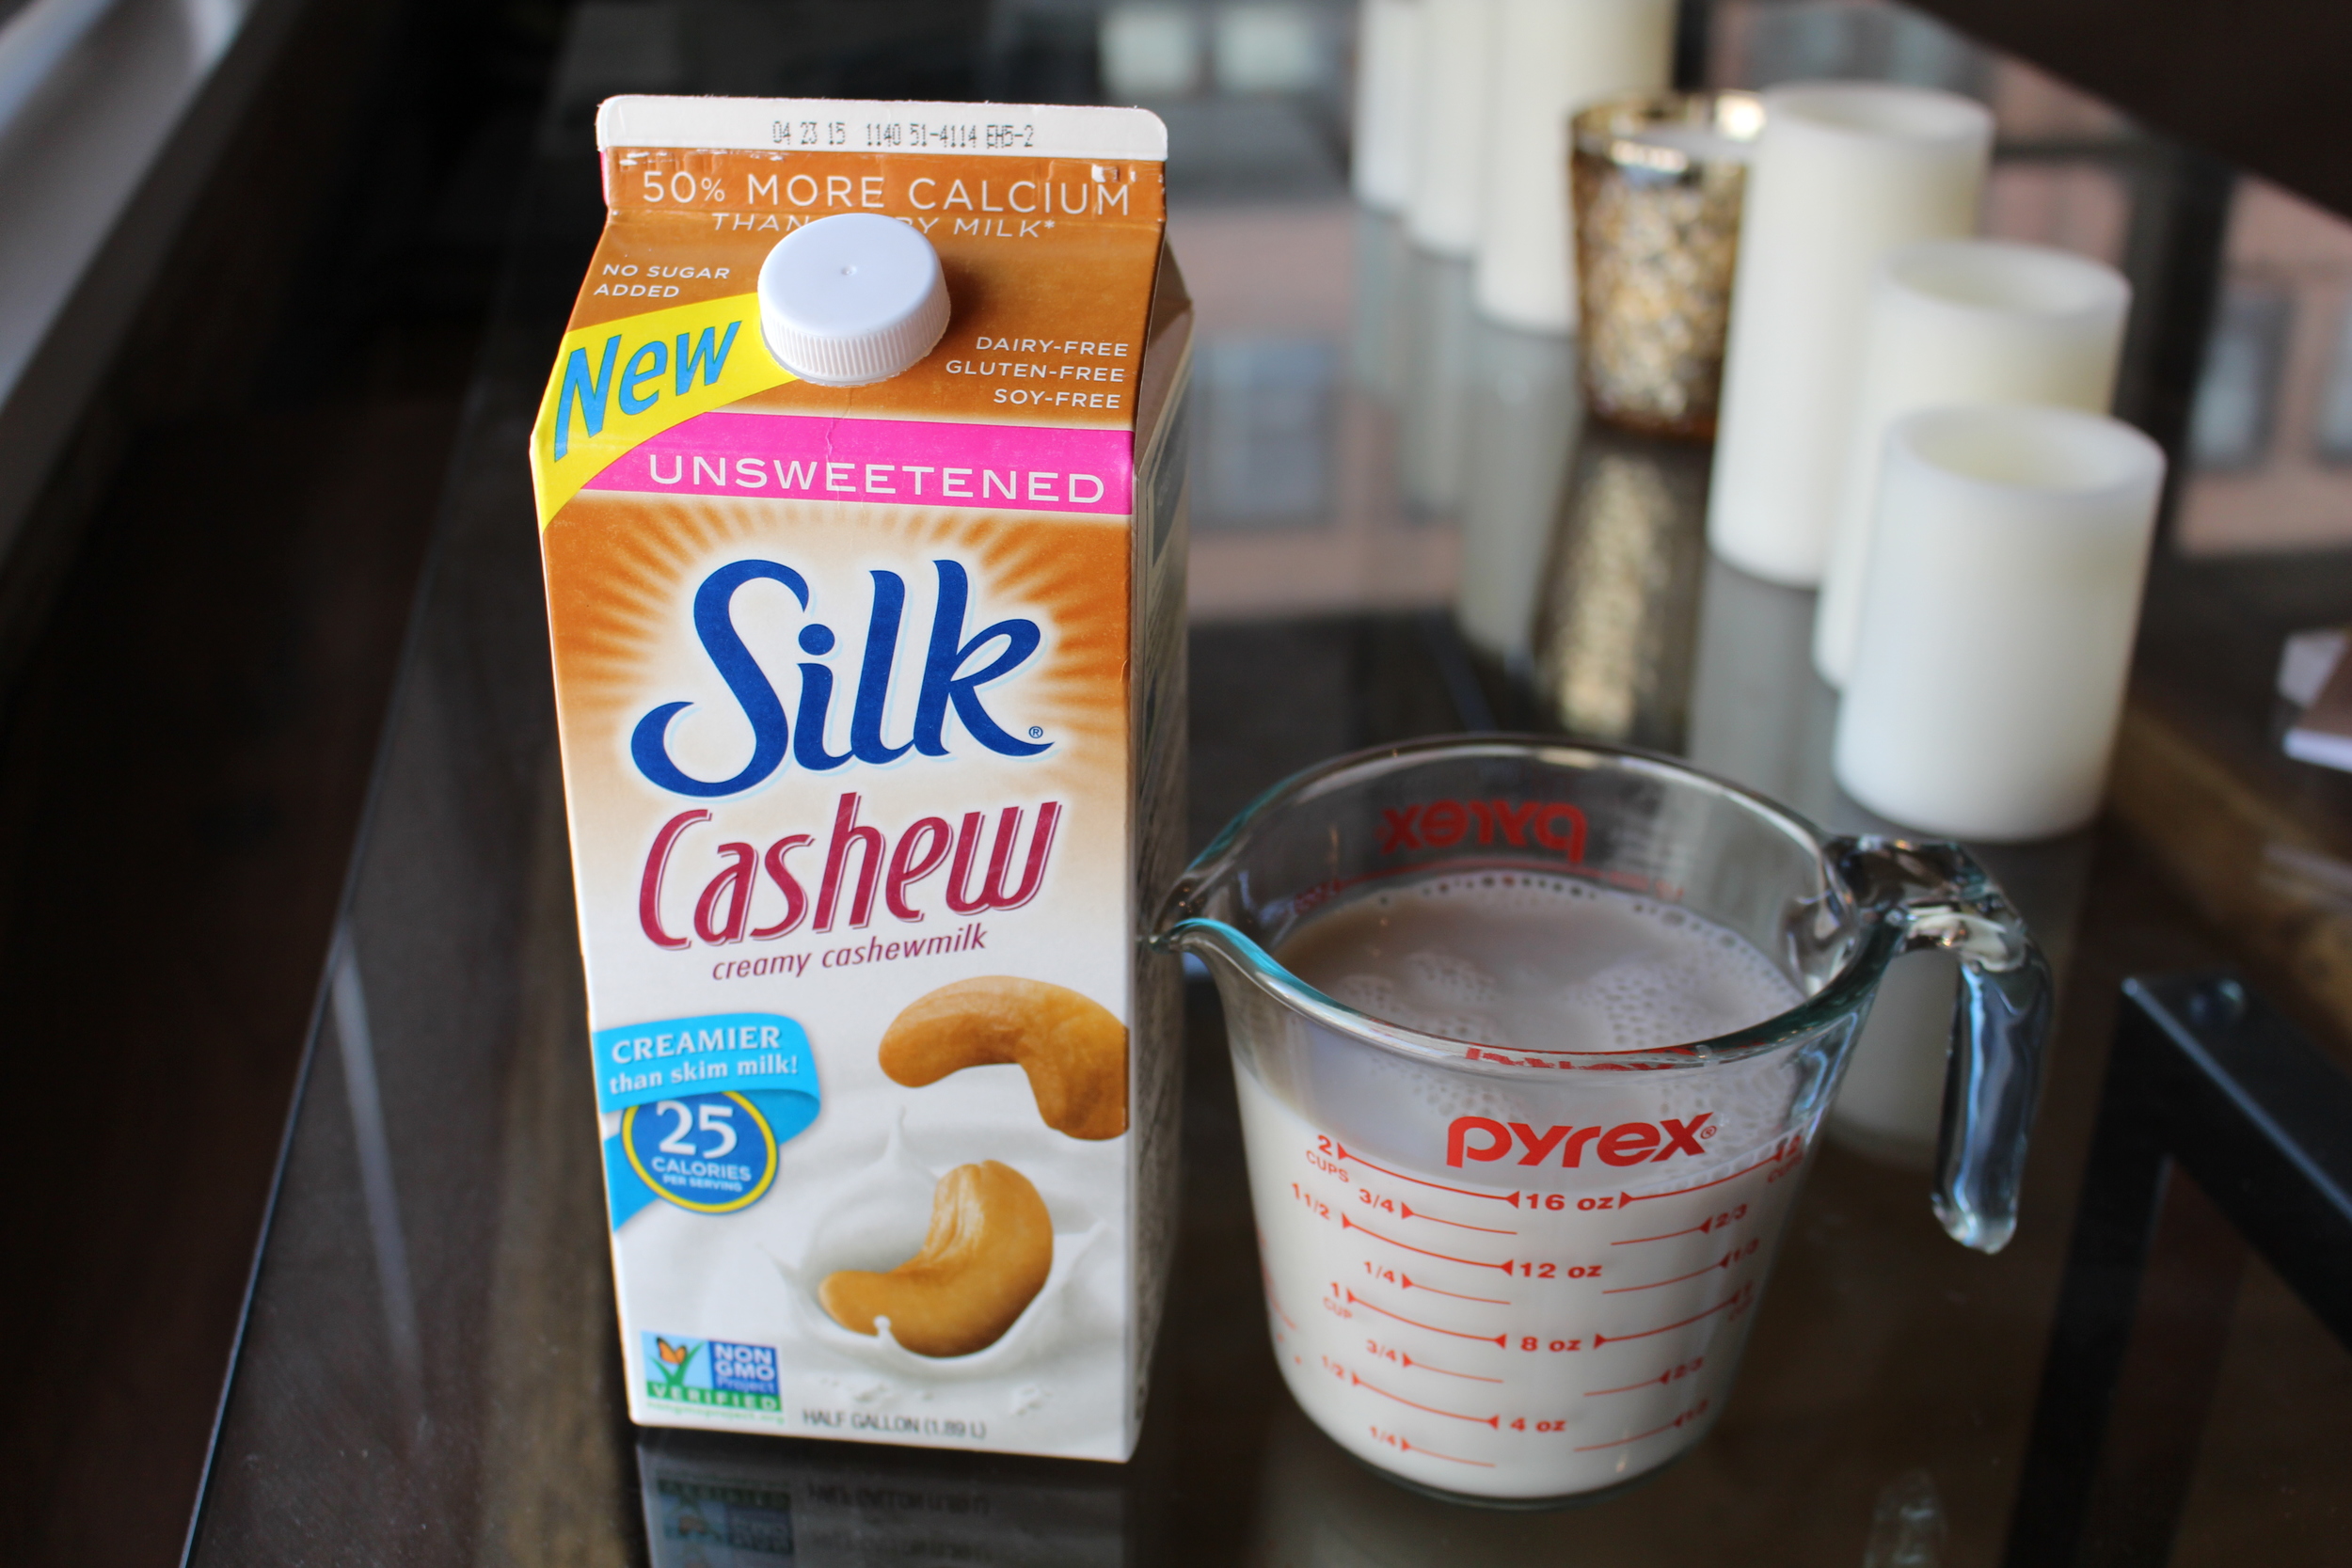
1 tbsp of Almond/Cashew/Soy milk or Cow's milk if you prefer
Directions:
1. Preheat oven for 350 degrees. Grease a 8x8 brownie pan and set aside for later.
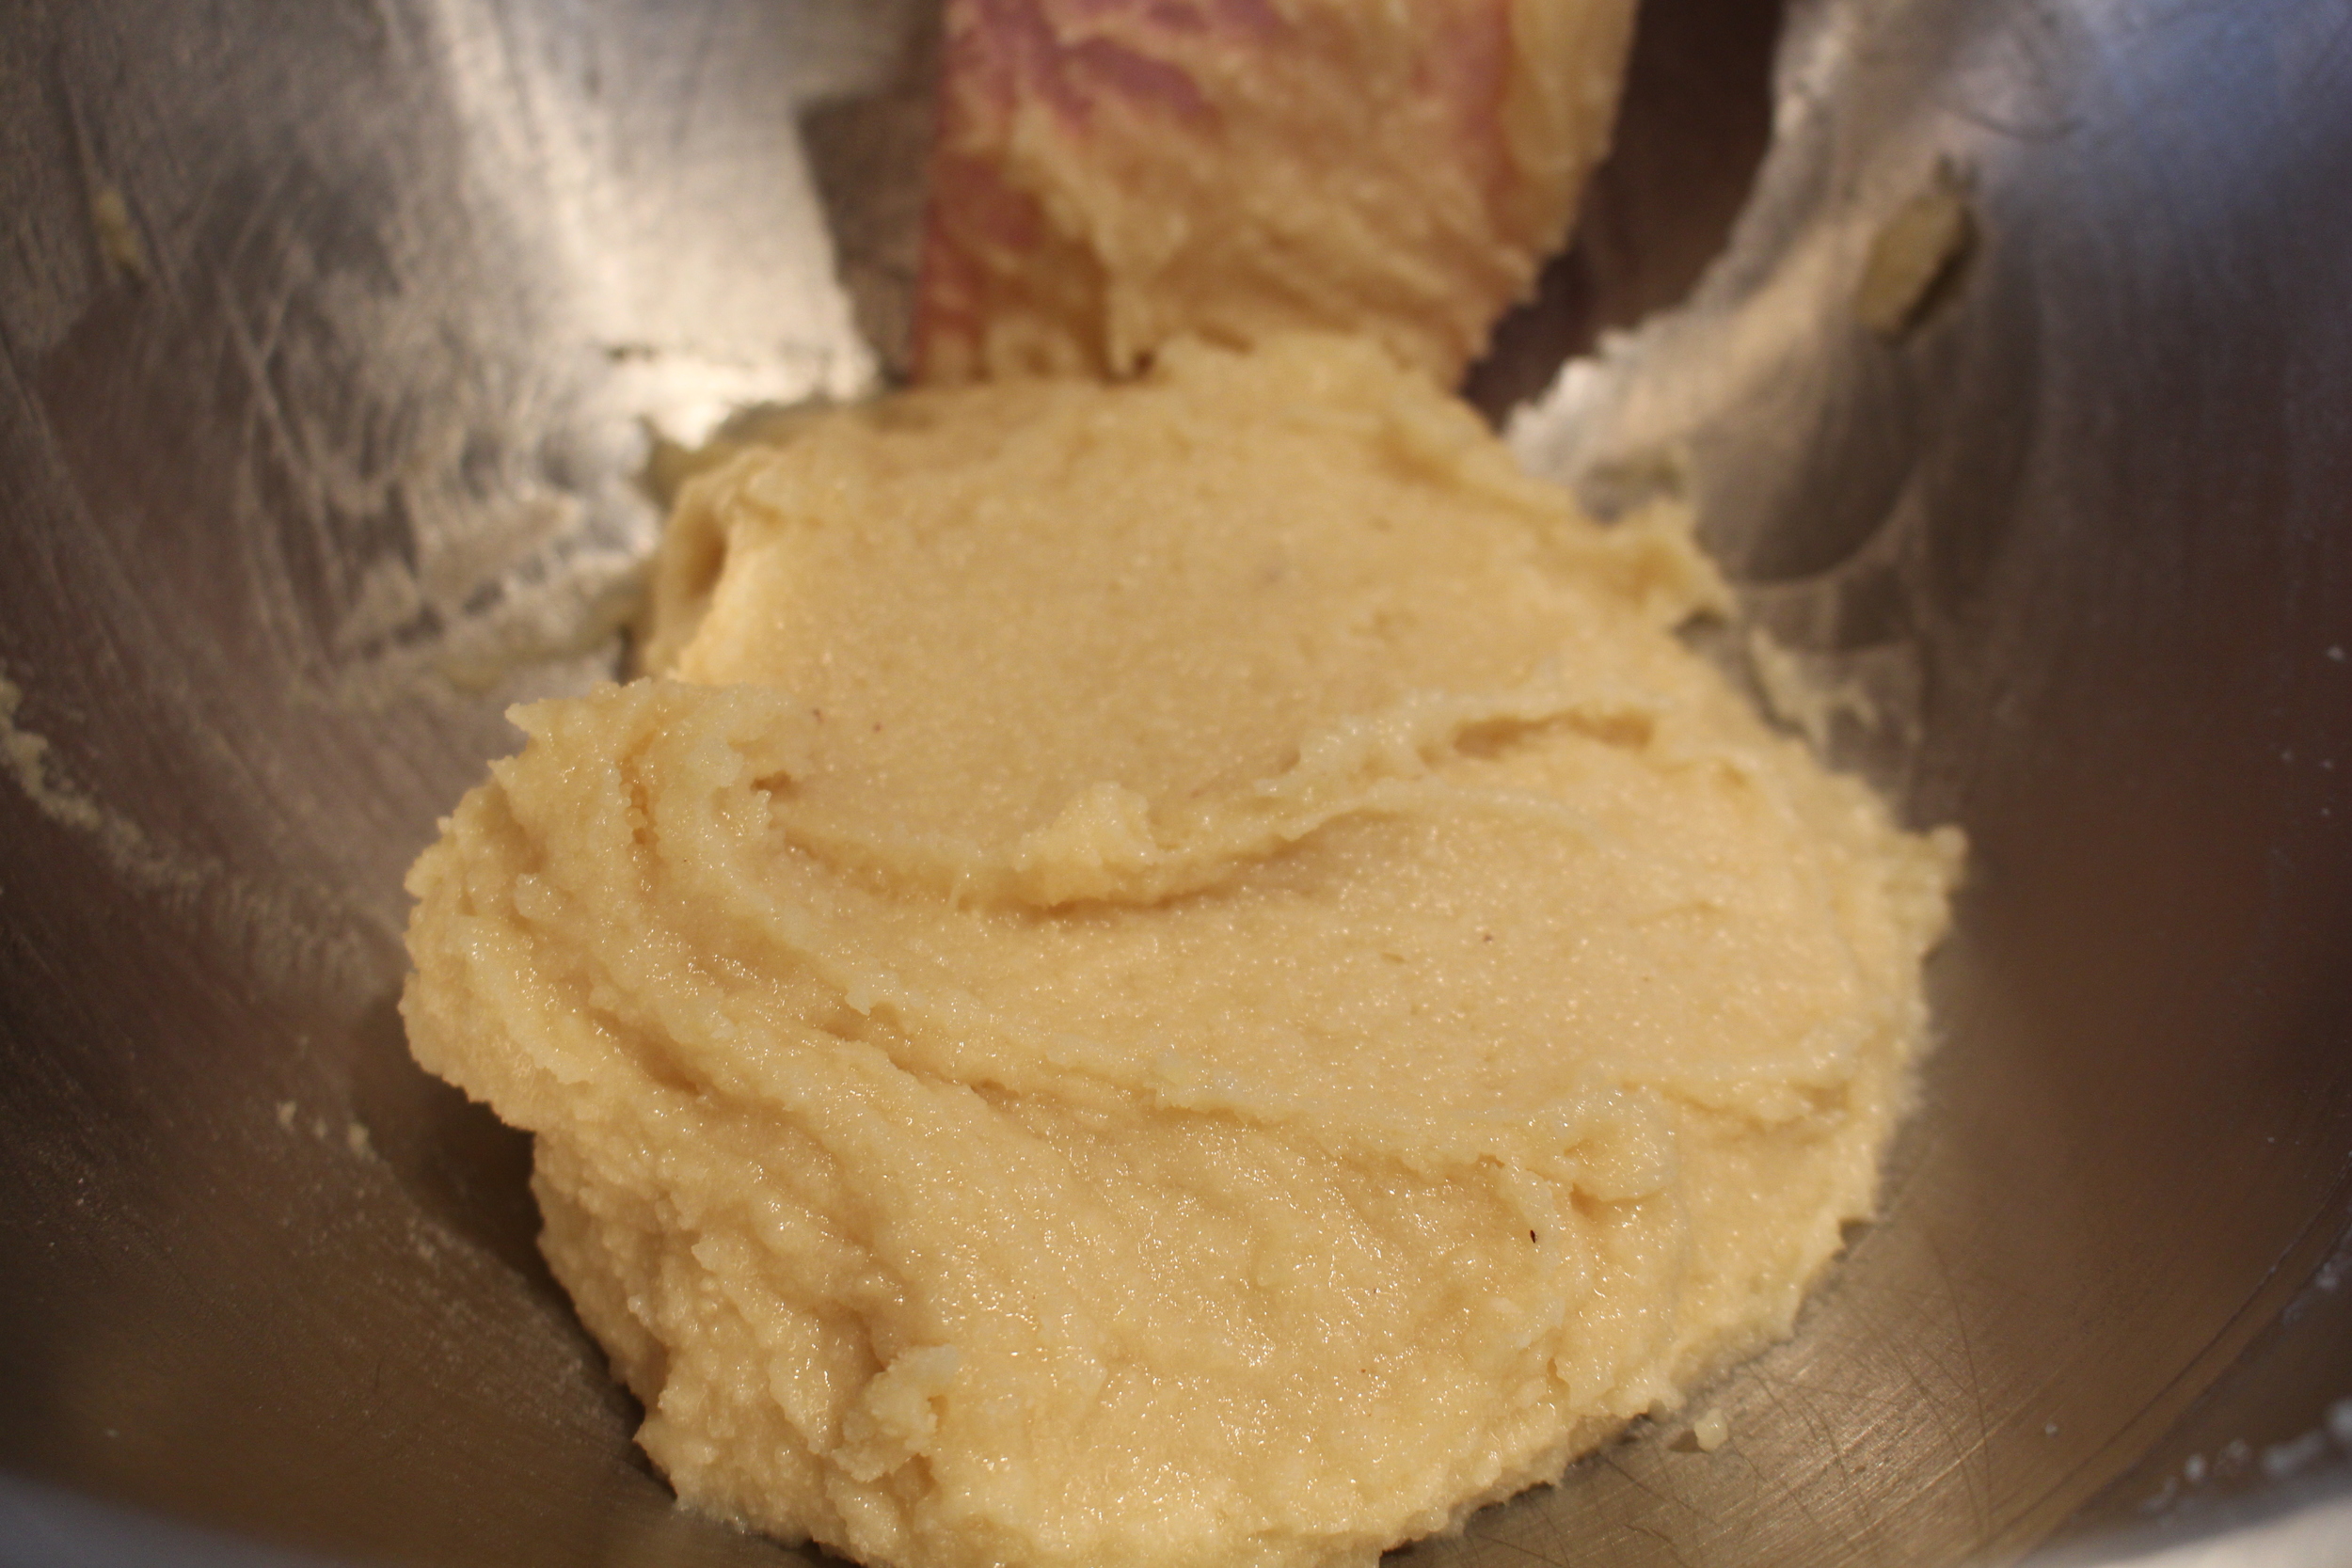
2. In a food processor, mix your avocado, egg, vanilla and choice of milk until smooth.


I used my Nutribullet for this and it worked great!
3. Melt 100g of your choice of chocolate chips and mix into the avocado mixture. I melt mine in the microwave for short increments and stir. You can also use a double broiler.

This is the brand I like to use for dairy, nut and soy free chocolate chips!


Texture should be similar to a pudding.
4. Transfer chocolate avocado mixture to a bowl and add the cocoa, salt and baking soda. Mix until thick. I also added another 1/3 cup of chocolate chips to the batter.


Turbinado sugar is less processed than white granulated sugar.

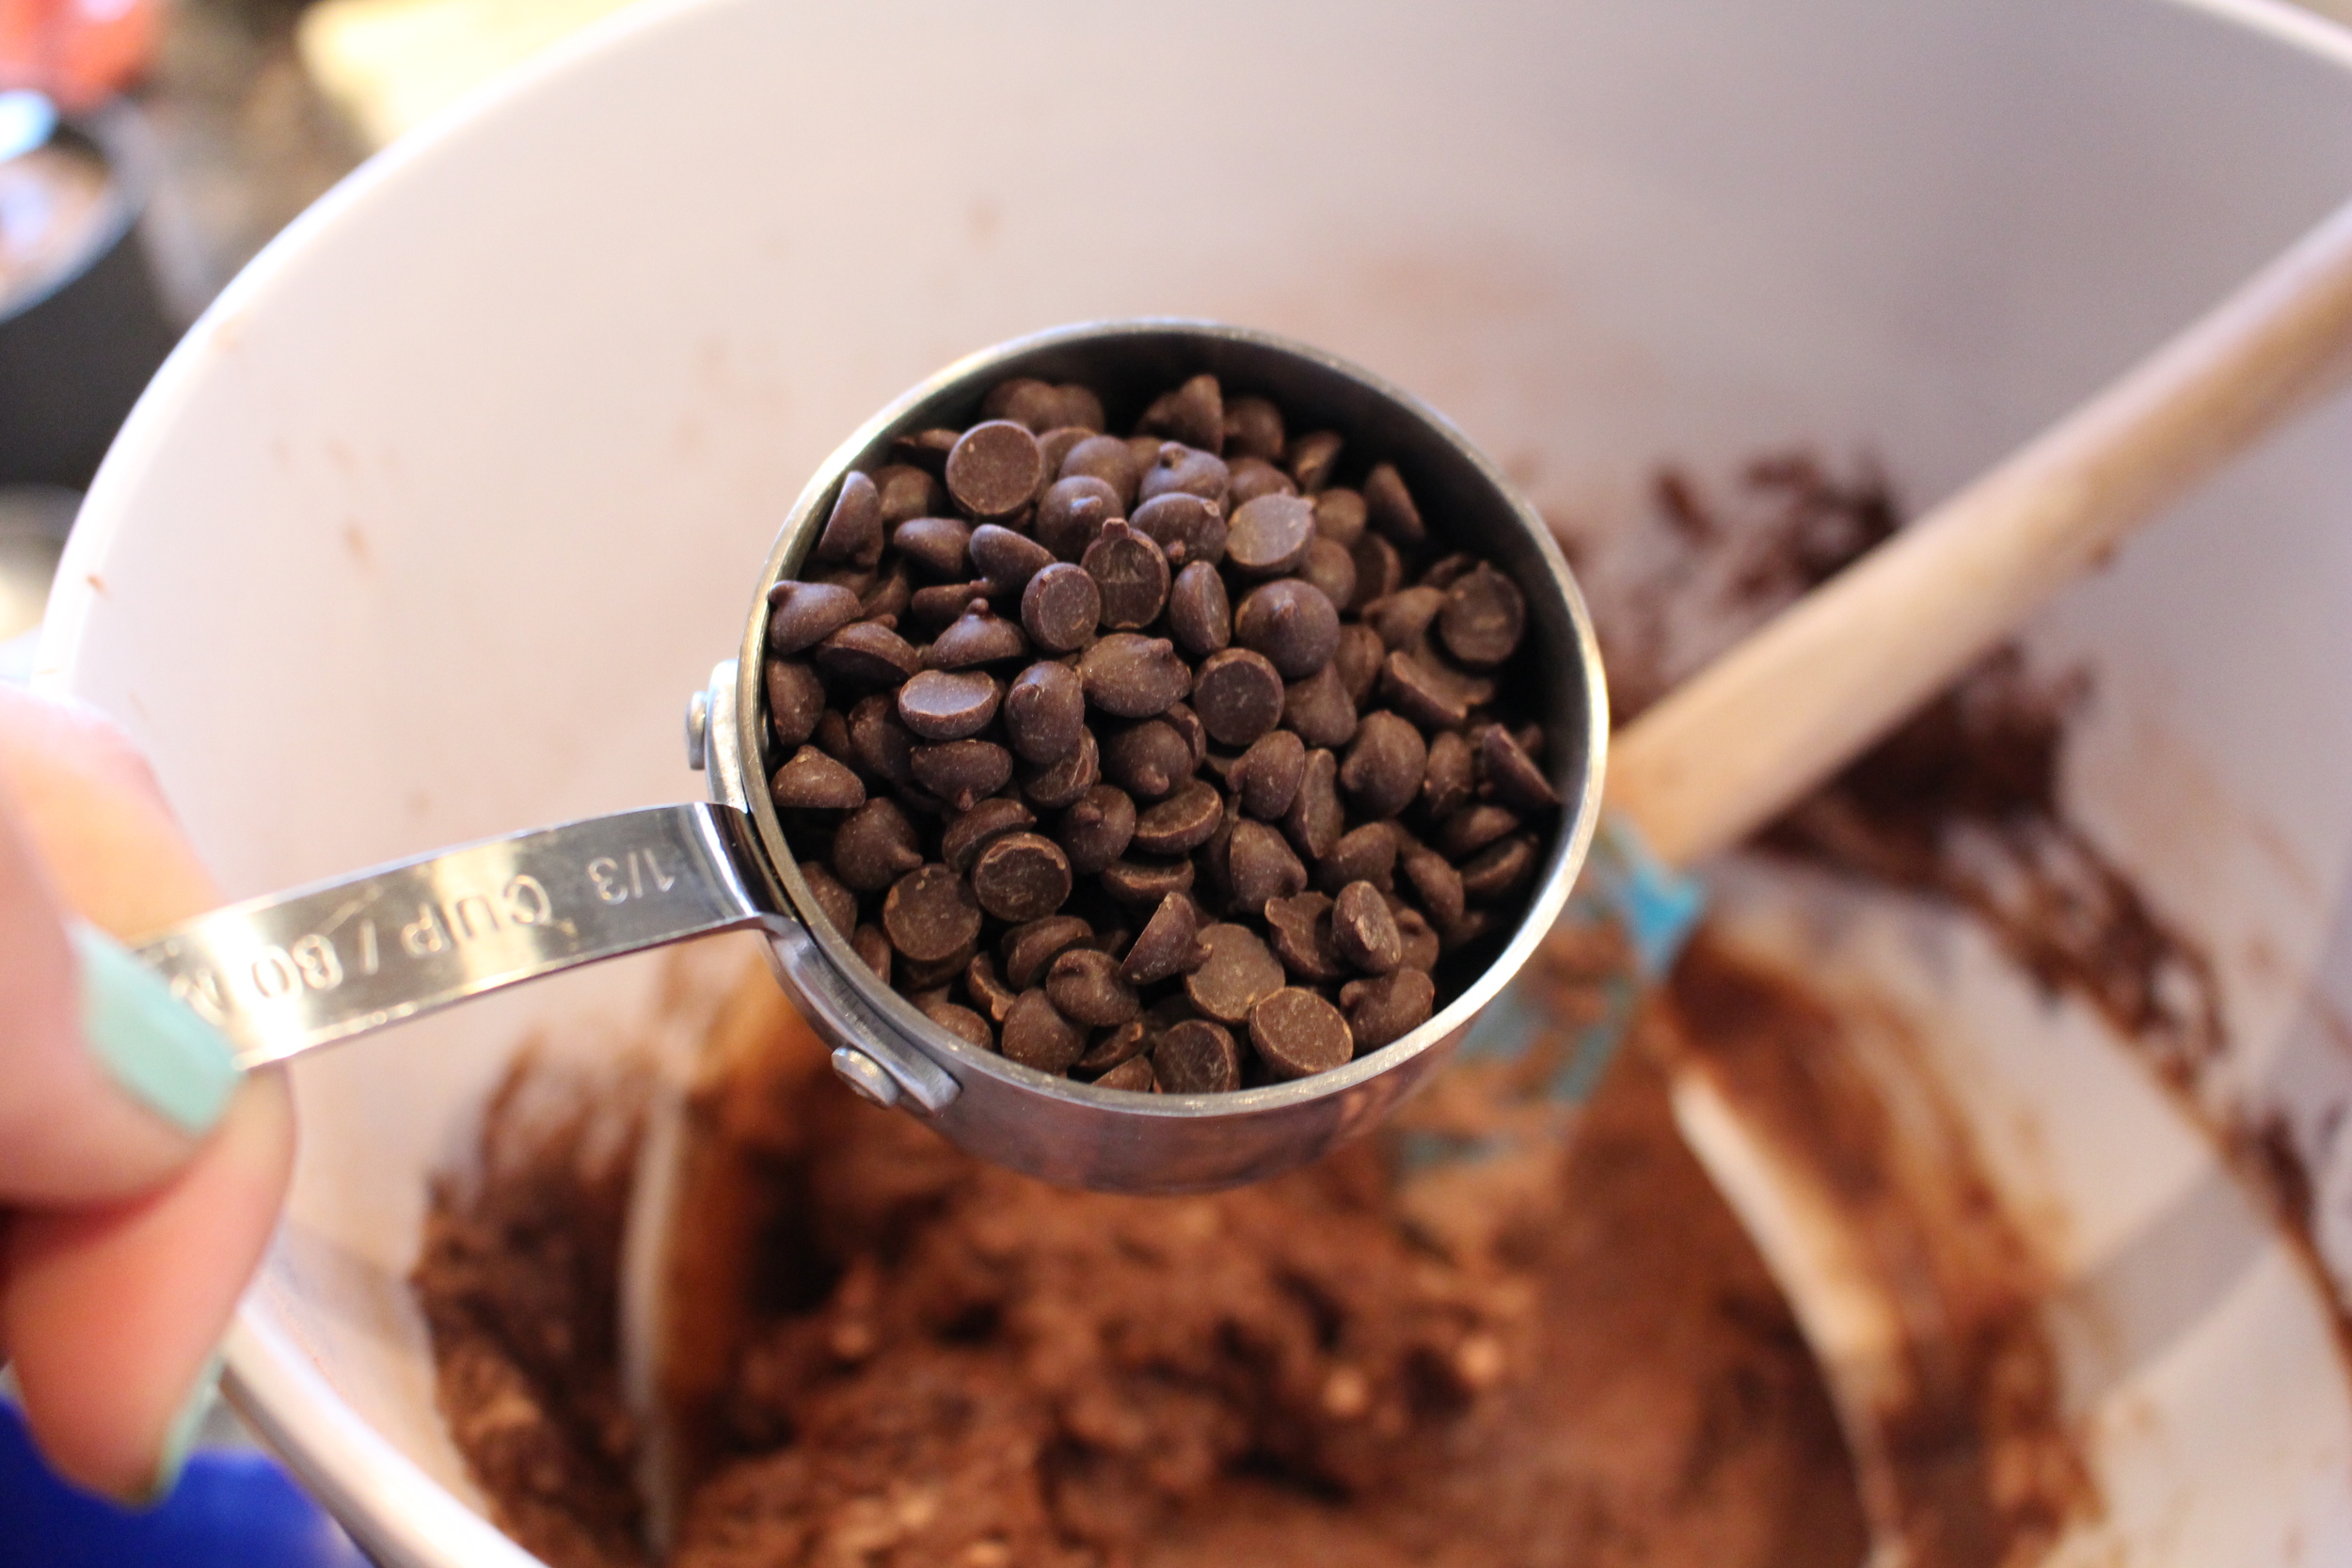
Extra chips for good luck ;).
5. Spread the batter into your greased brownie pan. Bake for 22-25 minutes. A toothpick will come out clean when done.

Sprinkled some extra chocolate chips on top!
6. Cool pan and transfer to the fridge until ready to serve! ENJOY! :D

How rich and decadent!

Recipe adapted from: http://www.southerninlaw.com/2014/04/grain-free-healthy-fudgy-avocado-brownies-recipe.html