Fudgy Avocado Brownies (GF, dairy free)

I LOVE avocados.  I always try to have avocados in our home.  My dream one day, is to be able to have an avocado tree in my backyard.  Wouldn't that be something? :)  For breakfast, I enjoy spreading a half of an avocado on a piece of toast with a sprinkle of salt.  It's delicious and I feel good about eating it. For lunch, I would throw it on a salad or in a sandwich.  The smoothness of avocados make it a perfect substitute for butter in any baking recipe.  And it pairs well with chocolate.  What more could you ask for?  First, you will need a ripe, tender avocado.

I made these brownies for a friend that will be coming over tonight that is trying to eat clean.  It's tough to make completely clean desserts…but these come pretty close.  I'm hoping that she will enjoy them and that they will satisfy her chocolate craving and sweet tooth, all in one bite.  I hope these do the same for you!

Ingredients:

1 Ripe Avocado

5 oz. of dairy free, soy free, nut free Chocolate Chips (or regular chips if you eat dairy)

2 Eggs

1 Cup of cocoa

1/3 cup of turbinado raw can sugar

1 tspn Vanilla

dash of salt

1 tbsp of Almond/Cashew/Soy milk or Cow's milk if you prefer


Directions:

1.  Preheat oven for 350 degrees.  Grease a 8x8 brownie pan and set aside for later.

2.  In a food processor, mix your avocado, egg, vanilla and choice of milk until smooth.

I used my Nutribullet for this and it worked great!

I used my Nutribullet for this and it worked great!

3.  Melt 100g of your choice of chocolate chips and mix into the avocado mixture.  I melt mine in the microwave for short increments and stir.  You can also use a double broiler.

This is the brand I like to use for dairy, nut and soy free chocolate chips!

This is the brand I like to use for dairy, nut and soy free chocolate chips!

Texture should be similar to a pudding.

Texture should be similar to a pudding.

4.  Transfer chocolate avocado mixture to a bowl and add the cocoa, salt and baking soda.  Mix until thick.  I also added another 1/3 cup of chocolate chips to the batter.

Turbinado sugar is less processed than white granulated sugar.

Turbinado sugar is less processed than white granulated sugar.

Extra chips for good luck ;).

Extra chips for good luck ;).

5.  Spread the batter into your greased brownie pan.  Bake for 22-25 minutes.  A toothpick will come out clean when done.

Sprinkled some extra chocolate chips on top!

Sprinkled some extra chocolate chips on top!

6.  Cool pan and transfer to the fridge until ready to serve!  ENJOY! :D

How rich and decadent!

How rich and decadent!

Recipe adapted from: http://www.southerninlaw.com/2014/04/grain-free-healthy-fudgy-avocado-brownies-recipe.html

Cashew Milk Horchata Brown Rice Pudding (GF)

Hi my Beloved Followers!  I am back!!  It has been a busy 4 months…hence I haven't posted a new recipe or blog since then!  With what have I been busy with you, you ask?  Let me share a few photos… :)

Meet our Mr. Panda!  Here is his first day with us at 7 weeks (3 lbs).  He is a Bernedoodle (half Bernese Mountain dog/half Standard Poodle).

Meet our Mr. Panda!  Here is his first day with us at 7 weeks (3 lbs).  He is a Bernedoodle (half Bernese Mountain dog/half Standard Poodle).

A few months later…. he grew… 

A few months later…. he grew… 

And grew...

And grew...

And now, he is 6 months old! (54 lbs.)

And now, he is 6 months old! (54 lbs.)

And now that he is old enough, I have my life back!  Those months were filled with a lot of cleaning, training, playing, walking, feeding…etc.  But now, he's napping like a big boy.  So it's back to the kitchen for me!


I just wanted to let you know that I didn't forget about you and this blog!  I did cook a lot throughout the 4 months, but never had enough time to take pictures and post.  But I am back and I promise to get back into my routine with posting regularly again.  Which brings me to today's recipe!

I have been wanting to make rice pudding now for at least a few weeks.  It's one of my mom's favorite desserts.  Something about the different textures of the chewy rice and the soft, creamy pudding make me drool.  And as the weather here in Chicago is "warming up" (it's currently 45 degrees)… I'm looking for some nice picnic desserts, and I found a winner!

This rice pudding is made with brown rice (healthier than the white rice) and since I'm mildly lactose intolerant, I decided to use cashew milk that I had onhand.  Since brown rice has a nutty taste to it, I figured that the cashew milk would only deepen those nutty undertones.  By the way, if you haven't tried cashew milk, I HIGHLY recommend it!  It's a nice change from almond milk and I enjoy putting it in my coffee.  It's a bit creamier than almond milk and has a nice light cashew flavor to it.  All of these delicious flavors combined with the rice reminds me of Horchata (a Common Mexican rice drink).  And I LOVE me some Horchata :D.  I hope you enjoy this new, healthier twist on a classic dessert!

Ingredients:

2 cups Brown rice (cooked)

2 cups Unsweetened Cashew Milk (Almond milk or cow's milk would also work)

1/3 cup of Sugar

Dash of Salt

1/2 tspn Cinnamon

1/4 tspn Nutmeg 

1 egg Yolk

1 tspn Vanilla Extract

1 tbs of Butter (may omit to make dessert dairy free)

Raisins (optional)

Directions:

1.  Pour cashew milk, sugar, cooked rice and a dash of salt into a sauce pan.  Bring to a boil, then simmer for 10-15 minutes until mixture is thick.

These frozen brown rice packs are great!  I buy these at Trader Joe's.  You just pop them in the microwave for 2.5 minutes and you have 2 cups of fully cooked brown rice!

These frozen brown rice packs are great!  I buy these at Trader Joe's.  You just pop them in the microwave for 2.5 minutes and you have 2 cups of fully cooked brown rice!

2.  Once mixture thickens, change heat to low.  Sprinkle cinnamon and nutmeg.  


3.  In a small bowl, mix 1 egg yolk with Vanilla.  Temper egg mixture by added a spoonful of the hot rice pudding mixture and stir continuously to prevent scrambling of the egg.  

I used my Vanilla from Mexico.  Very tasty!

I used my Vanilla from Mexico.  Very tasty!

4.   Turn off heat.  Add egg mixture to rice pudding and stir continuously to prevent scrambling.  Add butter until melted.  

Butter may be omitted for a dairy-free version.  

Butter may be omitted for a dairy-free version.  

5.  Pour rice pudding to desired serving bowls. Allow rice pudding to set for at least 30 minutes, the pudding will thicken.  Enjoy it warm or cold!  Add raisins if you desire!  


Apple Cider Apple Donuts

Fall is my favorite season.  I love the turning colors of the leaves, I love all things pumpkin, I love the cooler weather, I love fall fashion, and most of all, I love making apple desserts.  I have yet to go apple picking this year, and it's almost over!  =T  My husband and I have been traveling, and so I feel like I've missed most of the fall already.  Let's face it.  In Chicago, you can't blink too hard or else you will just miss fall altogether!  

In light of this, I decided to make a batch of soft, warm, apple cider apple donuts!  It's the first thing I usually purchase at the apple orchard anyways.  But since I won't be able to make it this year, I'm bringing the apple donuts into my own kitchen! 

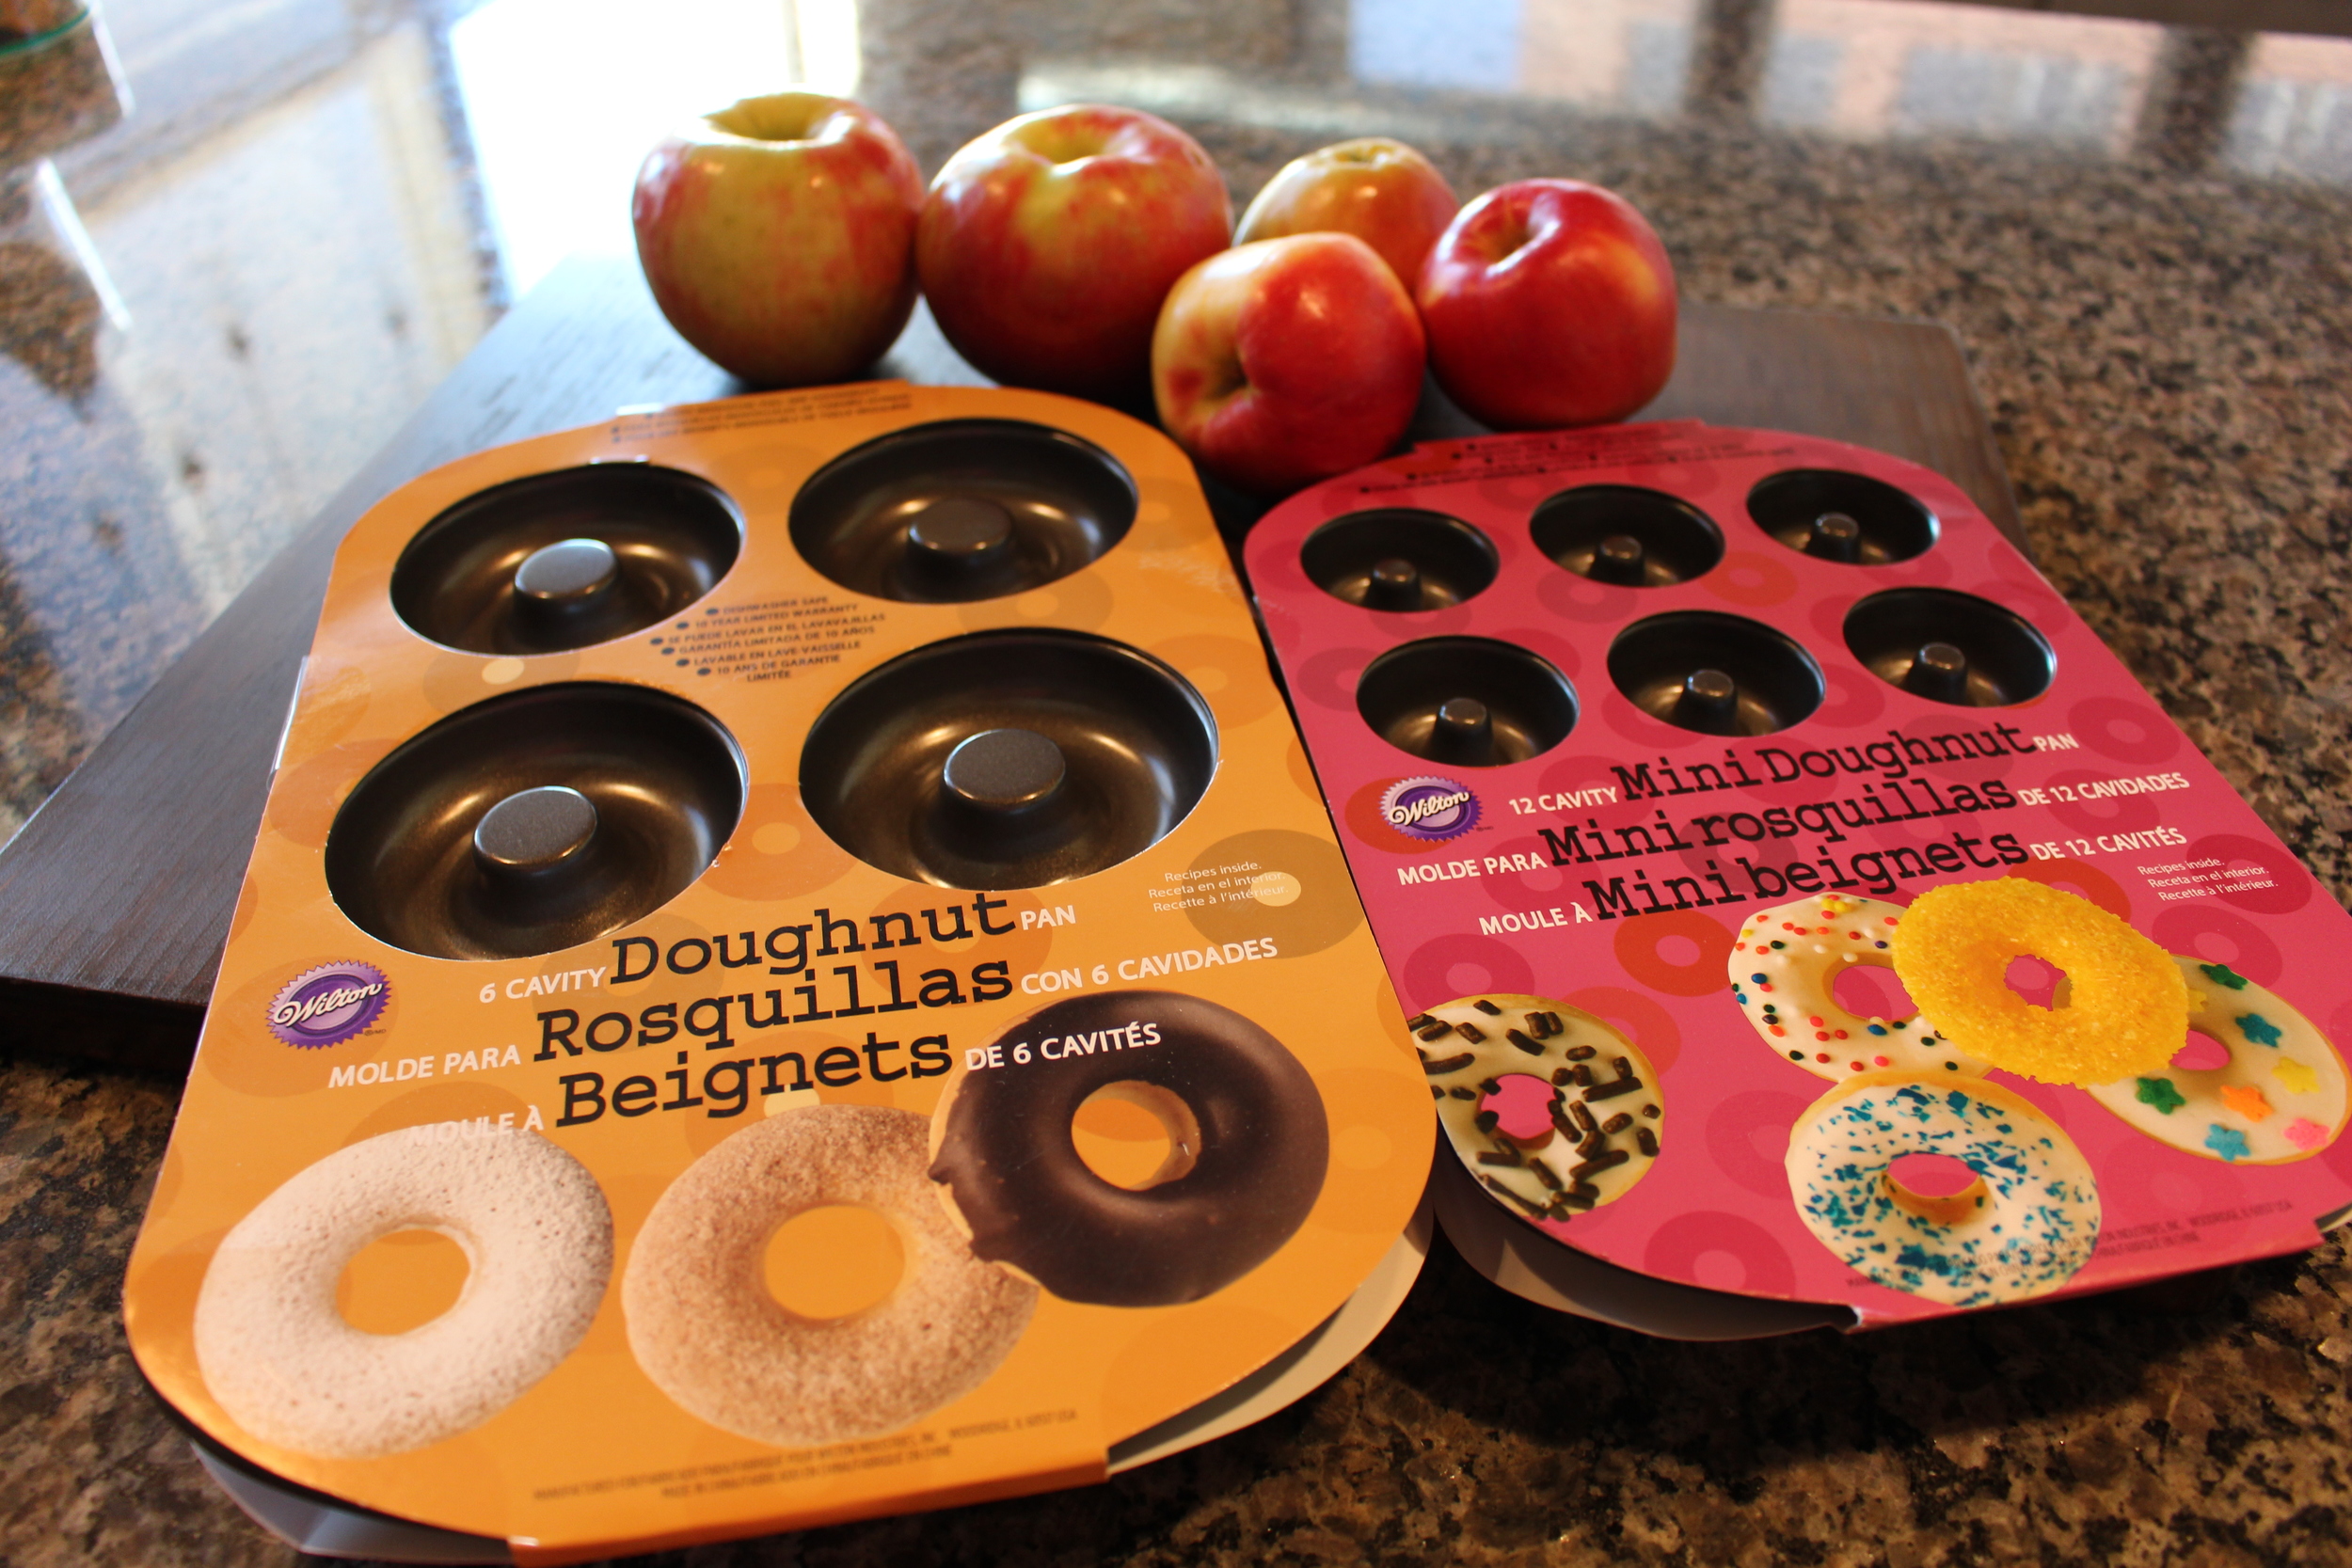
These are exceptionally moist, and not too sweet surprisingly.  I know my husband will enjoy these.  They are pretty simple, but you will need a donut pan.  If you don't already have one, I would suggest buying one.  You can't make baked donuts without them!

I also think next time I make these, I will add a salted caramel glaze…that would make them even yummier!  Enjoy!  And happy fall friends! :)

Ingredients

1 1/2 cup of apple cider

1 stick of cinnamon

2 cups of all purpose flour

3/4 teaspoon baking powder

1 teaspoon baking soda

1/4 teaspoon salt

1 teaspoon cinnamon

1/2 teaspoon nutmeg

1 large egg (room temperature)

2 tablespoons melted butter

1/2 cup of dark brown sugar

1/2 cup of granulated sugar

1/2 cup of buttermilk (room temperature)

1 apple diced into small cubes

Topping:

1 cup granulated sugar

1 teaspoon cinnamon


Directions

1.  Pour apple cider and cinnamon stick into a small saucepan on high.  Reduce liquid to 1/2 cup.  Cool in the refrigerator until room temperature.

2.  Pre-heat oven to 350 degrees. Spray donut pans with cooking spray.

3.  Whisk flour, baking powder, baking soda, salt, cinnamon, and nutmeg.  Set aside.

4.  Mix together egg, melted butter, sugars, buttermilk, apple cider reduction.  Add in diced apples at the end.

5.  Add in dry ingredients.  Gently mix together, do not over mix.

6. Fill a plastic piping bag (or a ziplock baggie) with 1/2 of the donut mixture.  Cut tip of bag or corner of baggie and pipe mixture into the donut pan.  Only fill the cavities 1/2-2/3 full.  

7.  Bake for 10-13 minutes.  Mix cinnamon and sugar in a bowl.  Roll fresh donuts into the cinnamon and sugar mixture.  Allow donuts to cool before eating…if you can wait that long! :P


Cookie butter swirled Banana Bread

One food staple in our home is bananas.  I typically will buy 2-3 bunches on a weekly basis.  Jon used to eat 1-2 bananas everyday.  One for breakfast and then one when he got home from work.  But lately, we've been having crockpot oatmeal for breakfast and he no longer eats his morning banana.  Therefore, we had a bunch of over ripened bananas waiting to be made into something special.

I love making banana bread because it's so versatile.  You can make muffins, make mini loaves, add nuts, add chocolate chips, add blueberries, freeze it for a rainy day…there are just so many options!  And it's so moist and delicious…you can really enjoy it any time of the day.  I really like having a slice with a hot cup of coffee in the morning.  

I've adapted this recipe from Allrecipes Banana Banana Bread recipe..which has over 8 thousand reviews with 4.5 stars!  It's the one and only tried and true banana bread recipe that I really loved.  It's super dense and has a rich banana flavor.  It also calls for the most bananas that I've ever seen in a typical banana bread recipe.  I mean this is a dense, rich banana bread.  If you're looking for something light and fluffy..this is not the recipe.

To decided to spruce up this banana loaf and swirl in some melted cookie butter.  I am in love with this stuff.  

I eat it with bananas, pancakes, toasts…drop a spoonful in my oatmeal.  It's delectable!  This particular brand is by Trader Joe's, but I've also seen a Biscoff brand at Mariano's.  I haven't tried any other brands besides Speculoos Cookie Butter.  If you haven't tried it, it's basically those small Biscoff biscuit cookies that they use to give you on the plane.  Sort of like a cinnamon graham cracker cookie.  They would package them in two….but it just wasn't enough. Now imagine that cookie made into a peanut-butter-like paste.  Absolutely delicious!  I'm looking forward to incorporating this into my macaron adventures!

Hope you enjoy this fun twist on the classic banana bread!

Ingredients:

4-5 medium over ripened bananas

2 cups of all-purpose flour

1 tspn baking soda

1/4 tspn salt

1/2 tspn cinnamon

1/2 c softened butter

3/4 c brown sugar

2 eggs

1 tspn vanilla extract

1/2 c cookie butter (melted in the microwave for 20 seconds)


Directions:

1.  Pre-heat oven to 350 degrees.  Lightly grease a loaf pan.

2.  Whisk together flour, baking soda, salt and cinnamon.

3.  In a mixer, cream together butter and brown sugar.  Cream until light and fluffy.  Add ripened bananas, eggs and vanilla.  Mix until bananas are well mashed and incorporated into batter.

IMG_2082.JPG

4.  Pour flour mixture into wet mixture.  Hand stir with a wooden spoon until combined.  Do not over mix.

IMG_2083.JPG

5.  Layer 1/3 of batter in bottom of prepared pan.  Drizzle melted cookie butter and swirl with a knife.  Repeat until all of batter is used, and swirl cookie butter on top layer.  Bake for 50-70 minutes.  Toothpick should come out clean when thoroughly baked through.  Allow to cool before cutting.  Devour.


Vanilla Sugared Apple Chips

I was at the store the other day and waiting in line I grabbed a bag of organic apple chips.  It was an impulse buy…but I figured if I wanted to satisfy my snack craving, I mine as well do it healthily.  Even though the only ingredients were organic fuji apples and cane sugar, they still had this "factory" taste to them.  Maybe it was the sealed bag it came in… But I digress.  It made me want to try making my own apple chips.  I don't have a dehydrator but at a low enough temperature in the oven, you can dehydrate anything.

I used Gala apples for added natural sweetness.  Granny smiths would work well if you like your apple chips tart.  I also added a sprinkle of Vanilla Sugar.  I just happened to have this on hand.  If you are looking for flavored sugars, I know that Spice House in Old Town (a great Chicago neighborhood) has a nice variety.  This particular sugar is from the French Chocolatier Jean Philippe.  It's smells amazing.  It's basically vanilla infused sugar with bits of vanilla bean.  I wanted to try out something different than the normal cinnamon and sugar.  Although, that would be tasty too!

Also, I hate using the mandolin.  In fact we got one months ago and I threw it out because I was so terrified that we were going to lose a finger slicing cucumbers that I couldn't stand to have in the house.  But really to get these apple slices evenly thin, you need a mandolin.  So I gathered up my courage and bought a new one.  A much simpler model that I felt that I could control better.  Success!  I was able to cut very, thin, even slices of apples.  The thinner the more crispy they will be.  I love to eat things with a crunch.  If you prefer your apple chips more on the chewy side, you can cut them thicker and bake them less, in which case you can just use a knife, very carefully.


These made my day.  There was a dark and cloudy thunderstorm that rolled through this afternoon and it was the perfect stay at home project while folding the laundry.  I imagine these will be a staple in the fall for us.  Hope you will enjoy this healthy snack!

Ingredients:

2 large apples (of your choice, I used Gala apples)

Vanilla sugar (or cinnamon/sugar blend)

Directions:

1.   Pre-heat oven to 225 degrees.

2.  Wash apples and cut off the top of the apple. (I cut my apples horizontally).


3..  Using a mandolin or a sharp knife, cut apple into very thin slices.

IMG_1972.JPG

4.  Place apples in a single-layer on a parchment lined cookie sheet.

5.  Sprinkle Vanilla sugar on every apple slice.  

6.  Bake for 1 hour.  After 1 hour, pull each apple slice from the parchment paper and bake another 1 hour until no moisture remains.

7.  Cool for 15 minutes, at this time, the chips will become even more crispy in texture.  Enjoy with a cup of tea!

Farmer's Market Summer Squash bread

The Story

I had lunch with my friend Stacy last week in the Loop and the Farmer's market was happening.  I didn't think I was going to purchase anything because I figured everything would be too expensive.  I enjoy buying organic produce, and supporting local farmers, but I'm also cost conscious.  But I stumbled upon a great stand that had affordable greens and squash and I bought a couple of zucchini and a yellow squash for only 50 cents each!  My husband, Jon and I enjoy broiled squash as a side dish but this time around Jon used one of the zucchinis to make a flat bread pizza the other night.  So I had one zucchini and one yellow squash left.  

My brother and sister-in-law just had a baby girl today (Eek! I am SO excited to be an Auntie! :)).    Welcome to the world baby Abigail Darlene Mei Wong!!  We are visiting them this weekend in Michigan and I wanted to bring something easy that we could have with coffee in the morning.  I saw these guys sitting on the table this morning and they became my inspiration to make a couple of summer squash bread loaves.  I love zucchini bread and thought adding the yellow squash would be interesting and add a special sweetness to the bread.  The nice thing about zucchini bread is that their moistness allows them to be baked ahead of time and they freeze well!  Perfect for gifting and/or using up zucchini before they go bad and saving the bread for a later time (IF they make it to the freezer that is).  

I sometimes make these into muffins so they're a little more portable or even mini loaves so I can share with friends.  Either way, this is a great versatile recipe and I hope you can make it your own!  And an extra bonus, your house will smell amazing.  We're dog sitting and Tessy hasn't left the kitchen :).  


Ingredients:

3 cups all-purpose flour

1 tspn salt

1 tspn baking soda

1 tspn baking powder

3 tspn Cinnamon

1 tspn Nutmeg

1 tbs Chia seeds

3 eggs

1 cup vegetable oil

2 c granulated sugar

3 tspn vanilla extract

1 c grated zucchini

1 c grated yellow squash

1 c chopped walnuts *optional


Directions:

1.  Grease and flour 2 loaf pans, set aside.

2.  Pre-heat oven to 325 degrees.

3.  Whisk flour, salt, baking soda, baking powder, cinnamon, nutmeg and chia seeds until well combined.  

4.  In a mixing bowl, mix eggs, sugar, oil and vanilla until creamy.

5.  Add dry ingredients to wet until combined, don't over mix.

6.  Grate zucchini and squash.  Hand stir into mixture.  Add nuts if you desire.  

7.  Pour into prepared pans and bake for 45-50 minutes or until a toothpick comes out clean.  Allow to cool on rack before cutting.

Presentation or gift idea!

Presentation or gift idea!


Almond Horn Cookies (Gluten free)

My mom came over a couple of weeks ago and handed me this cookie.  She said, "Try this and figure out how to make it and make me some".  She has been purchasing these cookies at an Italian bakery 30 minutes from her house for $17/lbs.!  She really enjoys these cookies with her coffee in the morning and it has become an expensive habit for her.  Once I took a bite, I knew I had to find out how to make these.  They are absolutely delicious!  They're full of almond flavor (which I LOVE almond flavored desserts) and inside they're soft with an outside crunch from the toasted almonds.  

My husband Jon ate half of the cookie, so I only had half to taste and dissect.  I really enjoy the process of figuring out recipes.  It's fun to taste and write down what I'm tasting and the different ideas and techniques I can use to replicate a recipe.  They turned out to be super simple and gluten free.  I'm thinking this would also be a good cookie to dip in chocolate or even leave out the powdered sugar.  They're pretty to display and they are really easy to make.  The only drawback are the prices of the ingredients.  Which is typical of nut-based ingredients, but I definitely made these at less than $17/lbs.!  

If you're looking for a hearty cookie for afternoon tea, or a simple picnic, these are your cookies!  I hope you enjoy them as much as my mom and I!  Beware, if you dust them with powdered sugar, they can get pretty messy!

Ingredients:

1 8oz. can of Almond Paste

1/4 cup of Granulated sugar

1/3 cup of Liquid egg whites (or two large egg whites)

3 1/2 tablespoons of Almond Flour

1 6 oz. bag of Slivered almonds

Powdered sugar for dusting *optional

Directions:

1.  Pre-heat oven to 375 degrees.

2.  Open can of almond paste and scoop into a mixer bowl.  Mix on medium speed.  Add sugar and egg whites.  Lastly add almond flour until mixture is dough-like. (Dough will be sticky).

In case you're wondering what exactly Almond paste is!

In case you're wondering what exactly Almond paste is!

3.  Pour slivered almonds on a plate.  Scoop a small ball of dough with a cookie scoop onto the pile of almonds.  Roll the ball of dough into the almonds and form a log shape.  Then fold ends slightly to make a crescent moon.

4.  Place cookies on a silpat or parchment paper lined cookie sheet about 1 inch apart.  Bake for 17-20 minutes.  Almonds should be golden brown on edges.

Before baking…

Before baking…

After!  Baked to a toasty golden brown!

After!  Baked to a toasty golden brown!

5.  Allow to cool for at least 15 minutes before dusting with powdered sugar.   

Beautiful cookies!

Beautiful cookies!

Summery Fresh Fruit Crisp

This warm sunny weather makes me crave sweet, refreshing fruit.  I've been stocking up on fresh fruit at least 3 times a week. I cannot believe how much fruit my husband and I go through!  I'm not complaining.  I know once winter comes I'll be sick of apples and bananas.  This is my go-to recipe for a nice, warm fruit crisp.  It's super easy to throw together and I usually have all the ingredients already in my pantry.  You can also play around with the fruit combination.  For the fall, I enjoy a nice variety of apples (granny smith, fuji, pink ladies, gala etc.).  But for the summer I like to throw together a berry mix with some fresh peaches or nectarines.  And my husband, Jon enjoys this with a cold scoop of vanilla ice cream.  Too bad I'm lactose intolerant or else I would join him :P.  It's the perfect after dinner treat!  It's also gluten free! Which comes in handy when we're entertaining large groups of people.  

I'm really enjoying being outside this summer.  Our gym closed its doors unfortunately, but since then we have moved to a park close by that allow us to enjoy the beautiful weather!  Although our workouts are at the mercy of the weather, it's been a nice change from being inside four walls.  We hope to find a place soon, so when the weather changes we can still keep up our community and the workouts!  In my previous post, I didn't seem as keen on the workouts, but since then, I've noticed such a huge improvement in my strength, body and sleeping patterns, that I'm a huge fan now!  Thanks Monkey Bar Gym trainers for all that you do!  I never thought I would be so in love with it, but I am! :)

A part of our gym training is to also eat healthier, which we definitely have since we've joined.  Since I'm a baker, I've been trying to make desserts that we can enjoy without feeling guilty about it.  And this is one of those!  Yes, there is butter, but it's a small amount in comparison to other desserts.  I hope you take advantage of the fresh fruits and make this! You won't regret it! 

Summer Fresh Fruit Crisp

Ingredients

3 cups of washed, fresh, ripe fruit (variety of your choice) For this recipe, I used strawberries, blackberries, blueberries and nectarines.*

1 cup Gluten Free Organic Rolled Oats

1 cup Gluten Free Granola (I used a KIND brand granola)

1/2 cup Almond flour

1/2 cup Raw Cane Sugar (or if you prefer brown sugar)

1 teaspoon Cinnamon

1/2 teaspoon Nutmeg

1 stick cold butter (cut into 10 pads)

Directions

1.  Pre-heat oven to 350 degrees.  

2.  Wash and cut fruit to your liking.  (I halved my strawberries to make them easier to eat).  To peel the nectarines, cut an X on the top and peel down.  Cube the nectarine once peeled.  

3.  Mix together Rolled Oats, Almond flour, Cane Sugar, Cinnamon and nutmeg.  

4.  Add the pads of butter.  Using a fork, cut the butter into the mixture until butter forms into balls covered in mixture.  These are called Crisp crumbs.

5.  Add Granola to mixture to the crisp crumbs.

6.  Pour enough of the mix to add a thin layer on bottom of pie pan.  (This is optional as well, I like the crisp on the bottom and top.  Traditional crisps have only the top layer).

7.  Arrange fruit in pan.

8.  Top with the crisp mixture.

9. Bake for 35-40 minutes until top is golden brown, and fruit is bubbling.

10.  Allow to cool before serving, fruit filling is very hot.  Top with your favorite vanilla ice cream and devour!

*Because there is no additional sugar added to the fruit, make sure your fruit is ripe and sweet. This will effect how sweet your crisp tastes.  Unless you enjoy tart crisps!


Wedding Strawberry Macarons

I started making macarons after I made it my new year's resolution to perfect the macaron.  Macarons are known to be tedious and difficult, basically a baker's worst nightmare.  They require a lot of patience and T.L.C. (tender loving care).  I began my adventure by experimenting with different cereal macarons, which has become a favorite among my circle of friends.  It's been fun trying out different ingredients to create macarons that you can't buy anywhere else.  I actually took a macaron class in New York City this past April and I learned the authentic french technique of making macarons.  It involved a scale, sugar water, tempering egg whites and a candy thermometer.  Very complicated and intense.  But they turned out beautiful.  The only thing is, they're sort of boring.  Authentic french macaron shells are only made with almond flour, powdered sugar, and egg whites.  The coloring of the shell depends on what flavor the filling is, so for example, a pistachio macaron, you would add green food coloring and the filling would be a pistachio paste.  And that is where all the flavor comes from.  

Maybe it's the "American" in me, but I like to have more of a robust flavor in my macarons, and so I always add flavor to the shells as well.  Either in extract or powdered form.  I know the French would be appalled at my macarons, but hey, they're pretty darn delicious!  

This recipe is for the beginner macaroner!  It requires NO weighing.  BIG plus!  And little prep work.  I made these for my co-worker's wedding this past weekend as favors.  Her colors were blush and gold and so I made them strawberry flavored with gold accents.  Some with edible gold sprinkles and others I hand-painted with edible gold paint.  You definitely don't have to decorate them as I did, but it does add a nice regal touch.  Hope you have some good luck with this recipe!  Lord knows, I've messed up plenty of macarons! Let me know if you have questions and I can help you troubleshoot.  Sorry I don't have many step by step pictures, I decided to blog these last minute!

Wedding Strawberry Macarons

Ingredients:

Shells

2/3 cup almond flour (minus 2 Tbs)

1 1/2 cup powdered sugar

2 tsp powdered freeze dried strawberries

3 egg whites (9 tbs of liquid egg whites) Microwaved for 10 seconds*

5 Tbs granulate sugar

1 tsp of meringue powder**

*this is a quick way to "dry out" your egg whites.

**can be found at Michael's, Joann's, Hobby Lobby etc.

Filling

1 stick of softened butter

1 cup powdered sugar

2 tbs powdered freeze-dried strawberries

1 -2 tbs milk 


Directions:

1.  In a food processor, mix the almond flour, powdered sugar and powdered strawberries until well combined.

2.  Meanwhile, using a mixer, whisk egg whites until foamy, gradually add sugar and meringue powder.  Whisk until a stiff peak forms, or I like to hold the bowl upside down and if it doesn't move, you are good to go.

3.  Add dry ingredients into the meringue and fold until mixture is lava-like and there are no pockets of dried ingredients.  Be careful not to over mix! 

4.  Pour mix into a piping bag with an Ateco 806 tip (1/2 inch round tip).  Pipe circles onto a parchment paper lined baking sheet.

5.  Once you pipe one pan, tap the pan on the counter until all bubbles are released and each circle is smooth.  If you want to add sprinkles, this is the step where you would do that.  Add sprinkles to each circle of batter.

6.  Let shells rest on the counter for at least 20 minutes before putting into the oven.  Touch the shells to make sure there is a skin that has formed.  (i.e. batter should not stick to your finger).

7.  Heat oven to 280 degrees, and bake for 15-17 minutes.  Macaron shells should be easily removed from parchment paper.  Pull the parchment sheet onto a cooling rack.  Let rest for at least 20 minutes before piping with filling.

8.  To make filling, use a mixer to whip the butter with a paddle attachment.  Butter should almost be white in color and fluffy.  Add powdered sugar and powdered freeze dried strawberries.  Add milk as needed to make sure filling is smooth and creamy.

9.  Fill piping bag with strawberry filling.  Add filling between two shells and sandwich.

10.  Once all the macarons are filled, it is it best that they "rest" in the fridge for at least 24-36 hours before eating.  It improves the texture of the macaron and allows the filling to add to the chewiness of the shells. 


Congrats to Sarah and Eric!!! 


Happy Half Thanksgiving Pumpkin Whoopie pies!

I know what you're thinking…what the heck is Half Thanksgiving?  Well, it is exactly 6 months from Thanksgiving and exactly 6 months until the next Thanksgiving.  I'm on deck for leading small group this week and I wanted to do a lesson on Thanksfulness.  How much of the day do we spend being thankful?  So I thought that I would make a Thanksgiving feast and to go along with our fall-inspired dinner, I needed a pumpkin dessert.  This is where these soft, pillowy, gluten-free, whoopie pies come in!  If you've never had a whoopie pie, it is a cake-like cookie sandwiching a sweet fluffy filling.  Most times, a buttercream or in the traditional whoopie pie, marshmallow fluff filling.  So delicious!  It's basically a portable cake sandwich that you can carry around and enjoy.  I love them.  

Today is my first day off after a long stretch of days at the hospital, so I spent a lot of time browsing at Target finding my ingredients.  One of which, was canned organic pumpkin.  When I got home and started organizing the ingredients, I realized I didn't have the canned pumpkin.  OH how that made my blood boil!  >:T  One of my worst pet peeves is having to go back to the store once I'm settled and at home.  But I had no choice.  What's a pumpkin whoopie pie without the pumpkin?  So I went back to the store and came home to work on my Thanksgiving lesson.  I immediately started feeling grateful that I even have the means to go out to the store to buy a can of pumpkin!  There are so many people in this world that don't even have that luxury, whether it's a physical or monetary limitation, or the fact that I have a car and I live 5 blocks away from a grocery store that carries organic canned pumpkin!  

What a good lesson for me to swallow, I'm thankful for so many things and this made me realize how much I take for granted.  Even something like a can of pumpkin :).  Happy Half Thanksgiving! Hope this entry makes you hungry for Thanksgiving food and makes you think about the things in life that you are thankful for.

To make these slightly healthier, I used Turbinado Sugar, but if you don't have that on hand, you can substitute for brown sugar.  I also made a gluten free version since I have a GFree small group member :).  I forgot to throw in the chia seeds in this batch. 

Happy Half Thanksgiving Pumpkin Whoopie Pies

Ingredients

1 stick of room temperature butter

1 cup of natural/raw sugar cane sugar (or brown sugar)

2 large eggs, room temp and slightly beatened

1 cup pumpkin puree

1 Tbs pumpkin pie spice

1 tsp baking powder

1 tsp baking soda

3/4 tsp salt

233g gluten-free flour

1 package cream cheese, softened

1/4 cup maple syrup (or raw honey)

1/2 tsp cinnamon

Directions

1.  Pre-heat oven to 350 degrees.

2.  In a large bowl, mix butter and cane sugar.

3.  Whisk in pumpkin, eggs, vanilla.

4.  Combine flour, baking powder, baking soda and salt, set aside.

5.  Fold in flour mixture in three batches, mixing well after each addition.

6.  Drop batter with a small cookie scoop, press down to ensure even cookies.  Be sure to space cookies well, batter spreads while baking.

7.  Bake for 10 minutes, edges may be slightly browned.  

8.  Make the cream cheese filling by whipping cream cheese in a mixer until smooth.  Add maple syrup or raw honey.  Sprinkle cinnamon.  Whip until fully combined and smooth.

This here is a bottle of pure Vermont Maple Syrup! I've been wanting to sneak this into a recipe, so glad I got to finally use it.  It's delicious and not overly sweet.

This here is a bottle of pure Vermont Maple Syrup! I've been wanting to sneak this into a recipe, so glad I got to finally use it.  It's delicious and not overly sweet.

9.  Once cookies are cooled on a rack, spread cream cheese filling and sandwich with a second pumpkin cookie.  These can be messy, they should look slightly rustic :).


Decadent Chocolate Avocado Pound Cake `

I have a brother and a cousin that live in San Francisco and I visit often.  It is one of my all time favorite cities in the world.  I love the culture, the carefree vibe, the food trends, and the weather.  Every time I visit, I have to stop by one of my favorite bakeries called "Miette".  It's the most adorable, charming, and whimsical bakery.  I'm drawn to the pastels, the decor, the dish ware that all screams "Pinterest Me"!  If I were to ever own a bakery, it would be modeled after Miette.  

My favorite treat to get at Miette is this rich, chocolately mini Scharffen Berger cake.

SO adorable!

SO adorable!

 Scharffen Berger is a chocolate company based out of San Francisco that makes high quality chocolate and cocoa.  You can read more about their history here: http://www.scharffenberger.com/our-story/history/ This particular cocoa really makes this chocolate cake special.  The taste is off the charts!  Even if you don't have a strong palate for distinguishing high quality vs low quality chocolate, you could really taste the difference in this cake.  This isn't your typical Nestle chocolate cake!  You can purchase this specialty chocolate online or at high end grocery stores such as "Fox & Obel" here in Chicago.  

I was craving this cake the other day, but I've been wanting to test out avocado in chocolate recipes.  I know that avocados add a richness and fudgy texture to most baked goods and I thought this would be a good pairing.  I also thought that a thick, rich chocolate poundcake would go nicely with a cup of coffee in the morning :).  I decided to add a hint of cinnamon which I recently had in a Triple Chocolate Mexican brownie and it was amazing.  Oh and if you're concerned if this recipe was consumed after my 30 day challenge..it wasn't! I made this recipe BEFORE our 30 day challenge started, I'm retro-posting.  I hope you enjoy it as much as I did!

Decadent Chocolate Avocado Pound Cake

1 cup all-purpose flour

1/2 cup almond flour or coconut flour

1/2 cup Sharffen berger cocoa

1/4 tspn salt

3 tsp baking powder

1 tsp Ground Saigon Cinnamon

1/2 cup unsalted butter, softened

1 cup granulated white sugar

1 ripe avocado (about 1/2 cup)

3 large eggs

1 tsp pure vanilla extract

1 cup milk

Optional Ganache Frosting:

16 oz bittersweet chocolate chips

2 cups heavy whipping cream

Directions

1.  Pre-heat oven to 350 degrees.  Set butter and eggs on counter to warm up to room temperature.

2.  In a medium bowl, whisk together AP flour, almond flour, cocoa powder, salt and baking powder.

3.  In a large mixing bowl (stand mixer), mix butter until light and fluffy (about 5-7 minutes).  Then gradually add sugar until it is even lighter and fluffier.

4.  Add in whole avocado, beat until well blended.

5.  Add in eggs, one at a time and mix thoroughly in between each egg.  Add in vanilla extract.  My favorite vanilla extract is Neilsen-Massey Madagascar Bourbon Pure Vanilla Extract.

6.  Add half of the dry ingredients into the wet ingredients, mix until dough-like.  Add the milk and then the rest of the dry ingredients until combined.

7.  Pour batter into a greased loaf pan.  Lower oven heat to 325 degrees and bake for 50 minutes or until middle is firm.  Once baked, place on cooling rack before frosting.

8.  While the poundcake is baking and you are smelling the intoxicating aromas.. you can prepare a quick chocolate ganache frosting.  In a small sauce pan, add 16 oz bittersweet chocolate and 2 cups of heavy whipping cream.

9.  Melt the chocolate and cream on medium-low heat until smooth.  Remove from heat and place in the refrigerator to firm slightly. (should be well chilled by the time cake is done baking and cooling).

10. Spread onto the top of the pound cake and enjoy!

Wish I had a picture of a cross section of this chocolate pound cake.  It was rich, dense and fudge-like.  All thanks to the avocado!

"Substitute Oatmeal, Blueberry & Almond Cookies"

Every recipe has a story….and here's this one!  As I said before in my bio, I am a foodie.  About 3 weeks ago I went on a food crawl to New York with a group of friends and it was an eating frenzy.  All we did was walk and eat and then eat some more.  It was absolutely glorious.  Before I had left for my trip, my husband and talked about joining this gym across the street.  We agreed that we would start AFTER my New York City binge…(another reason why I ate my heart out in NY..I knew I was going to have to pay for it later).  Little did I know that this gym was not just a typical gym.  This was a fitness program which involves intense cardio interval training, strength training, and yes, a plant based diet nutrition plan.  

Our first workout at our new gym was nothing short of a nightmare.  I was sweaty, uncomfortable, tired, whiney :) and when we got home I looked at my husband sternly in the eyes and I said, "You signed us up for 30 days of Hell".

On the first day of our "diet", I was at work and a patient brought us some bakery goods from Starbucks.  Immediately this moist blueberry crumble muffin caught my eye.  Before inhaling this delicious muffin, I decided to text my husband to consult him if it was a good idea to just take one bite of this deliciousness.  He quickly shot that idea down and replied, "NO MUFFIN".  To which I replied with a crying sad face and a, "Wahh".  God knew that I needed someone in my life to teach me discipline and keep me grounded.  Thanks to my husband, I ate an apple instead and it was not satisfying.  I did however, bring home the muffin and threw it my freezer in case after the 30 days I would still want it :).

I knew if I were to keep up with this 30 day challenge, I would need to make some sacrifices, but also get creative with my baking.  This is where this recipe came from.  I wanted something hearty, "breakfasty", healthy and yummy.  These baked up to be thick, chewy cookies.  Just how I like 'em.  And of course, the perfect substitute for that blueberry muffin waiting in the freezer for me.


"Substitute Oatmeal, Blueberry & Almond Cookies"

Ingredients:

3 cups Rolled-Oats (I used a gluten free brand from Trader Joe's)

1 1/4 cups of Almond flour

1 tsp baking powder

1/2 tsp baking soda

1 cup drained Cannellini beans

1/2 cup all-natural Almond butter

2/3 cup coconut oil (heated until in liquid form, about 10 seconds in the microwave)

1 cup Turbinado raw cane sugar

2 large eggs

1 tsp pure vanilla extract

1 cup dried wild blueberries

1 tbs chia seeds

*I only made a 1/2 batch since it's just my husband and I. Recipe makes about 48 cookies.

**I purchased all of the above ingredients at Trader Joe's.

Directions:

1.  Preheat oven to 375 degrees.

2.  Combine oats, flour, baking powder, and baking soda in a small bowl.  Set aside.

3.  In a food processor, puree beans and almond butter until smooth.  

4.  Combine bean and almond butter mixture with coconut oil, turbinado sugar, eggs and vanilla.  Beat well.

5.  Add the dry ingredients to the wet mixture.  Add blueberries and chia seeds and stir by hand. 

6.  Using a cookie scoop, drop batter on lightly greased baking sheet or a parchment lined/silpat lined baking sheet.  Bake for 10 minutes or until center is firm and edges are lightly browned.  Transfer to wire rack to cool.  

Mmmmm…who would want a blueberry muffin when you can have this! :)


"Glimpse of Spring" Strawberry Pie

This is my first ever blog post!  It's been a long time coming, but I am thankful that I have great friends that are talented in the tech department to help me make my entrance into the blogging world.  

I live in Chicago and this winter has been brutal.  Mounds of snow.  Record-breaking sub zero temperatures.  Potholes the size of craters.  It's no wonder that this city has been dubbed "Chiberia".  But today, I stepped out into a blast of warm air with the sun draping me.  I couldn't resist looking up,  closing my eyes, taking a deep breath and smiling.  The first taste of Spring is intoxicating. :)


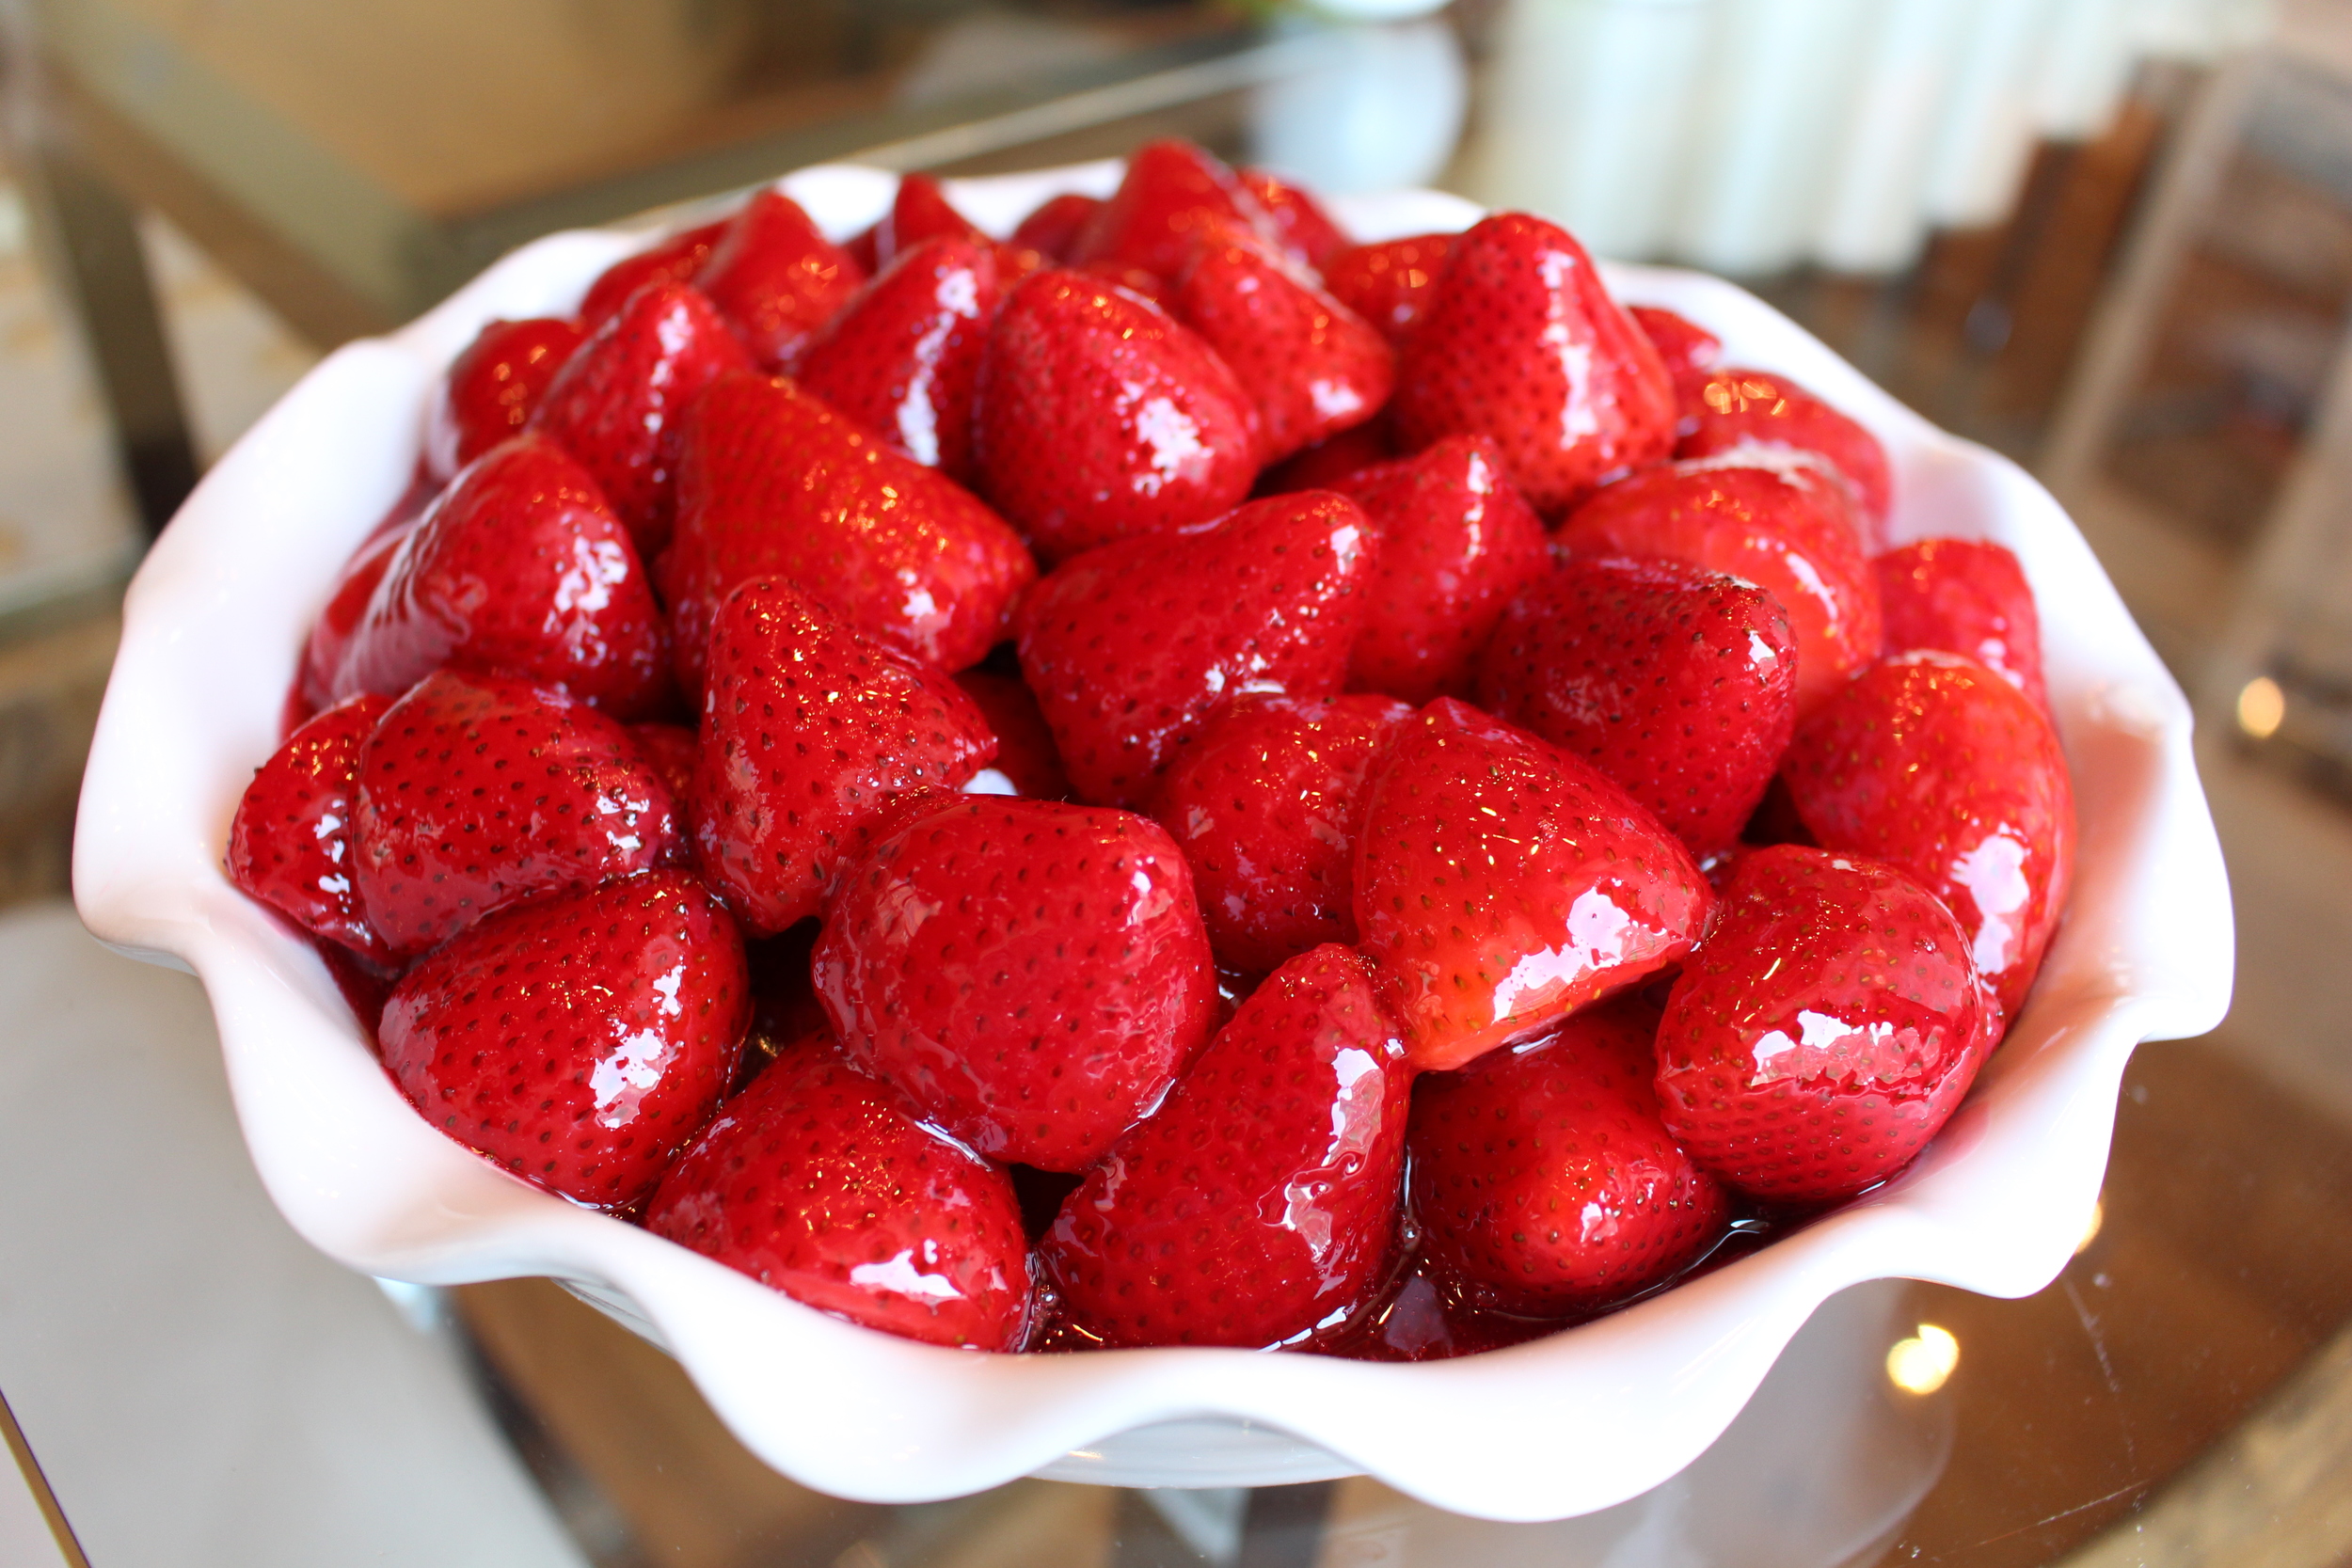
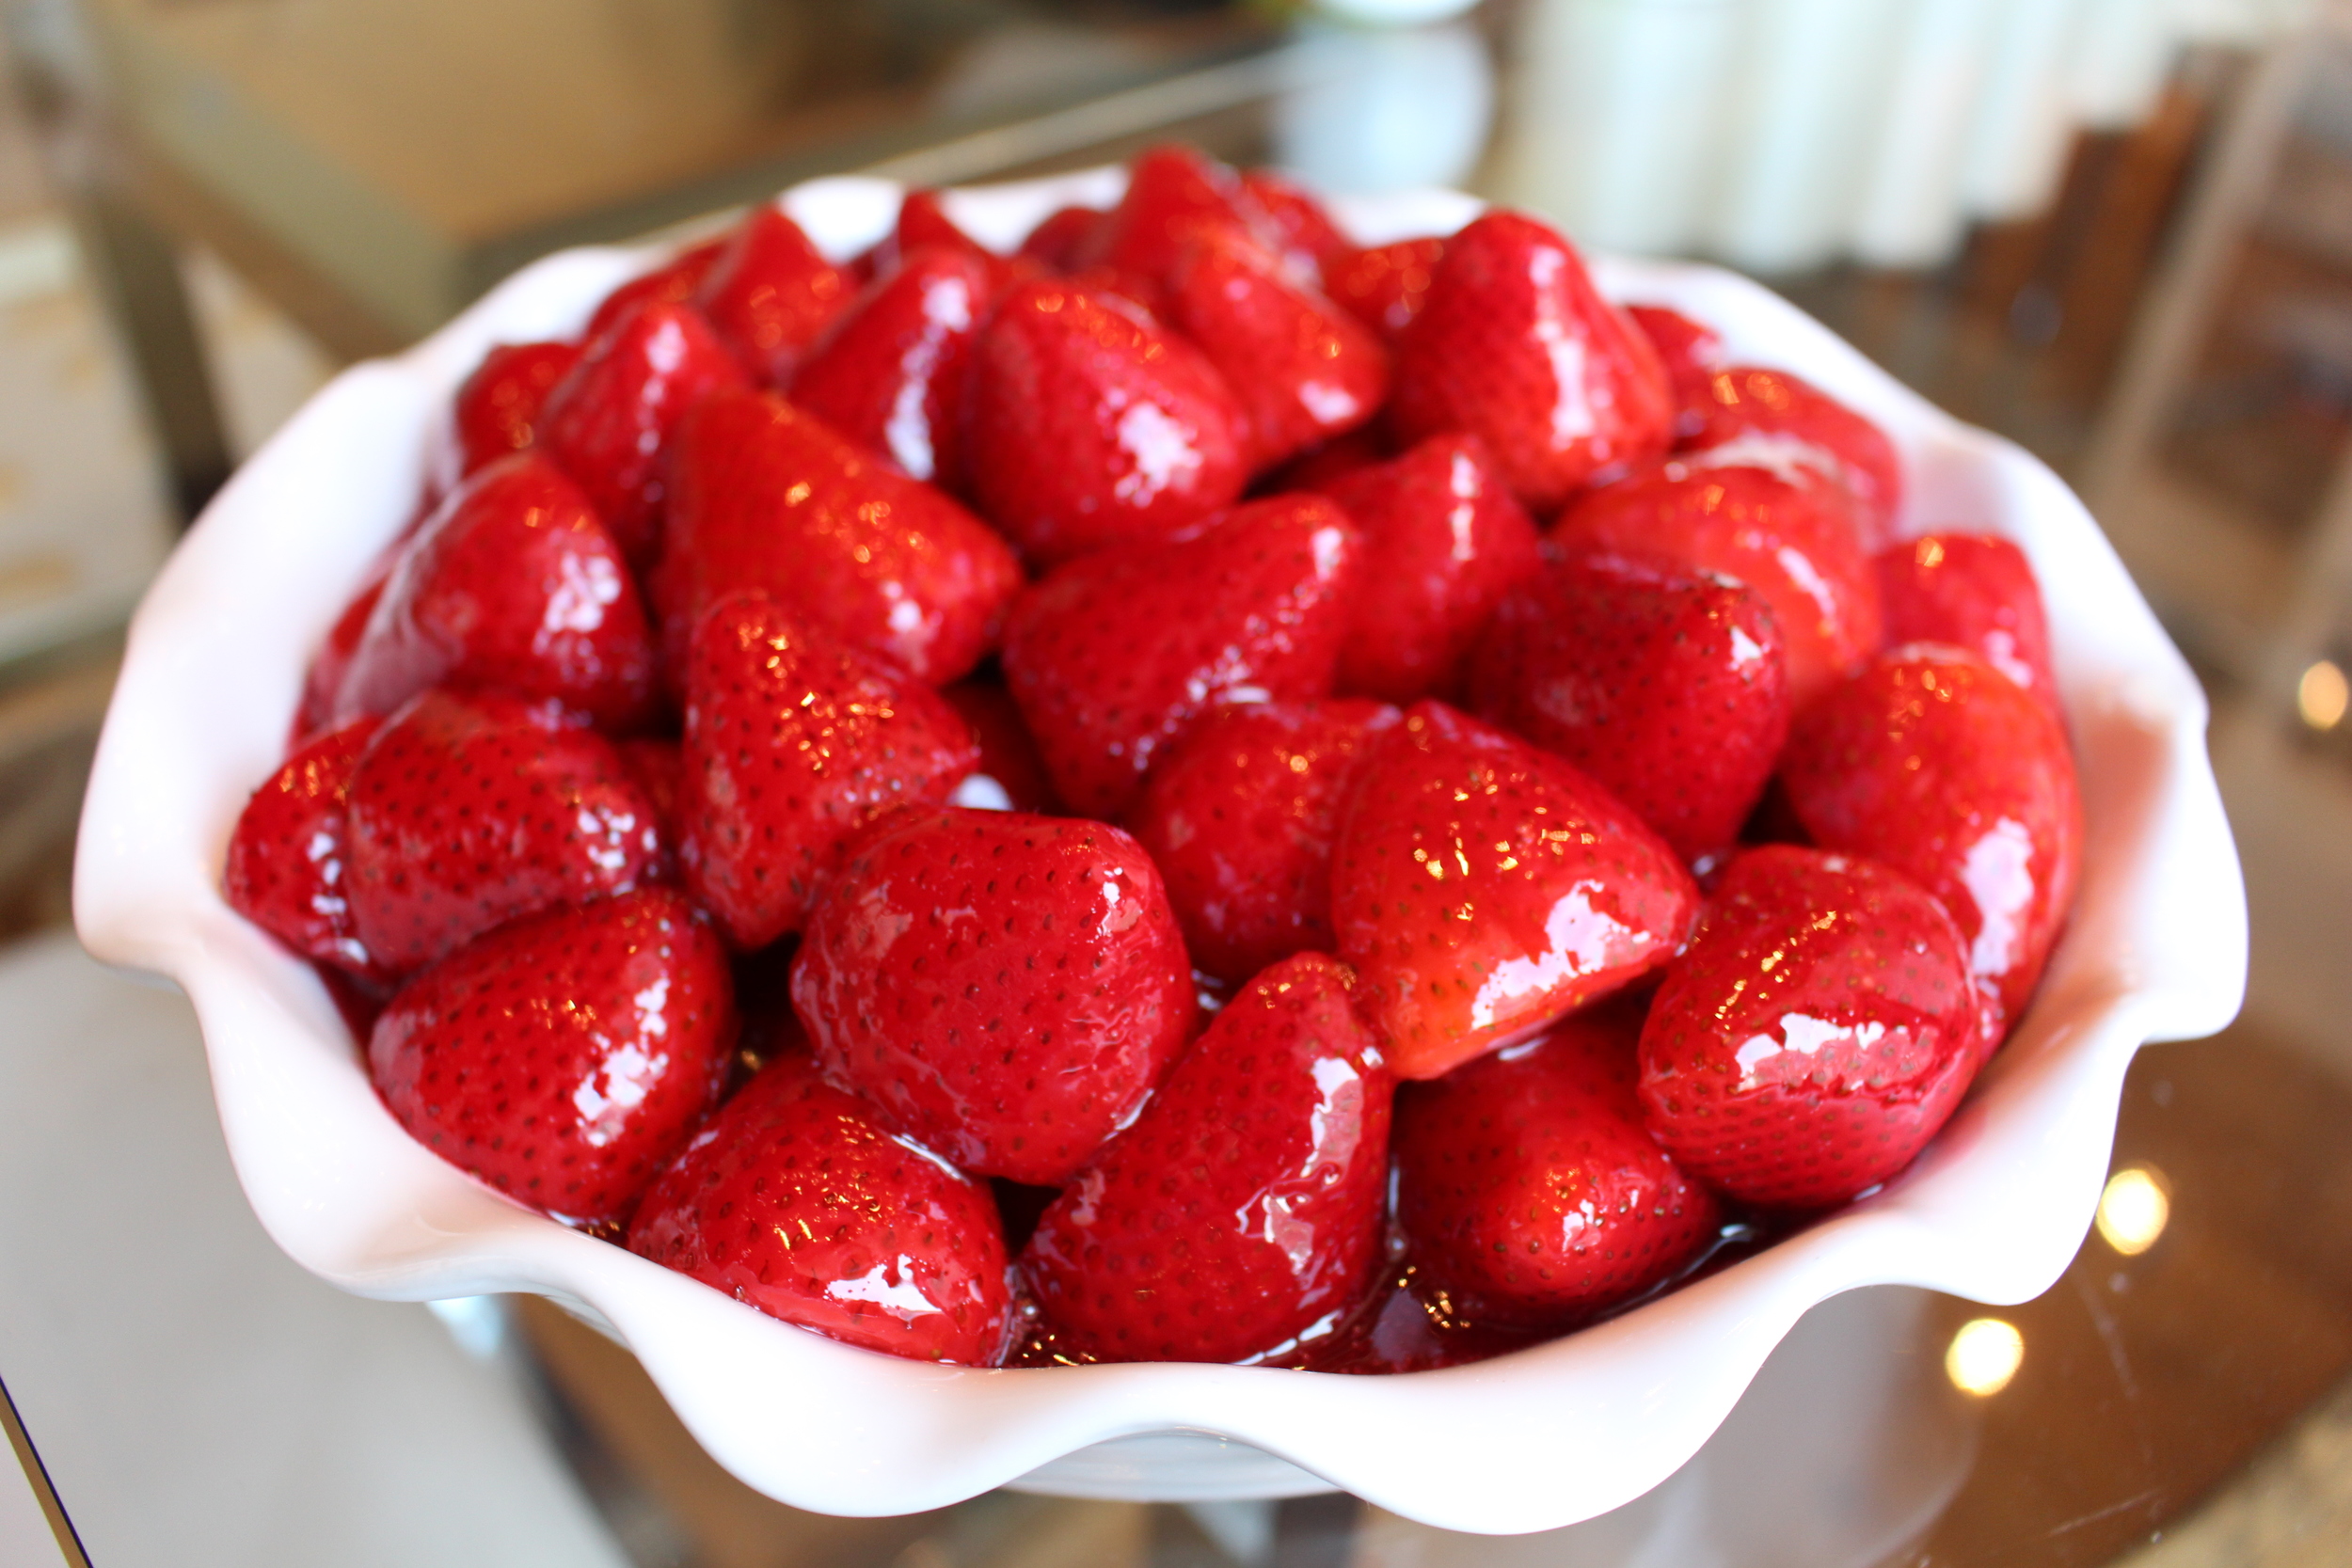
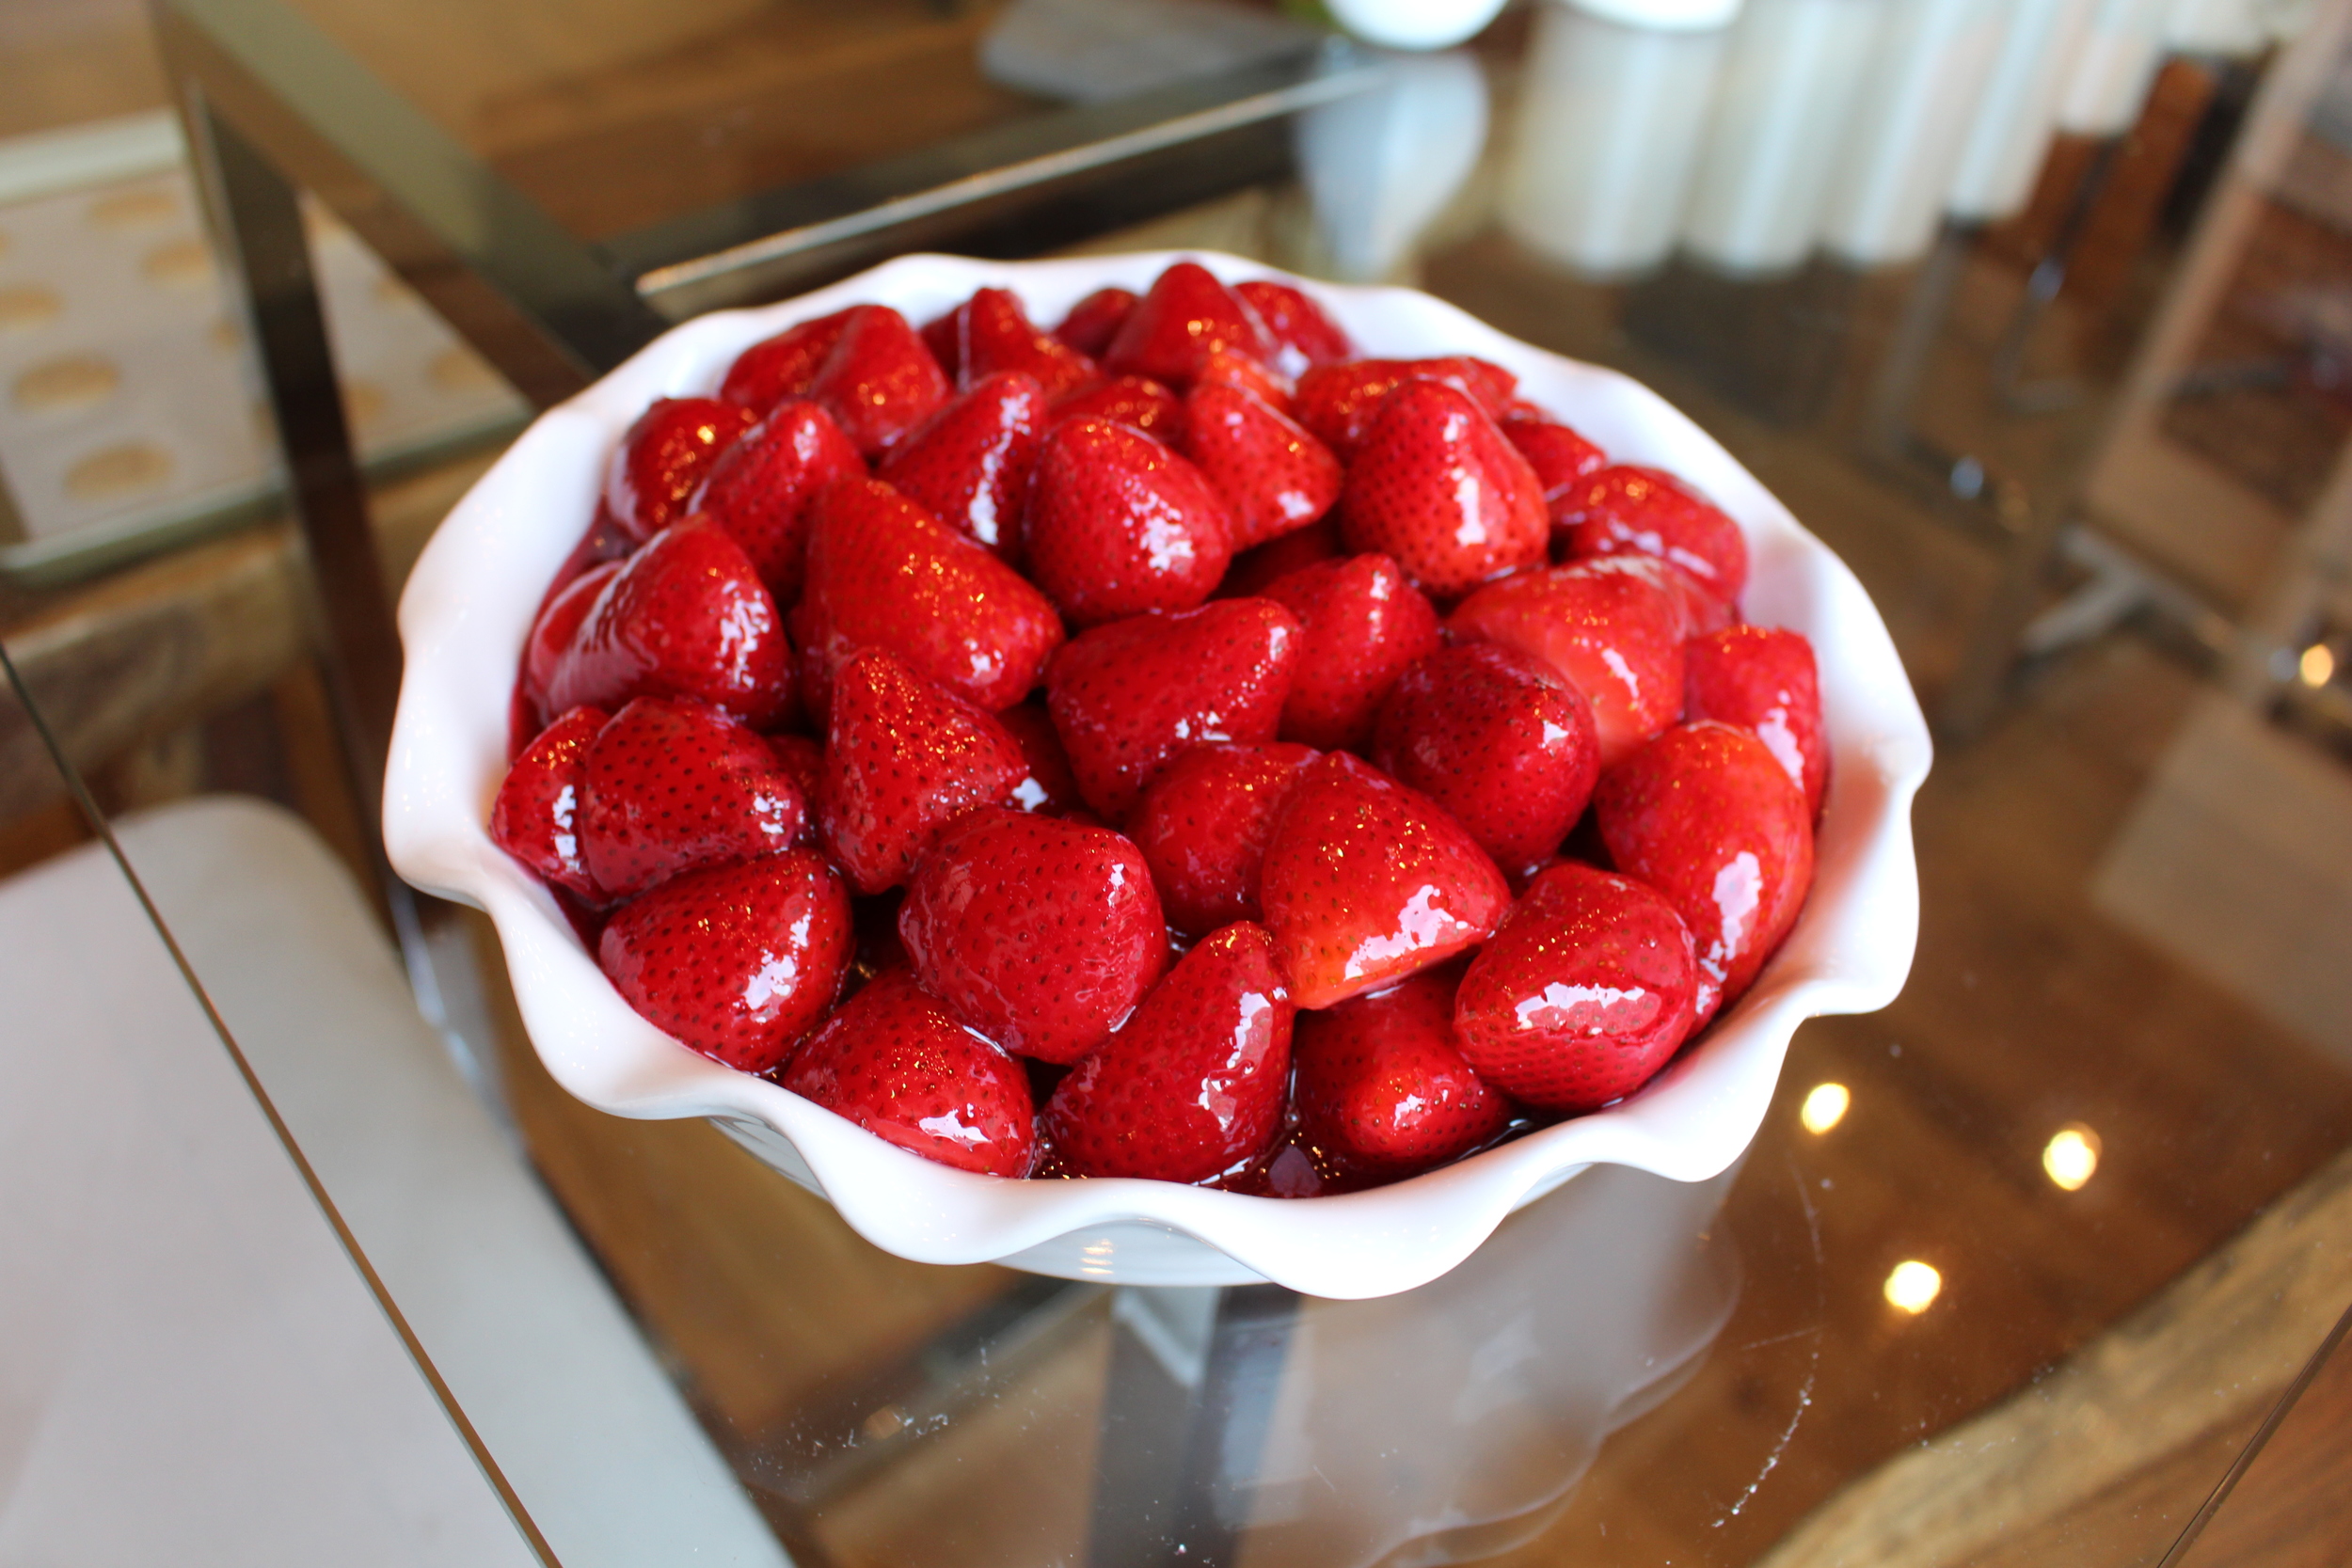
As I walked through the grocery store, I wanted to find something "summery".  Something that reminds me of warm weather and great memories with friends.  I decided to make a strawberry pie.  Nothing welcomes Spring like a bright, red, sweet, strawberry pie.  This is a simple recipe that requires little baking.  Not only is it delicious, it's quite a beautiful addition to any table.


"Glimpse of Spring" Strawberry Pie

Ingredients:

Crust:

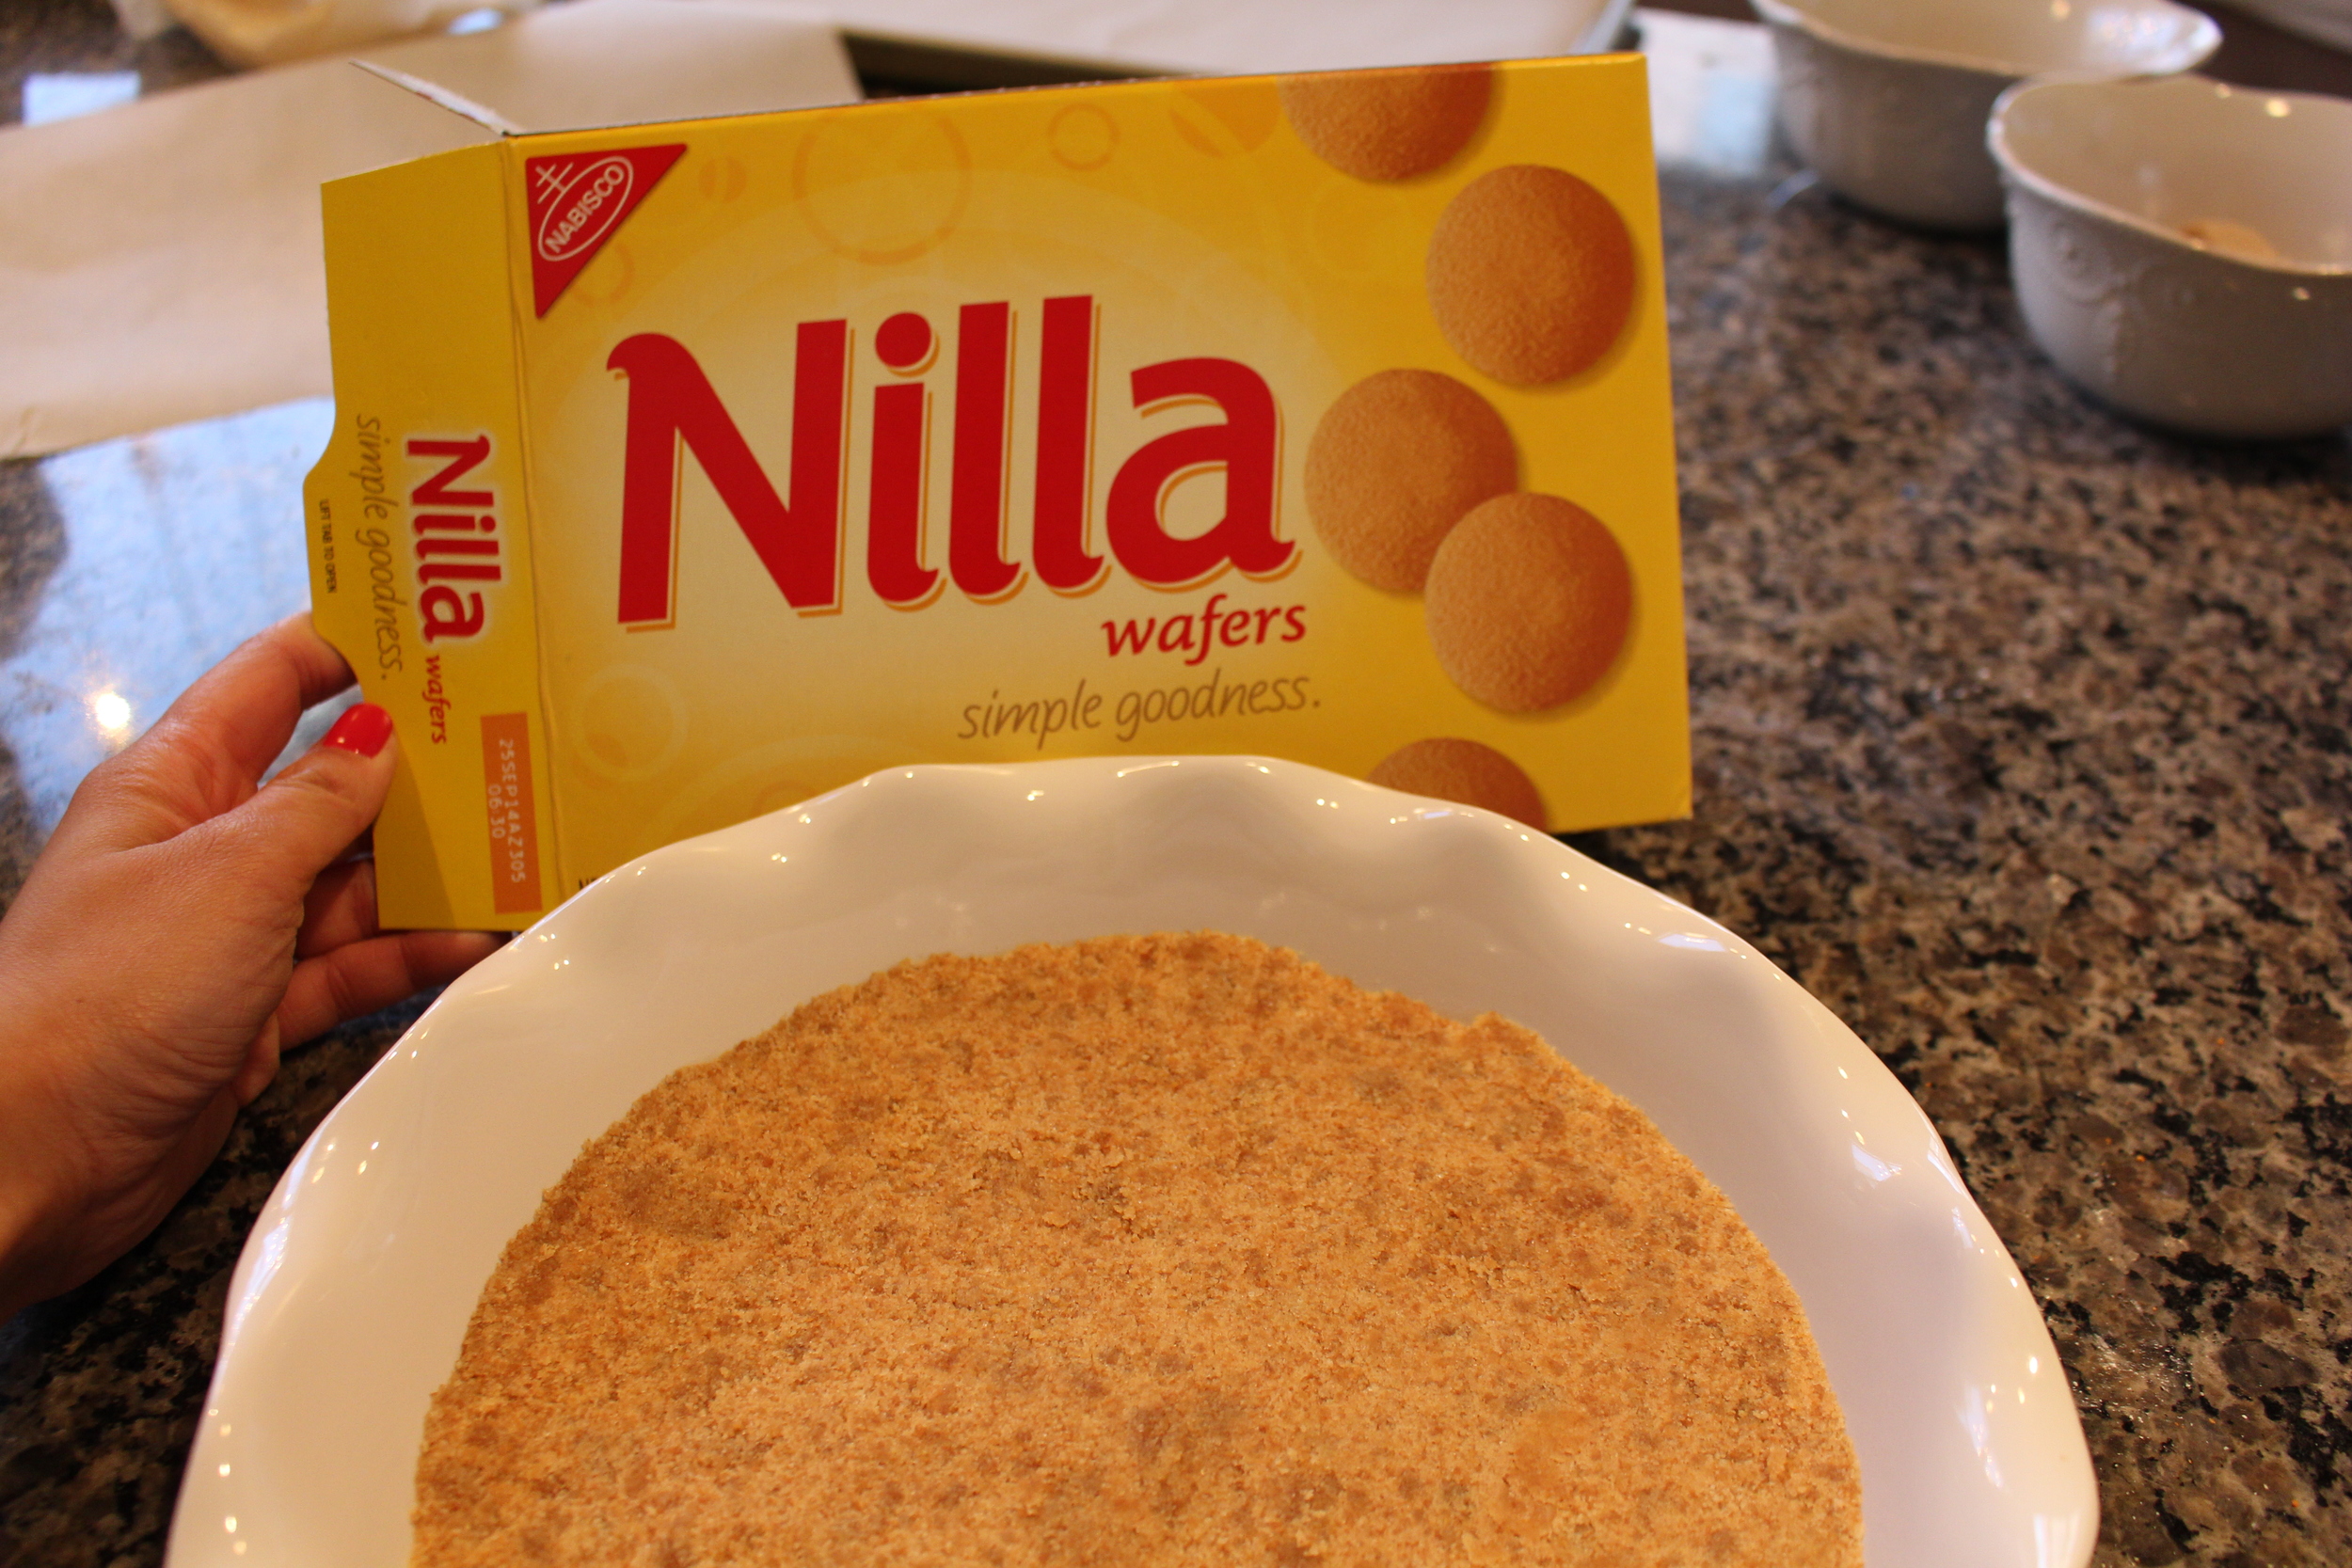
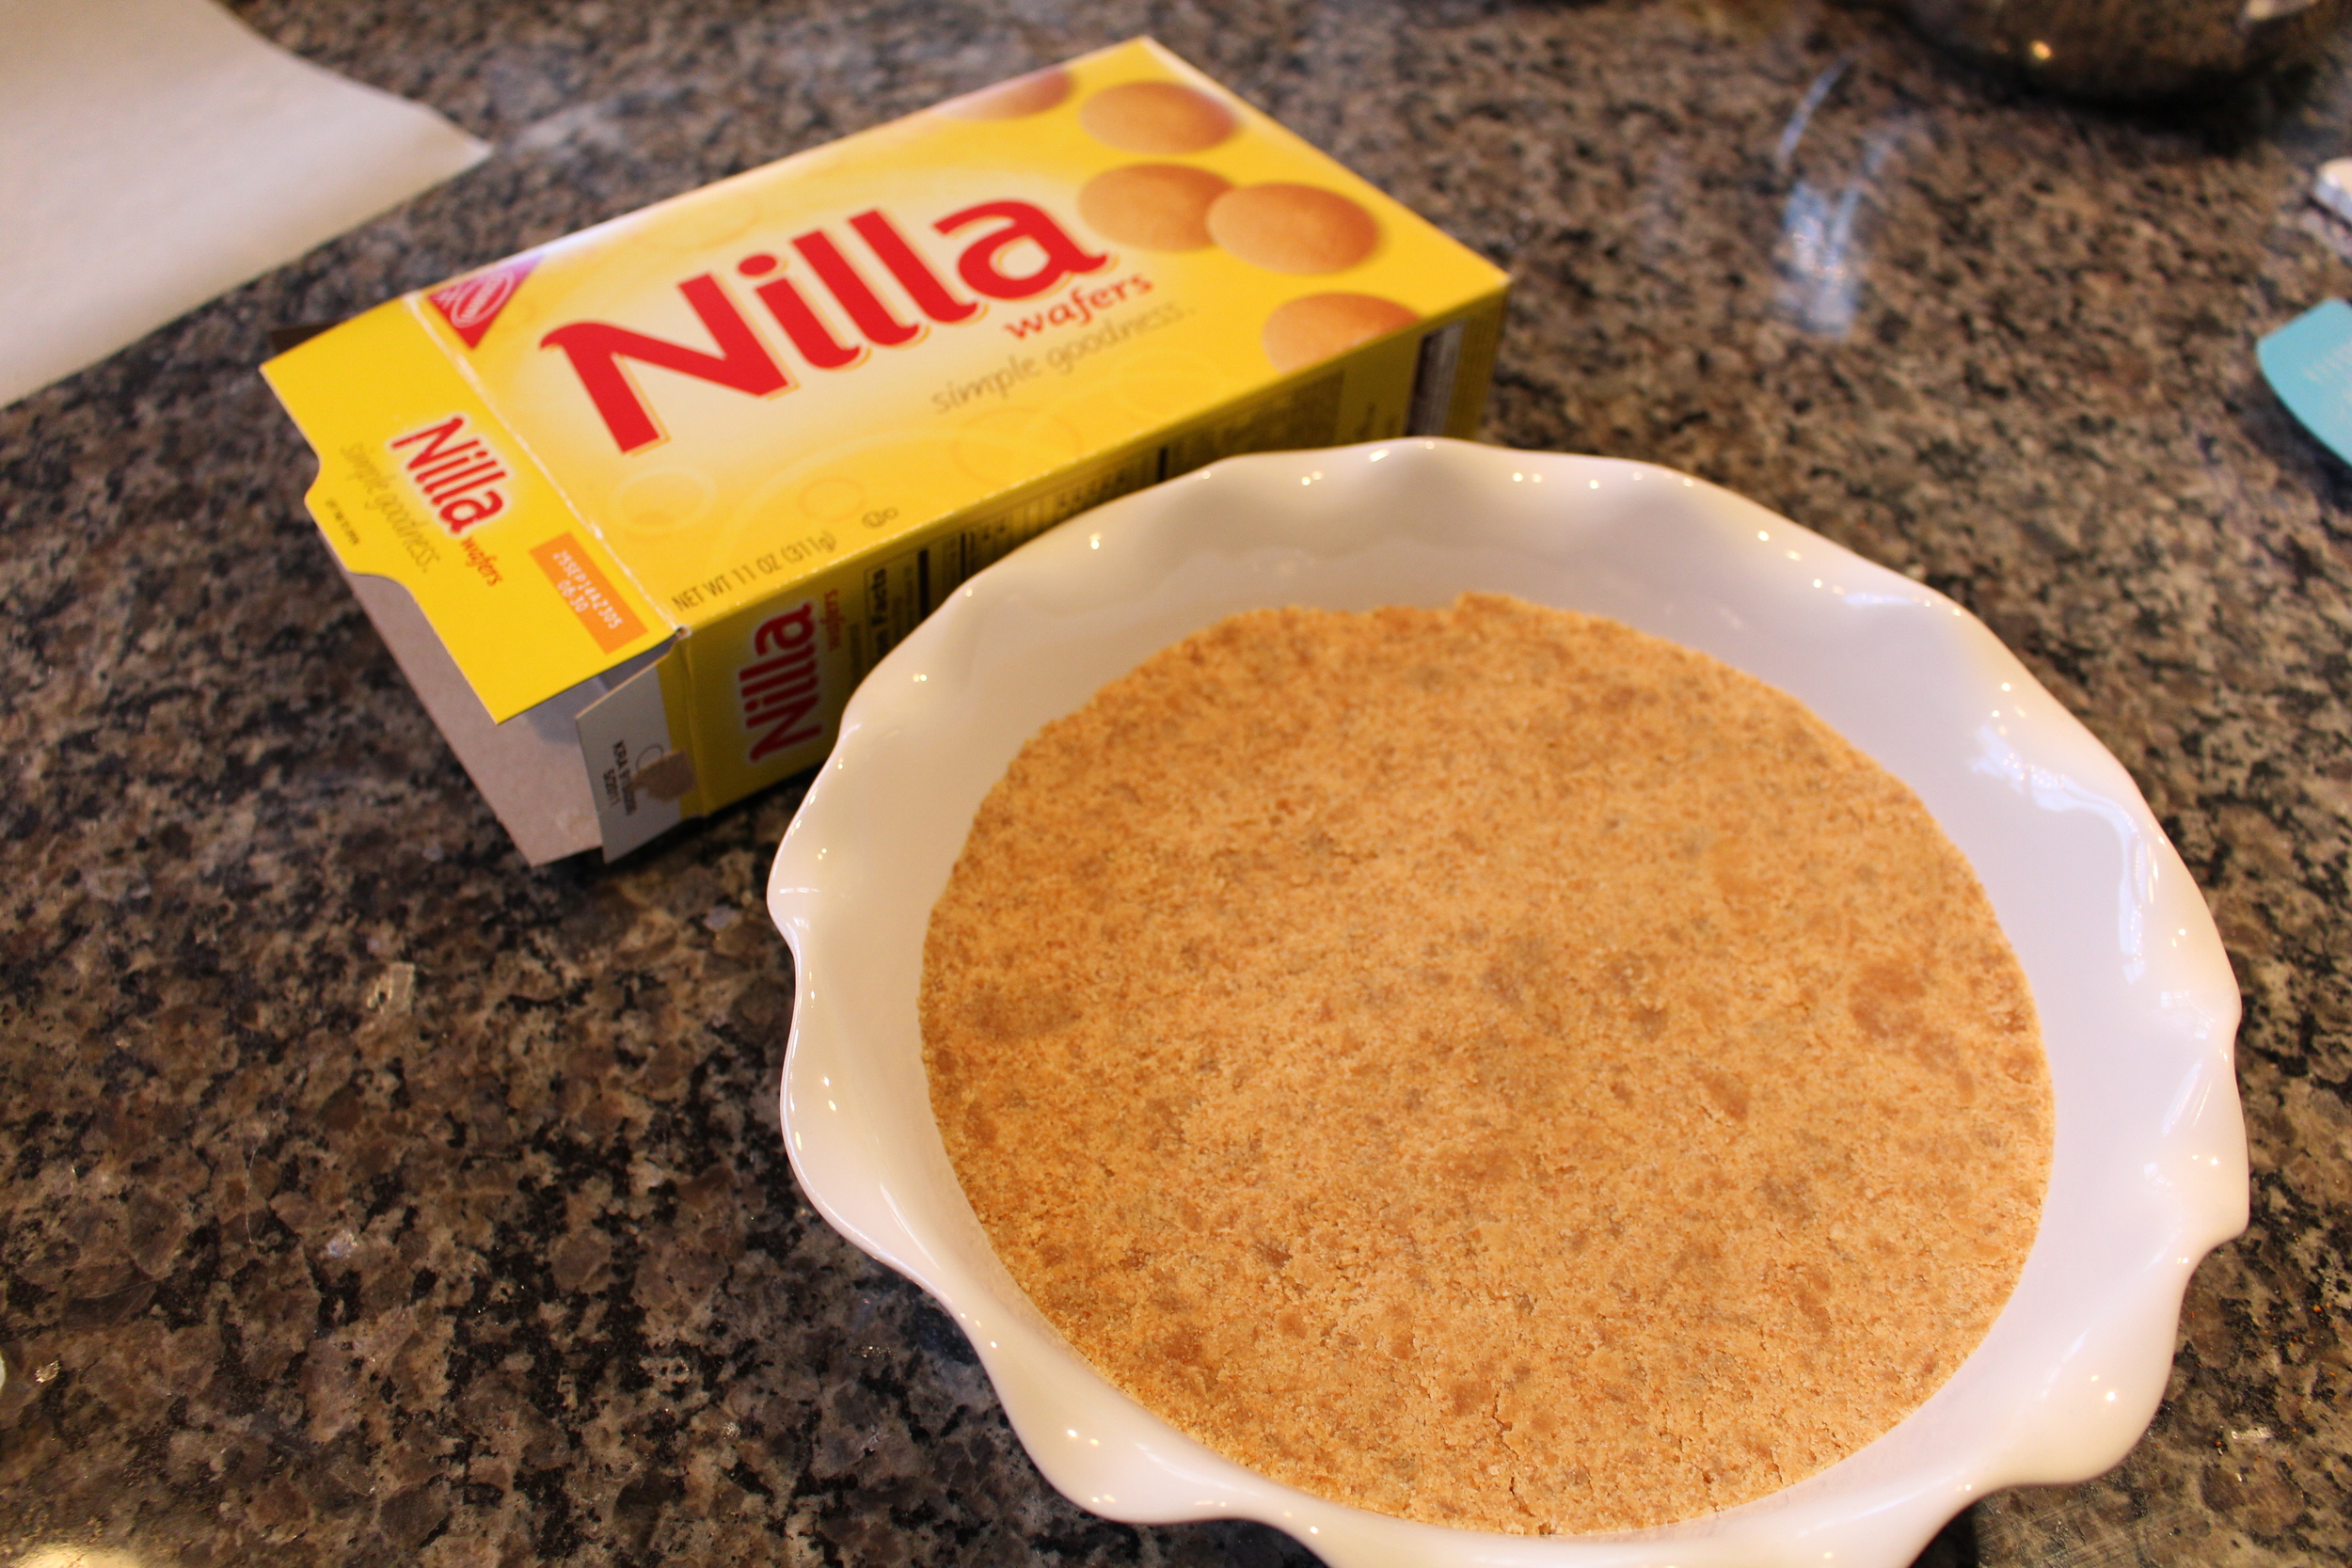
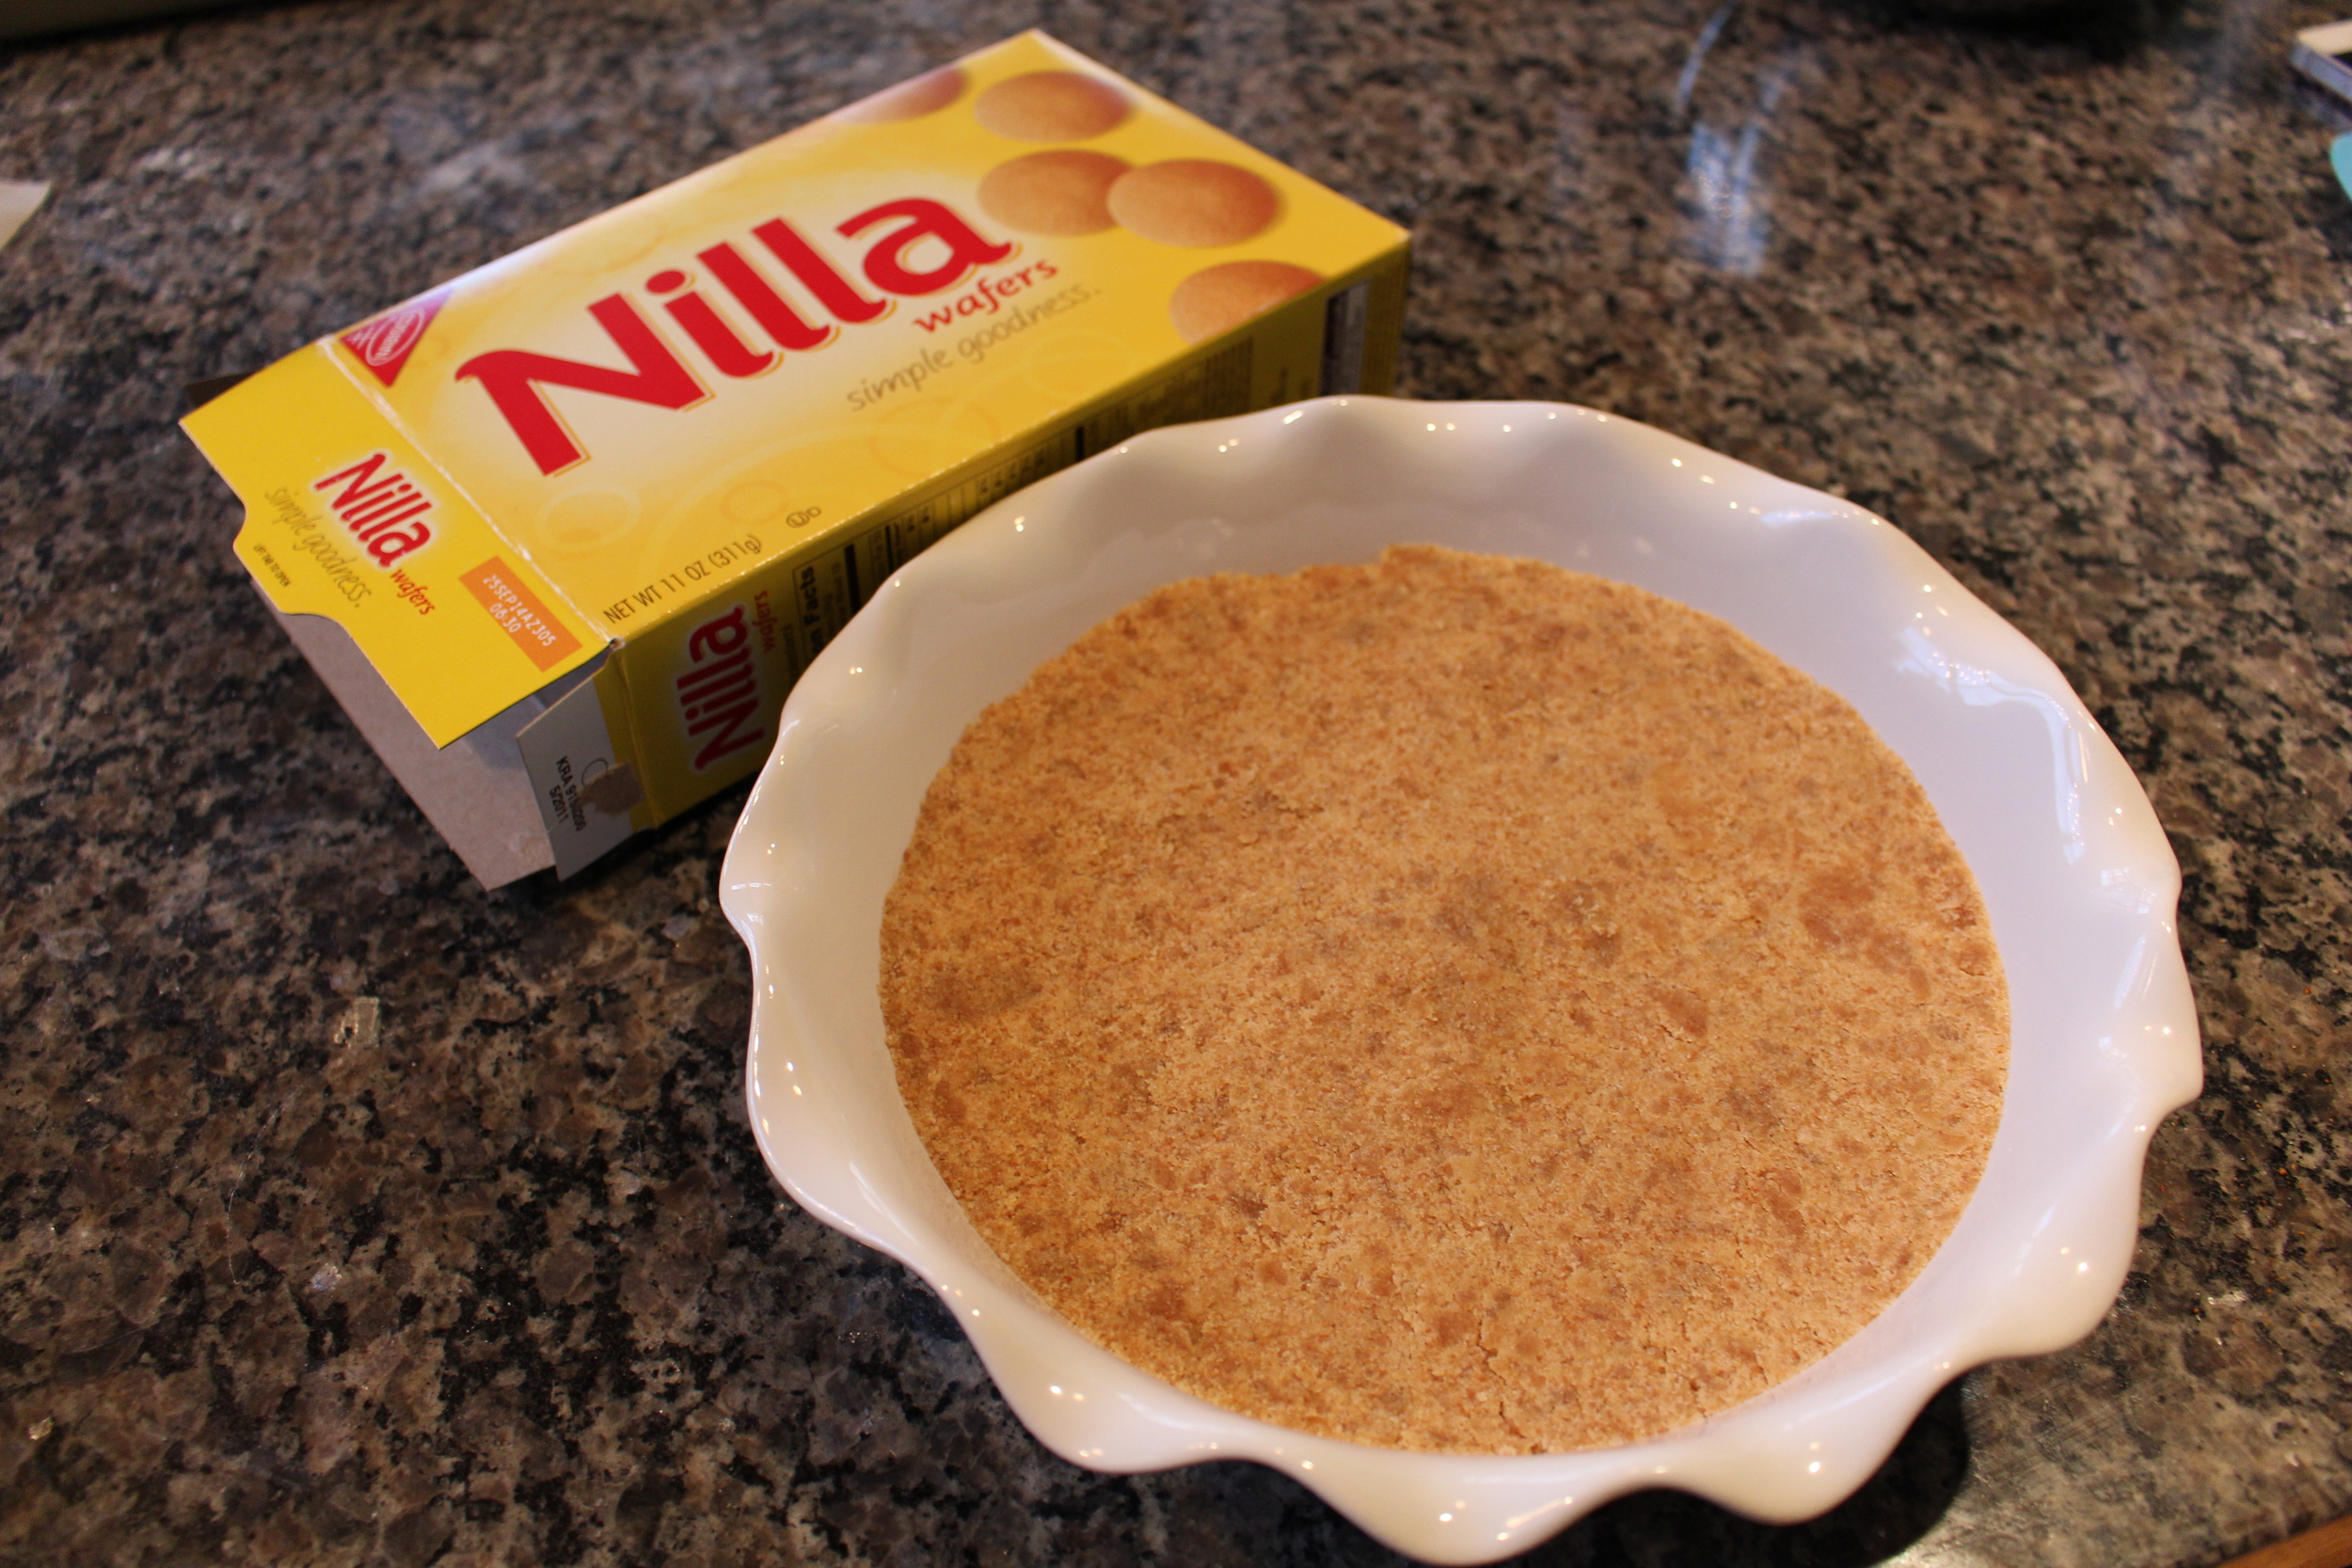
2.5 cups of Nilla Wafers

6 tbs of melted butter

1 tbs granulate sugar


Strawberry topping:

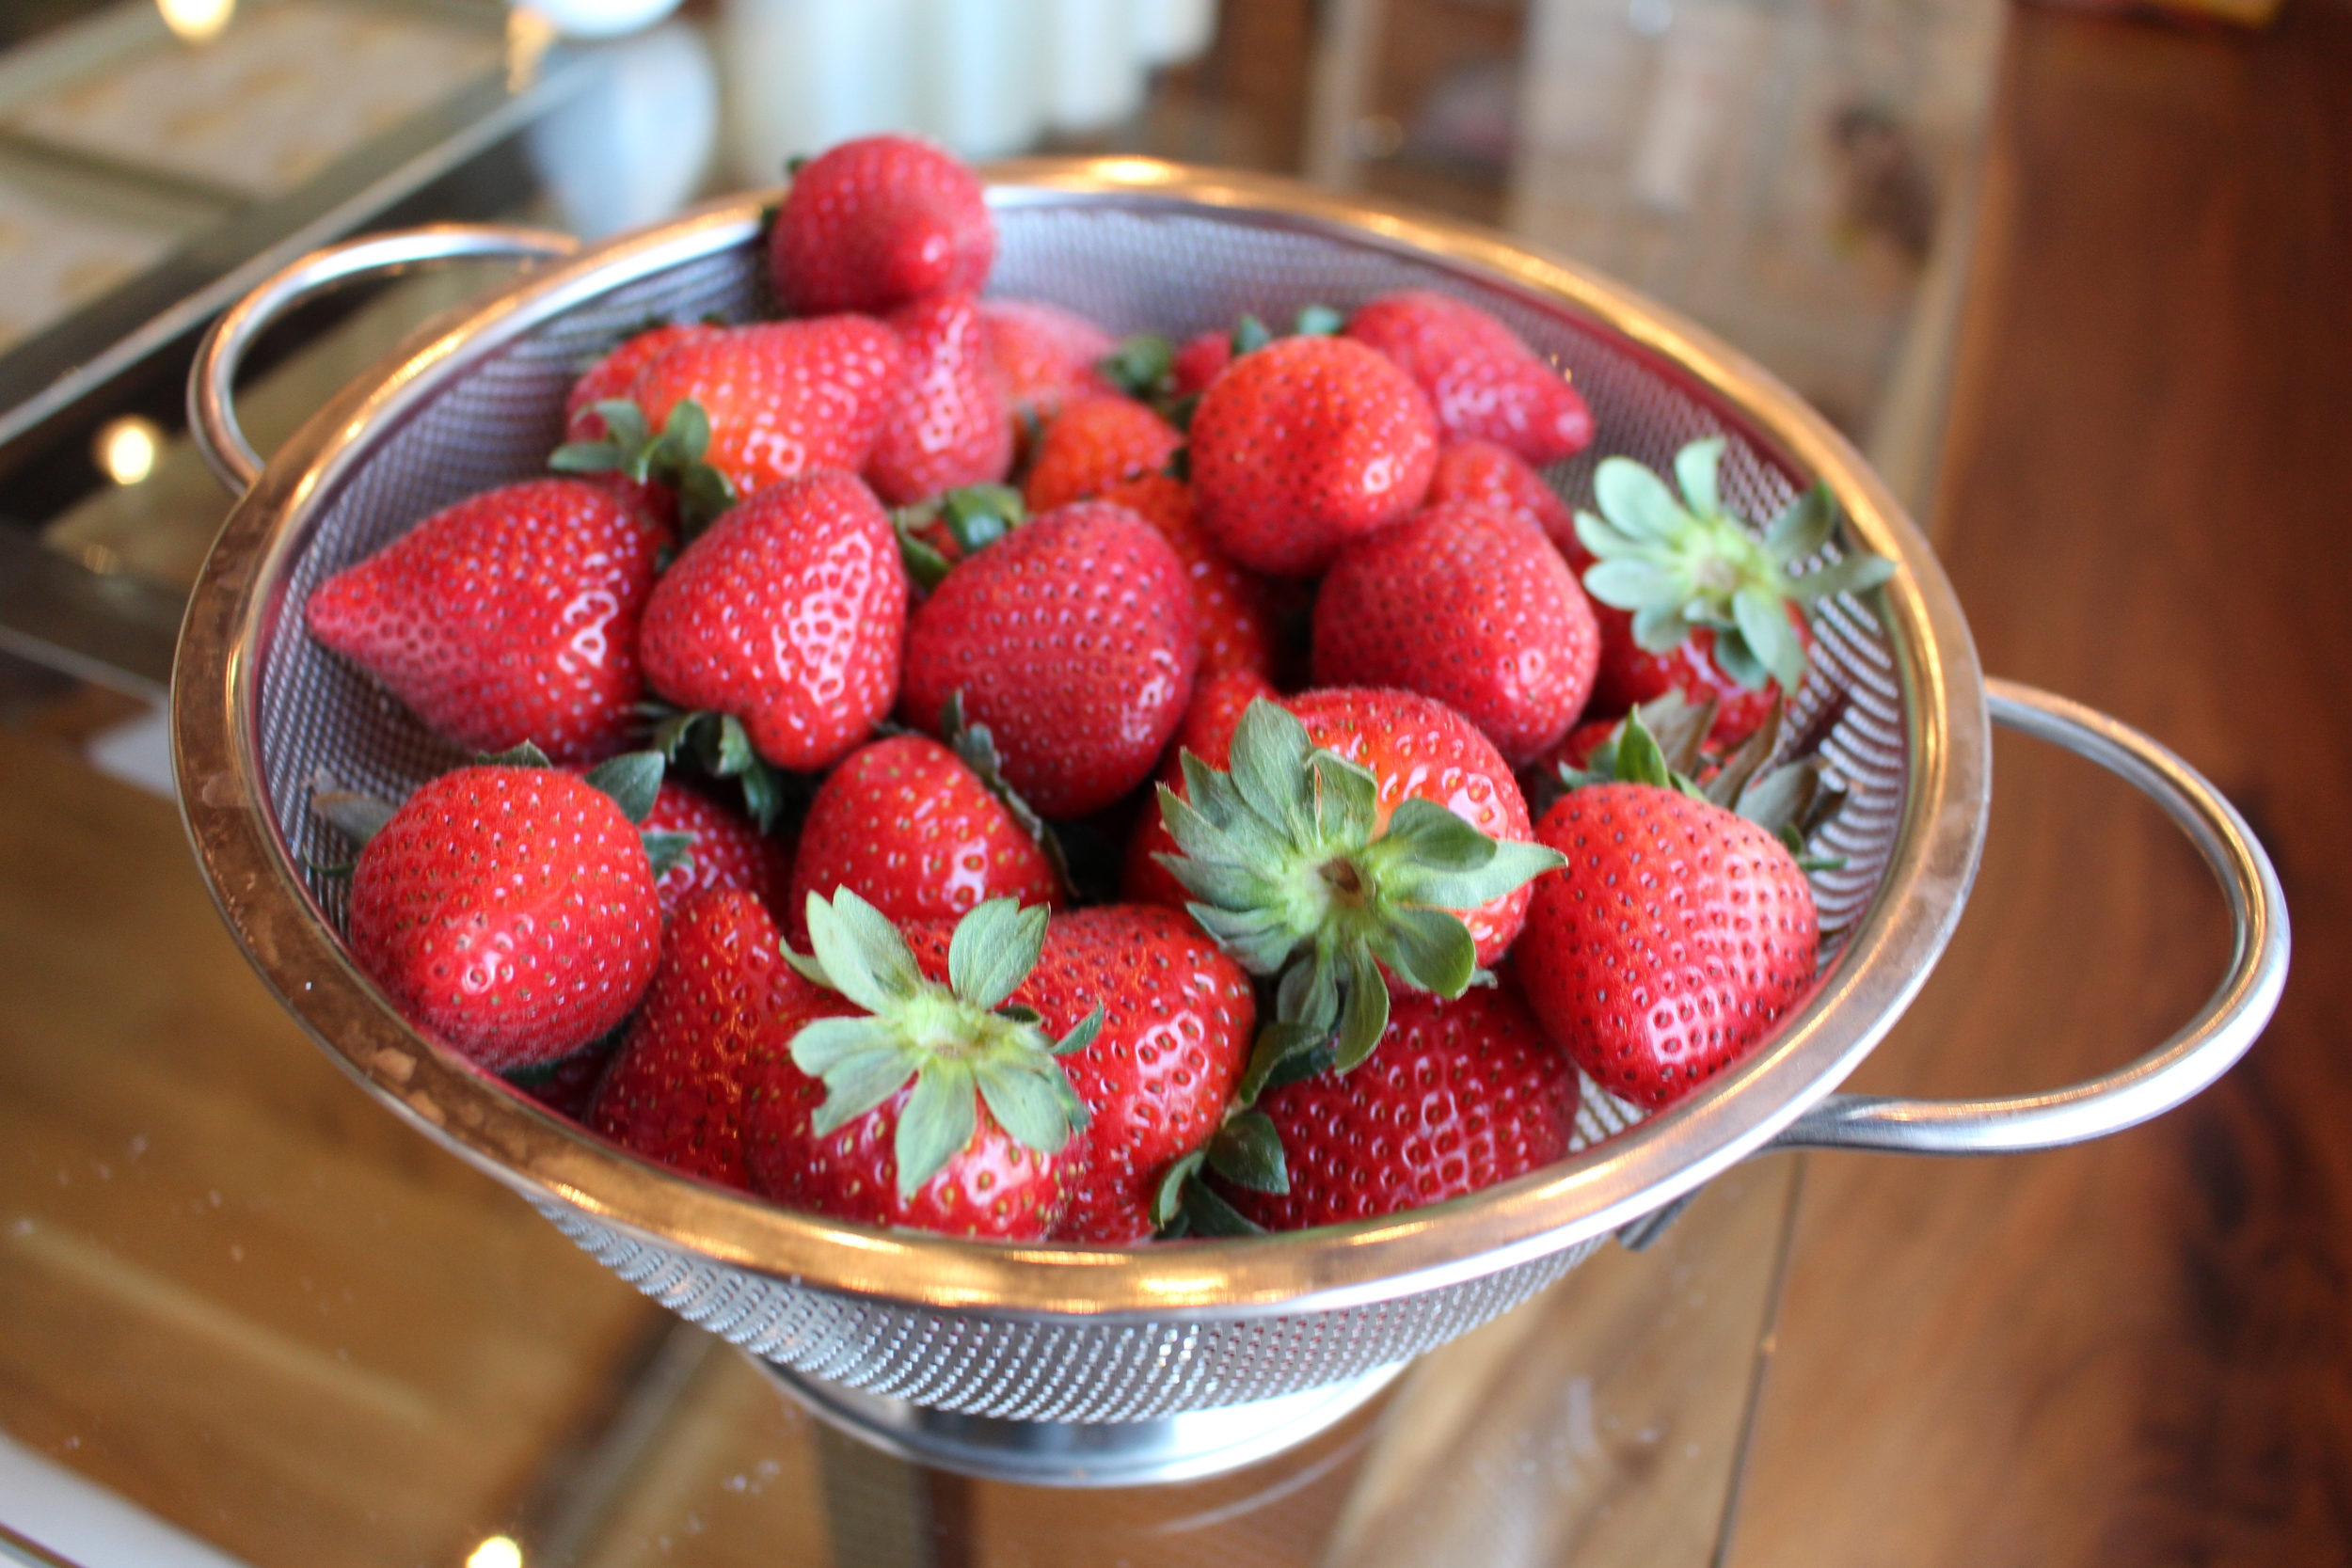
3 lb Fresh strawberries (washed and hulled)

2 cups water

2 cups granulated sugar

6 tbs cornstarch

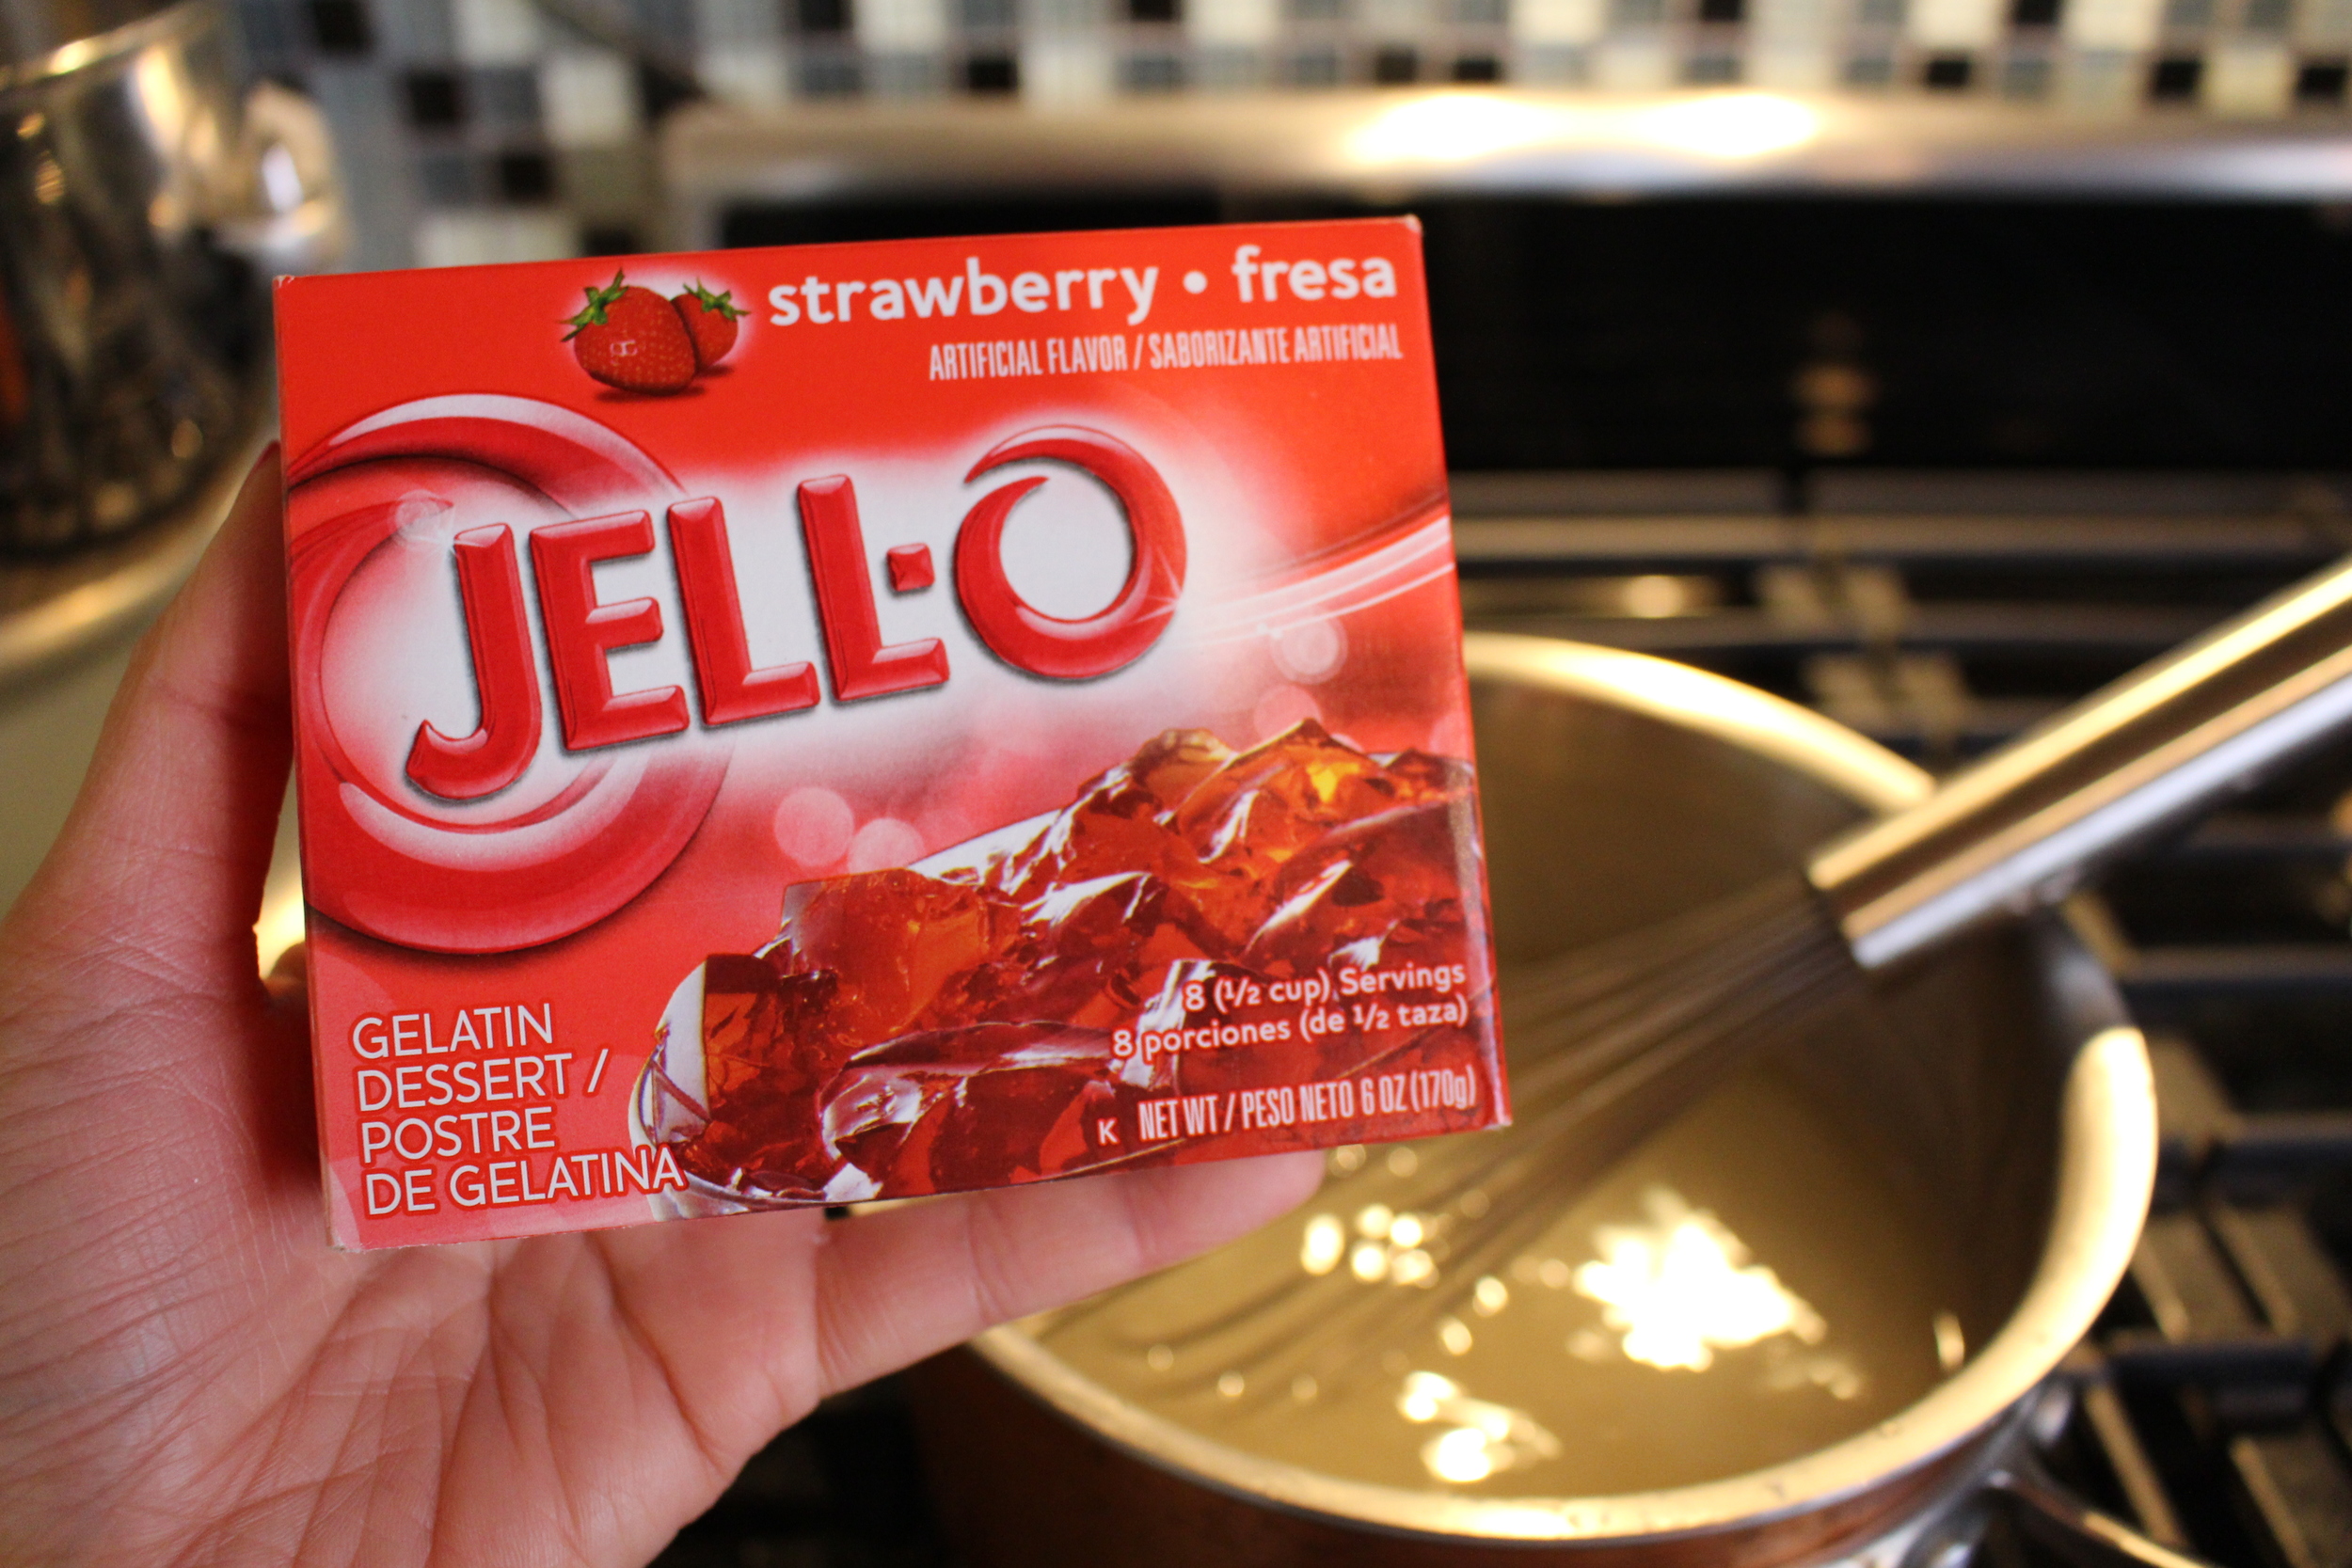
1 box of strawberry jello (8 oz)

1 deep dish pie pan


Directions:

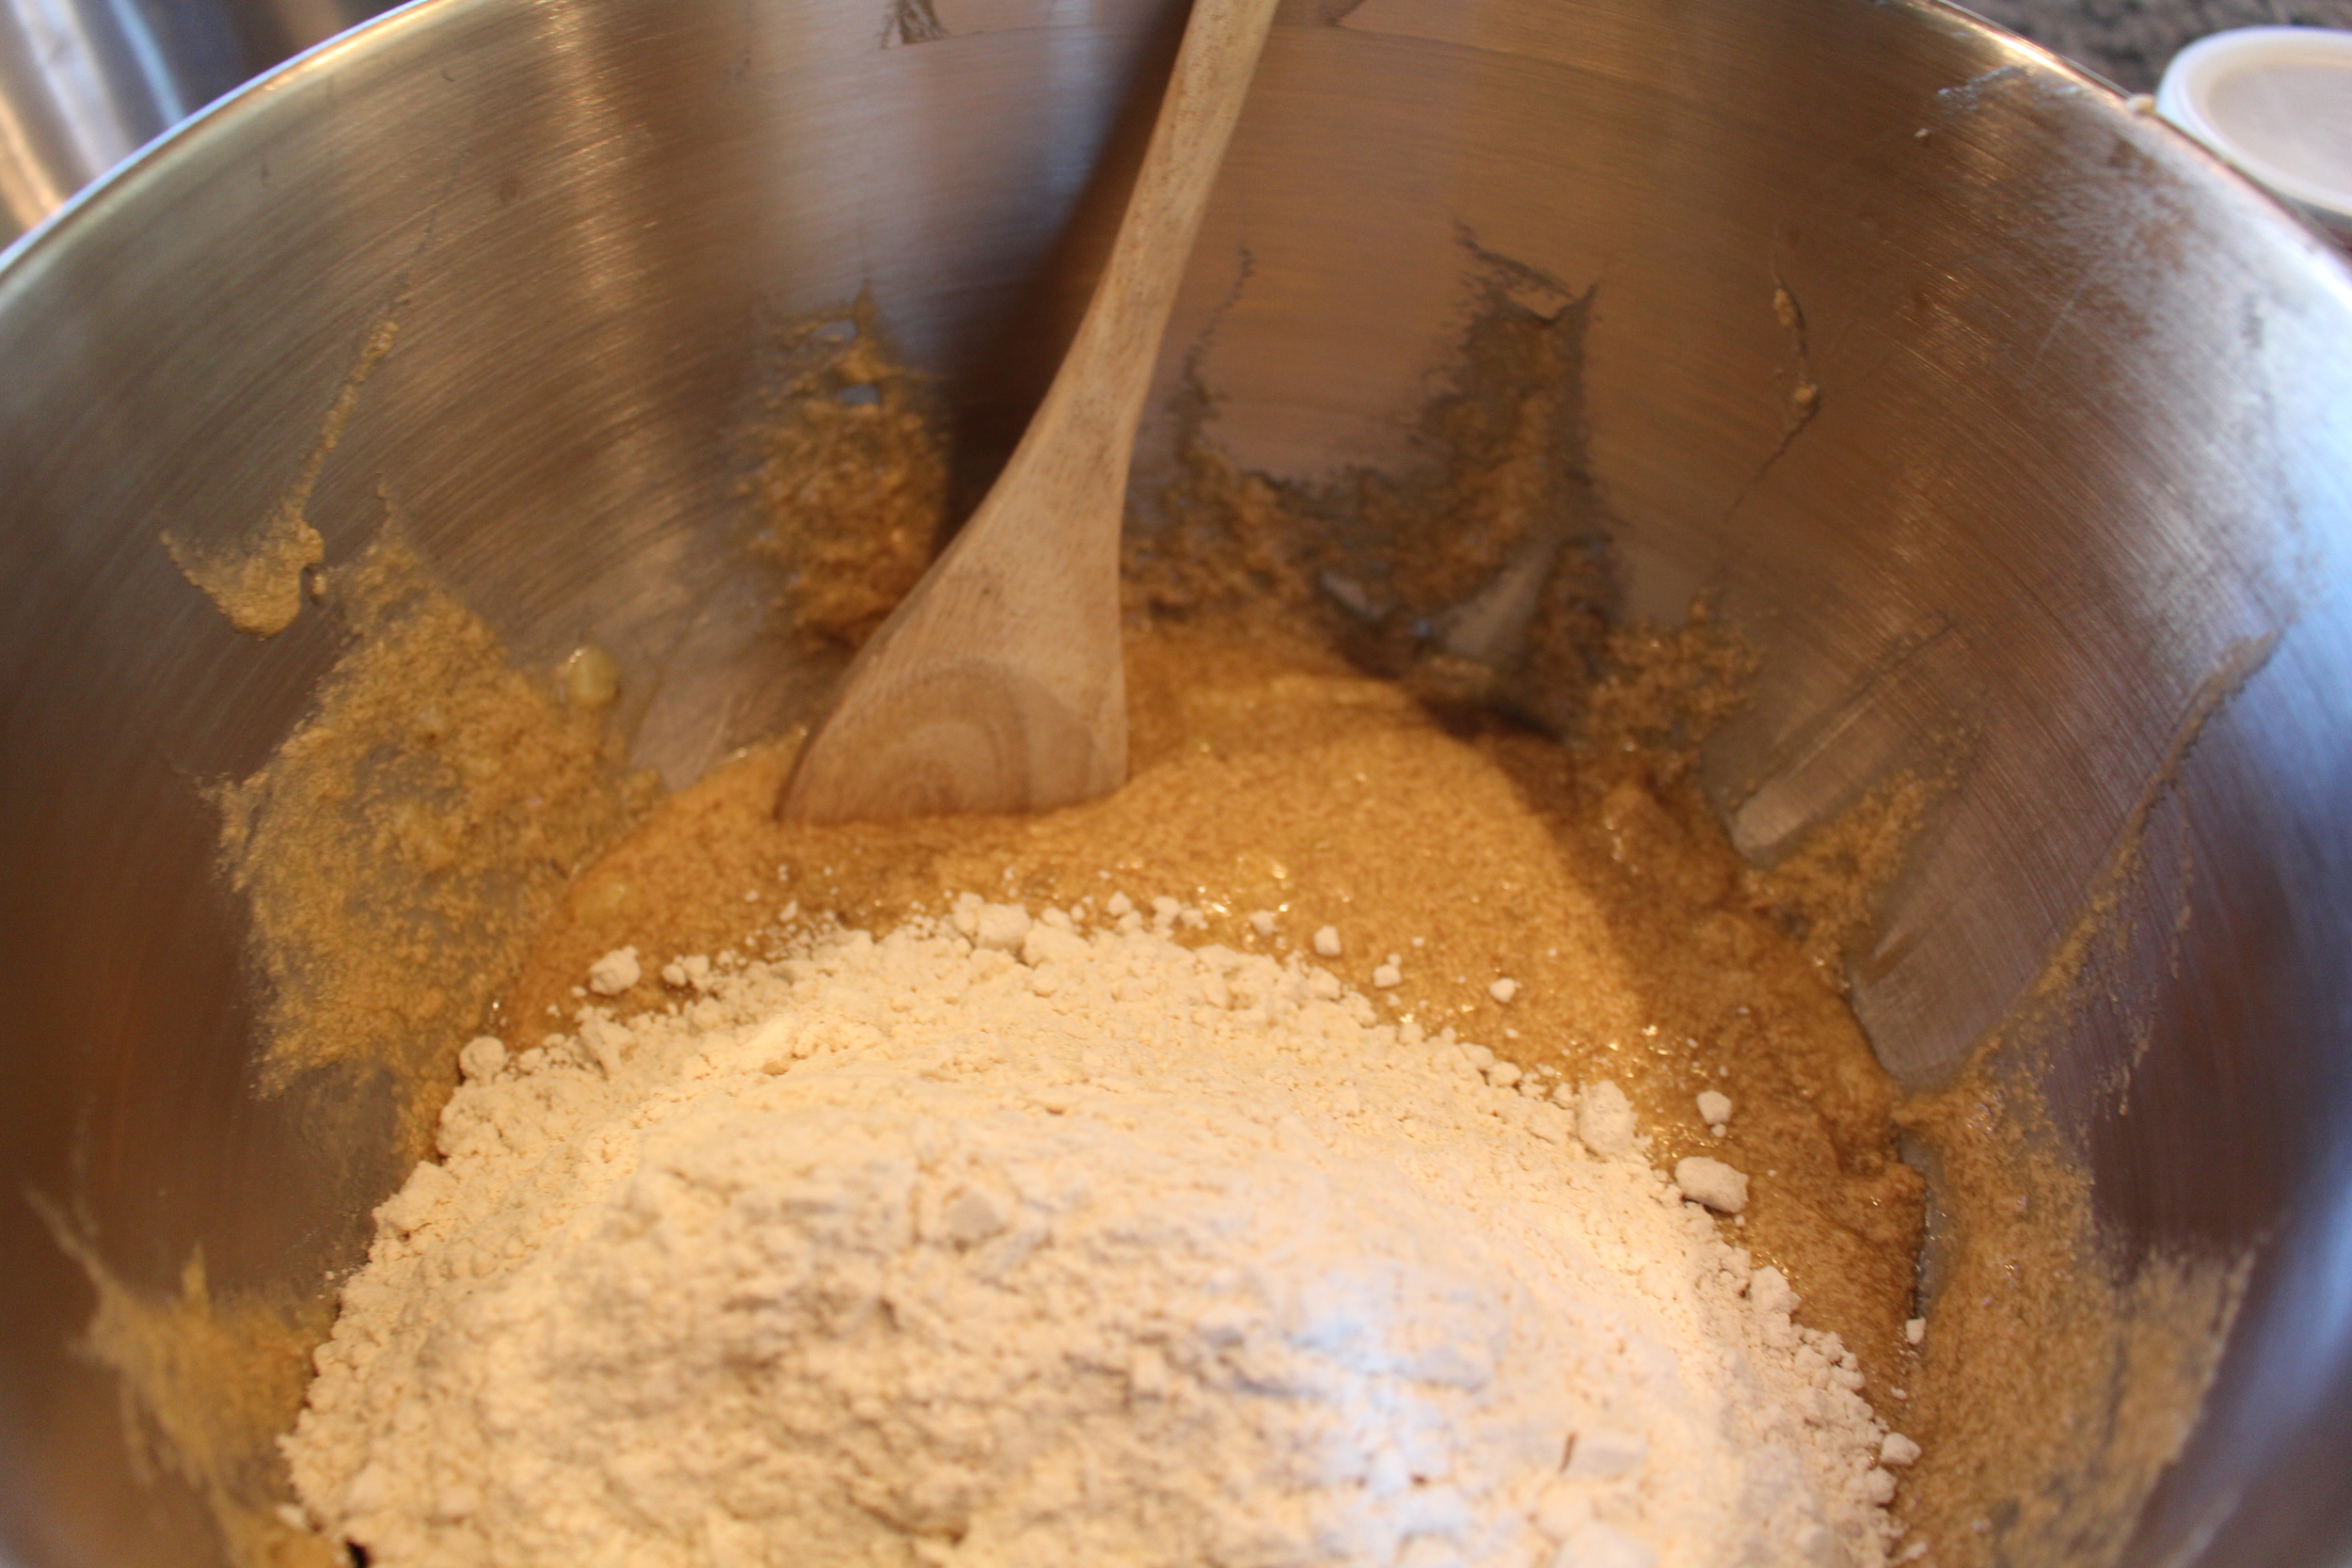
1.  Using a food processor, grind the Nilla wafers.  Add crumbs to melted butter and sugar.

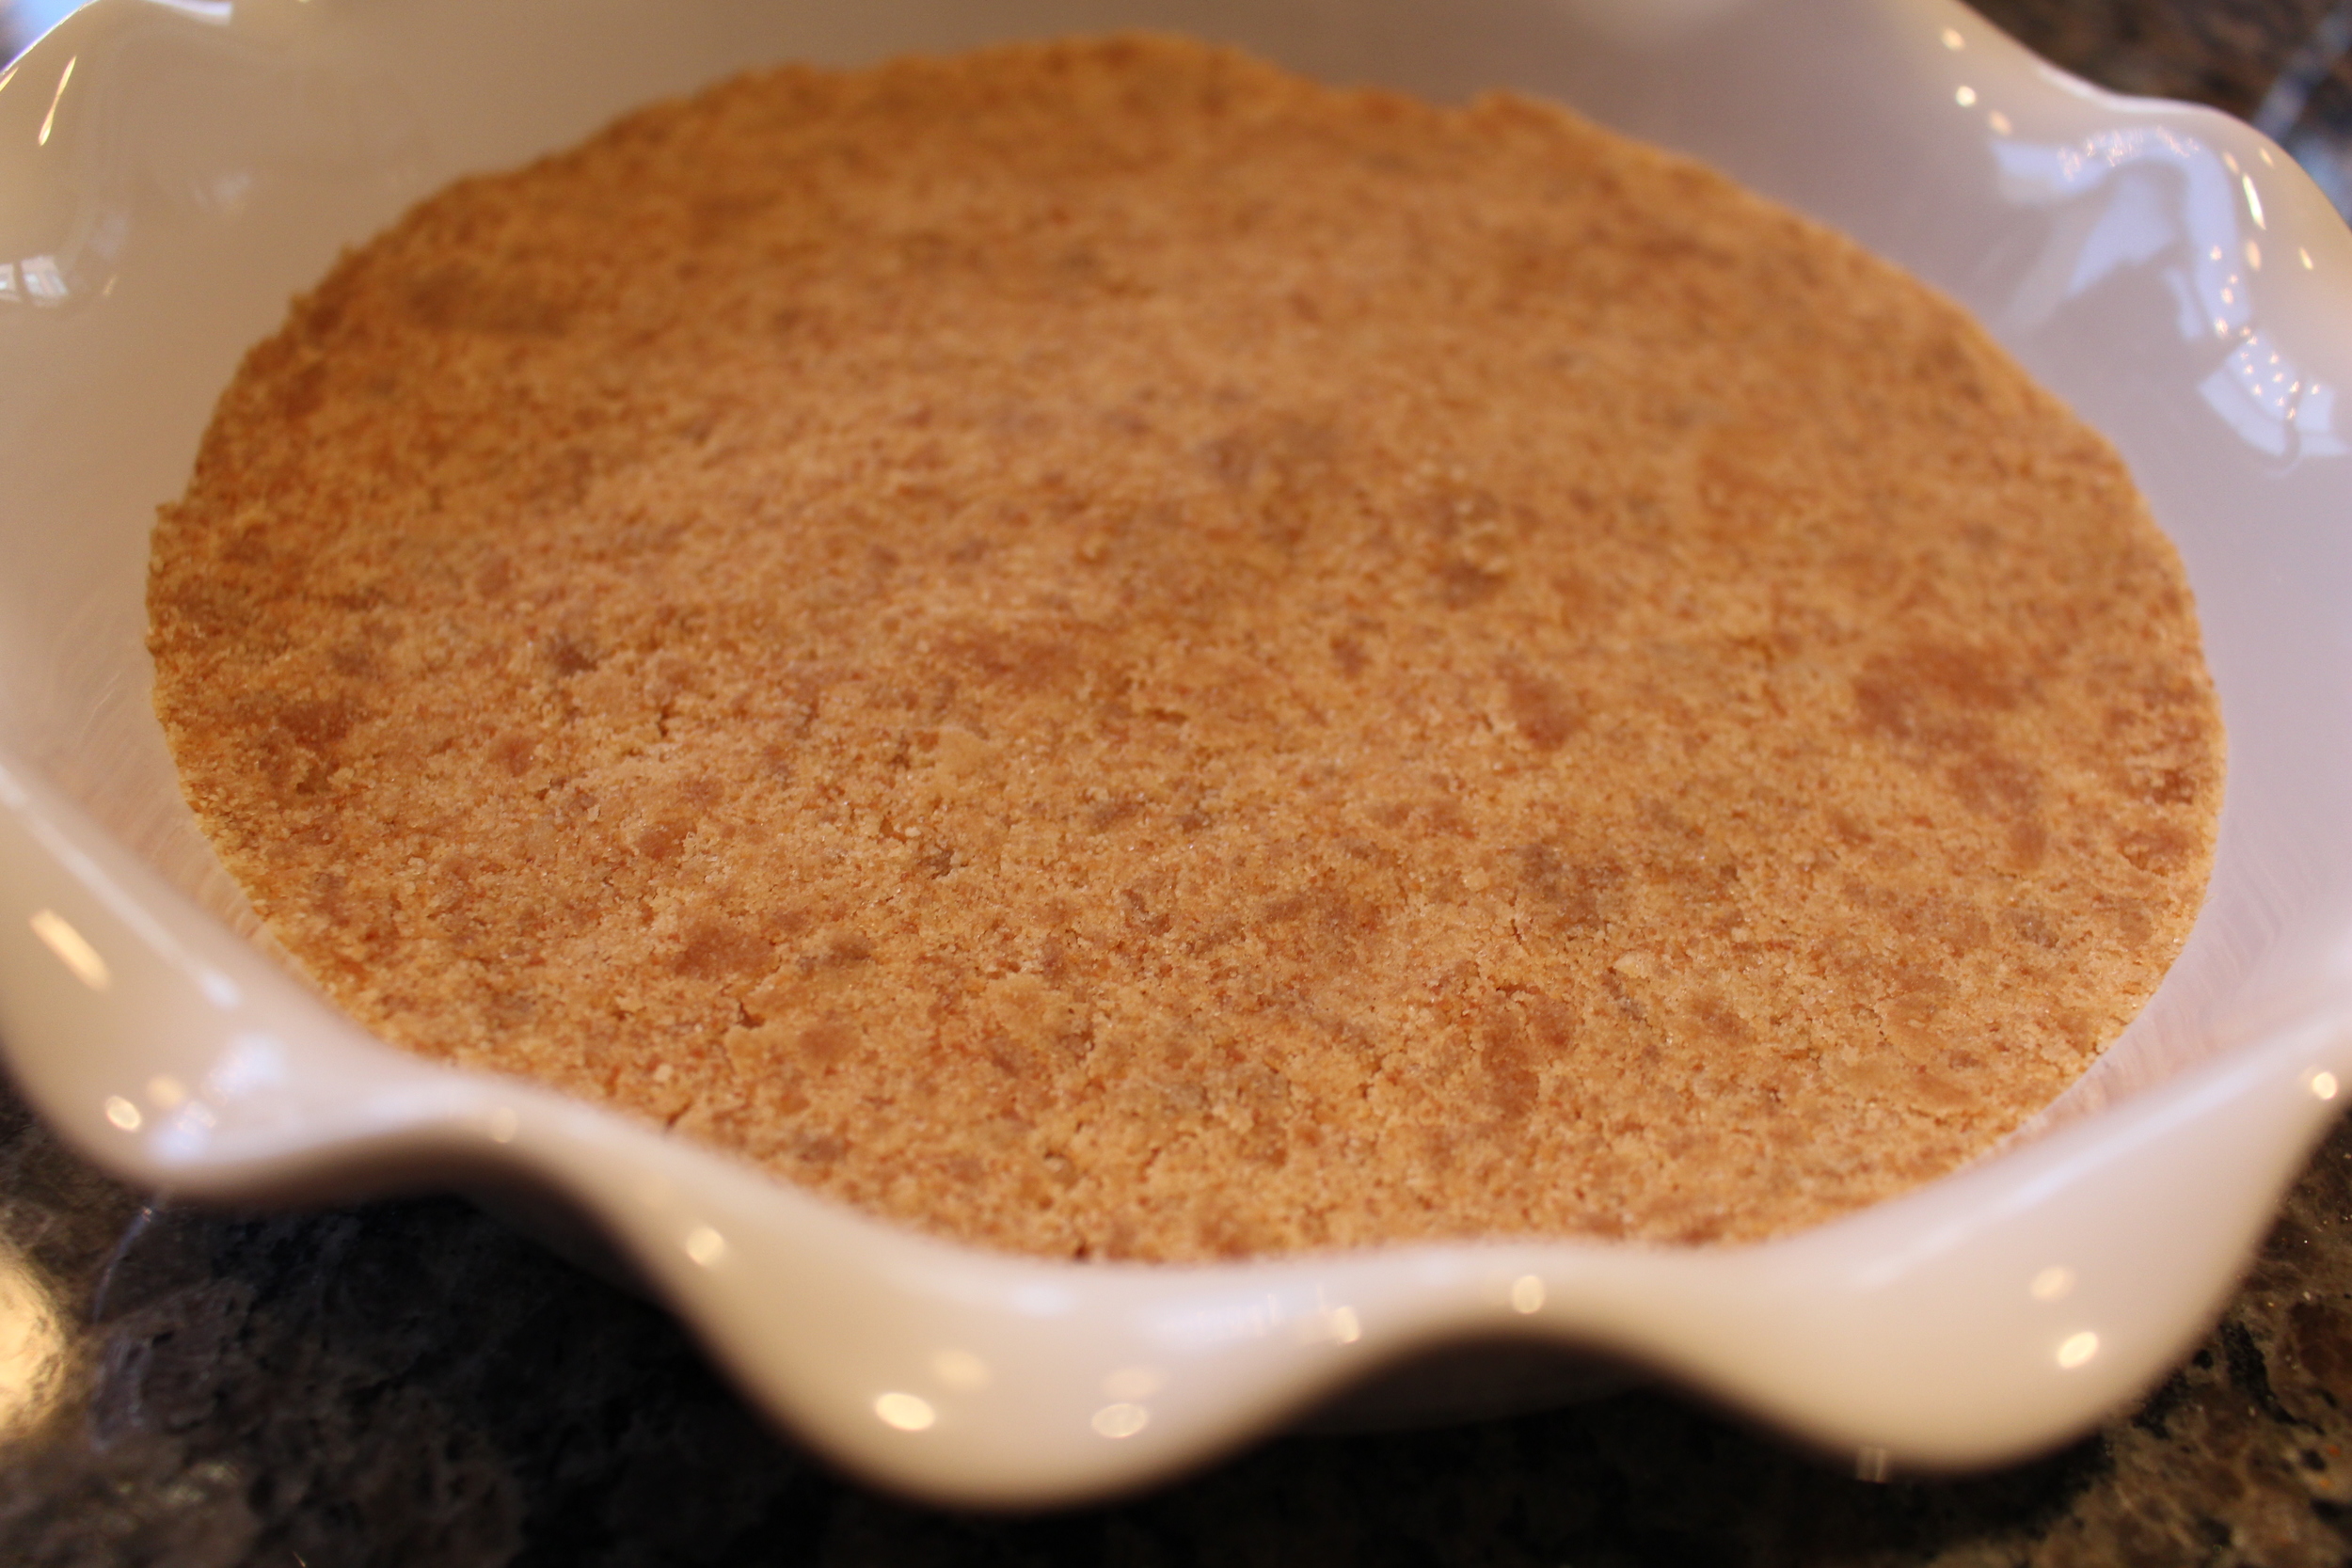
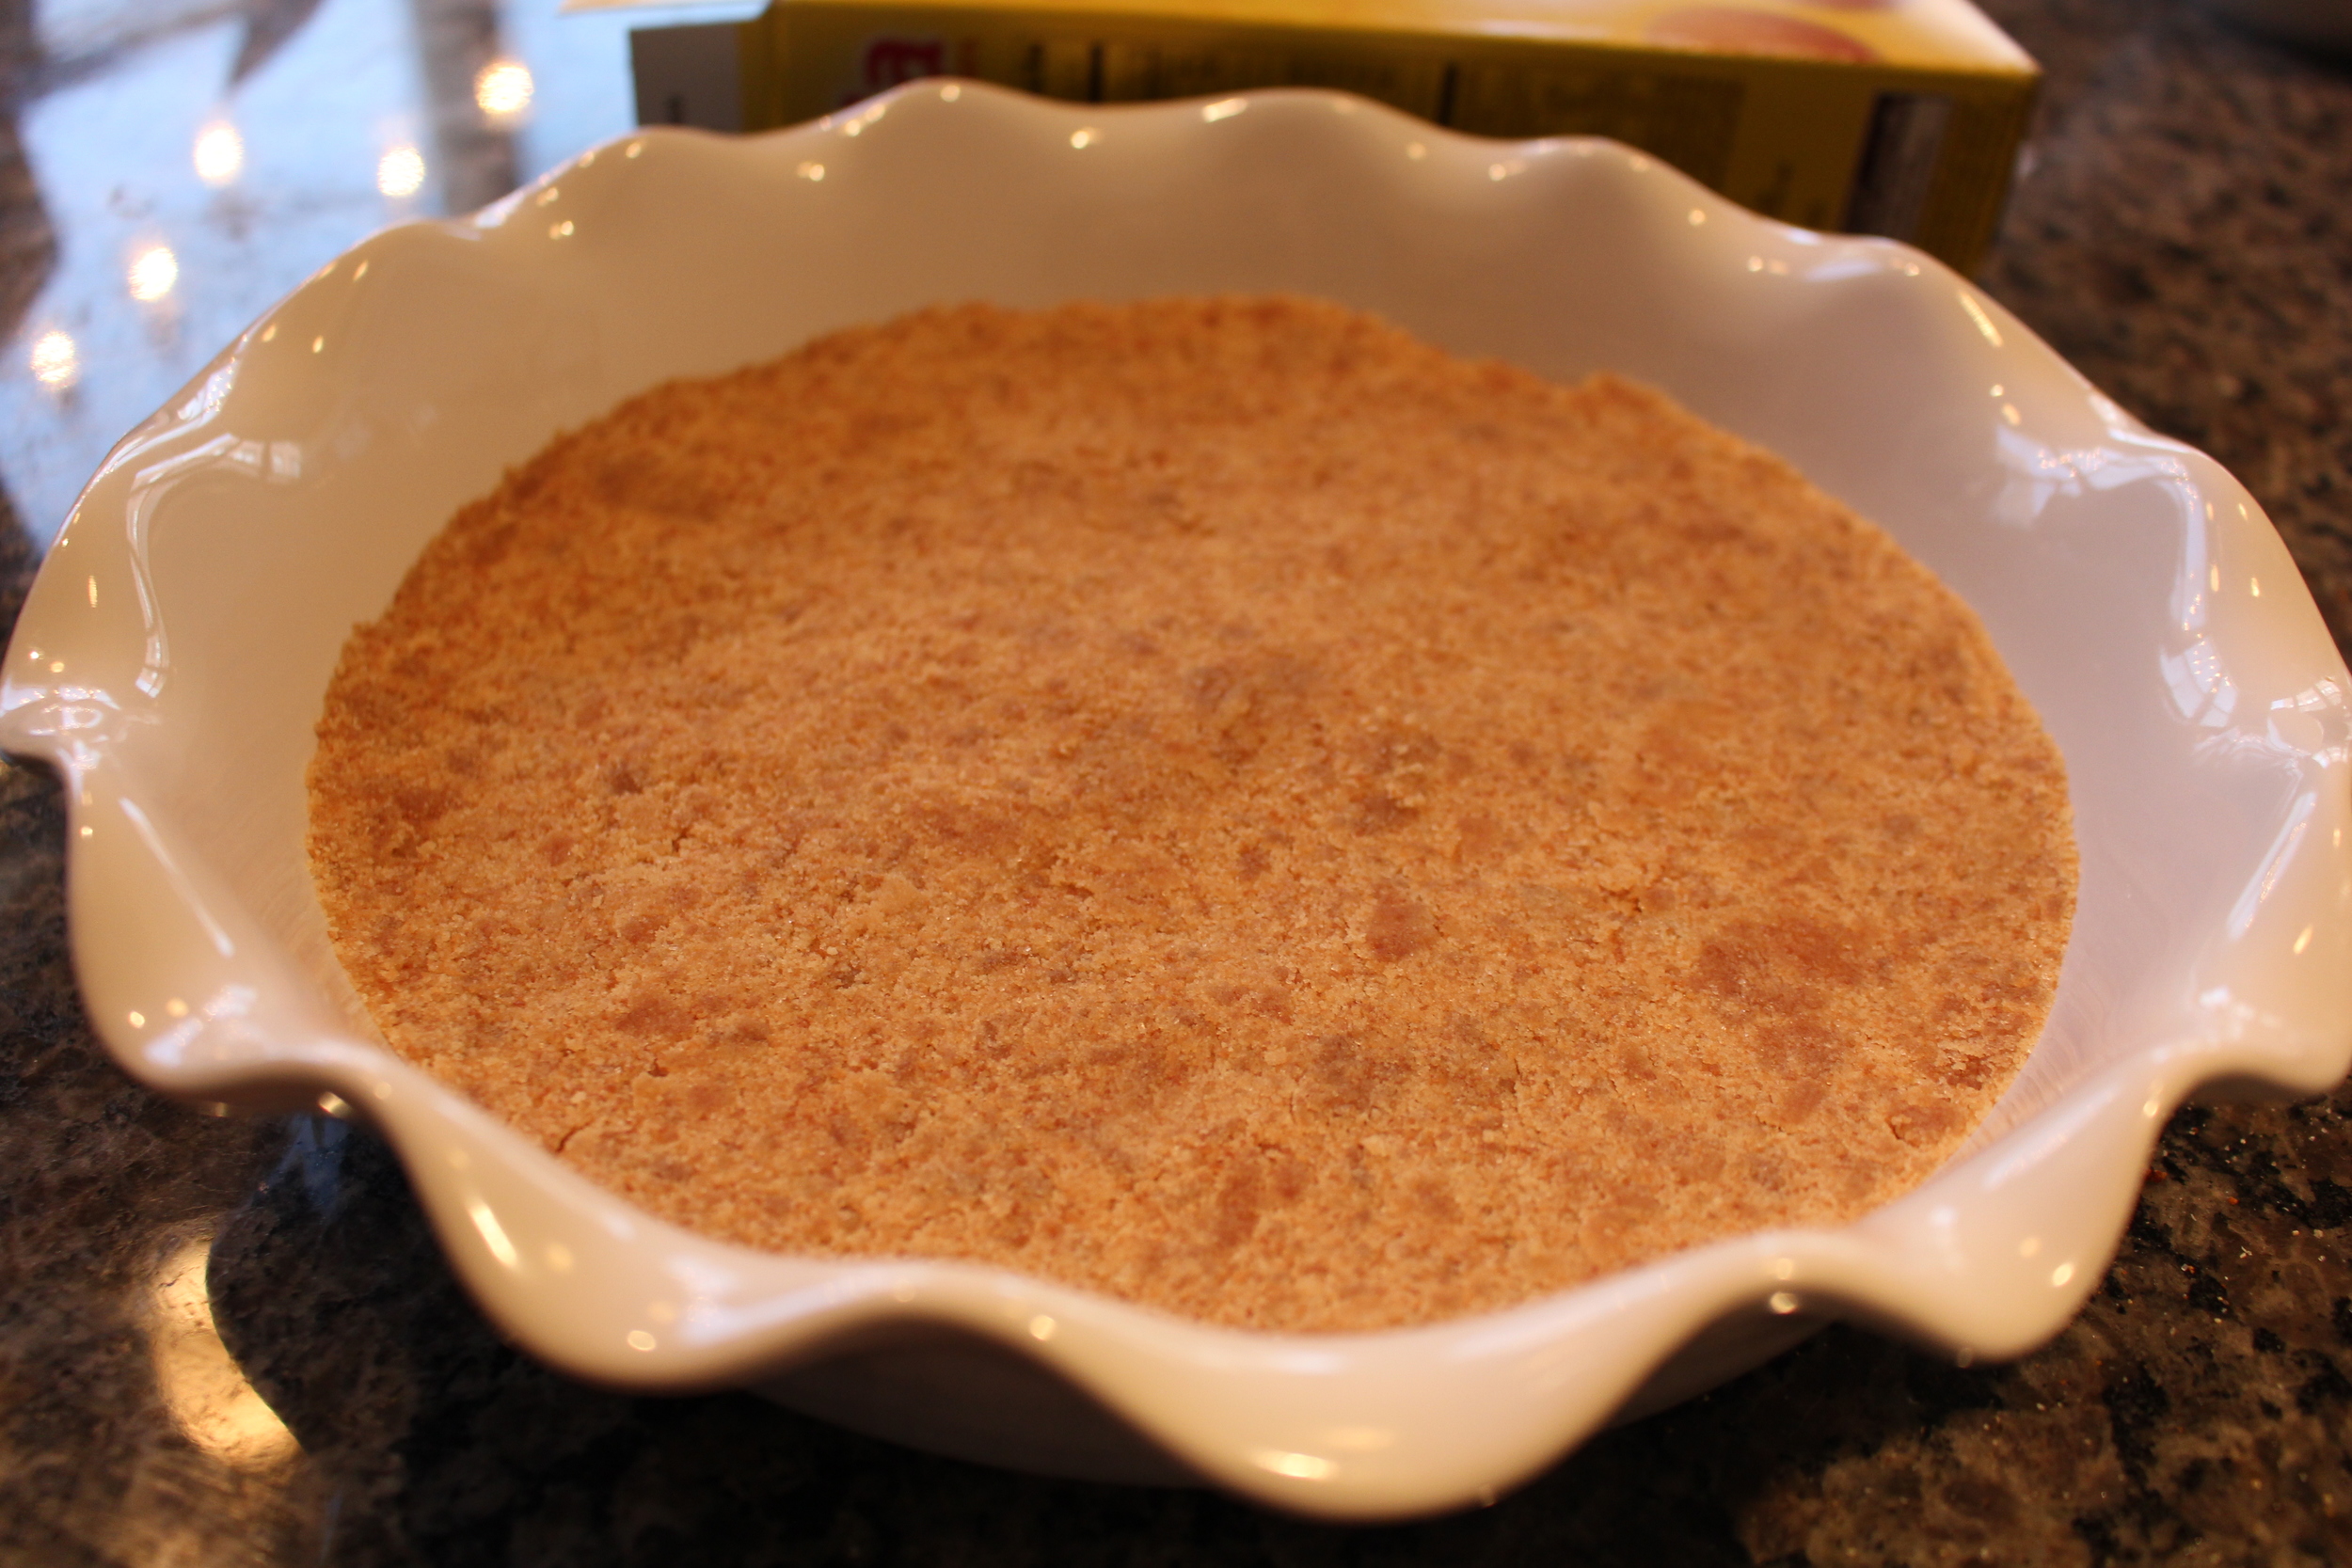
2.  Press onto bottom of pie pan.


3.  Bake for 10 minutes @ 350 degrees.

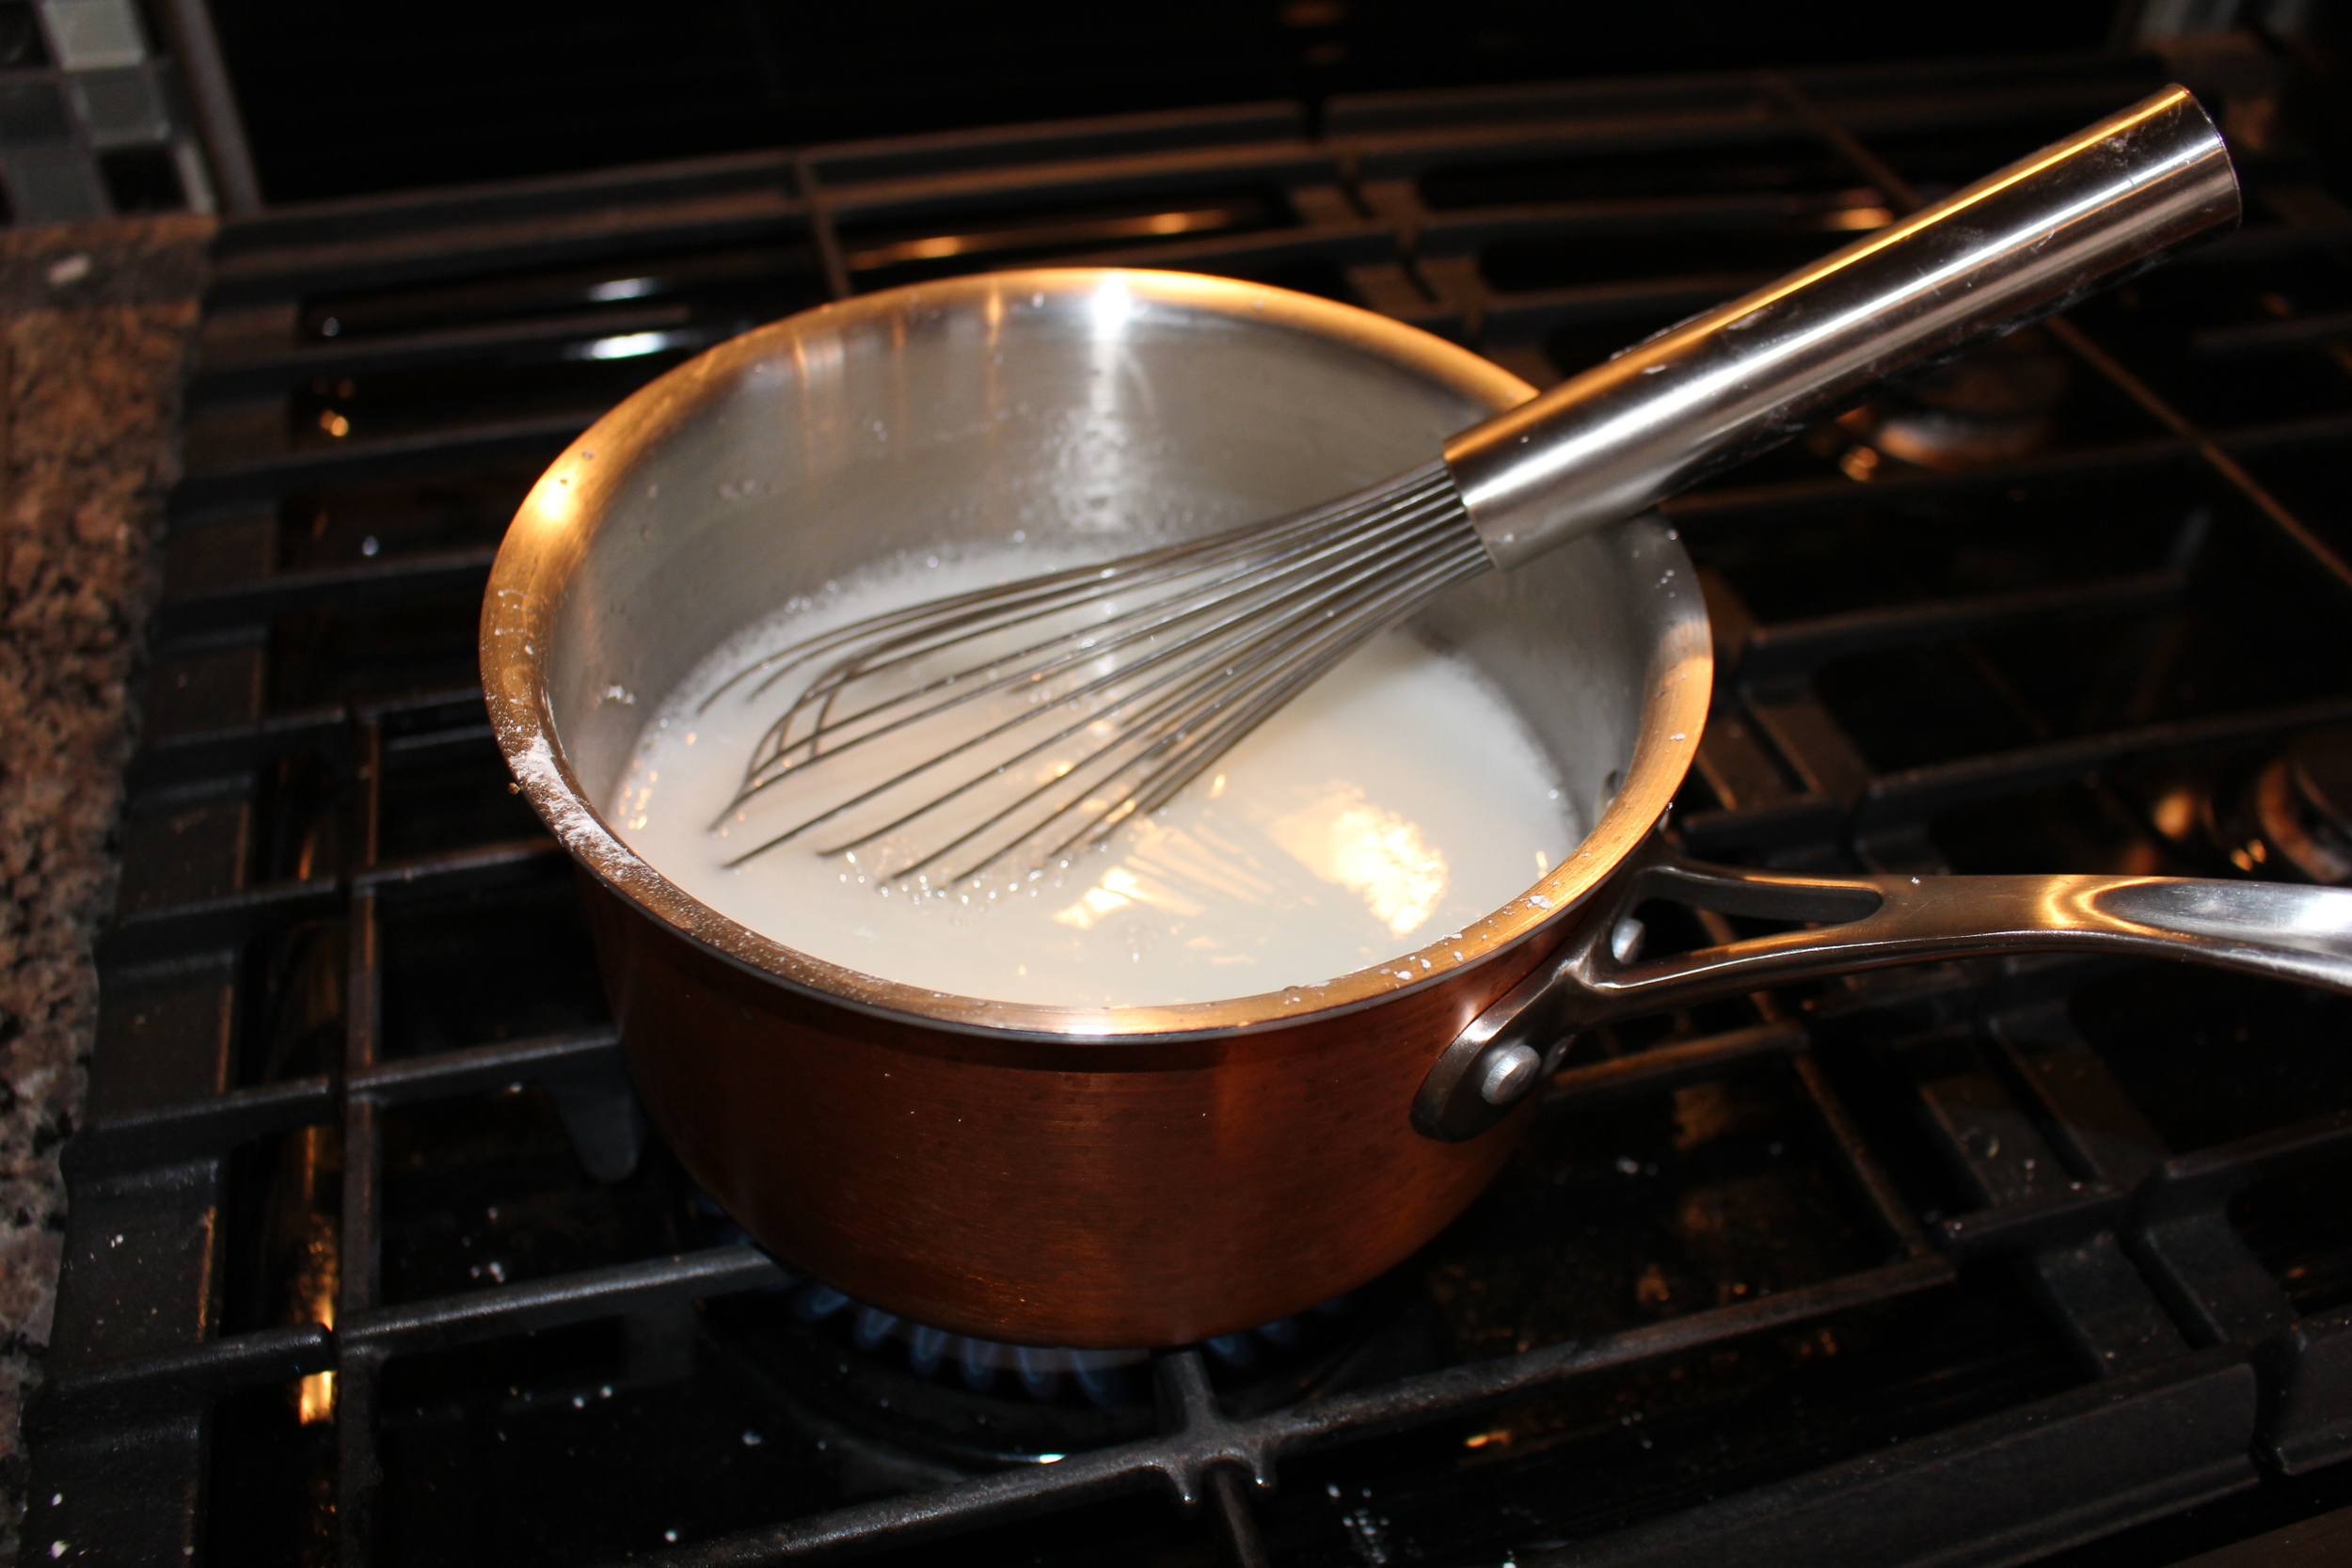
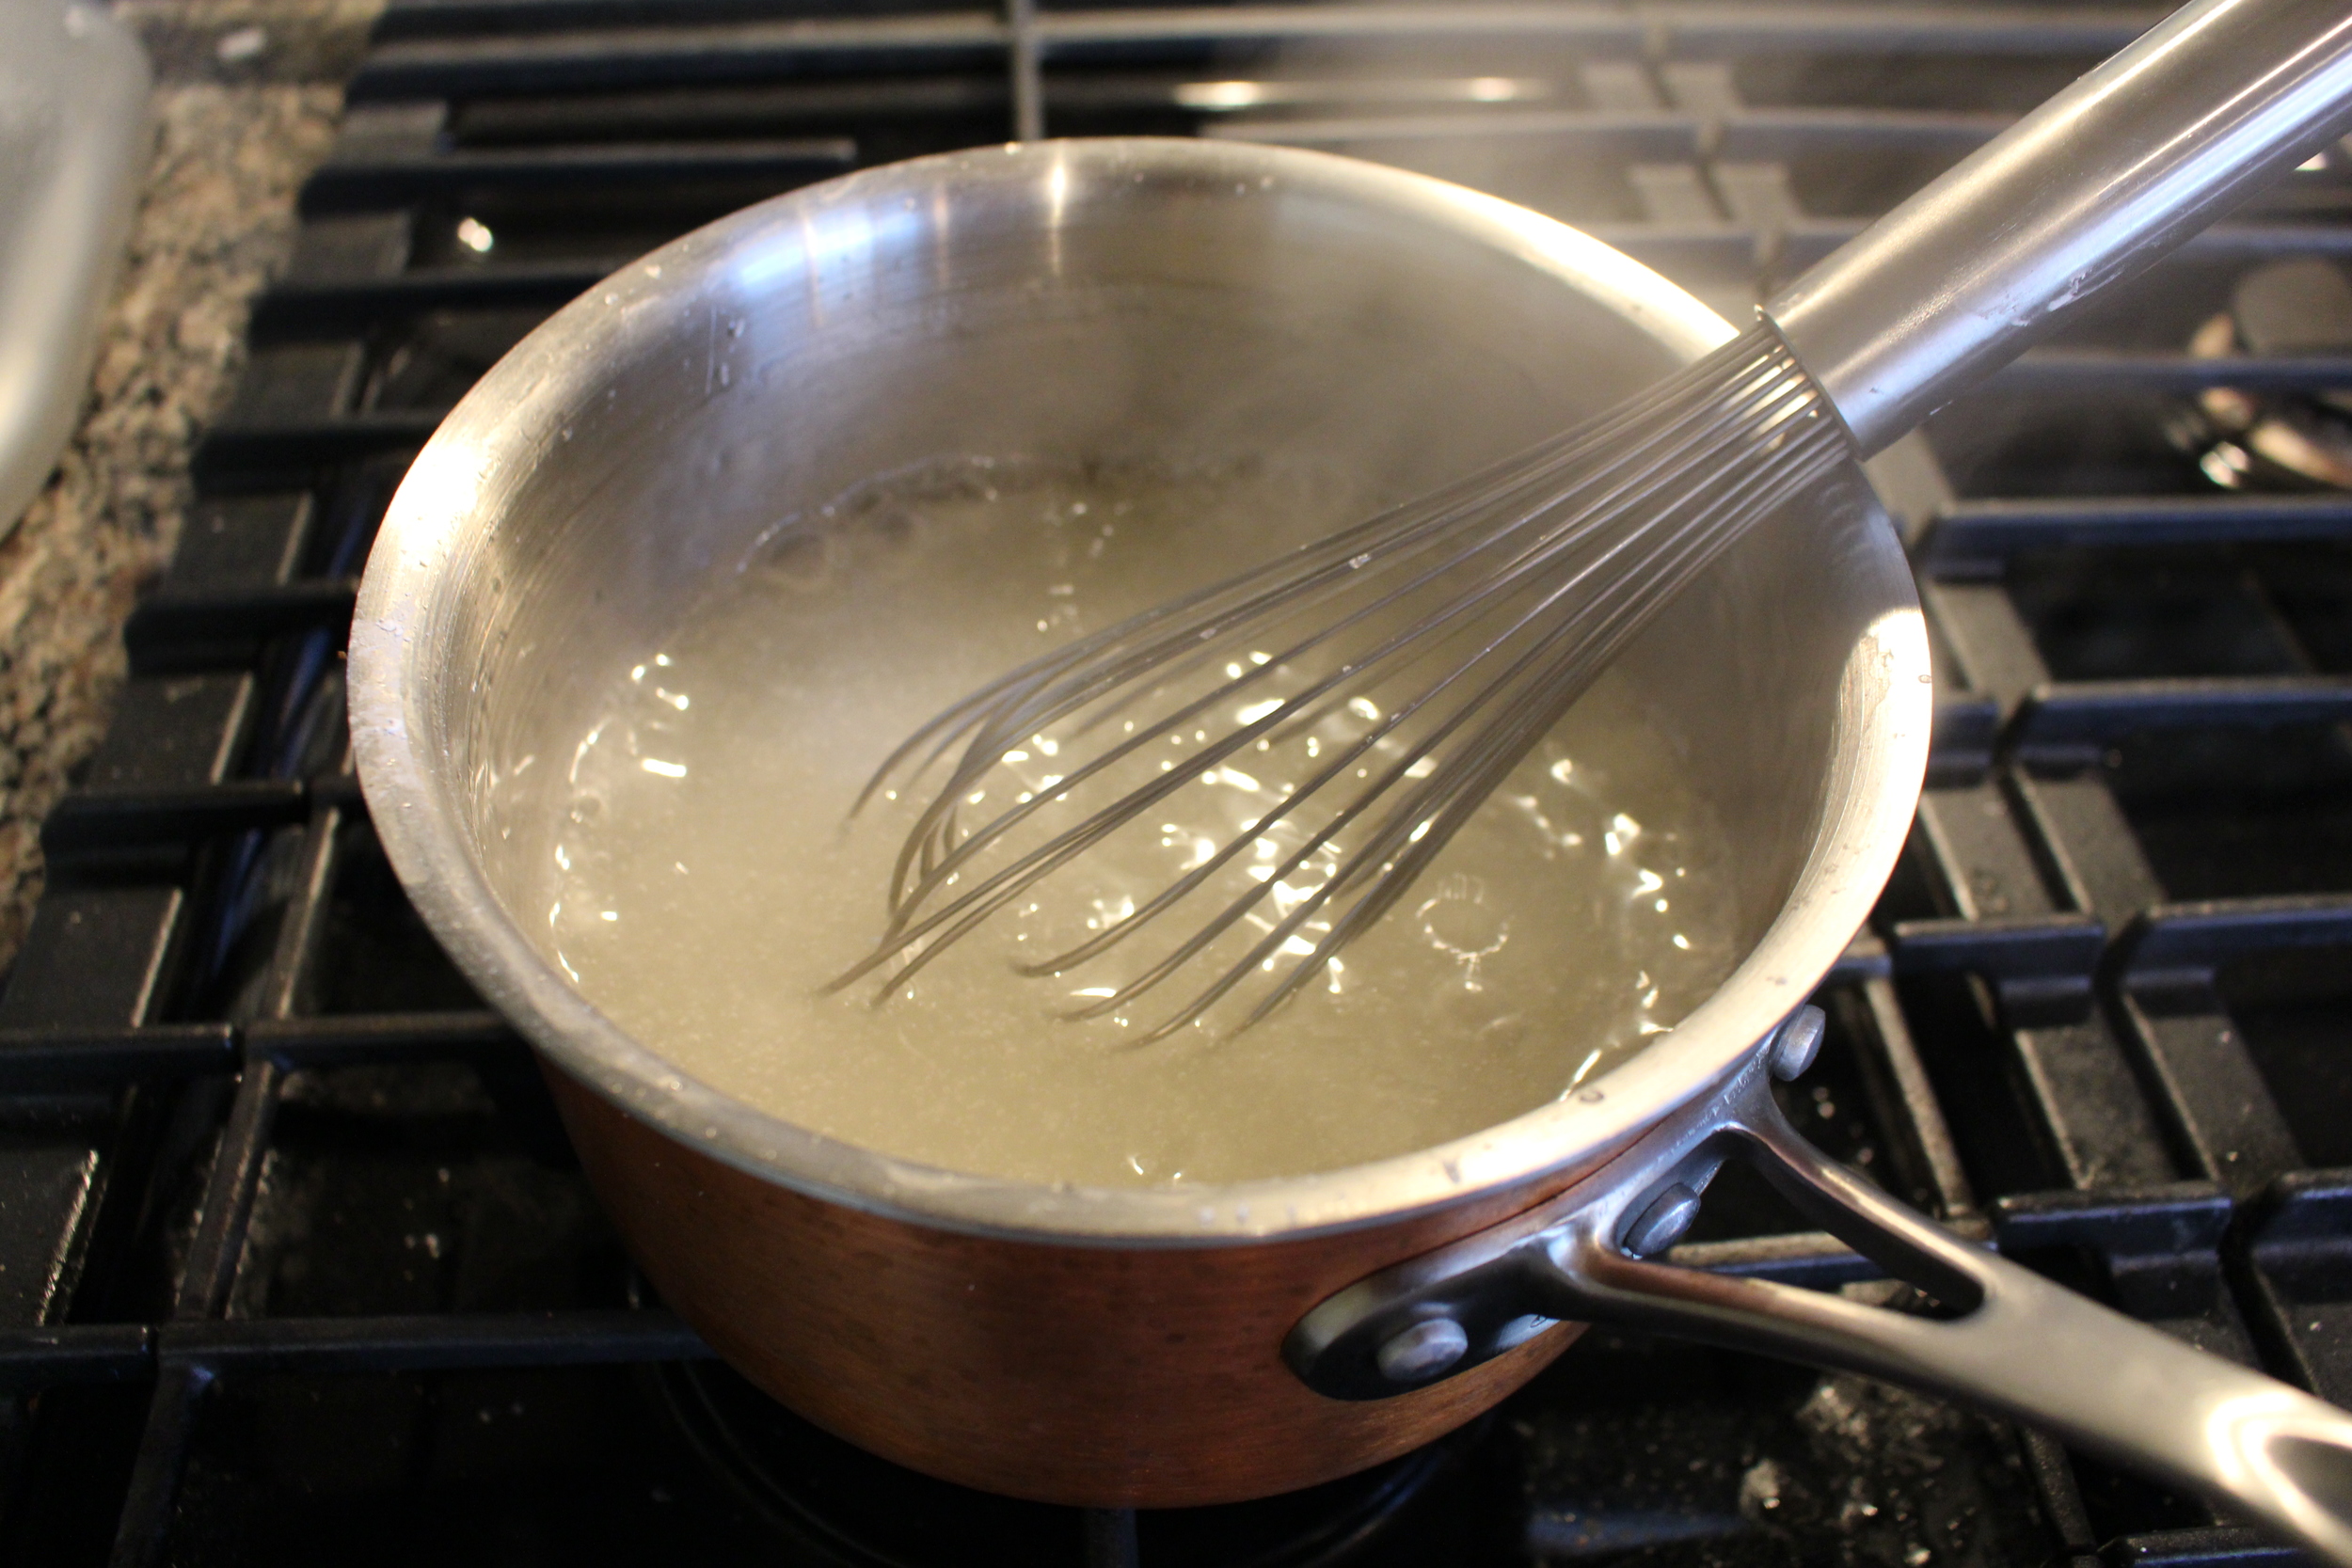
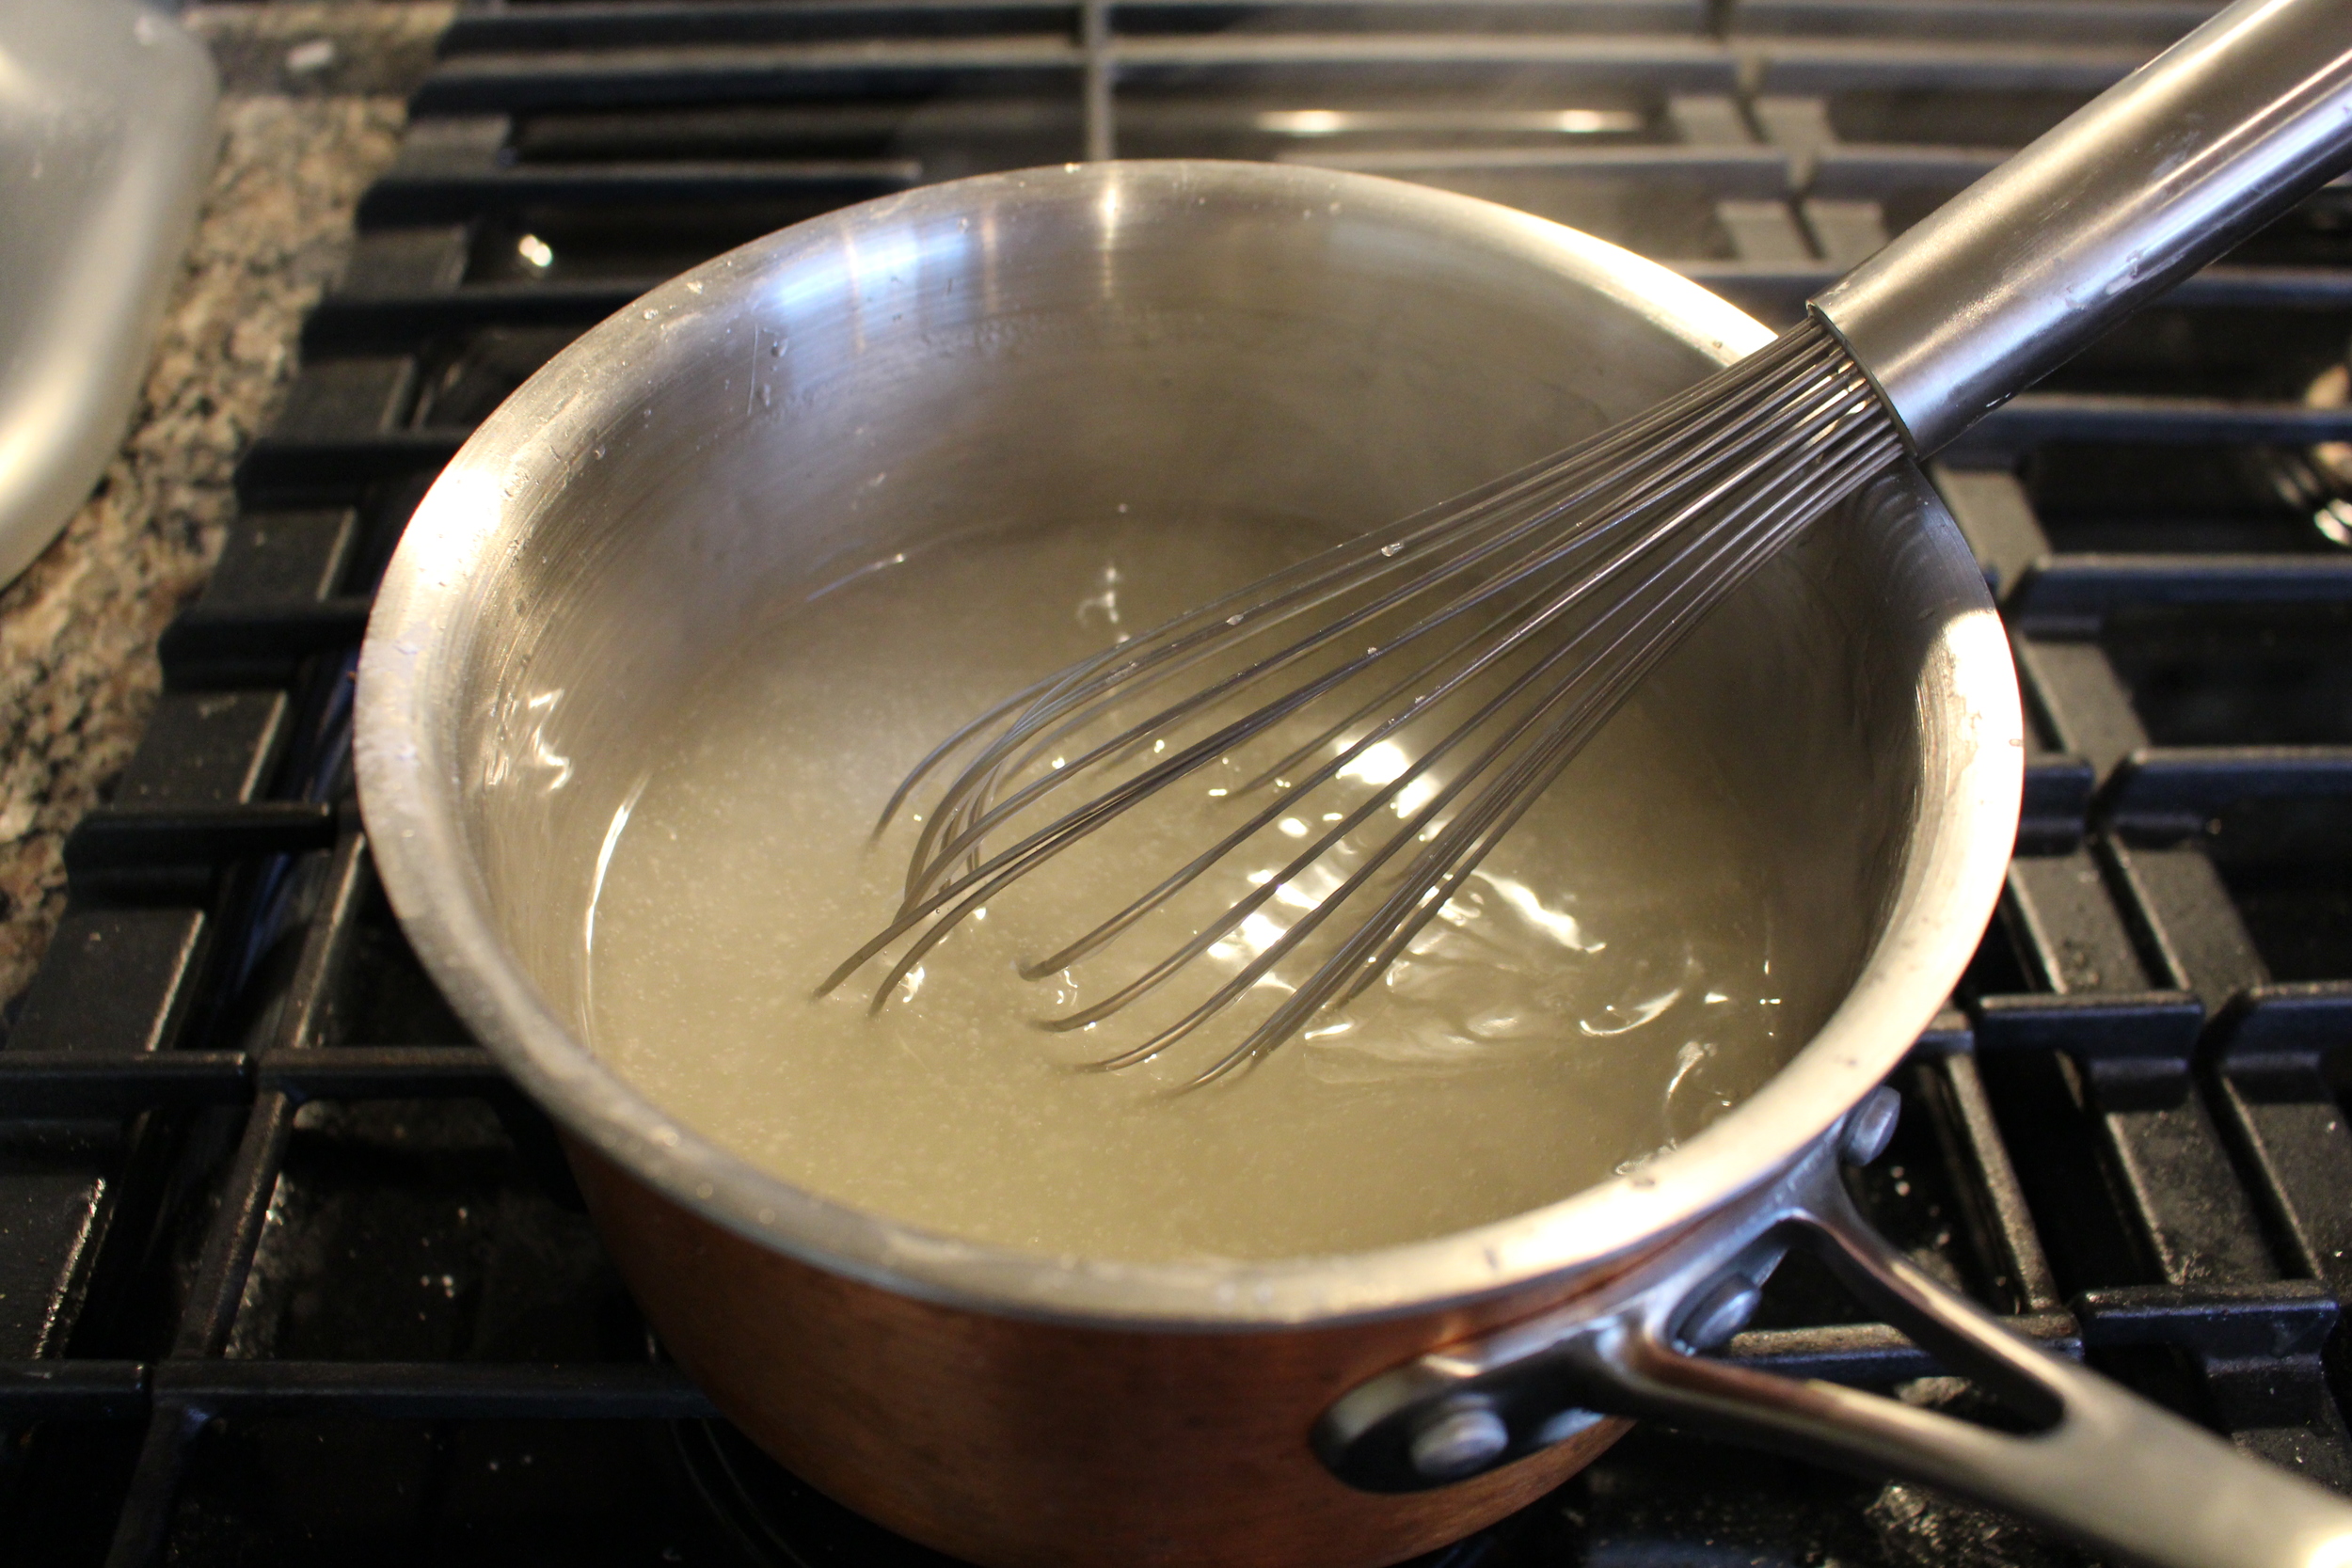
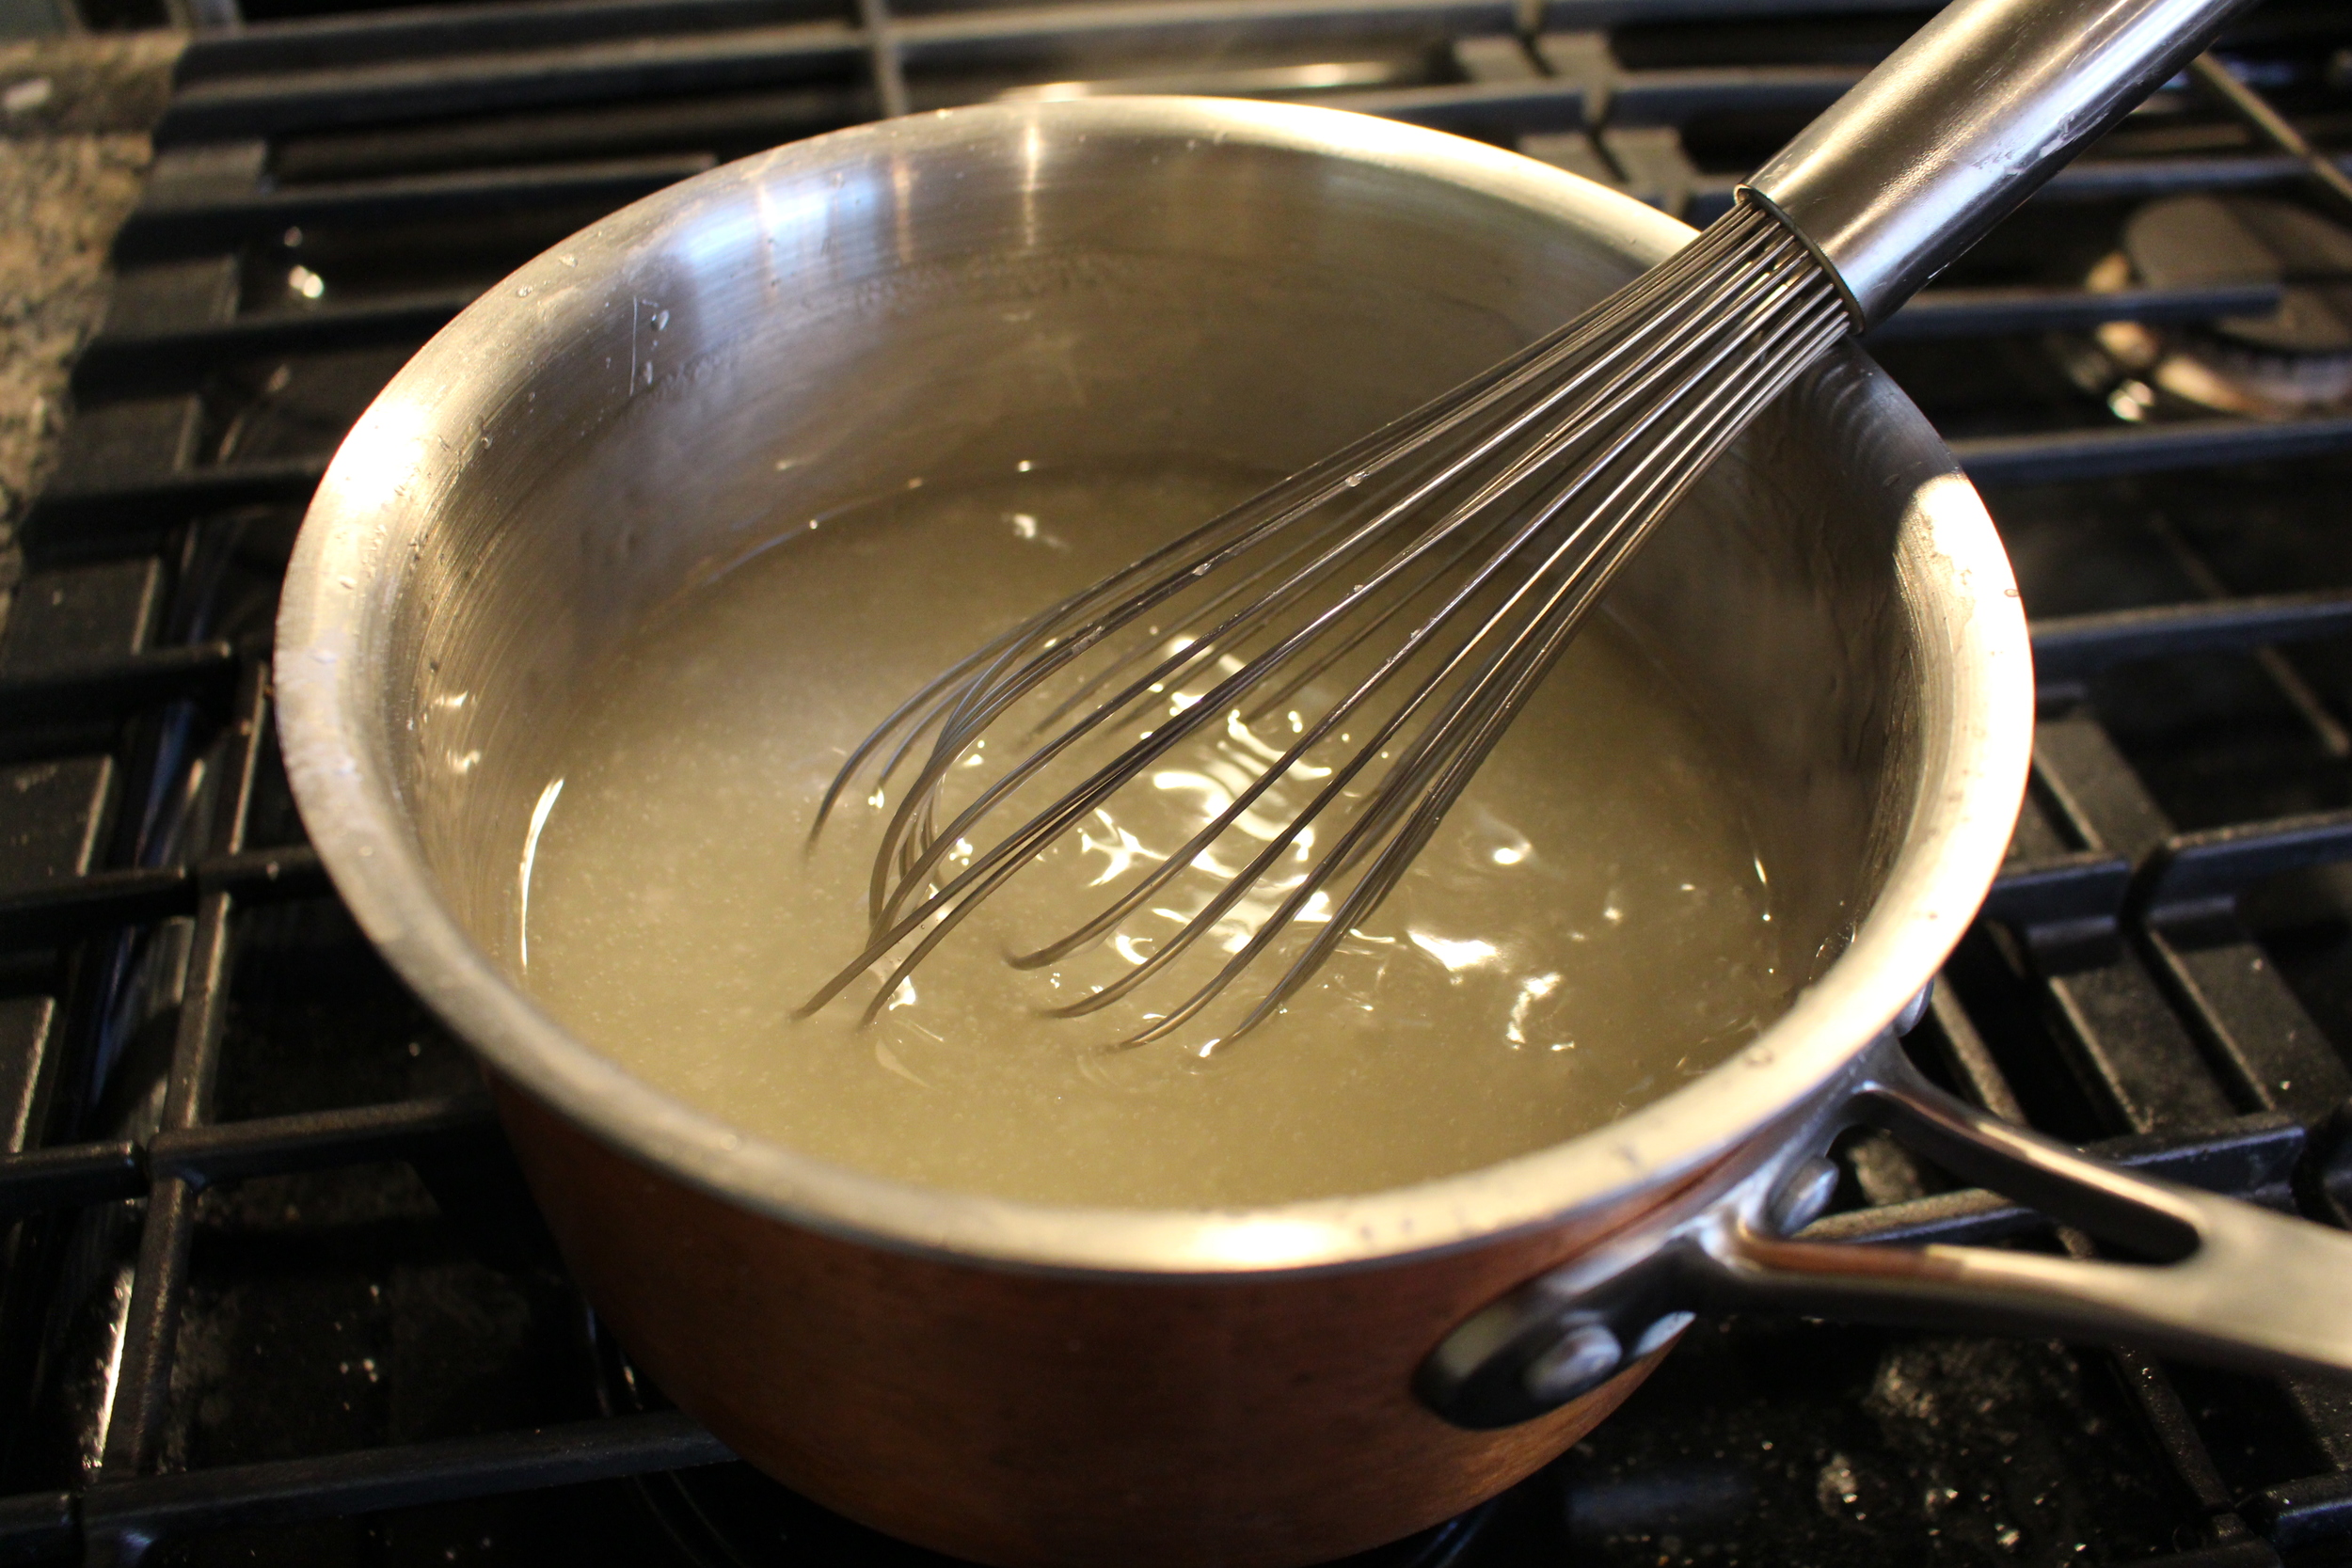
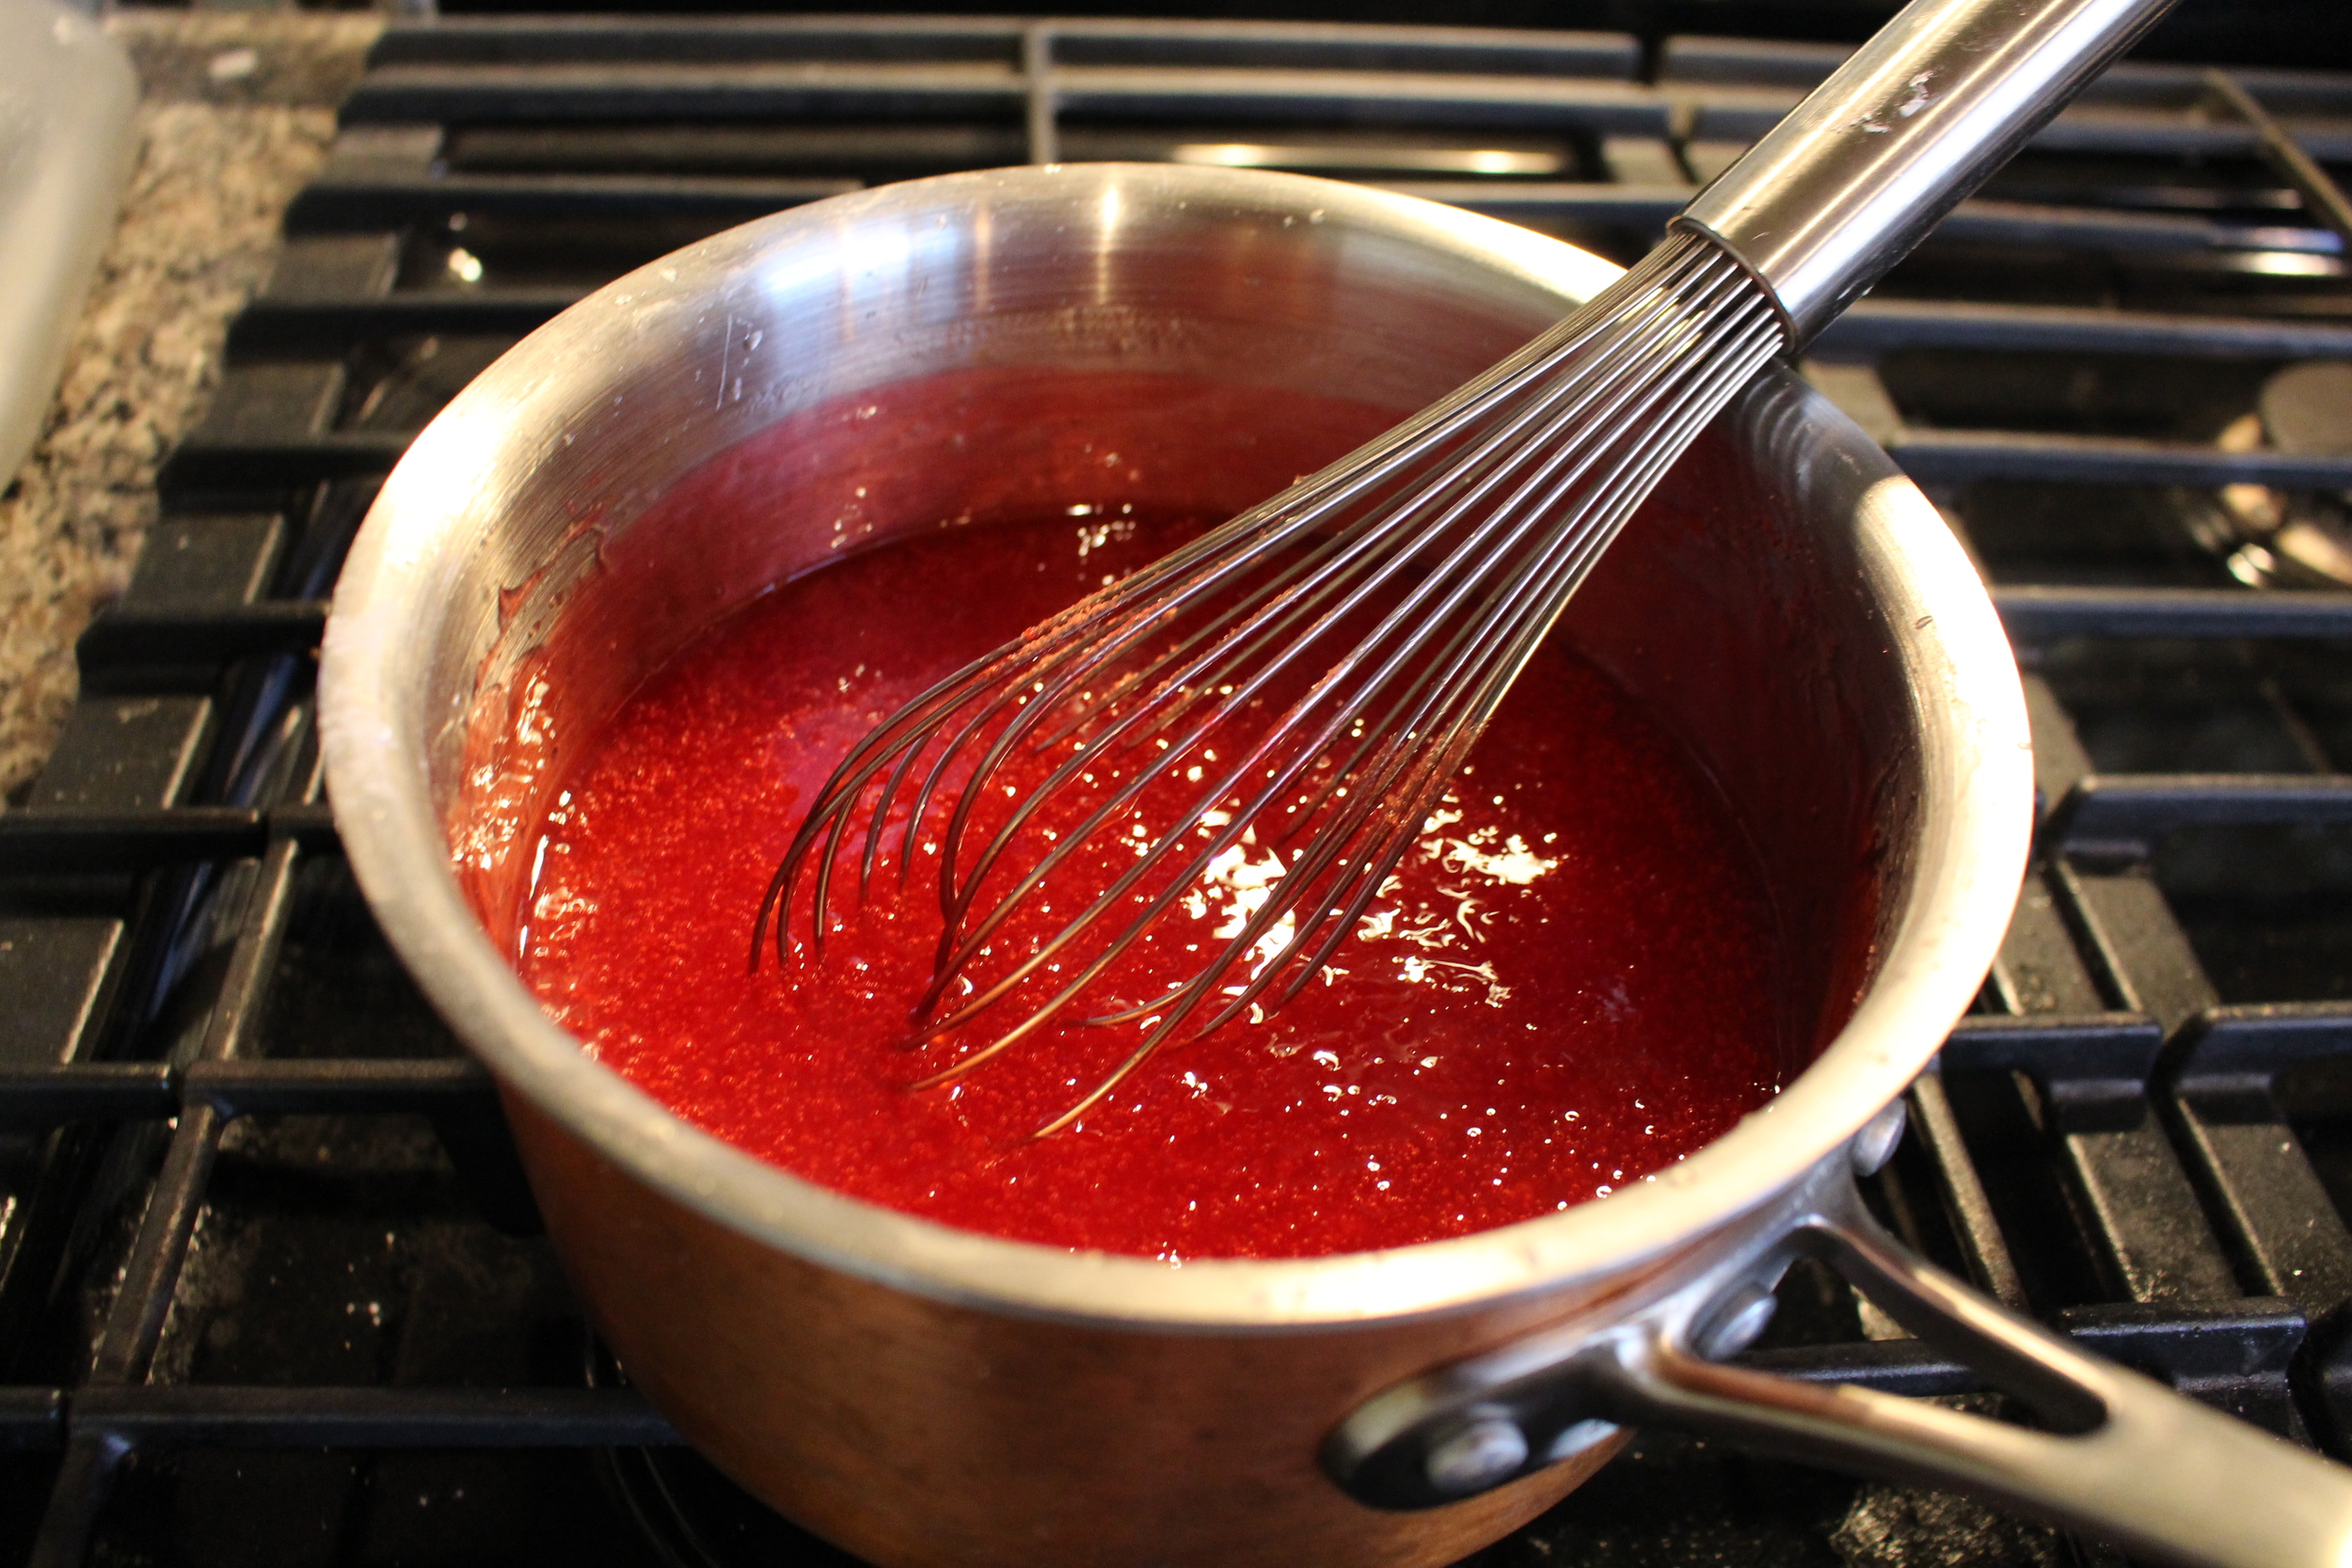
4.  Bring water, sugar, and cornstarch to a boil.  Stir continuously until thick and clear.  


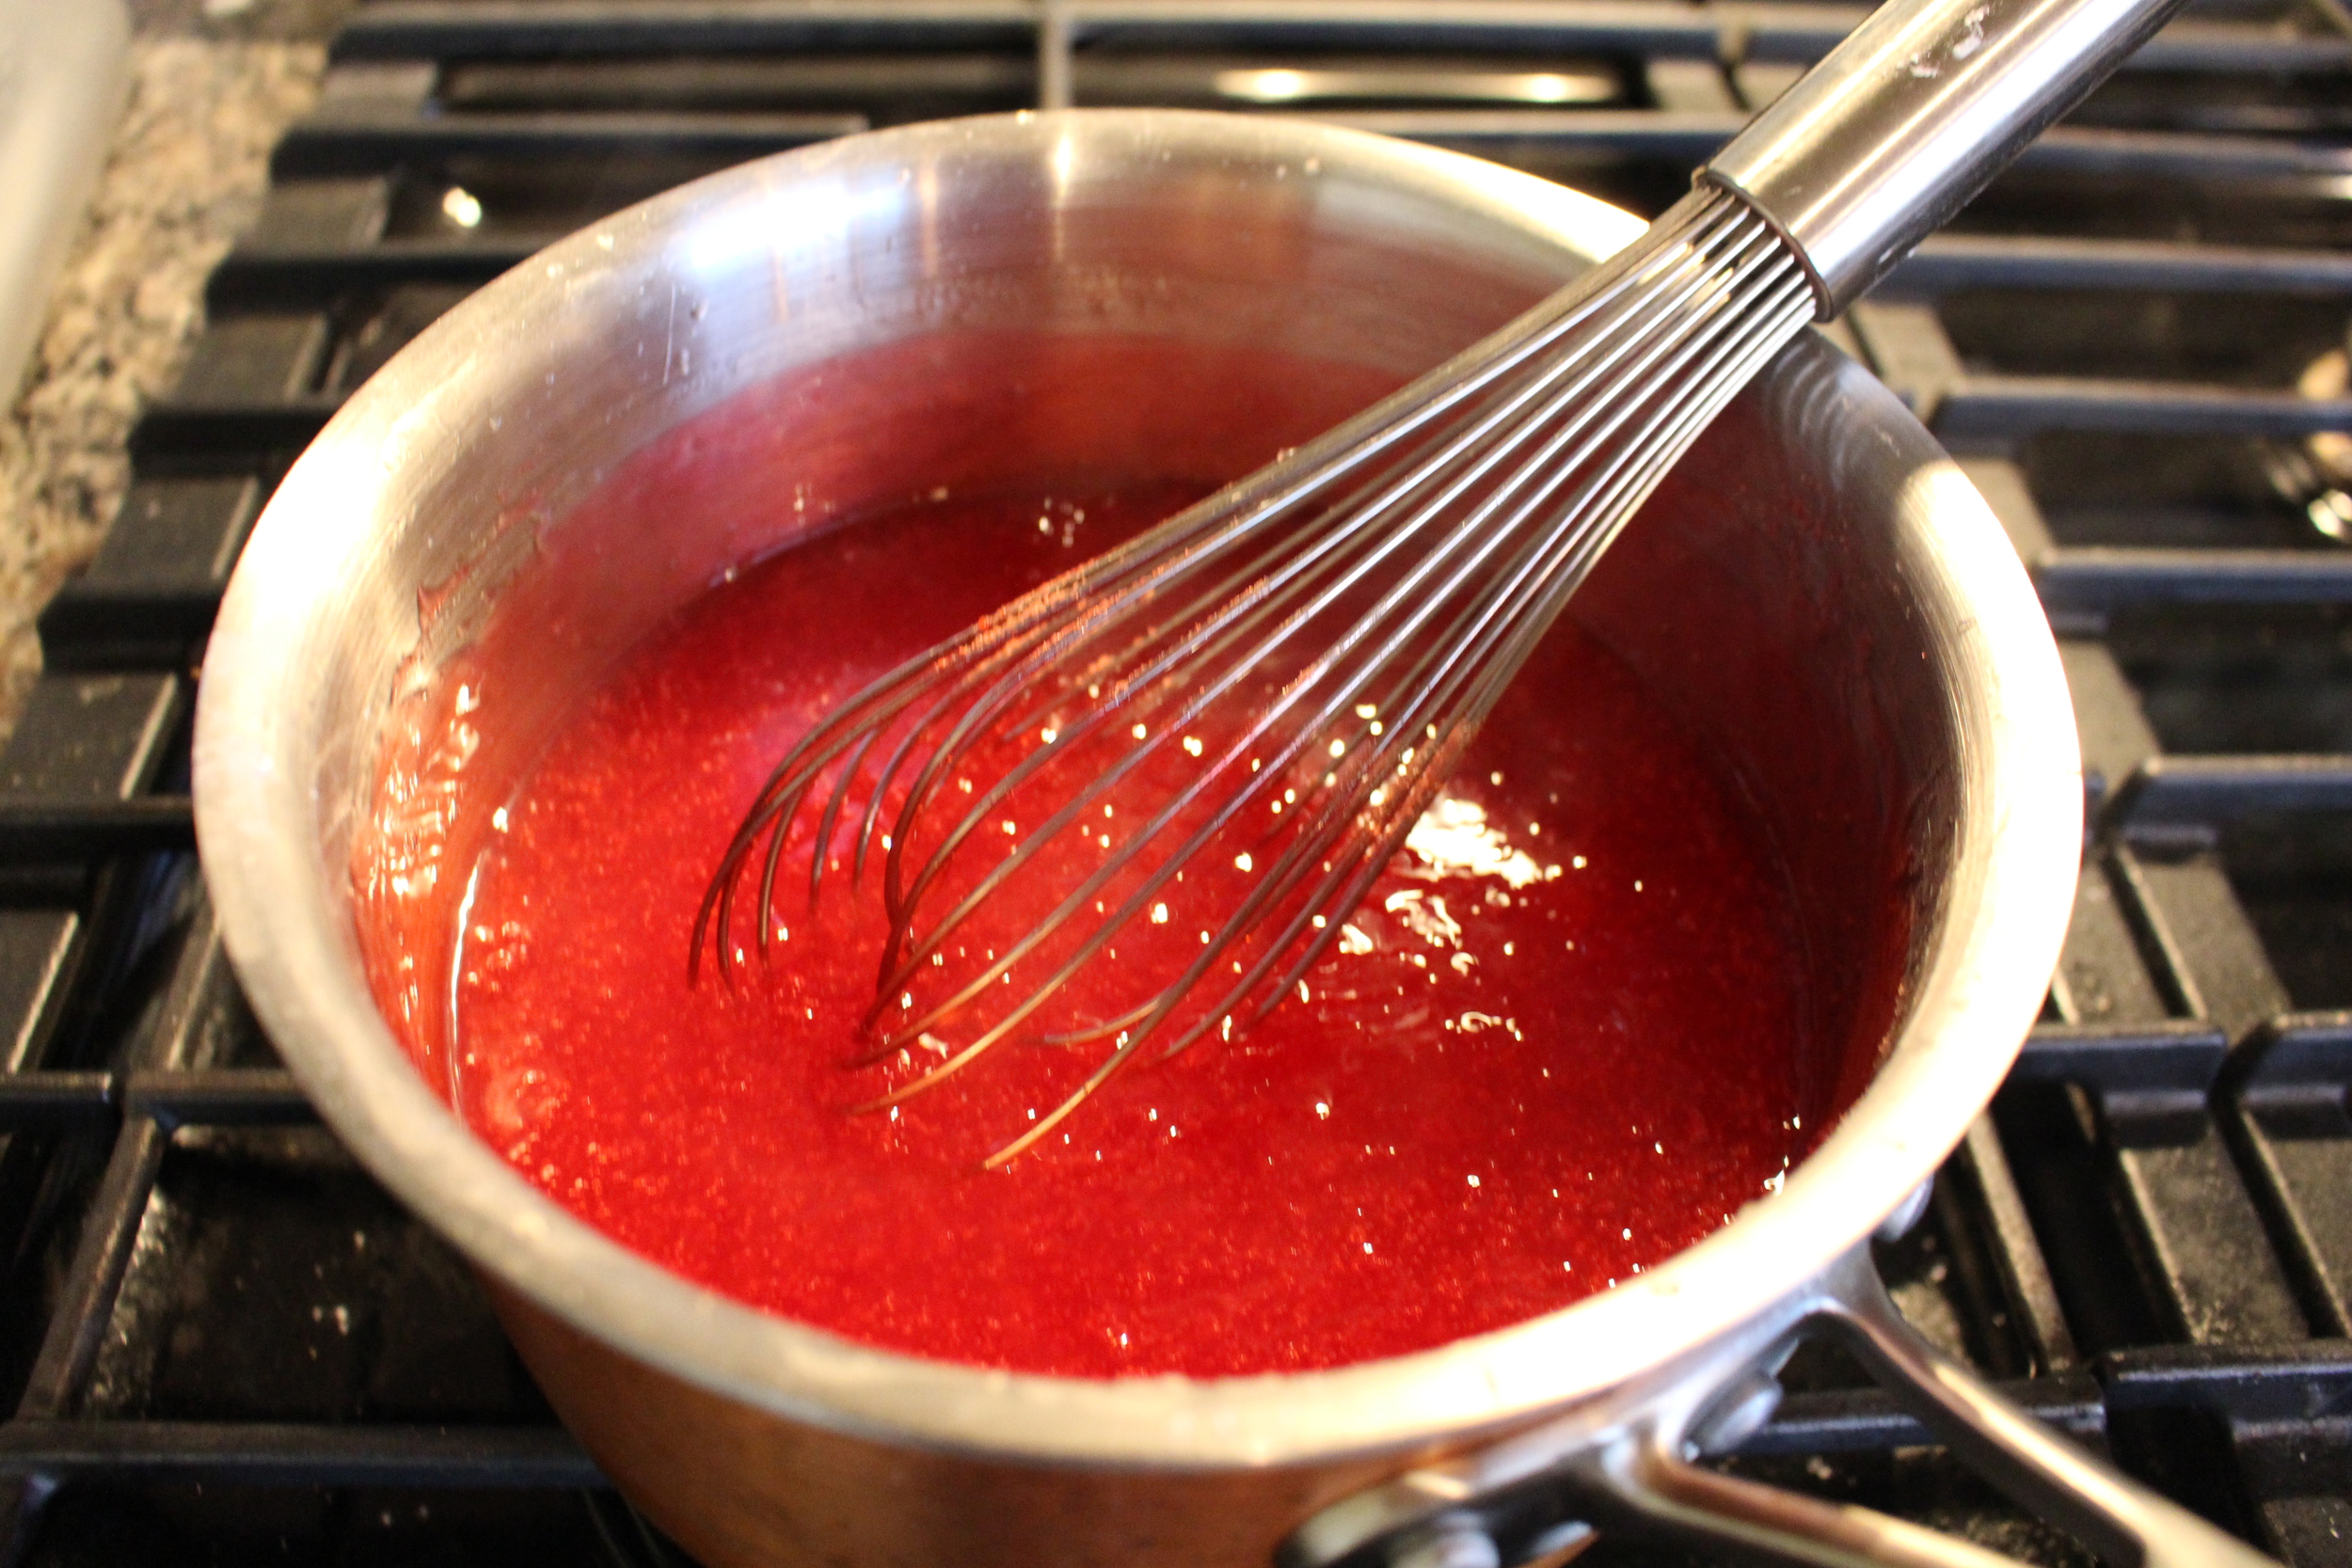
5.  Turn off heat and add strawberry jello.  Allow mixture to cool.

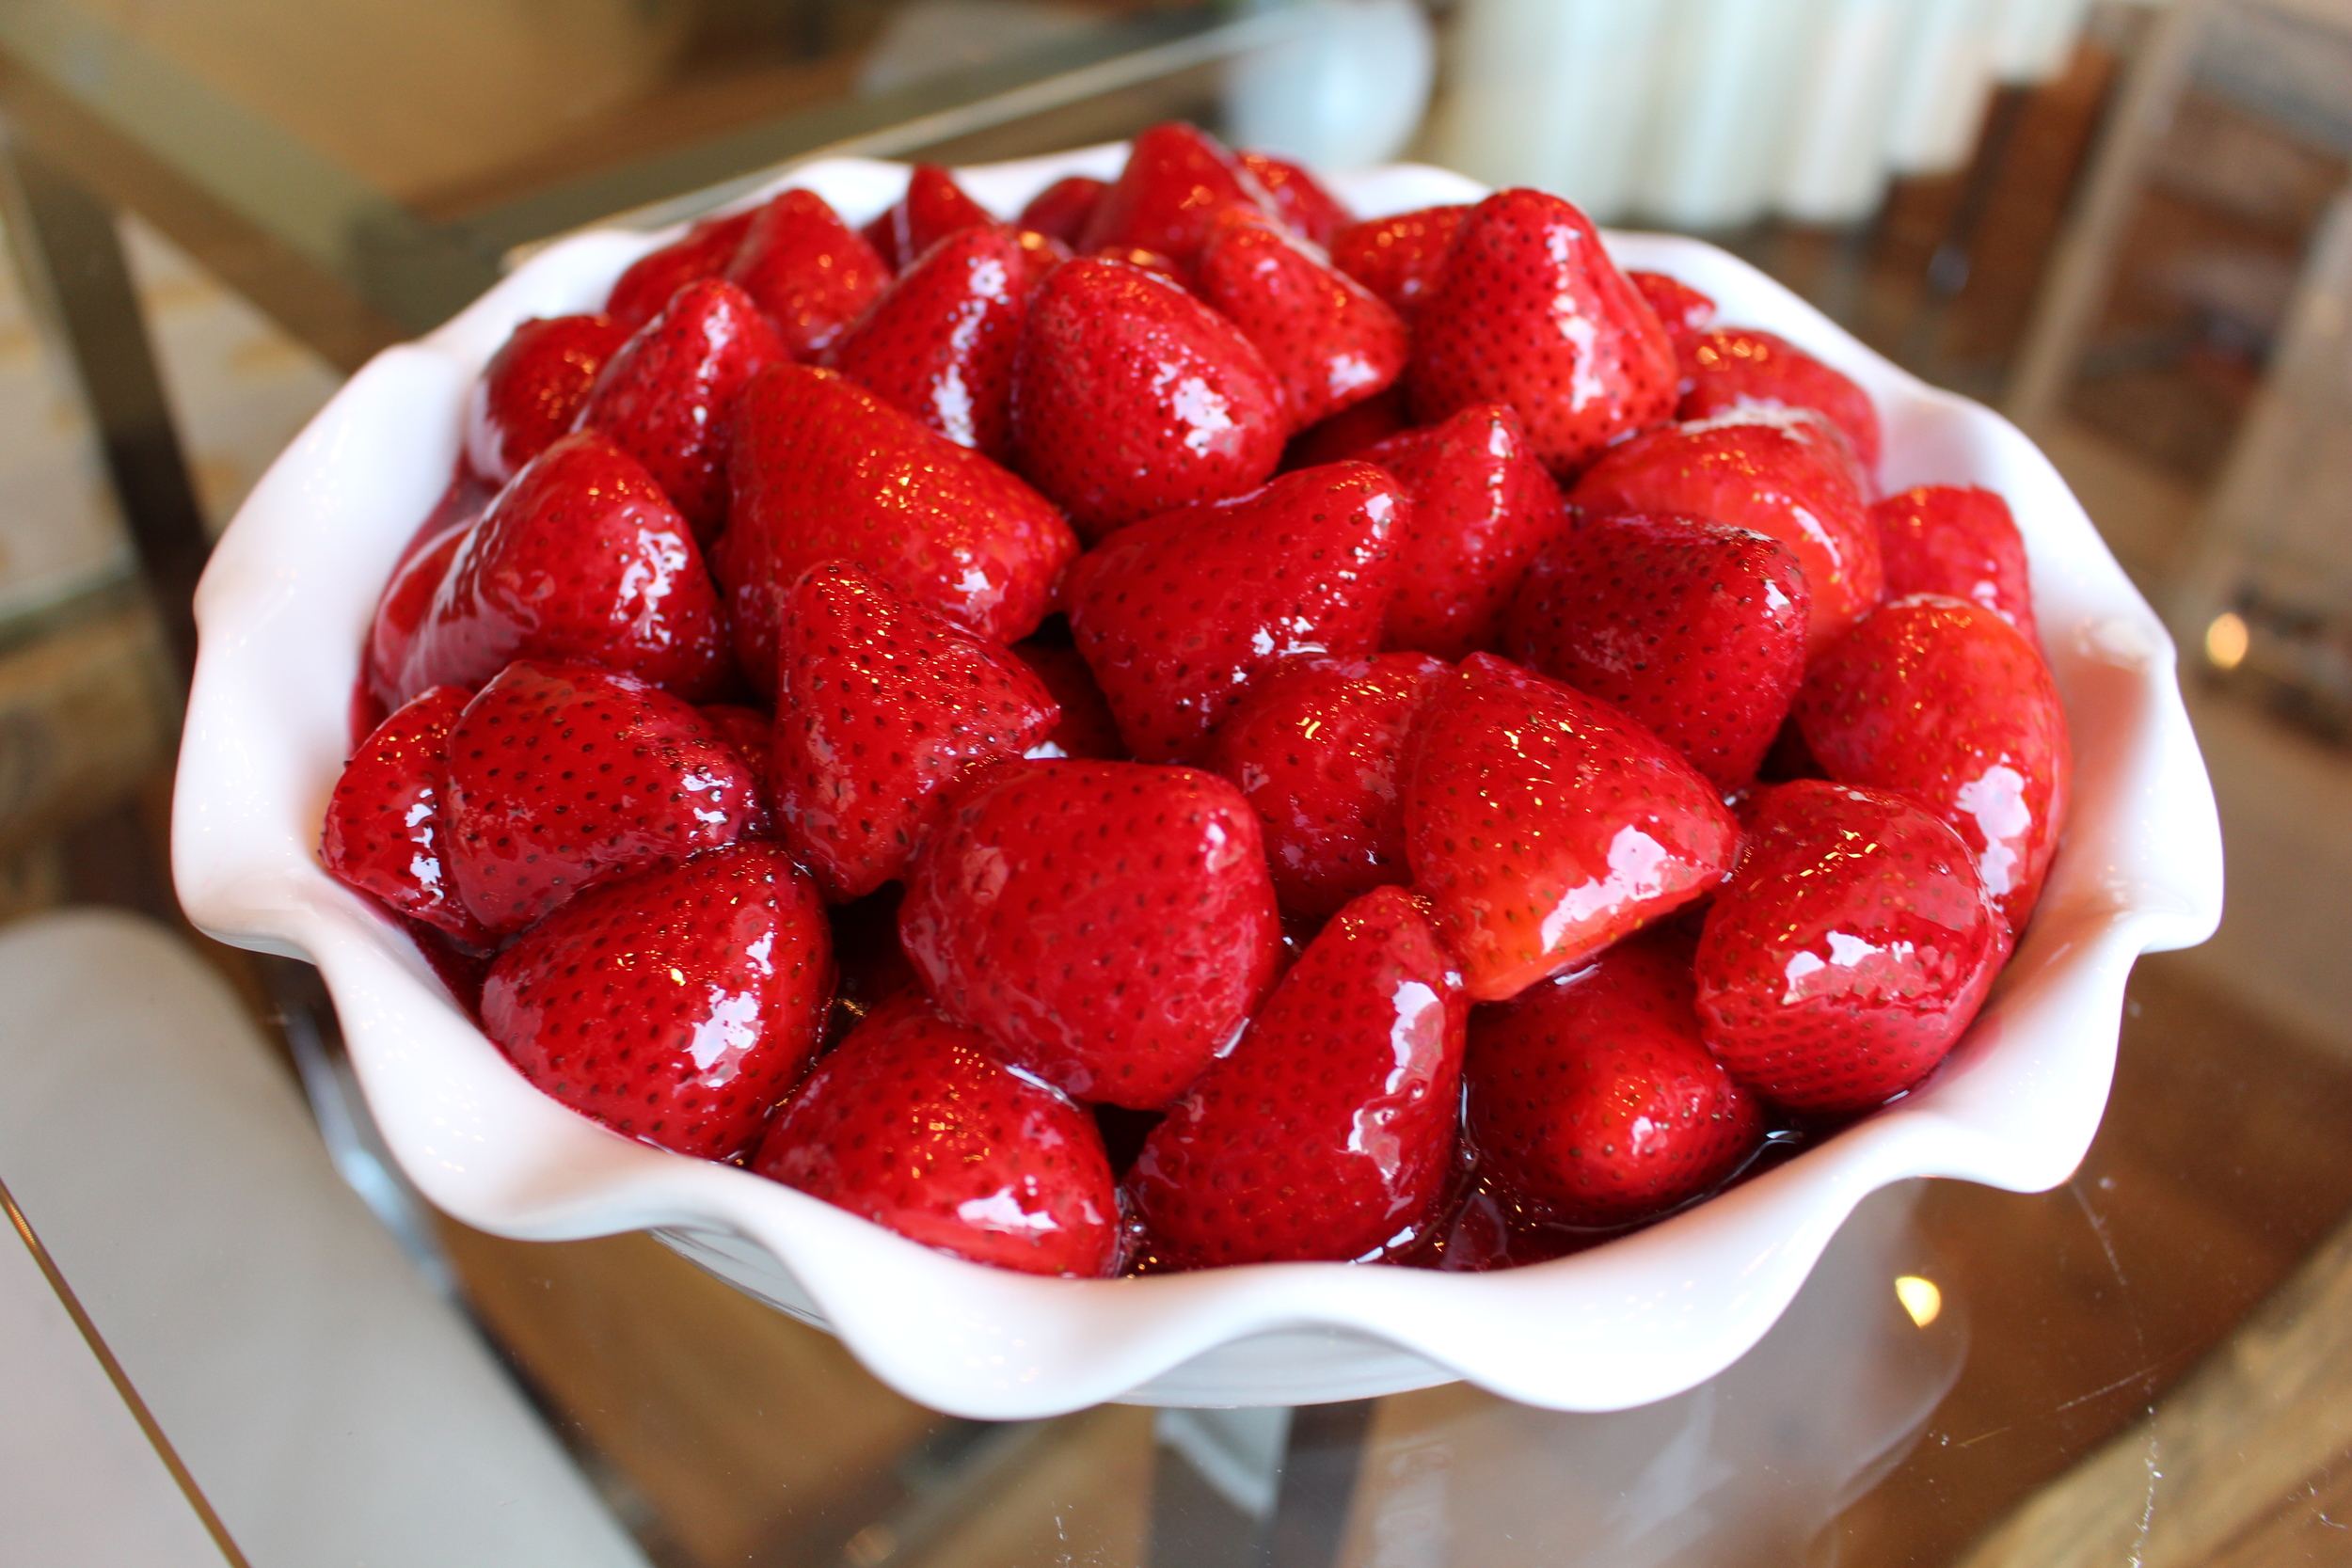
6.  Fold strawberries into mixture and pile strawberries delicately onto crust.

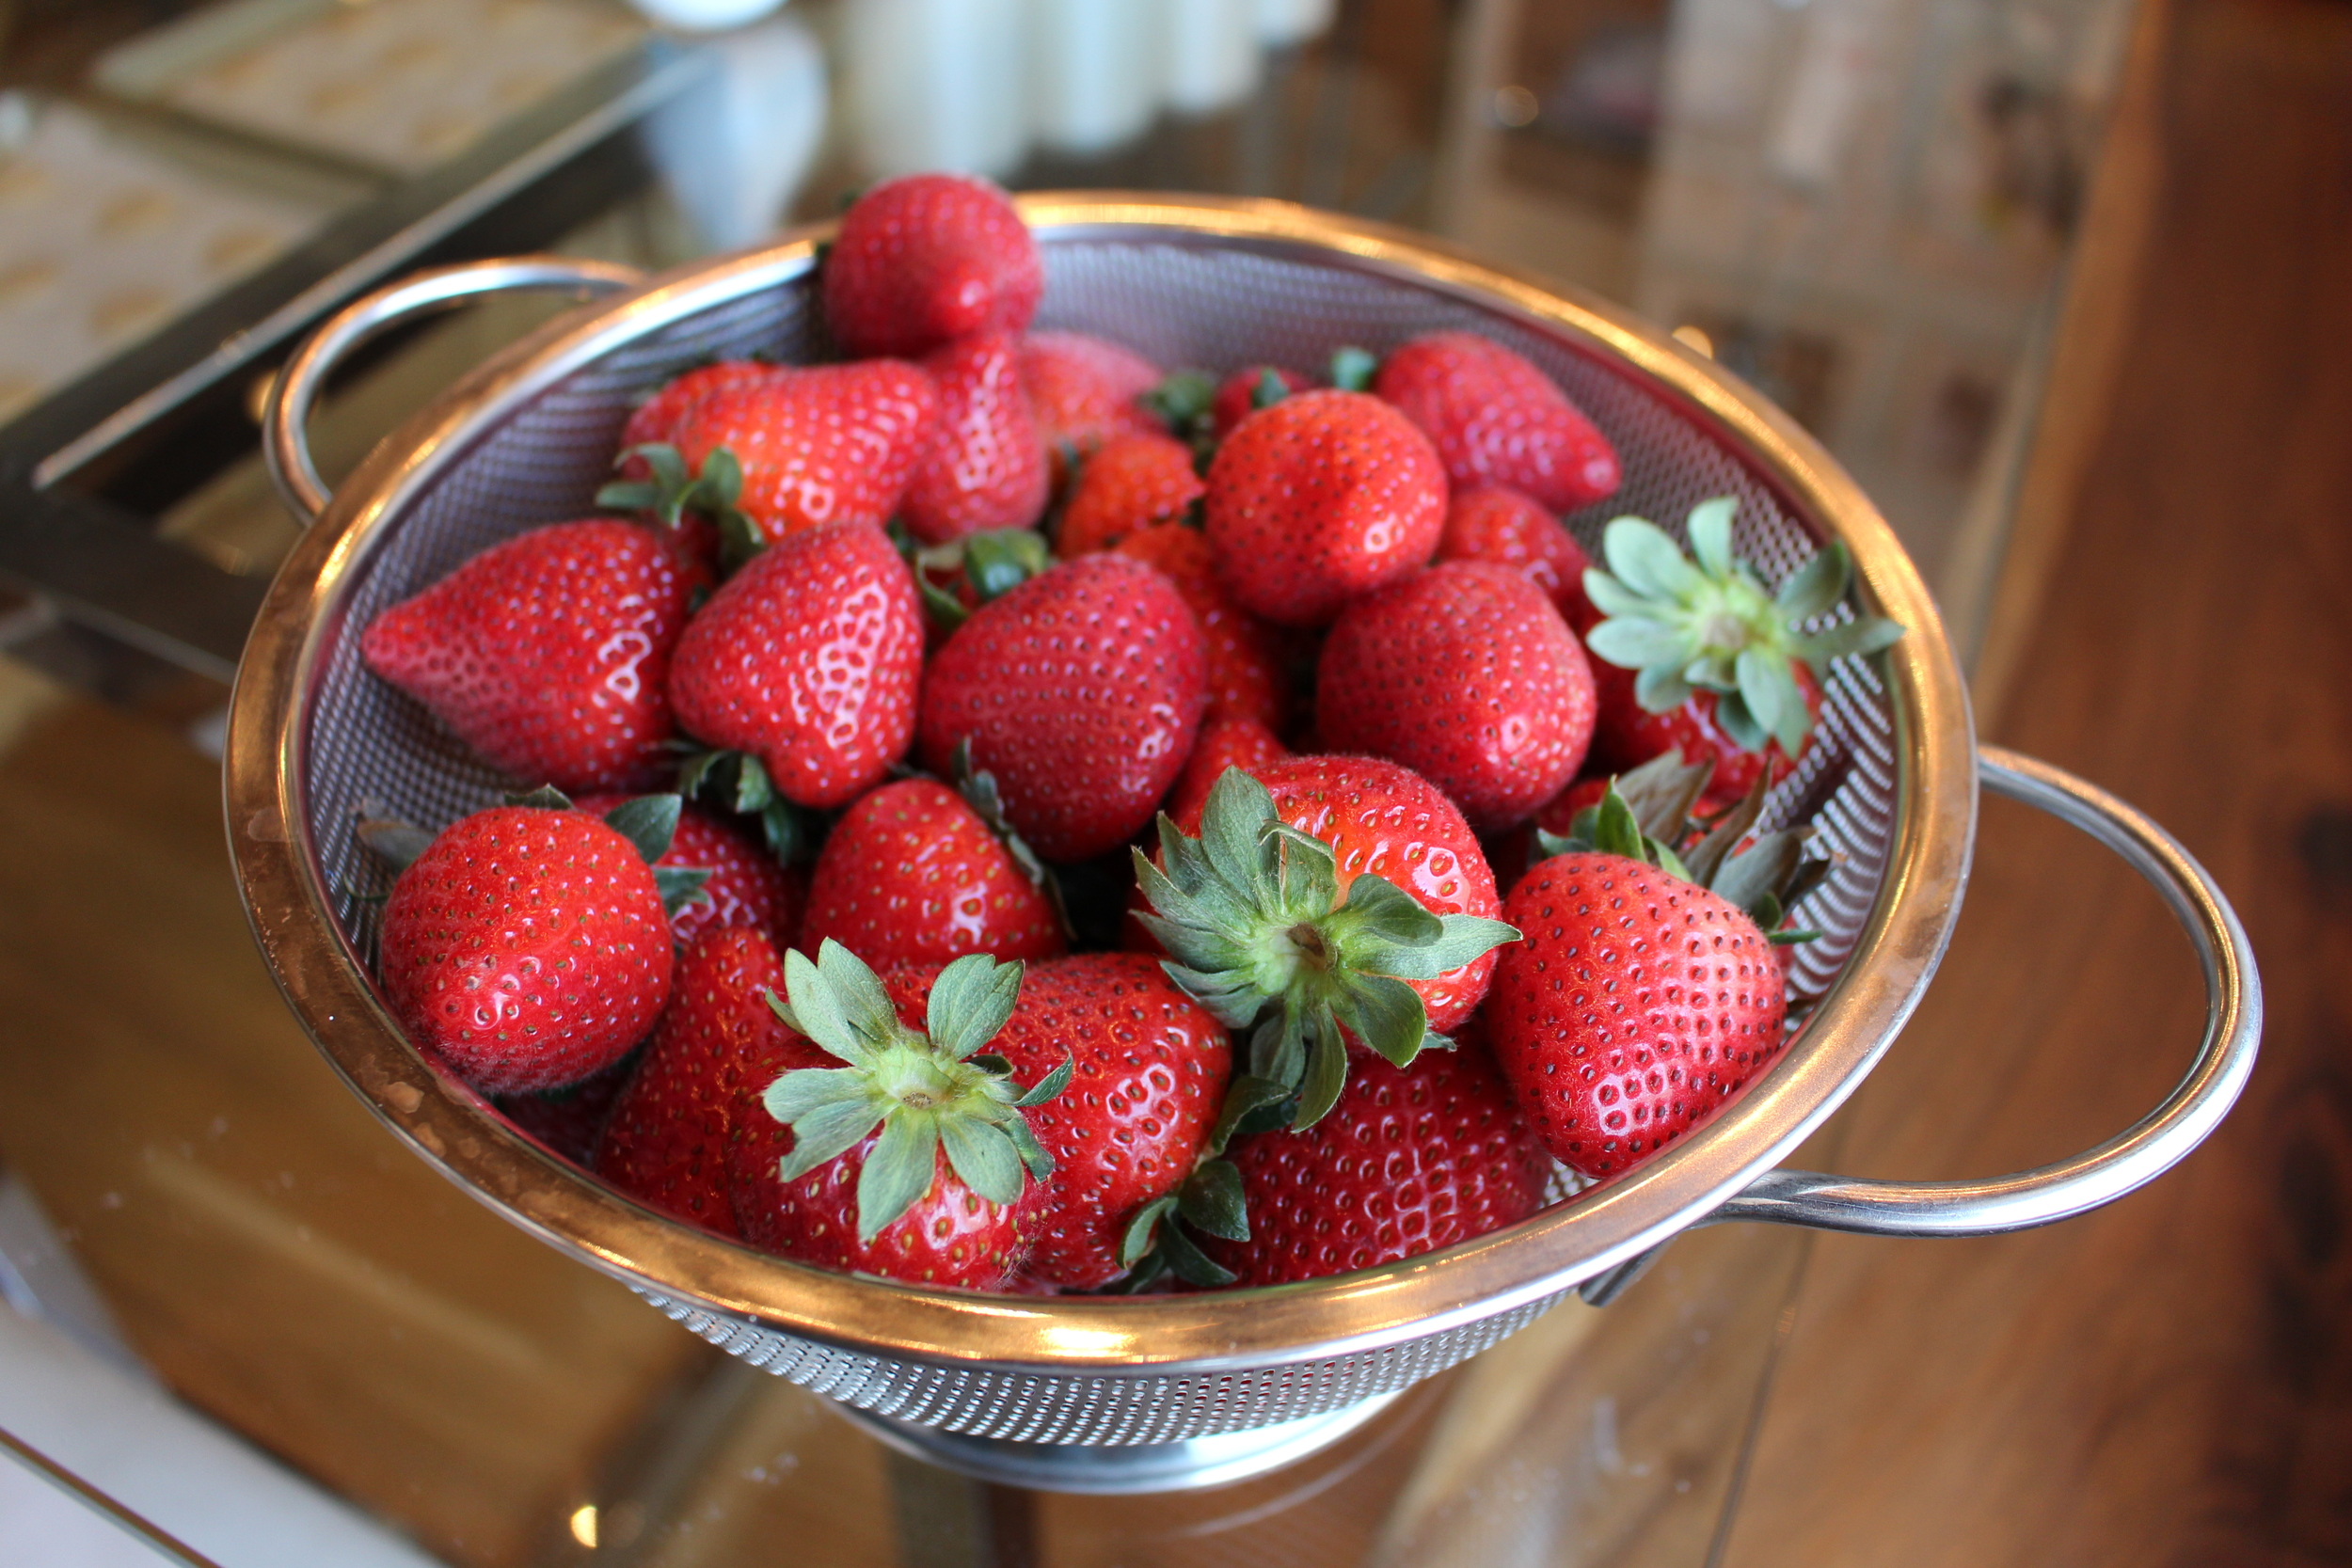
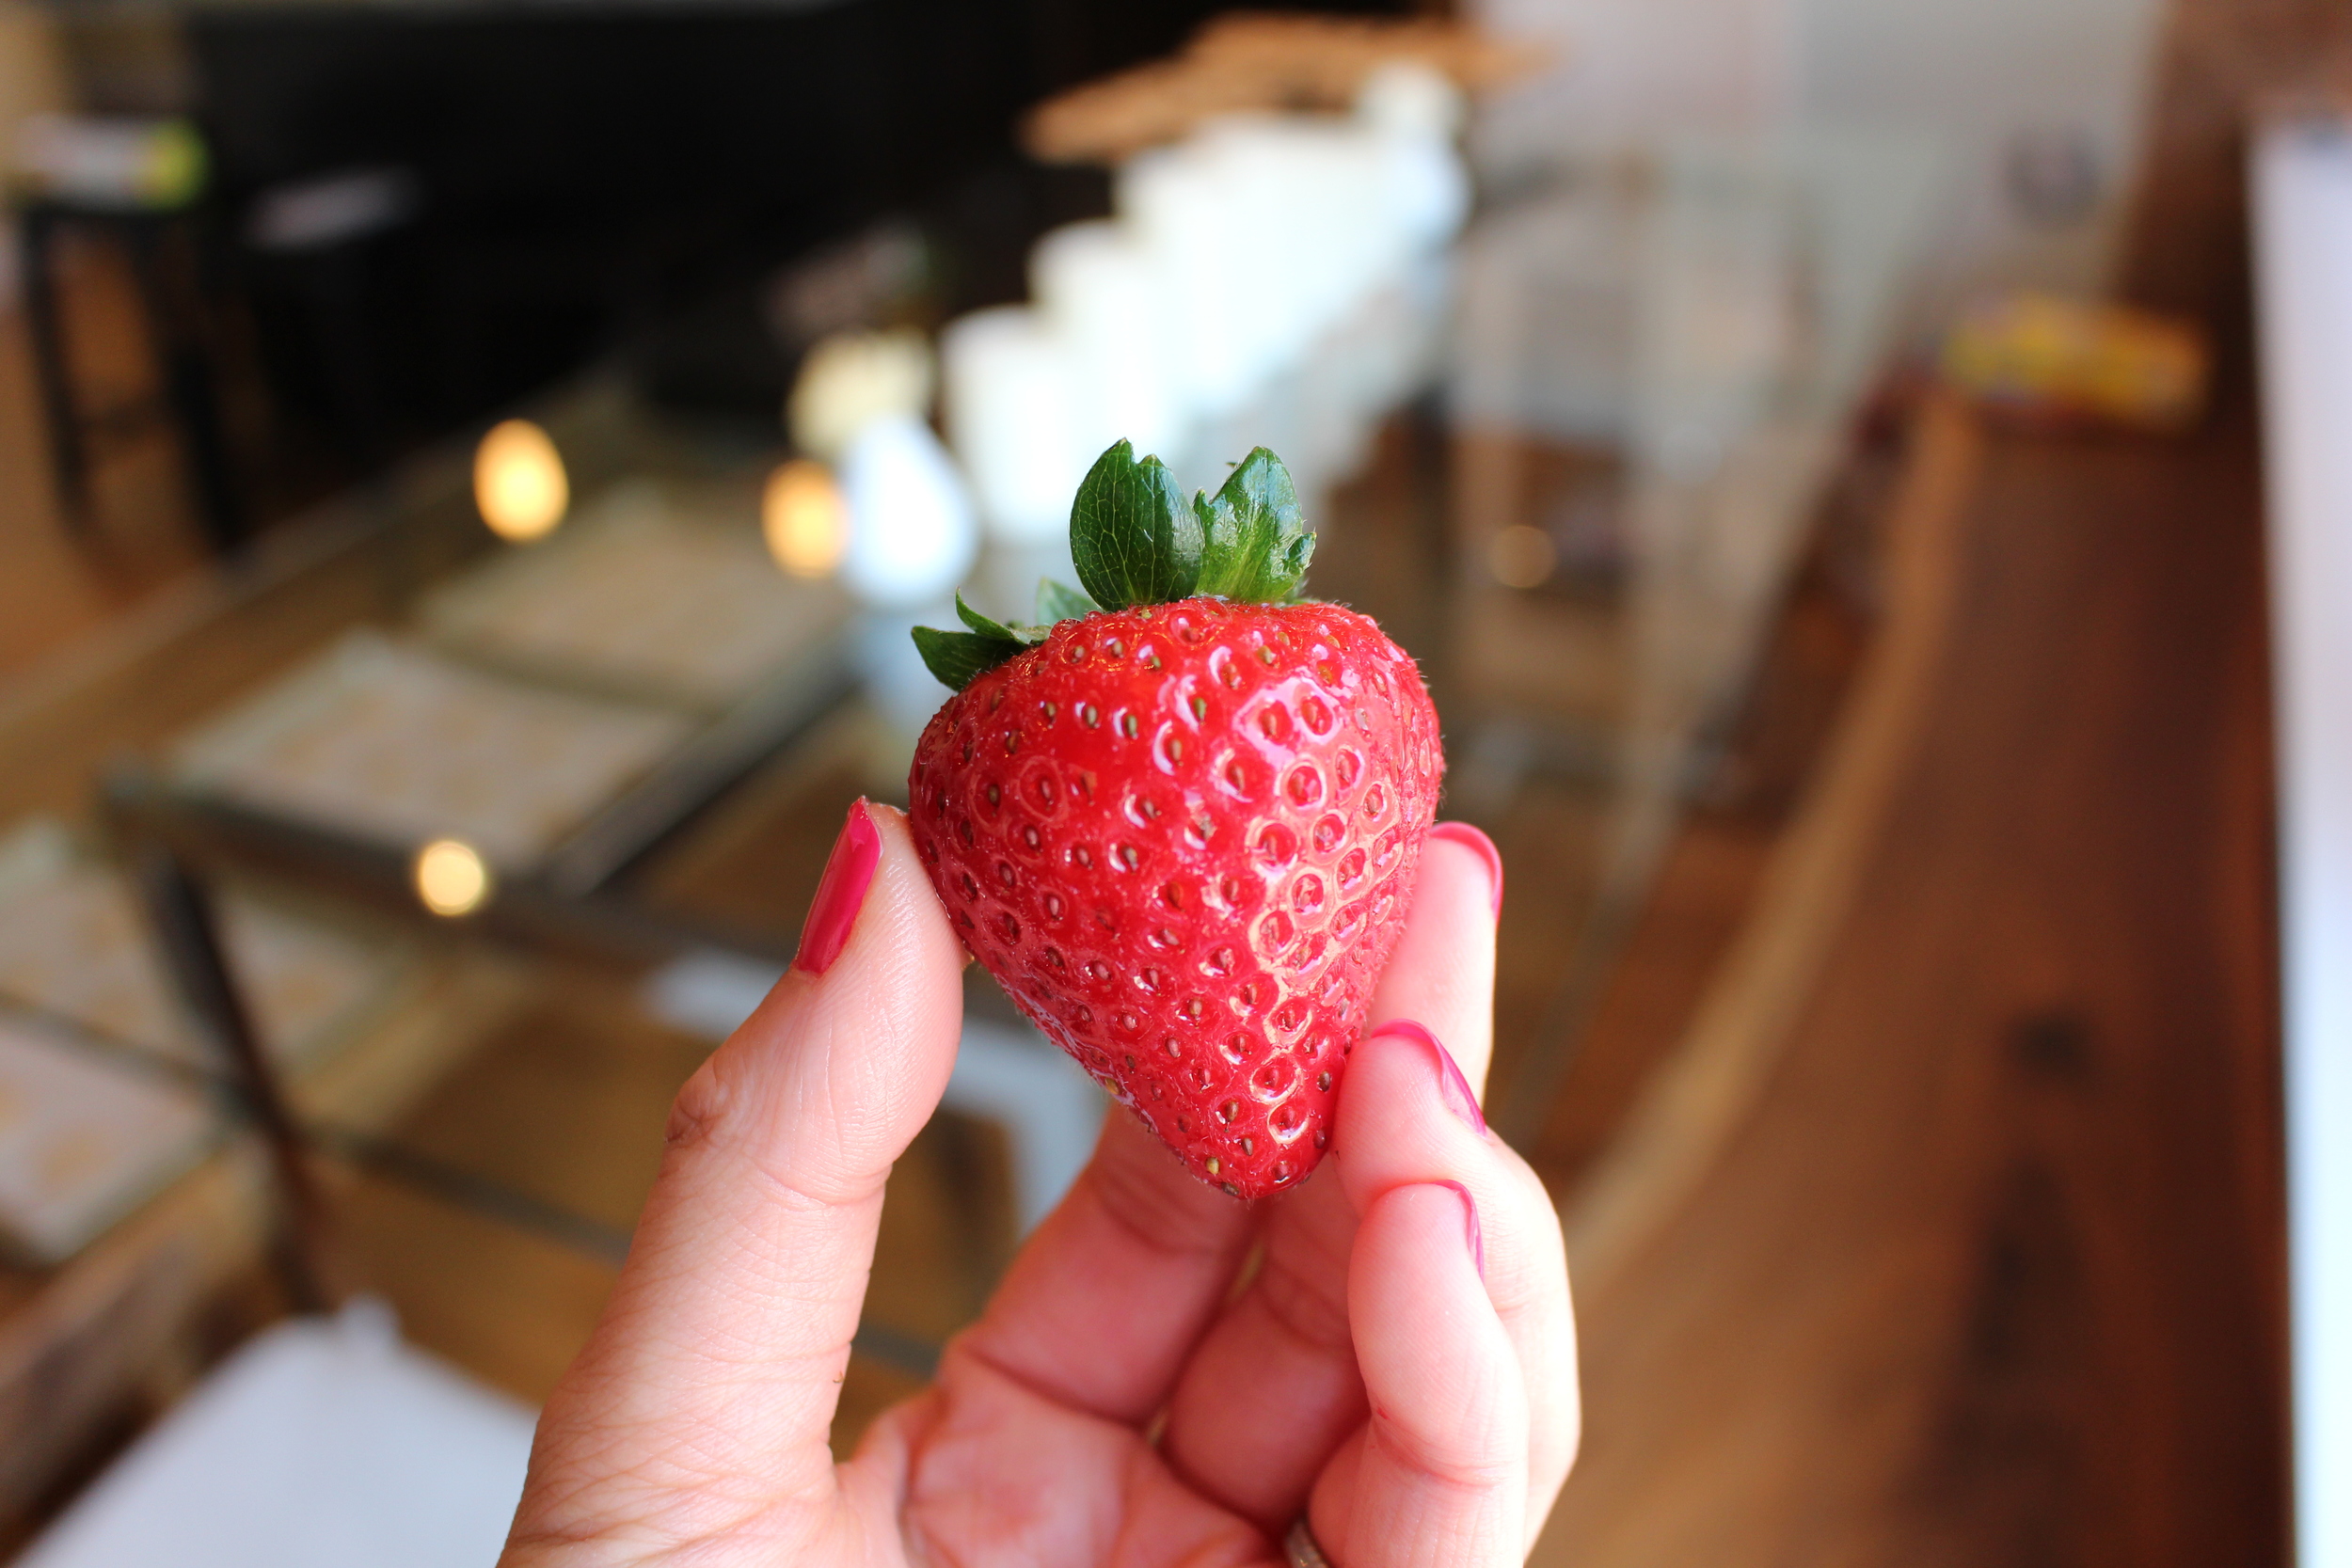
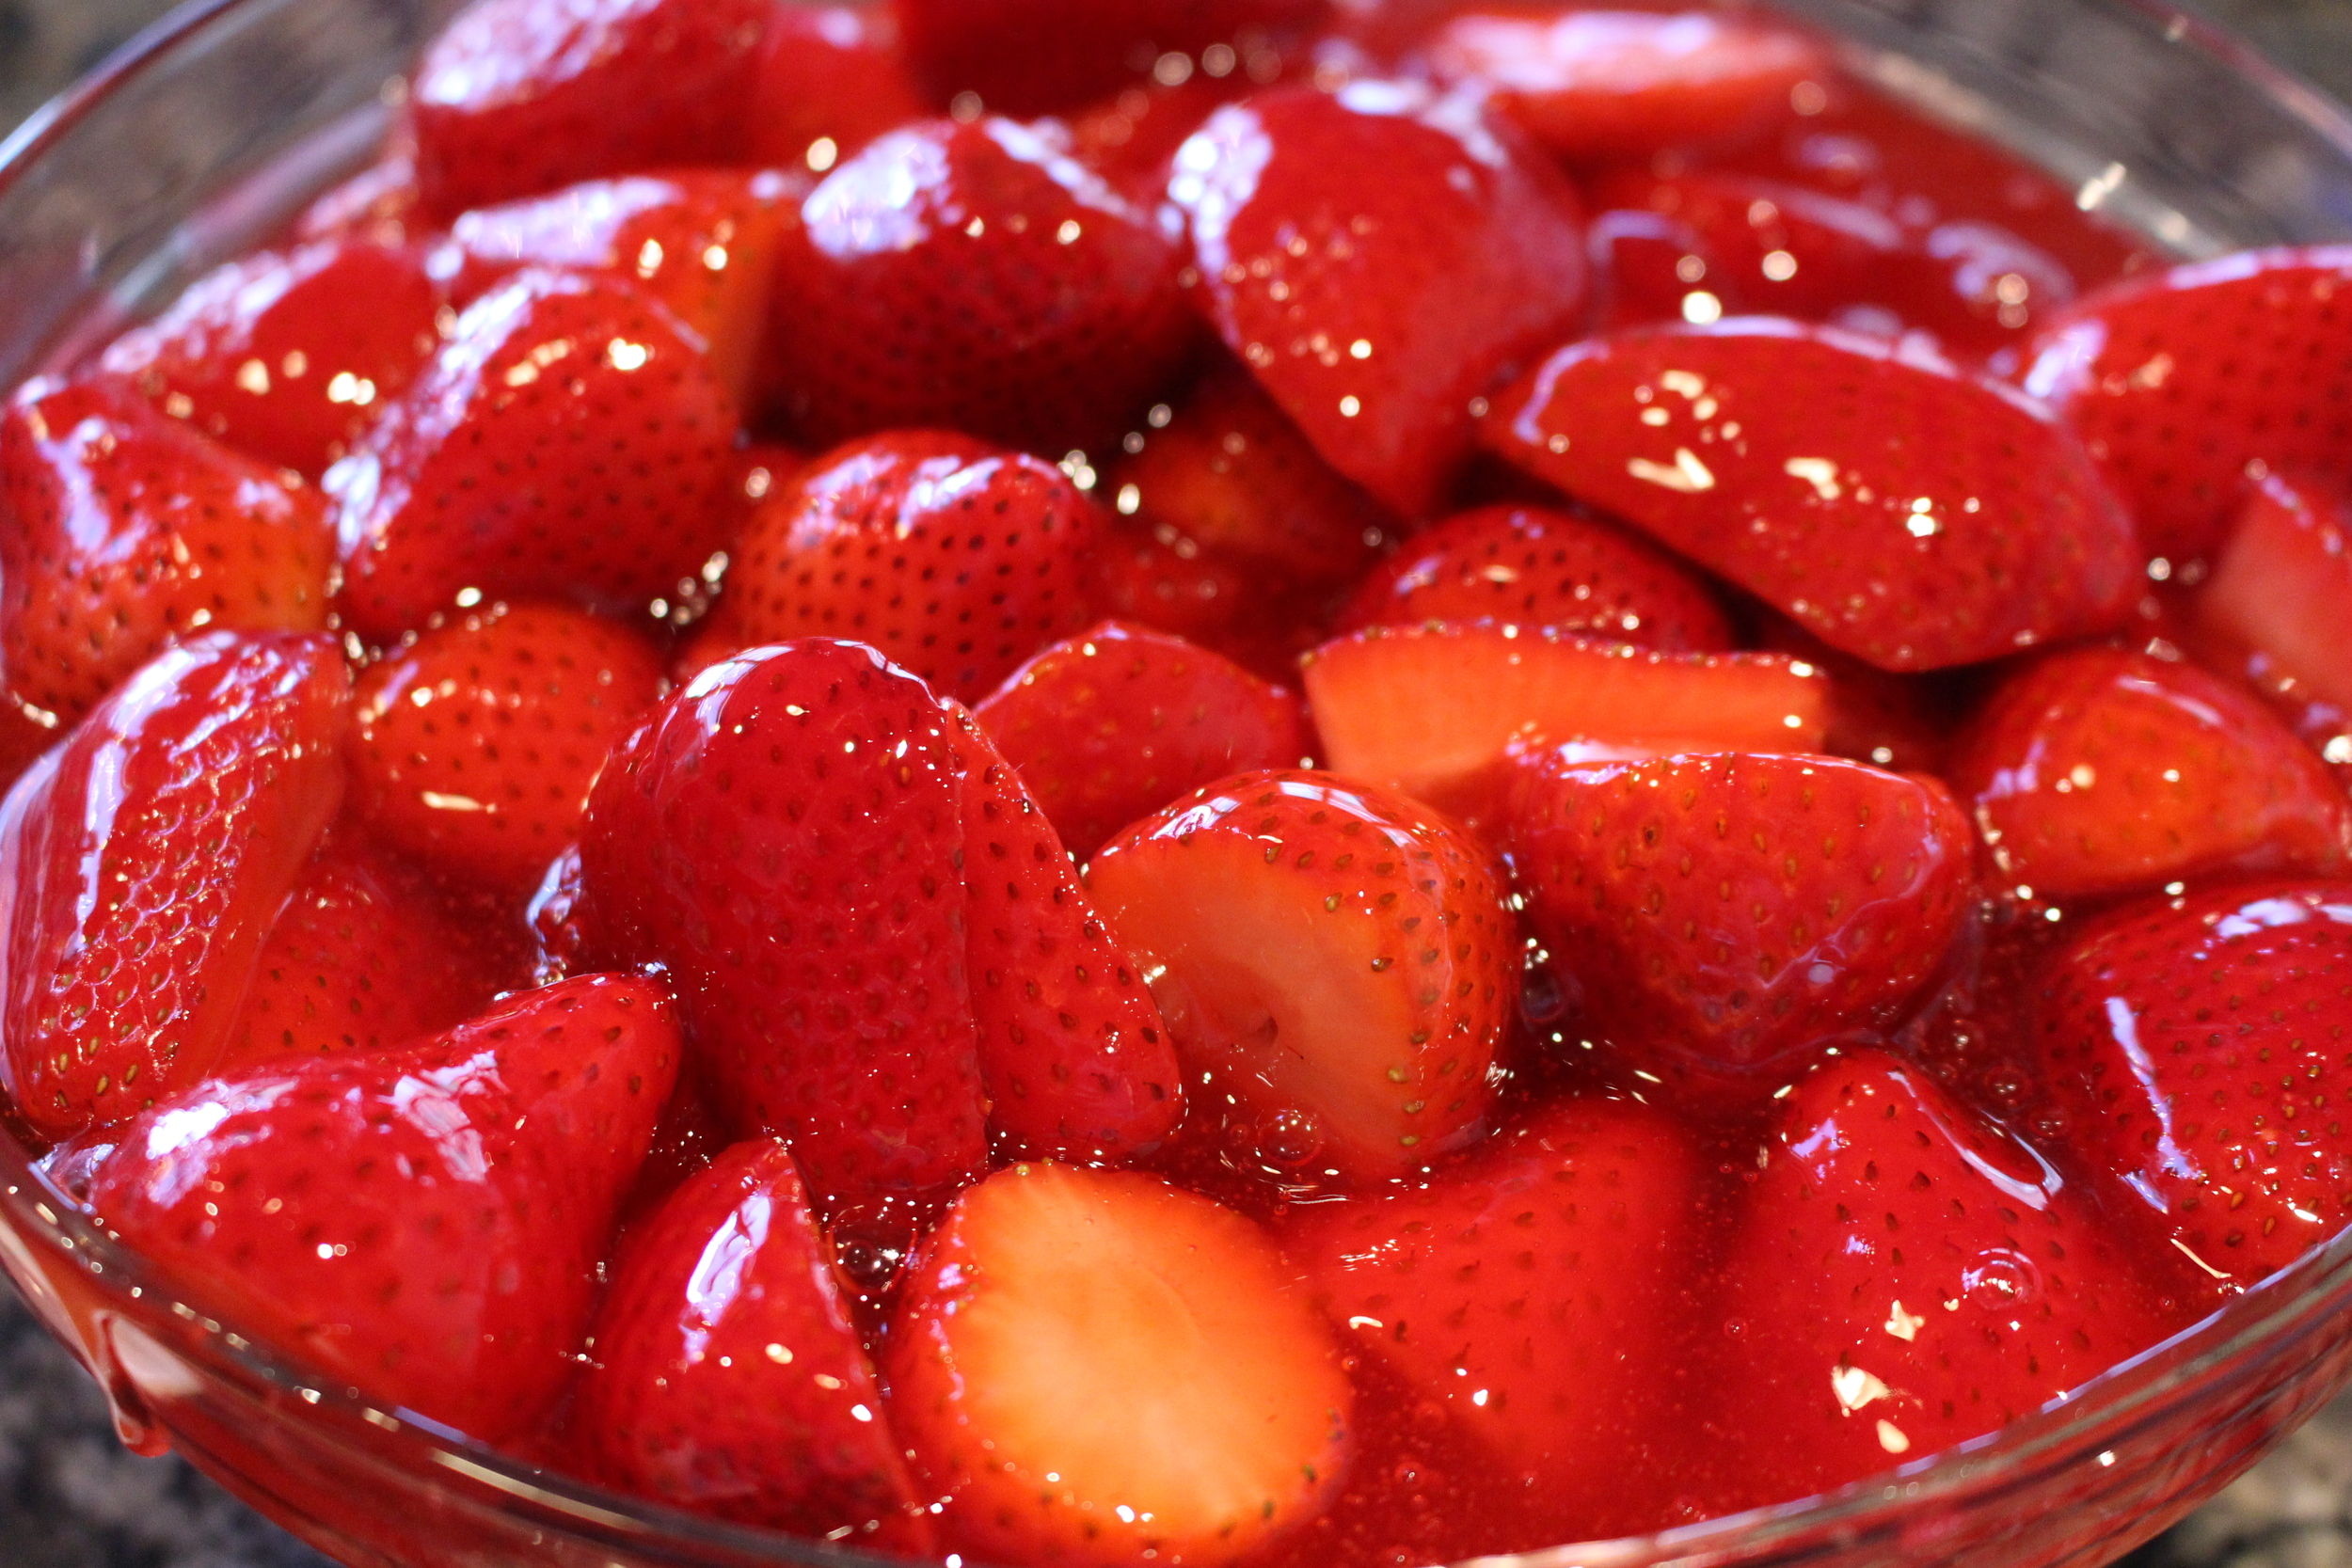
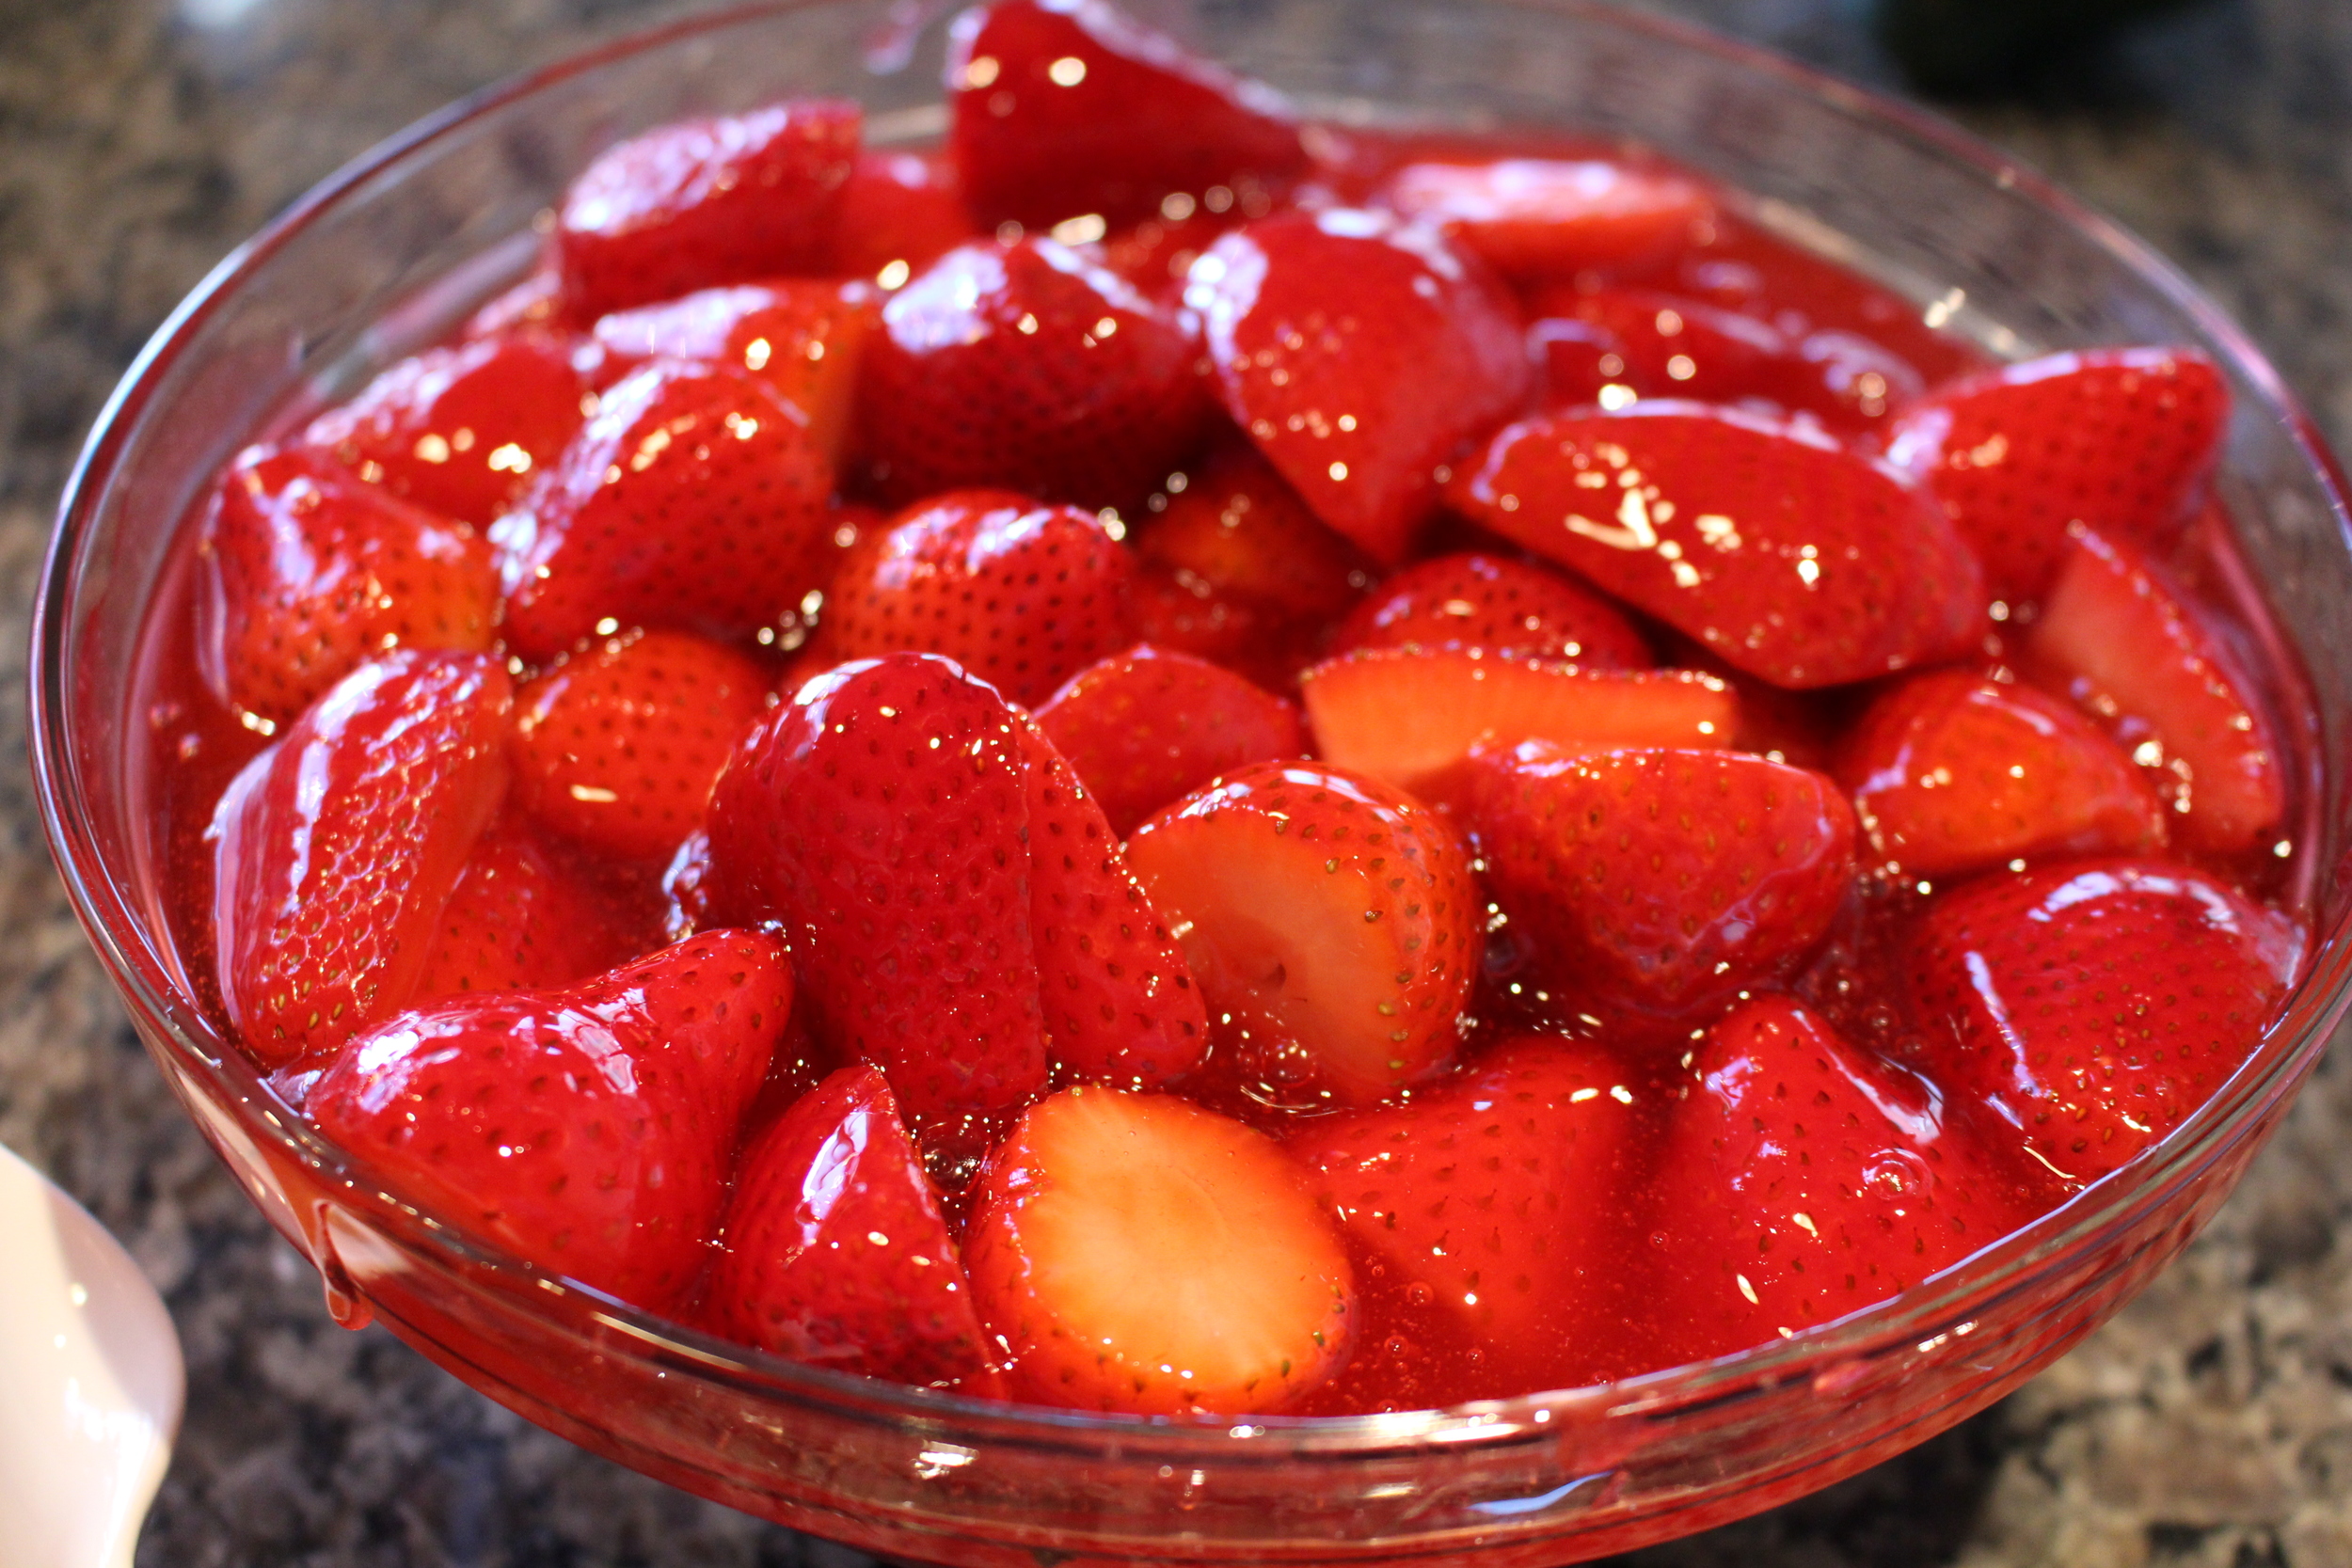
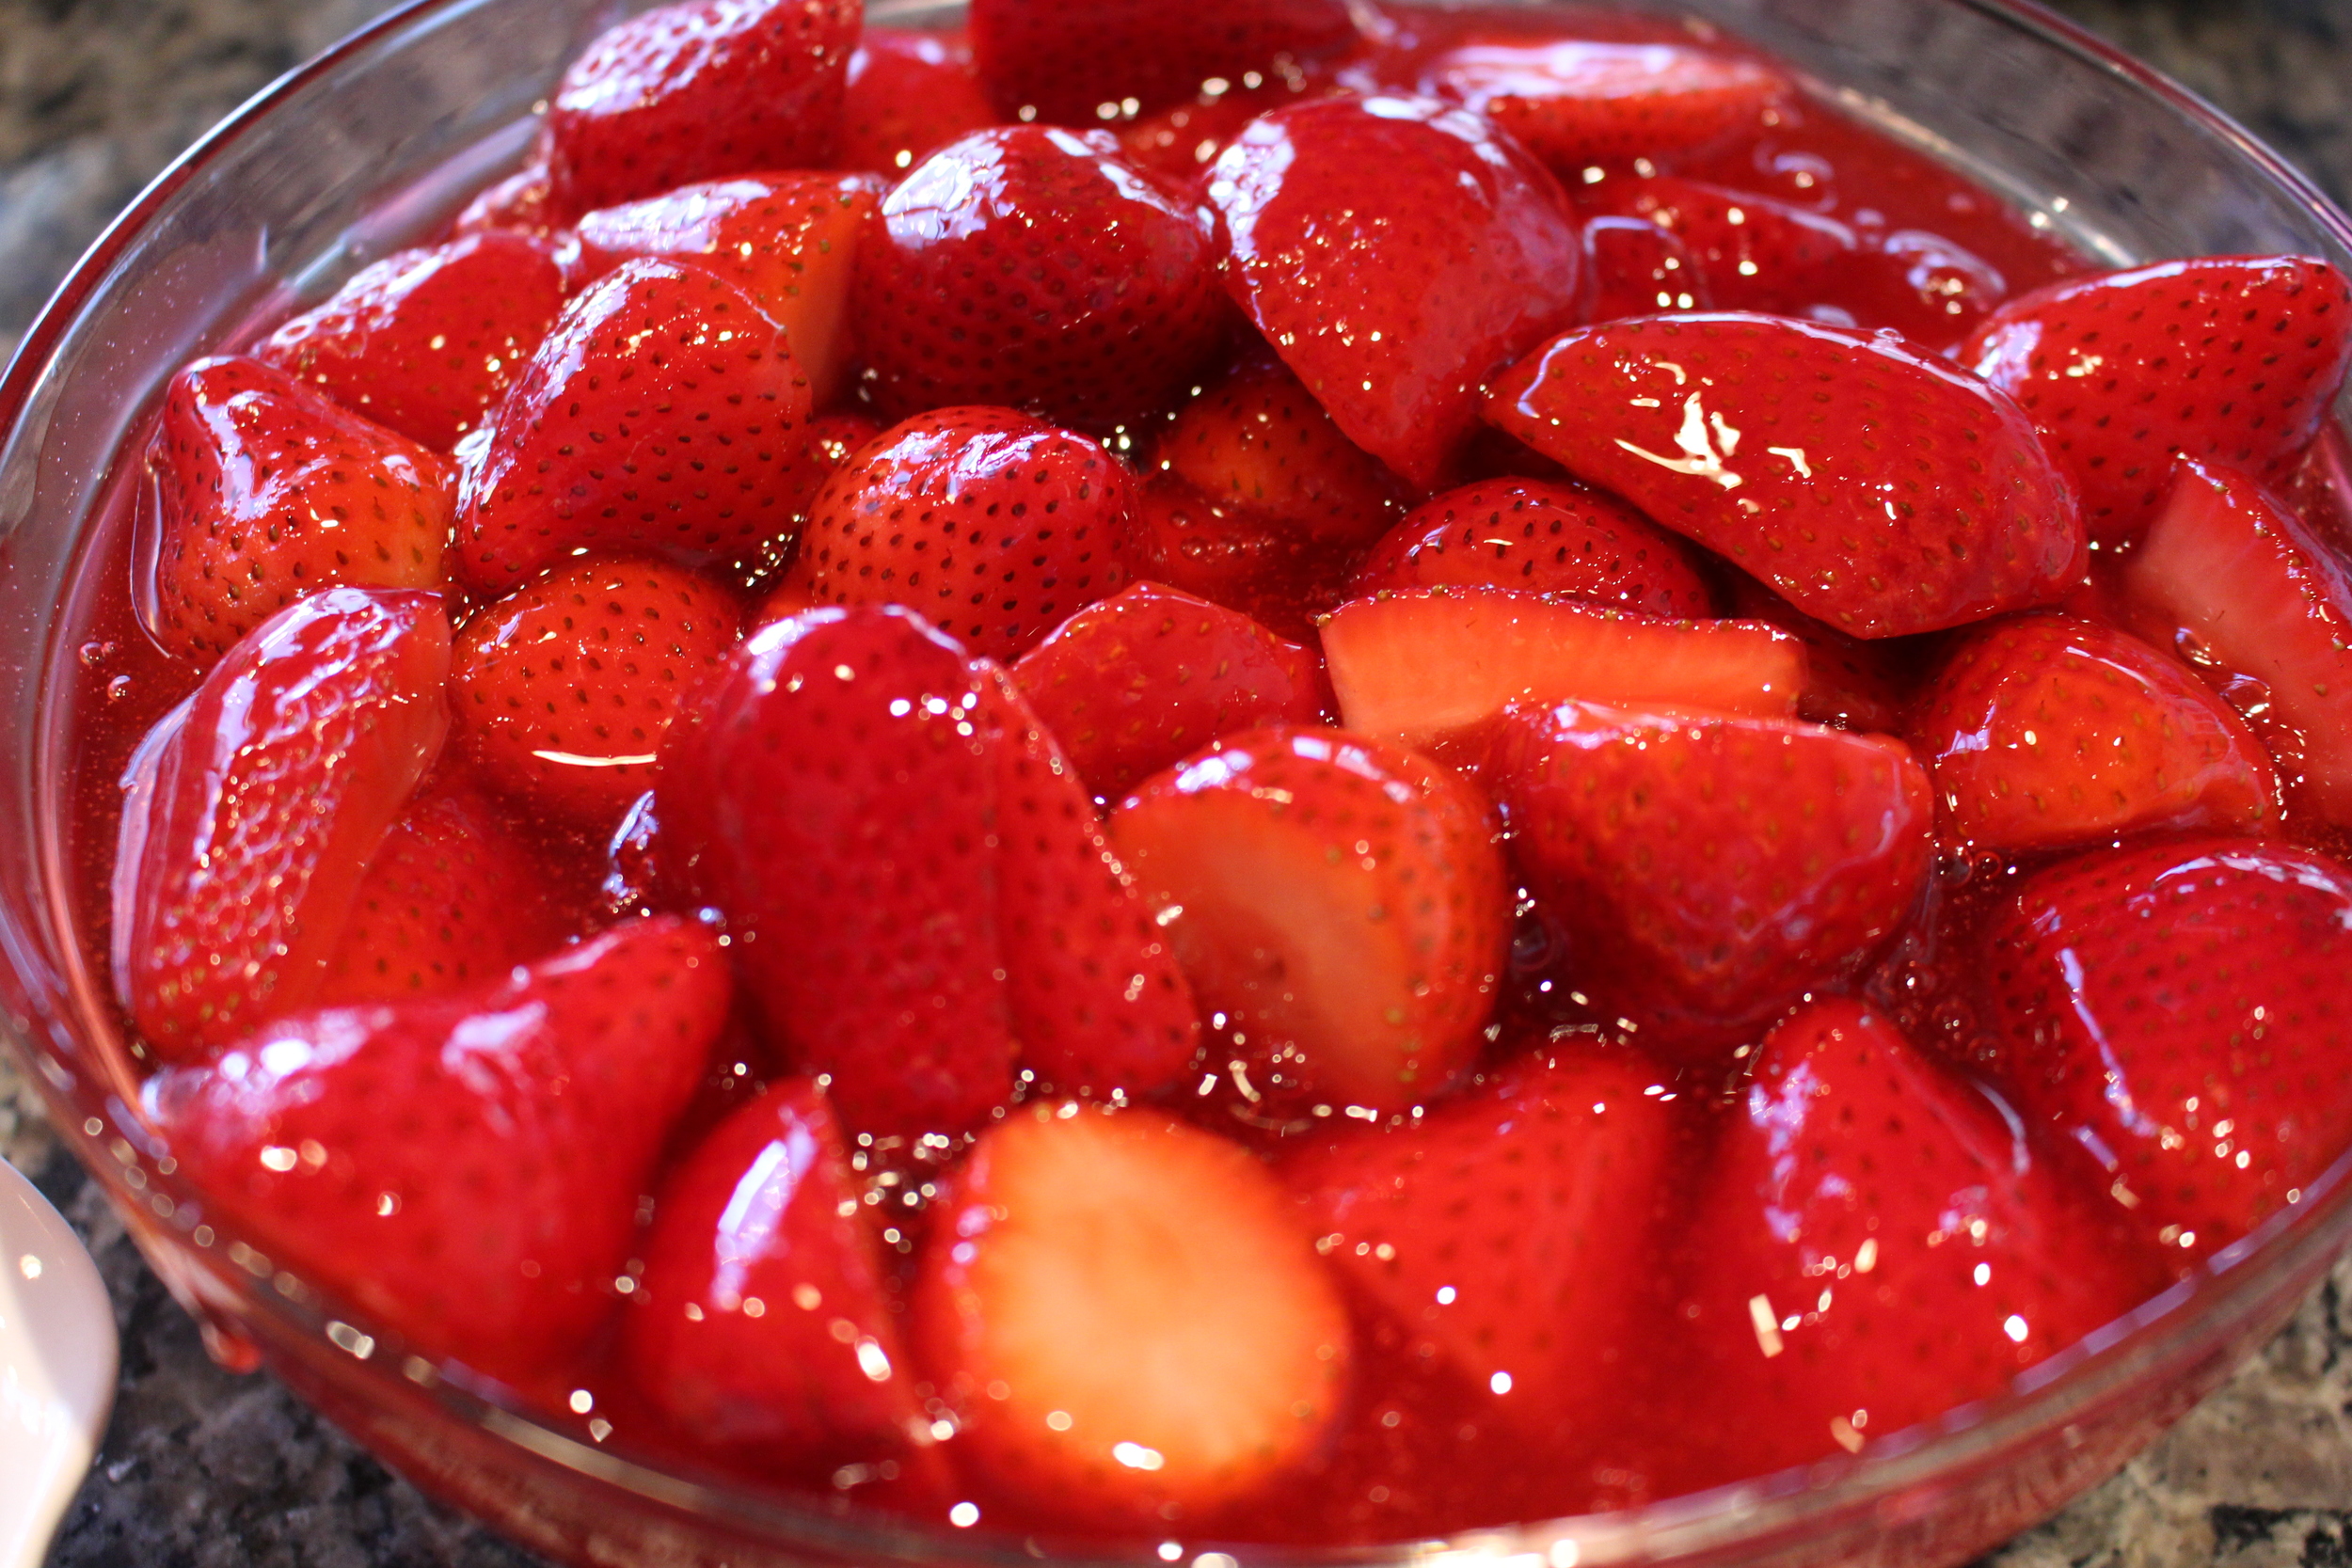
These strawberries were exceptionally sweet!

7.   Refrigerate and set for about 2 hours.