Strawberry Pound Cake Trifle
This dessert was inspired by a bad experience at a pub in Galena IL. I know I shouldn't expect much from a touristy pub in Galena IL but a light bulb went off to make my own version of this dessert. I believe they called this dessert "The Strawberry HIGHcake" (a twist on a strawberry shortcake I guess). What we ended up getting was 3 slices of frozen Sara Lee pound cake topped with cheap vanilla ice cream and whipped cream and about 1/2 a cup of generic strawberry sauce. It was a major let down. No offense to Sara Lee, I grew up that stuff, but what I am finding in my adulthood is that homemade is ALWAYS better. You know what's going into your body, it's less processed and it almost always tastes better. It's a win win in my eyes.
The great thing about this recipe is that the pound cake is quick and simple and it also is enough to make TWO of these trifles. I made one last week for my small group and then froze the rest of the pound cake to make another for a birthday party we're going to this weekend. Voila! Two desserts for two different occasions. This is also uses many ingredients in your kitchen already, so you might not even need to shop for much besides maybe the heavy whipping cream and fresh strawberries if those are not your normal kitchen staples.
Since I made the poundcake last week, I don't have pictures of step by step directions as I usually do, but I will post the recipe for you to make ahead of time. This is by far the best pound cake recipe I have tried. It is soft, while still being dense and holding its shape. It's sweet but not too sweet so you can add toppings or use as a base. It also had a beautiful crumble to it...golden, buttery and flavorful. I almost always add almond extract to my pound cake recipe. It adds a richness to it and lets face it, who doesn't love the sweetness of almond tingling on your tongue. The buttermilk cuts into the sweetness and adds a special tang to its flavor. I can't describe it all but you will taste all of these when you test it out for yourself. First lets start with the pound cake.
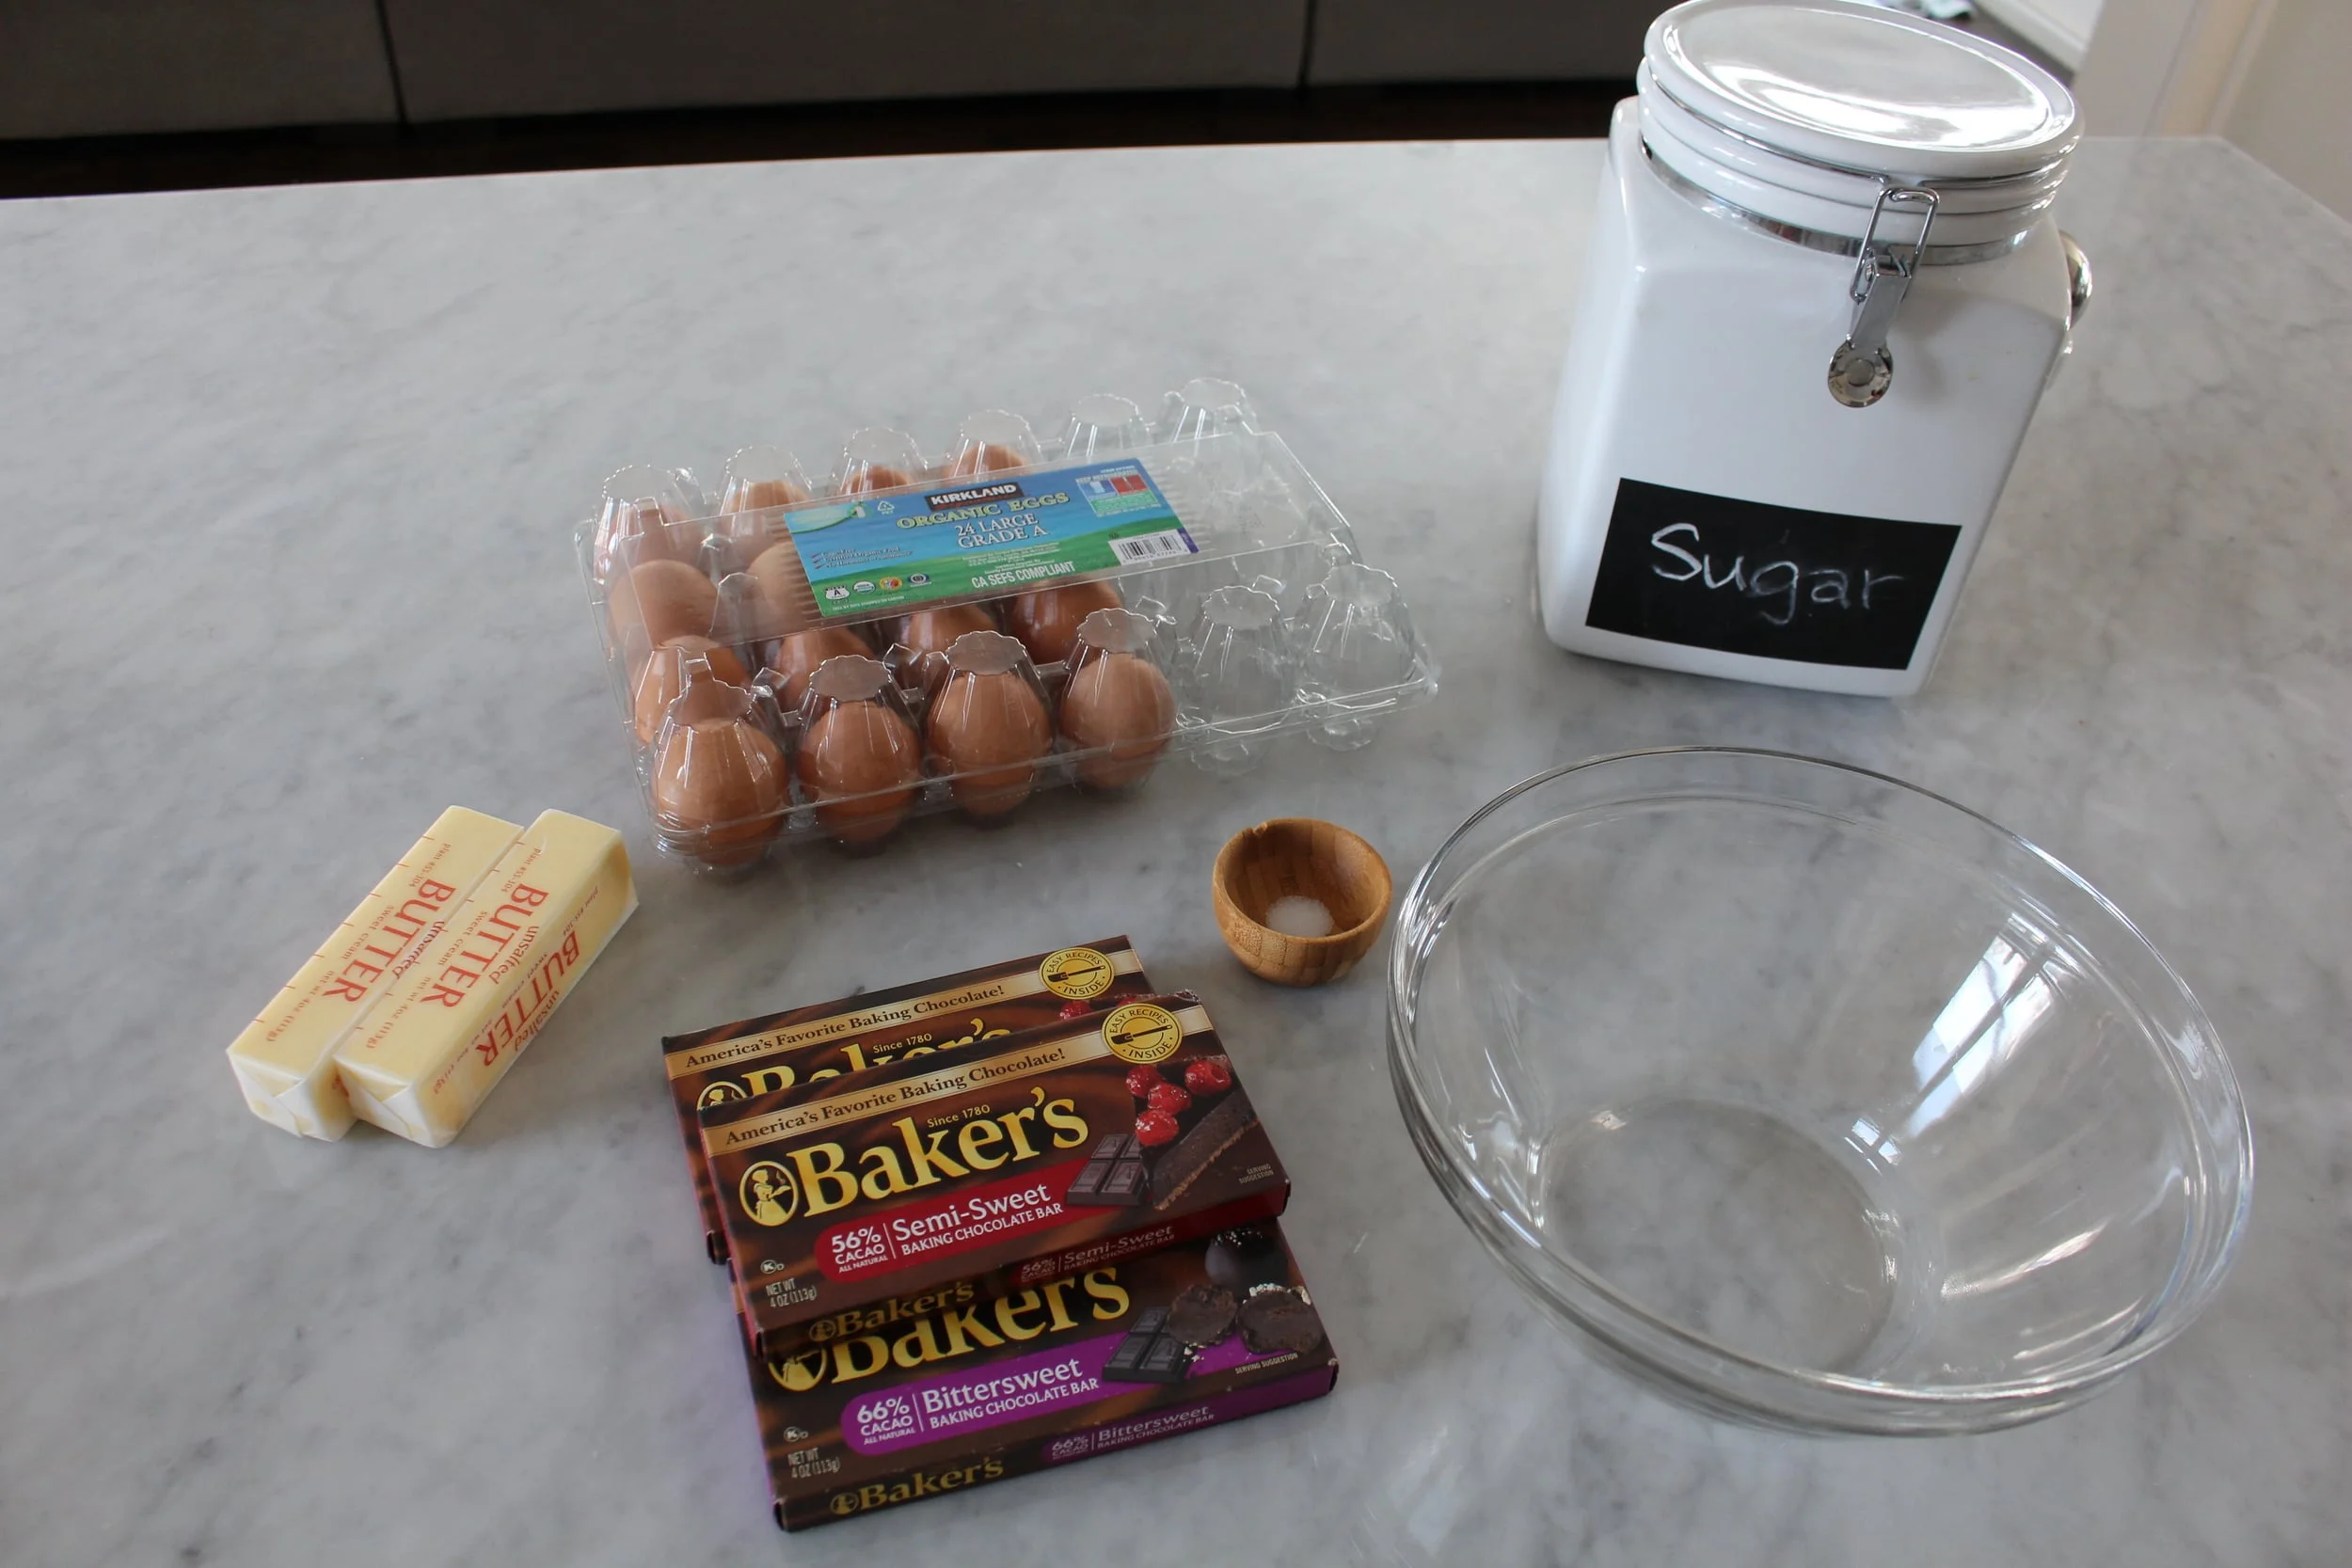
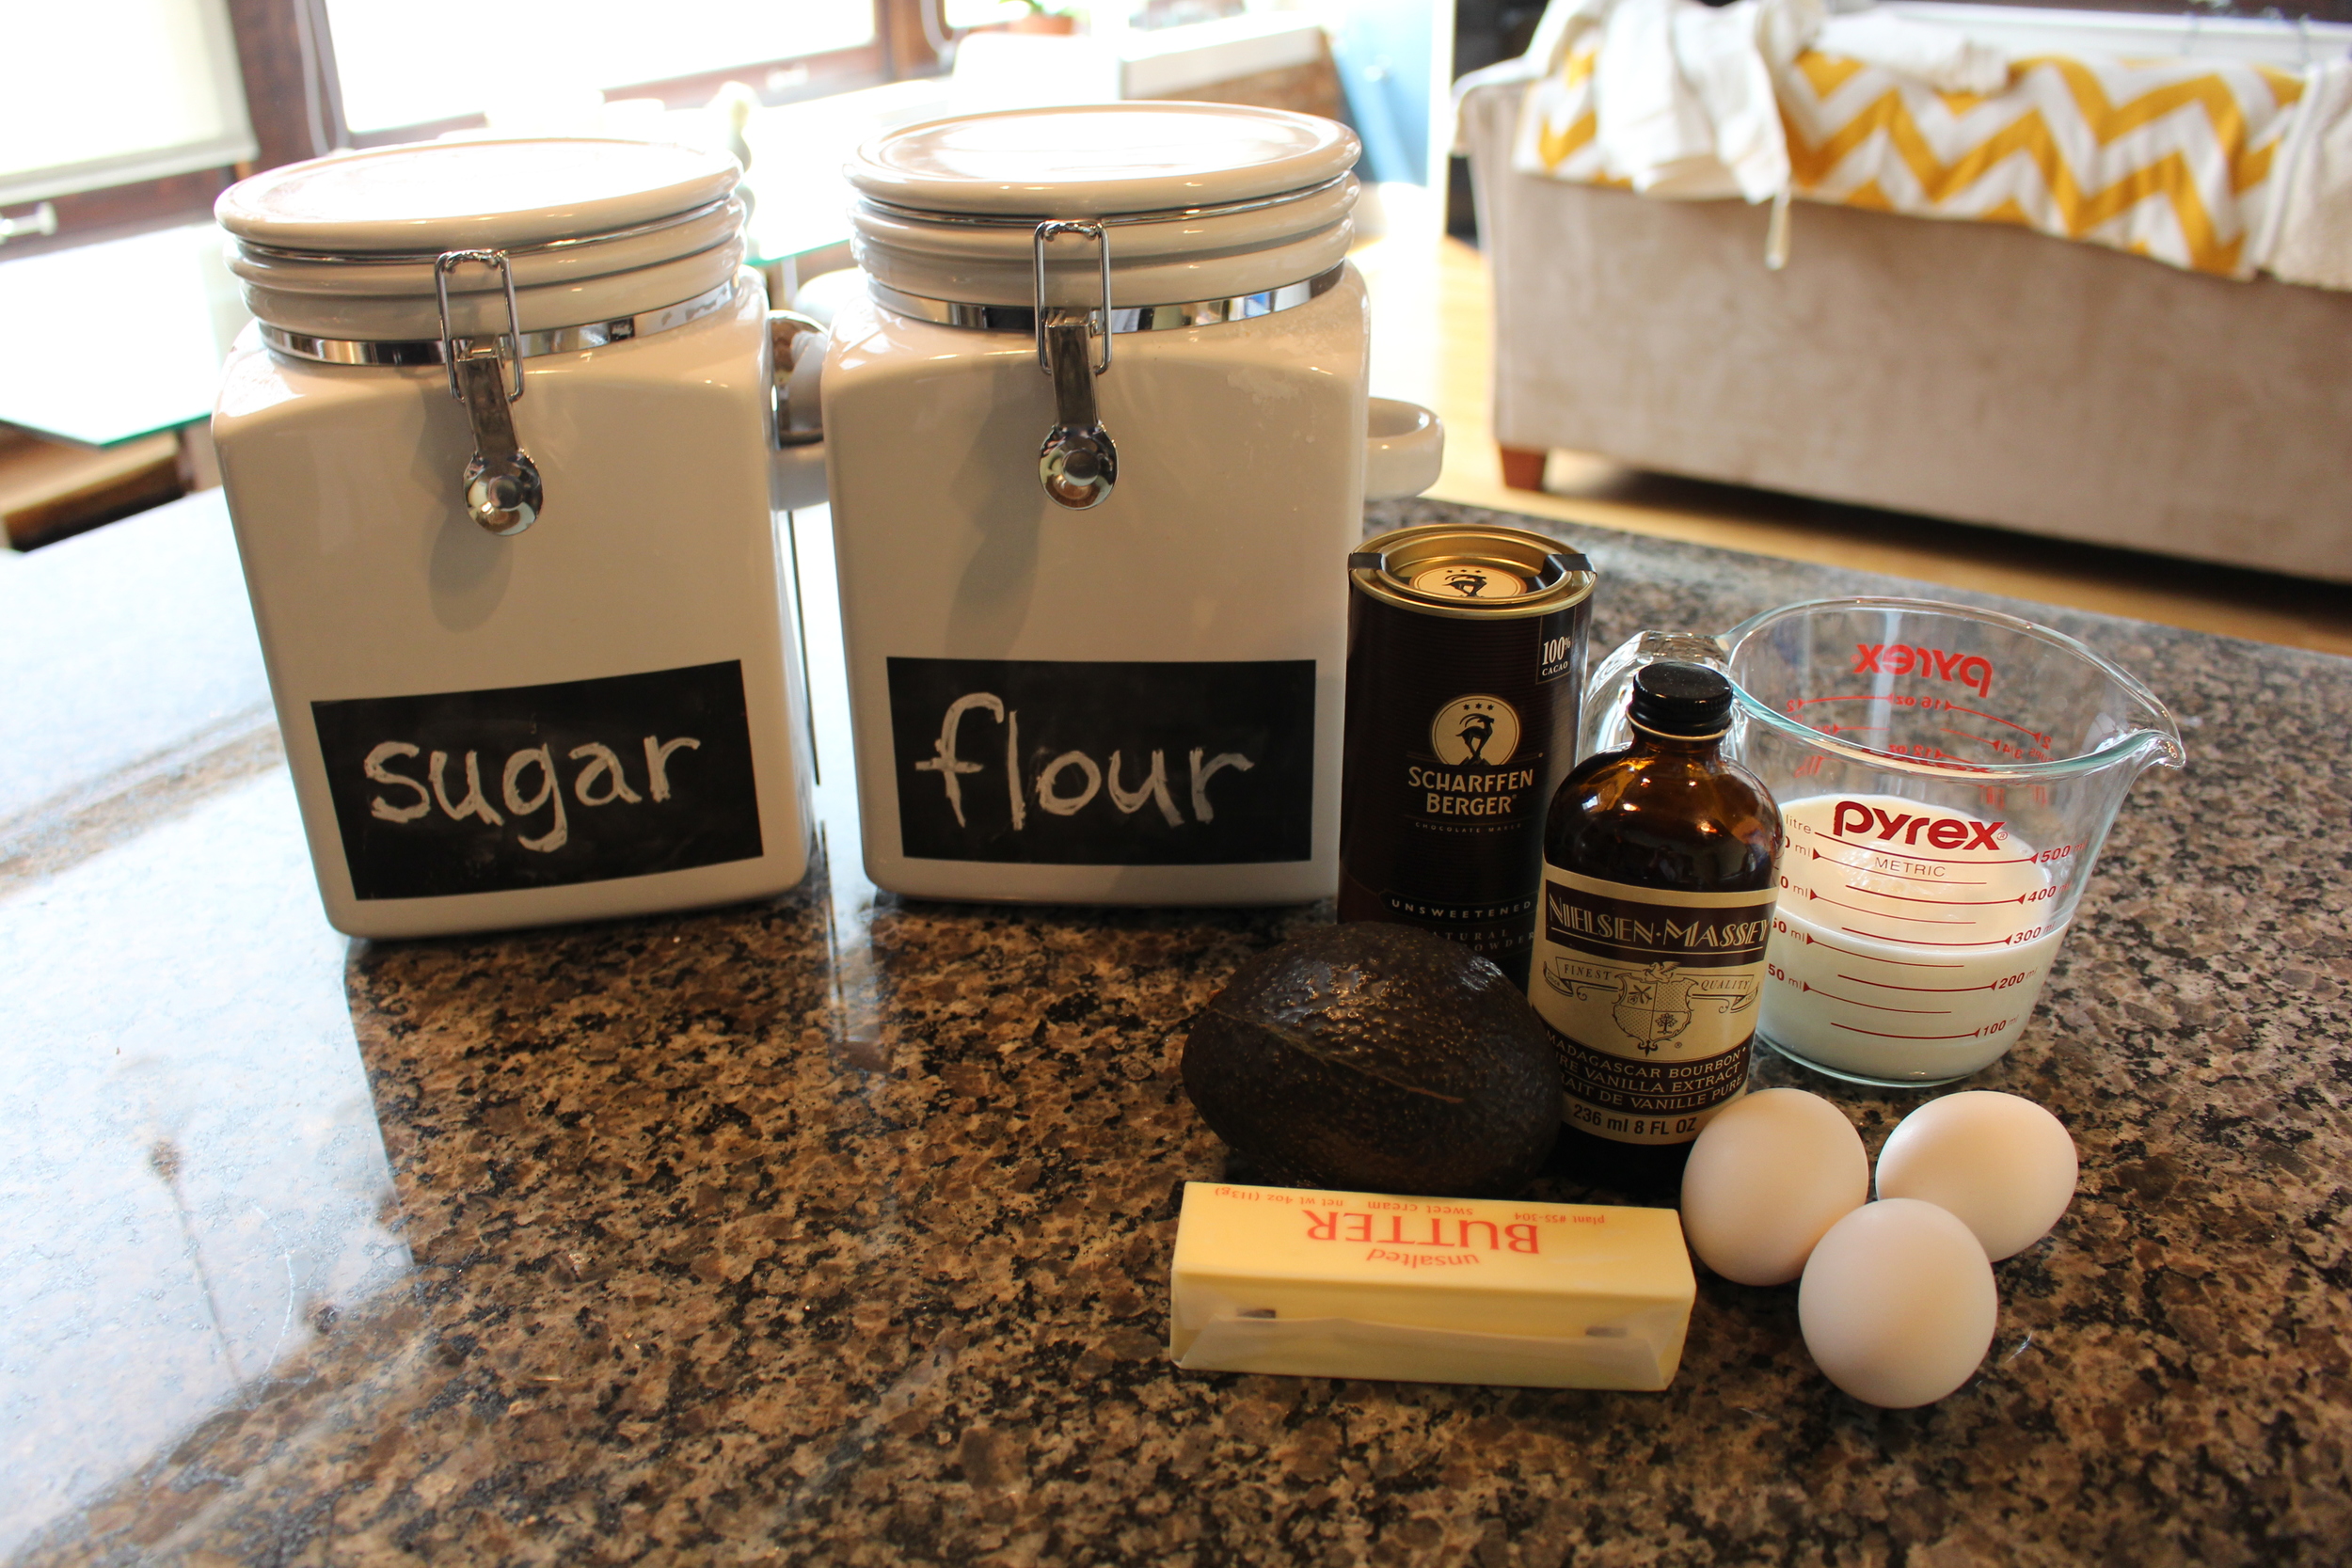
Pound Cake Recipe Ingredients:
3 cups of AP flour
1/4 tspn baking soda
1/2 tspn salt
1 cup butter (softened at room temp)
3 cups white sugar
6 eggs
1 tspn vanilla extract
2 tspn almond extract
1 cup buttermilk (I used powdered buttermilk and followed the directions on the label)
Directions:
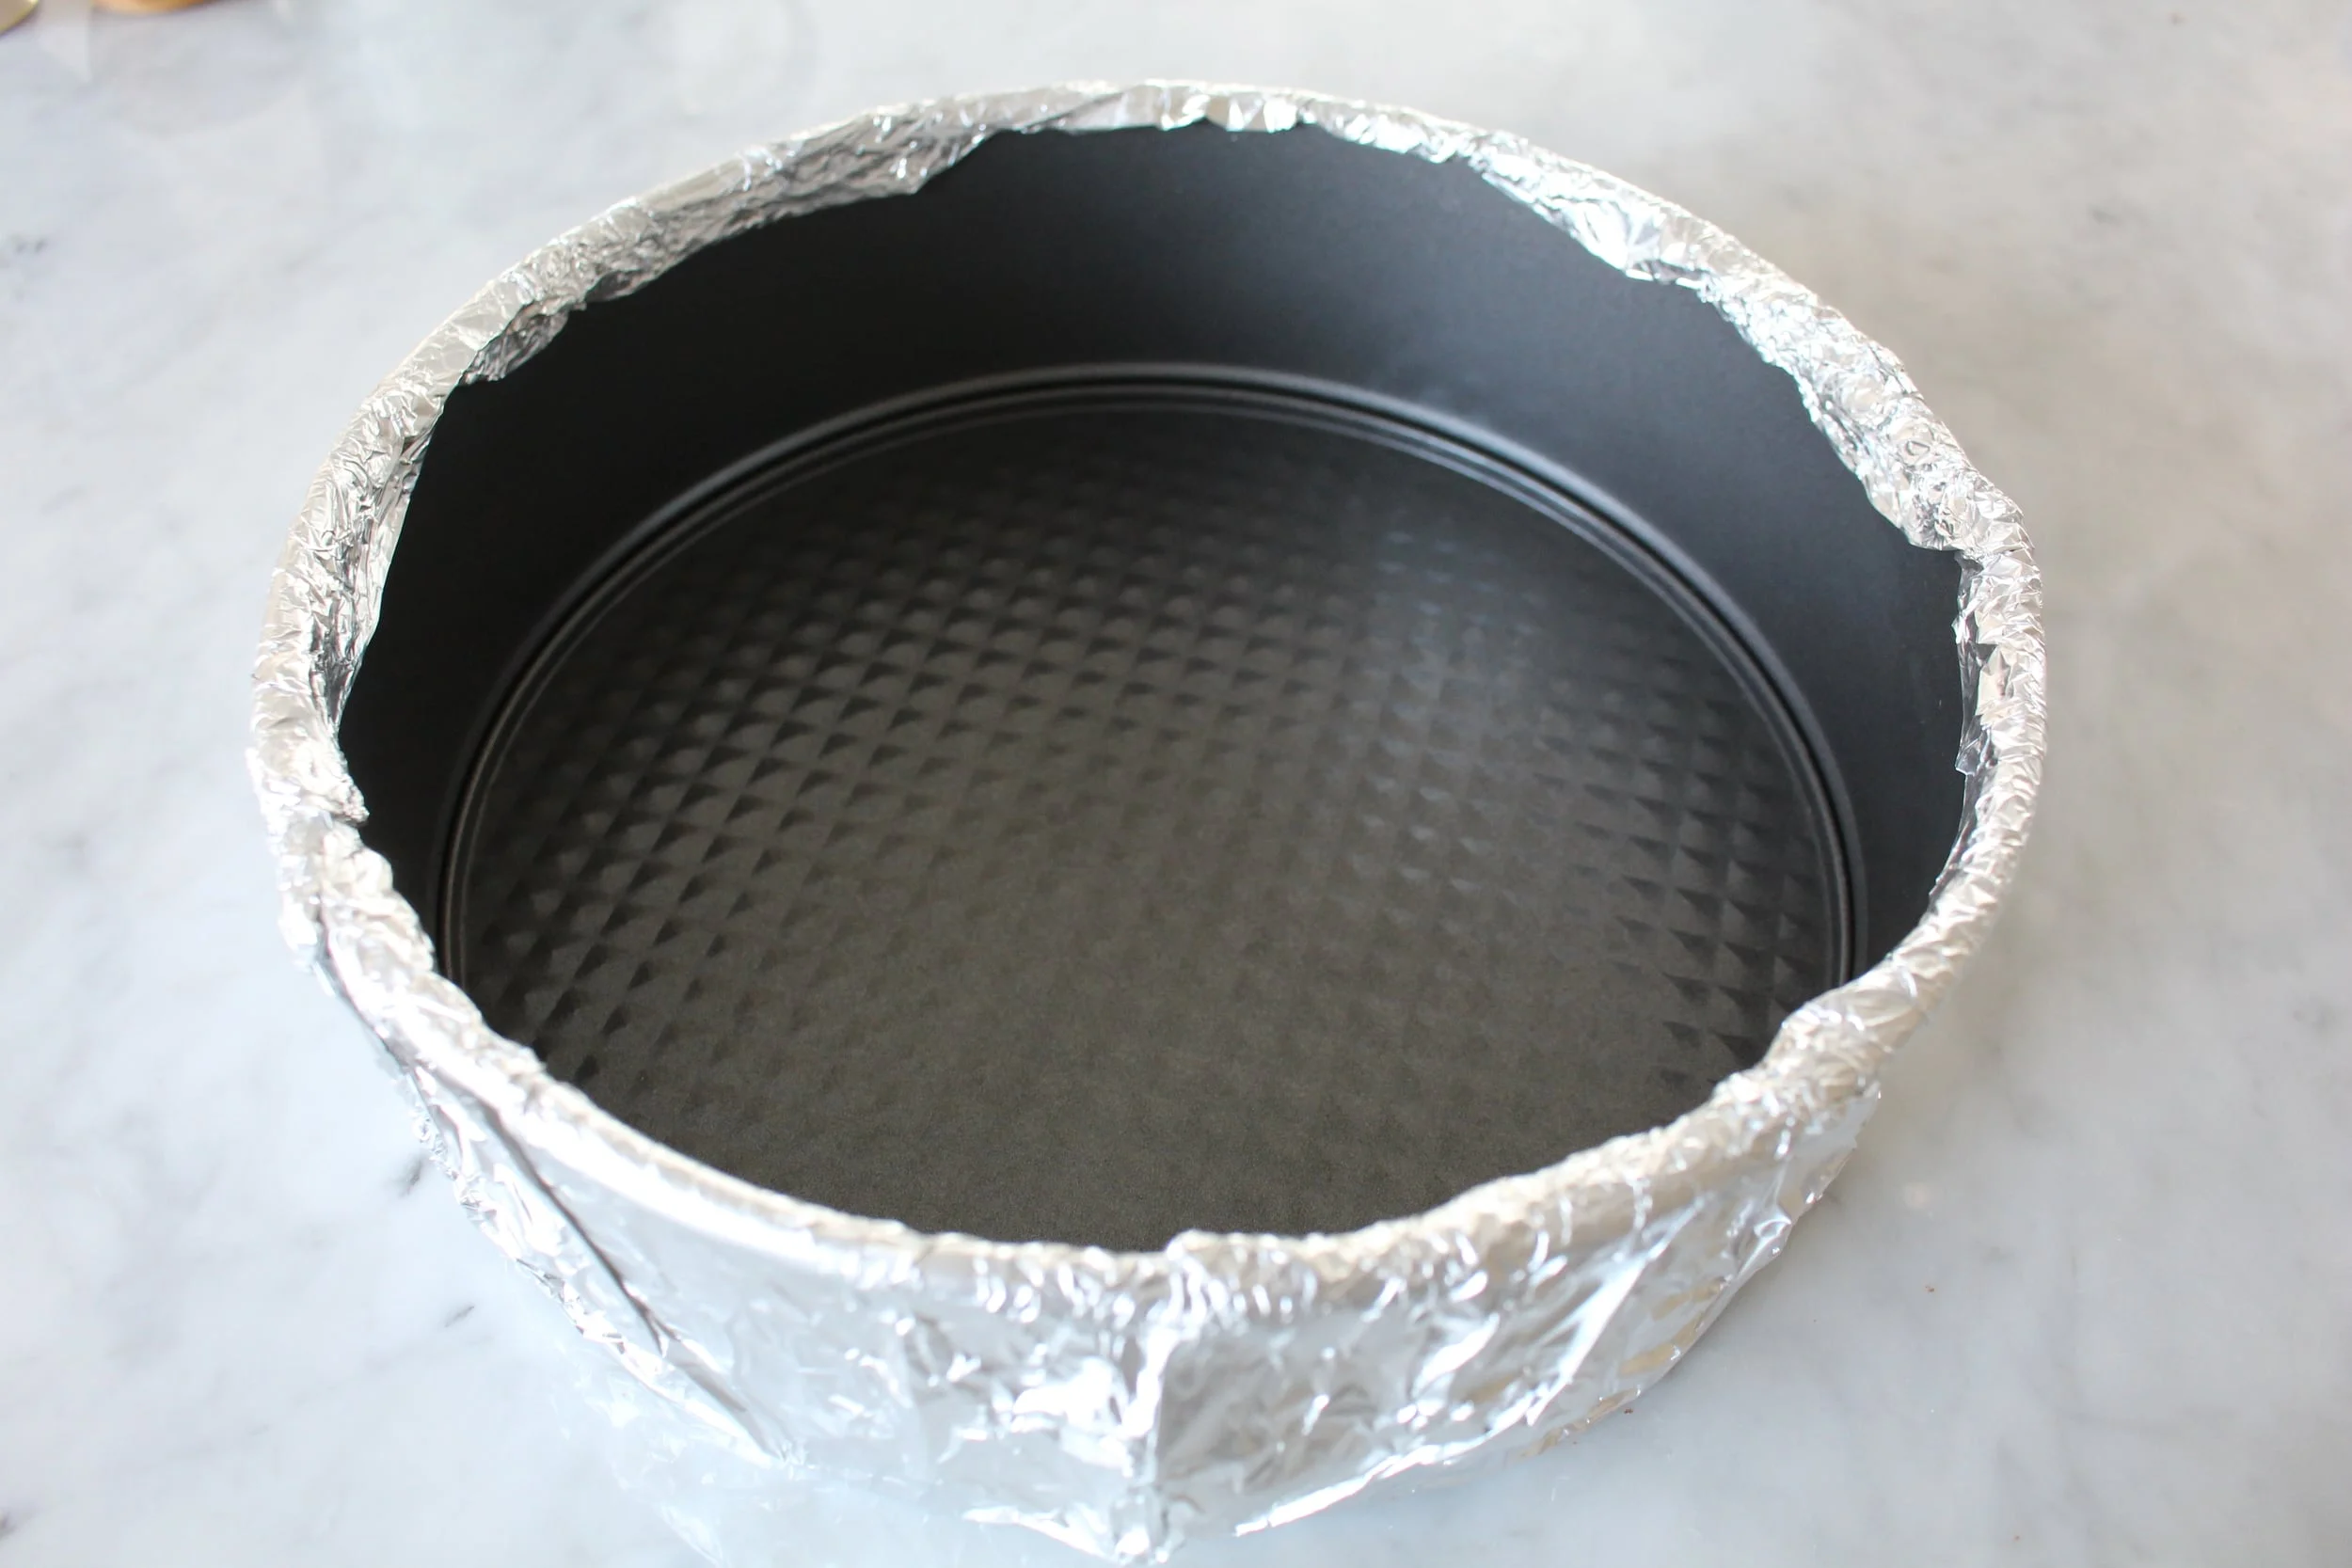
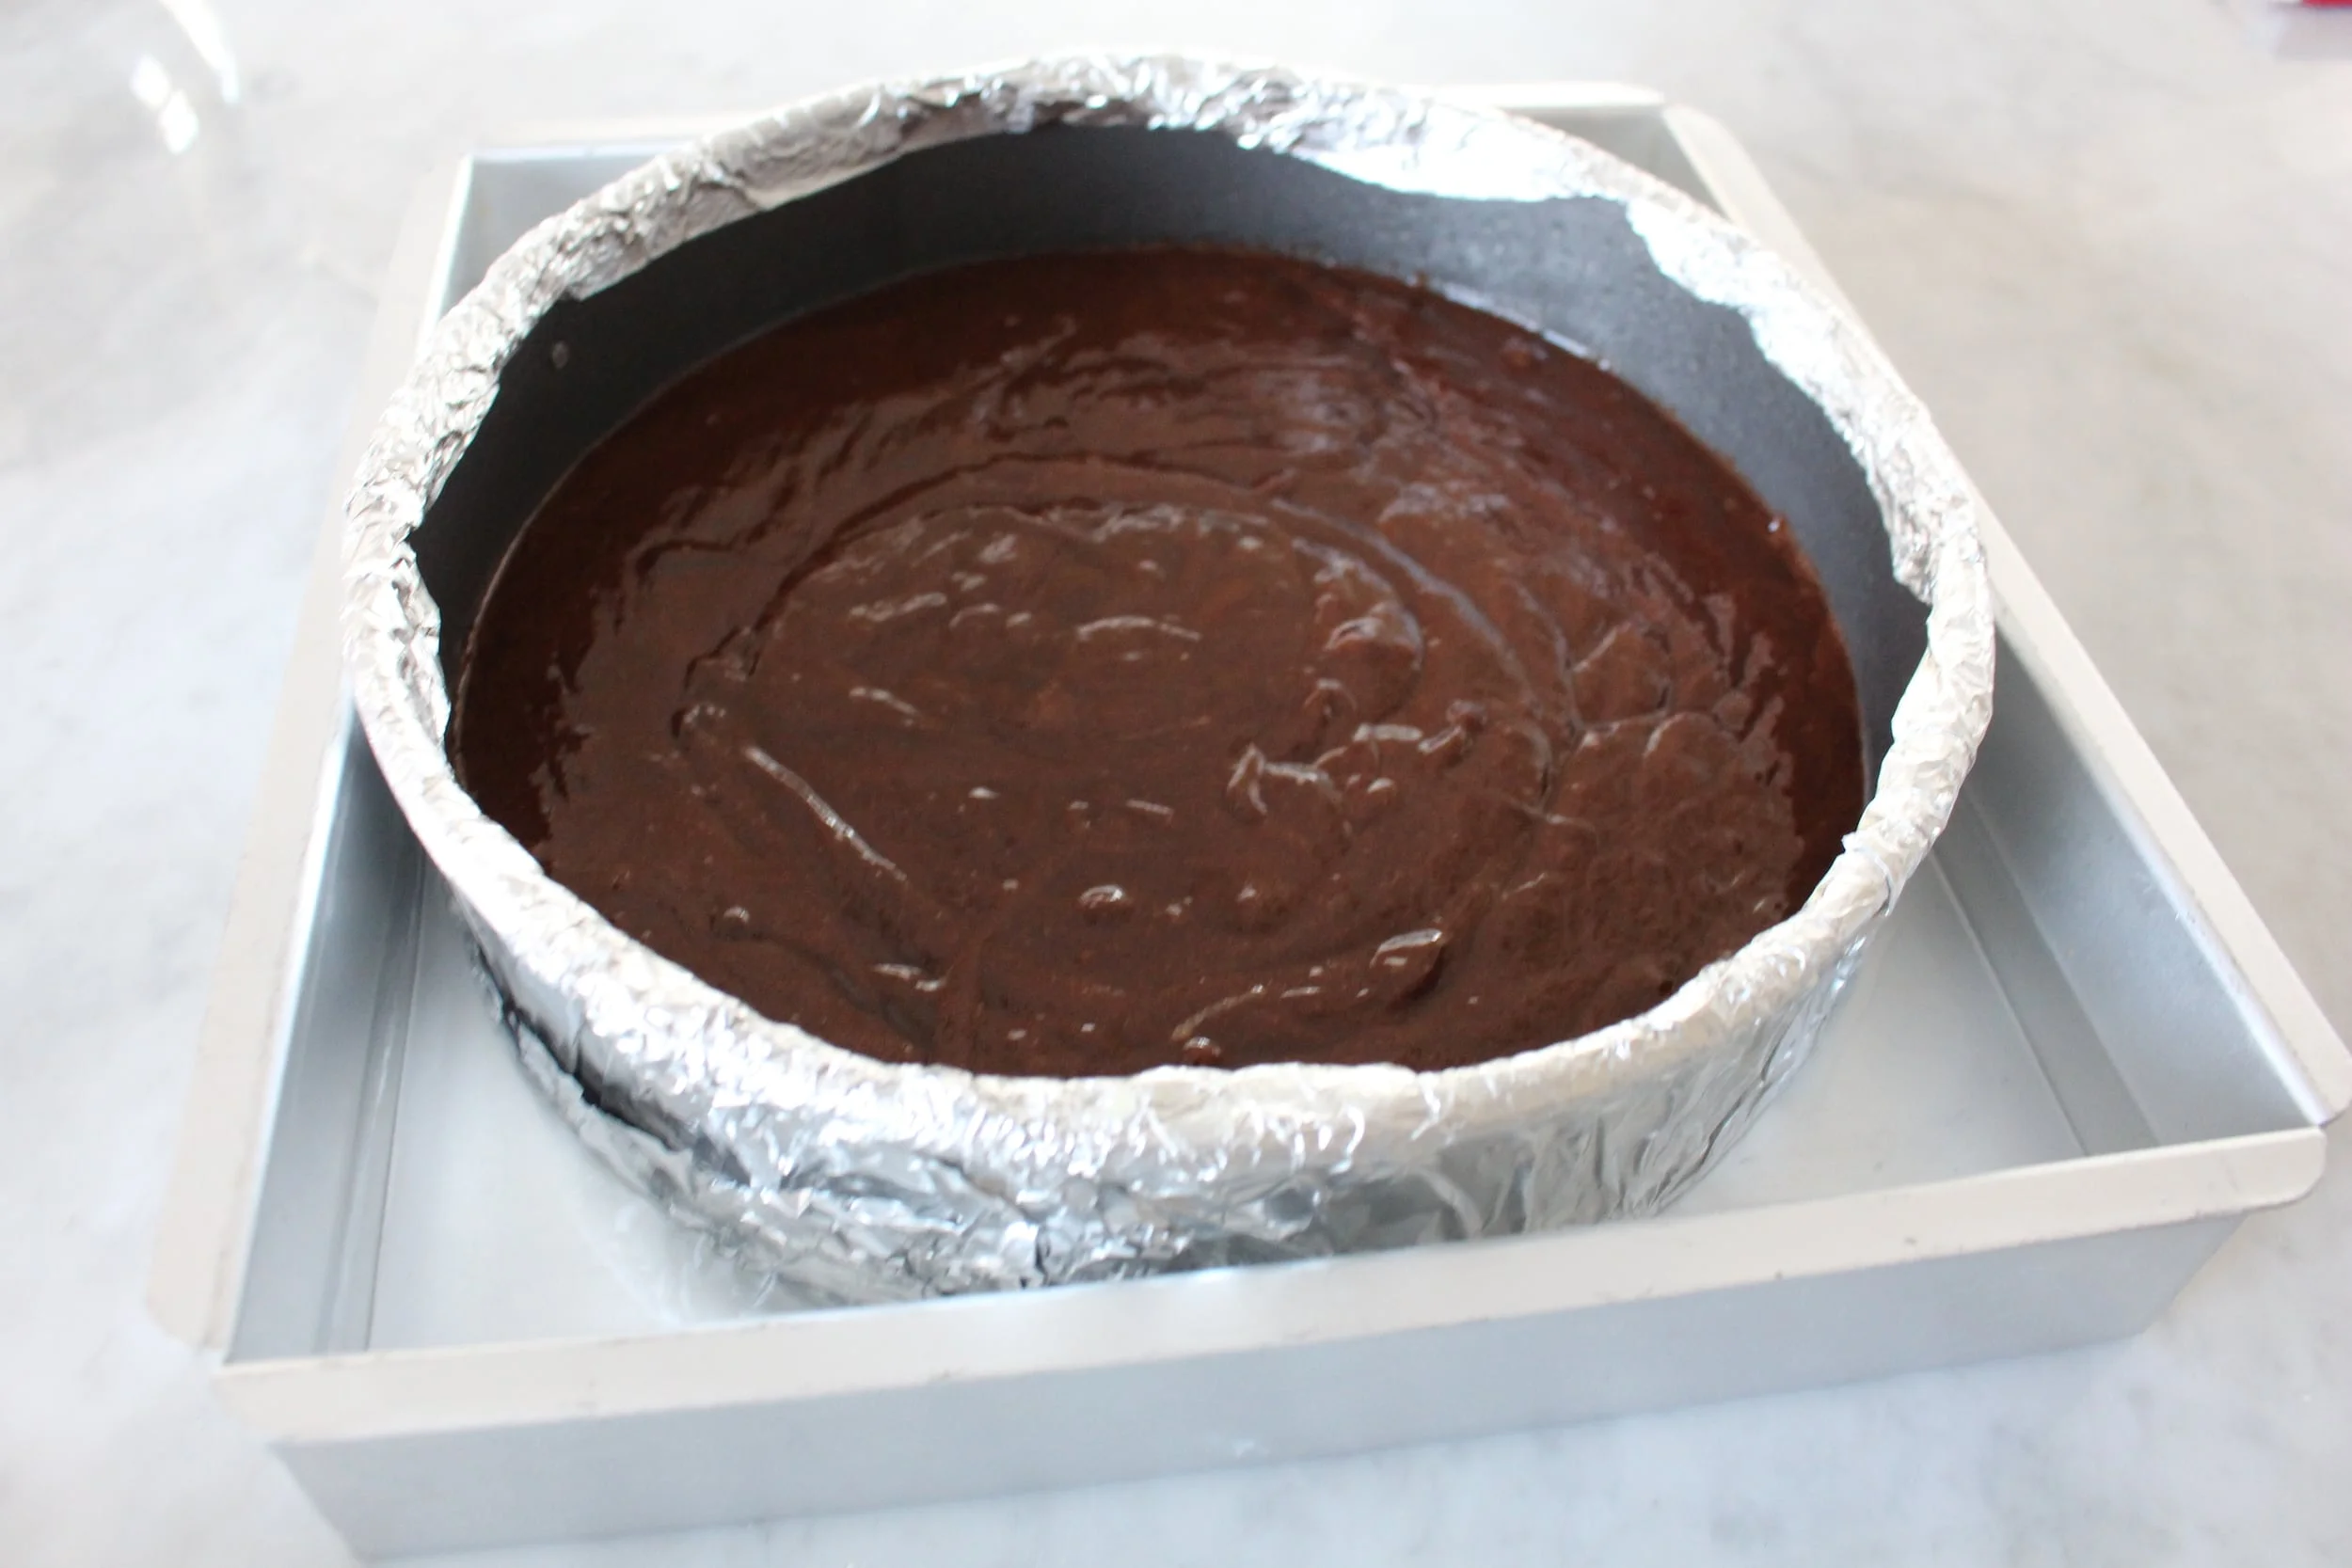
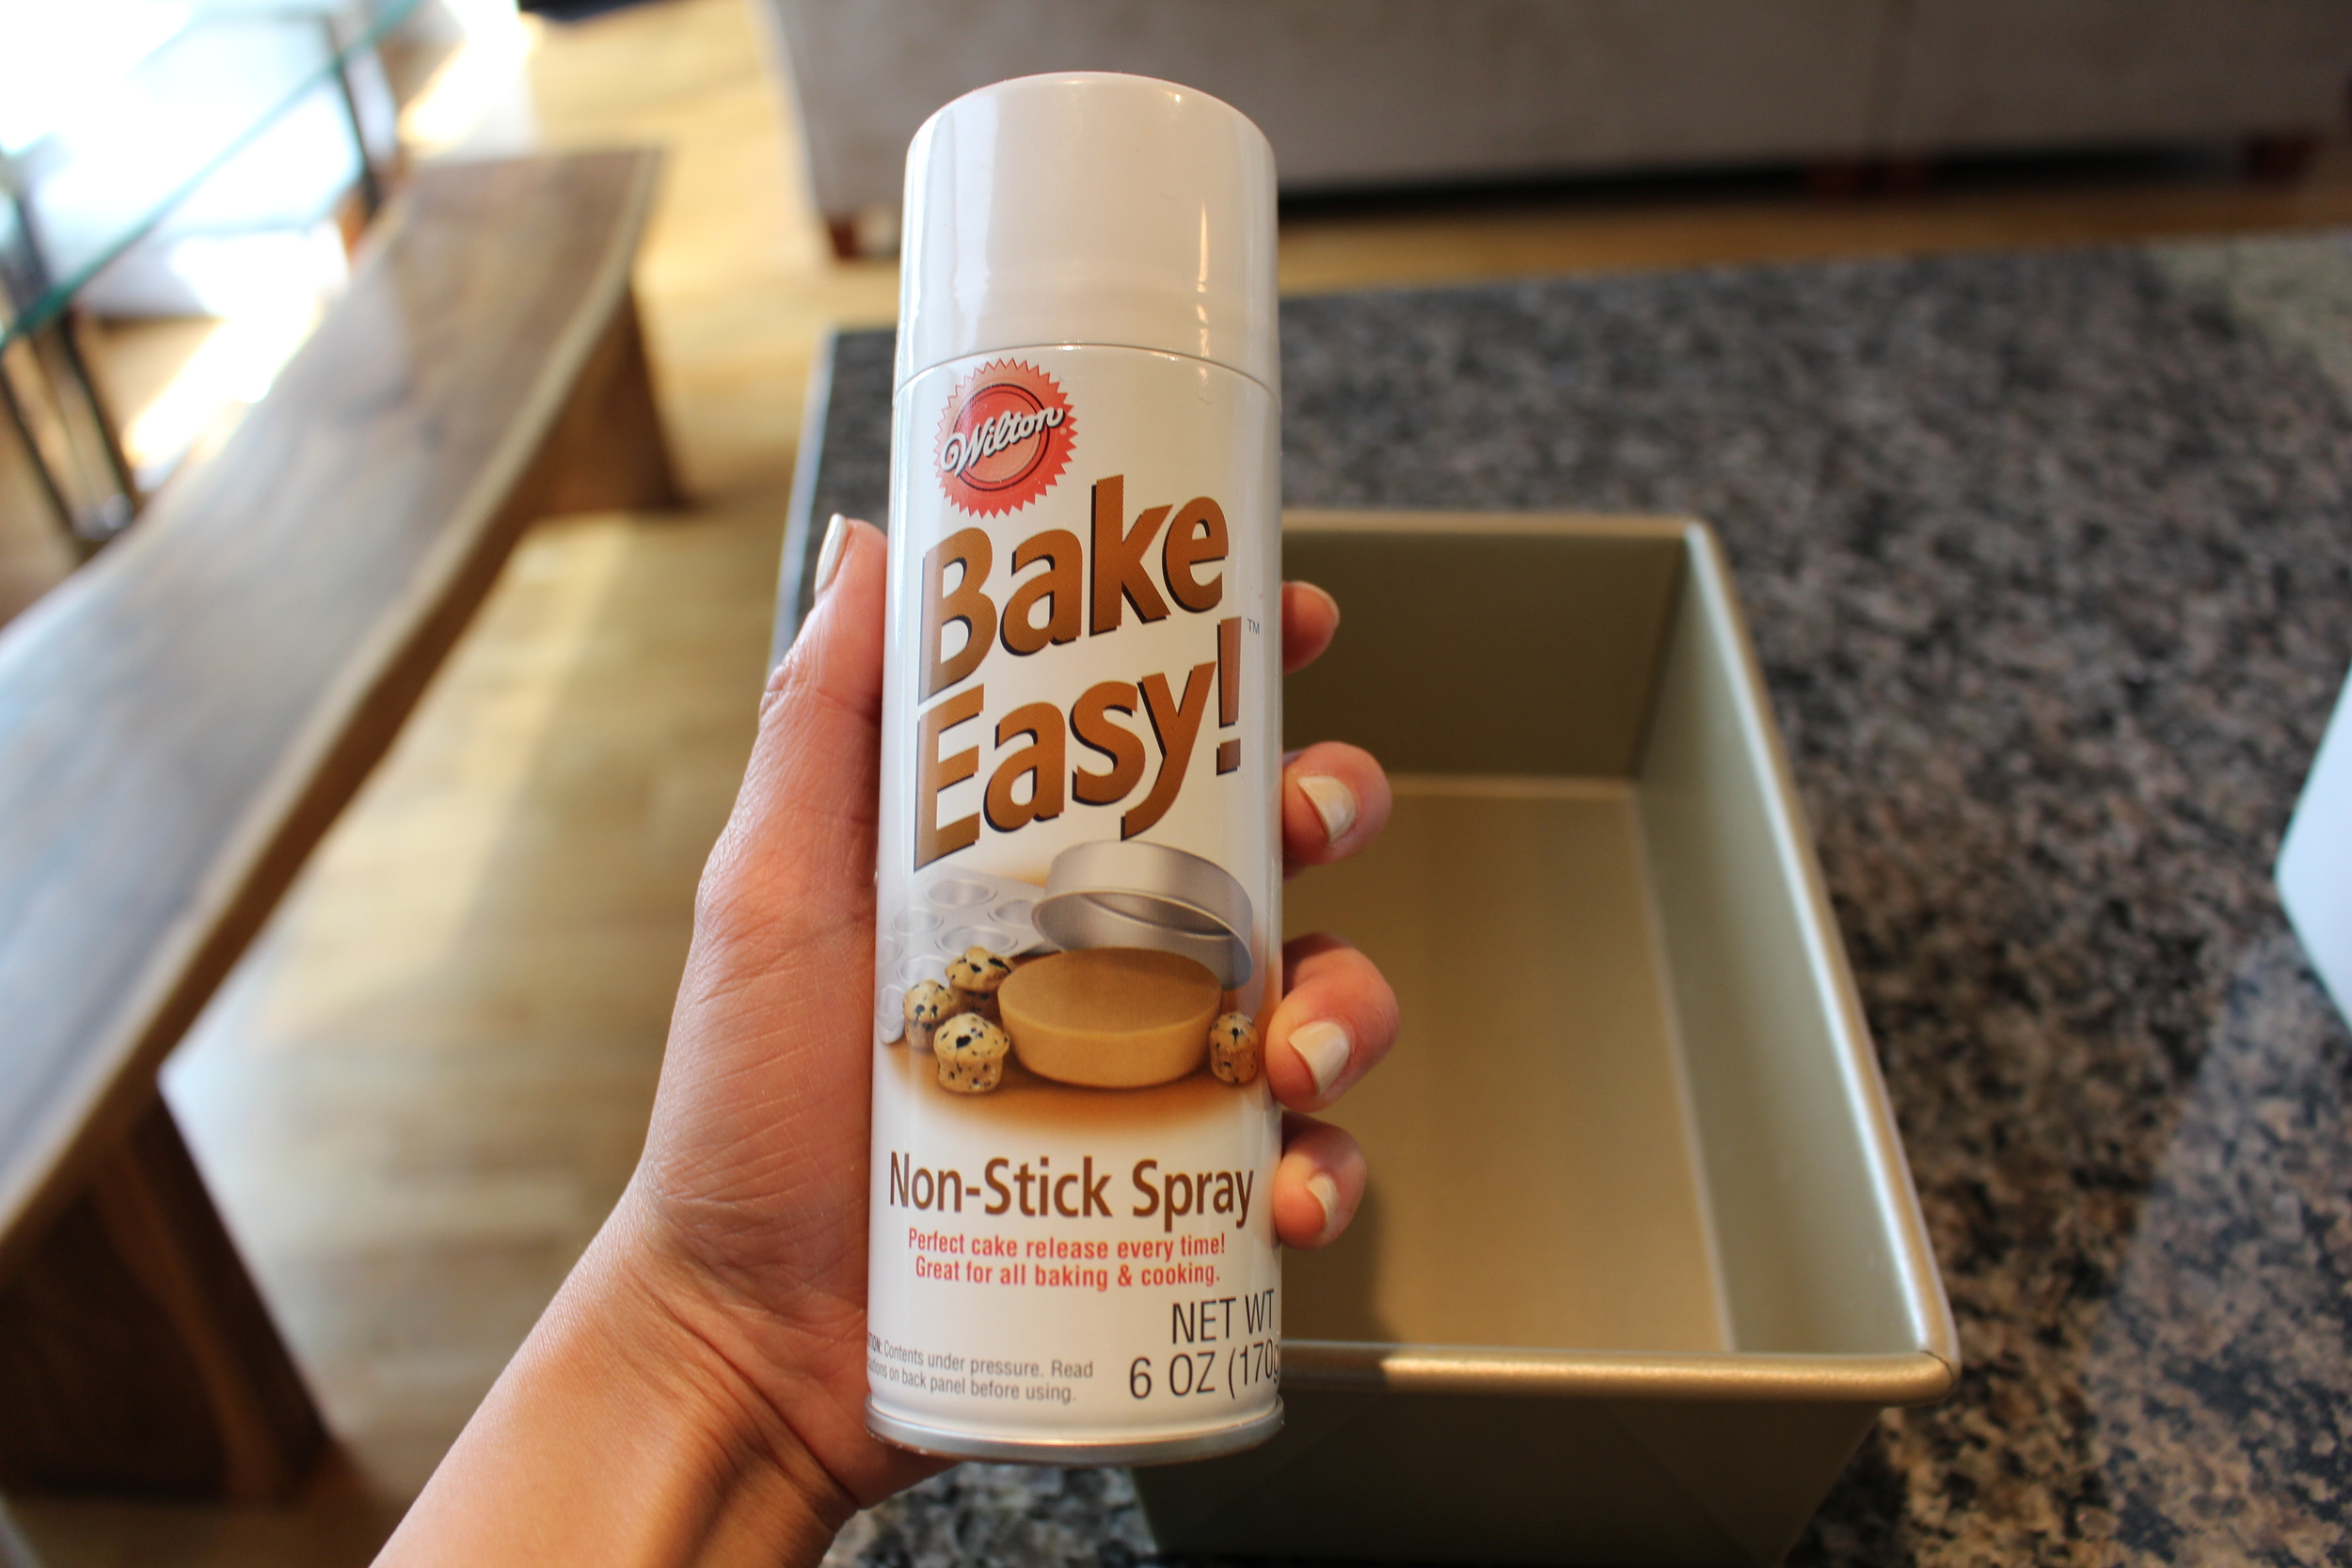
1. Pre-heat oven to 325 degrees. Grease a tube/bundt pan with oil spray.
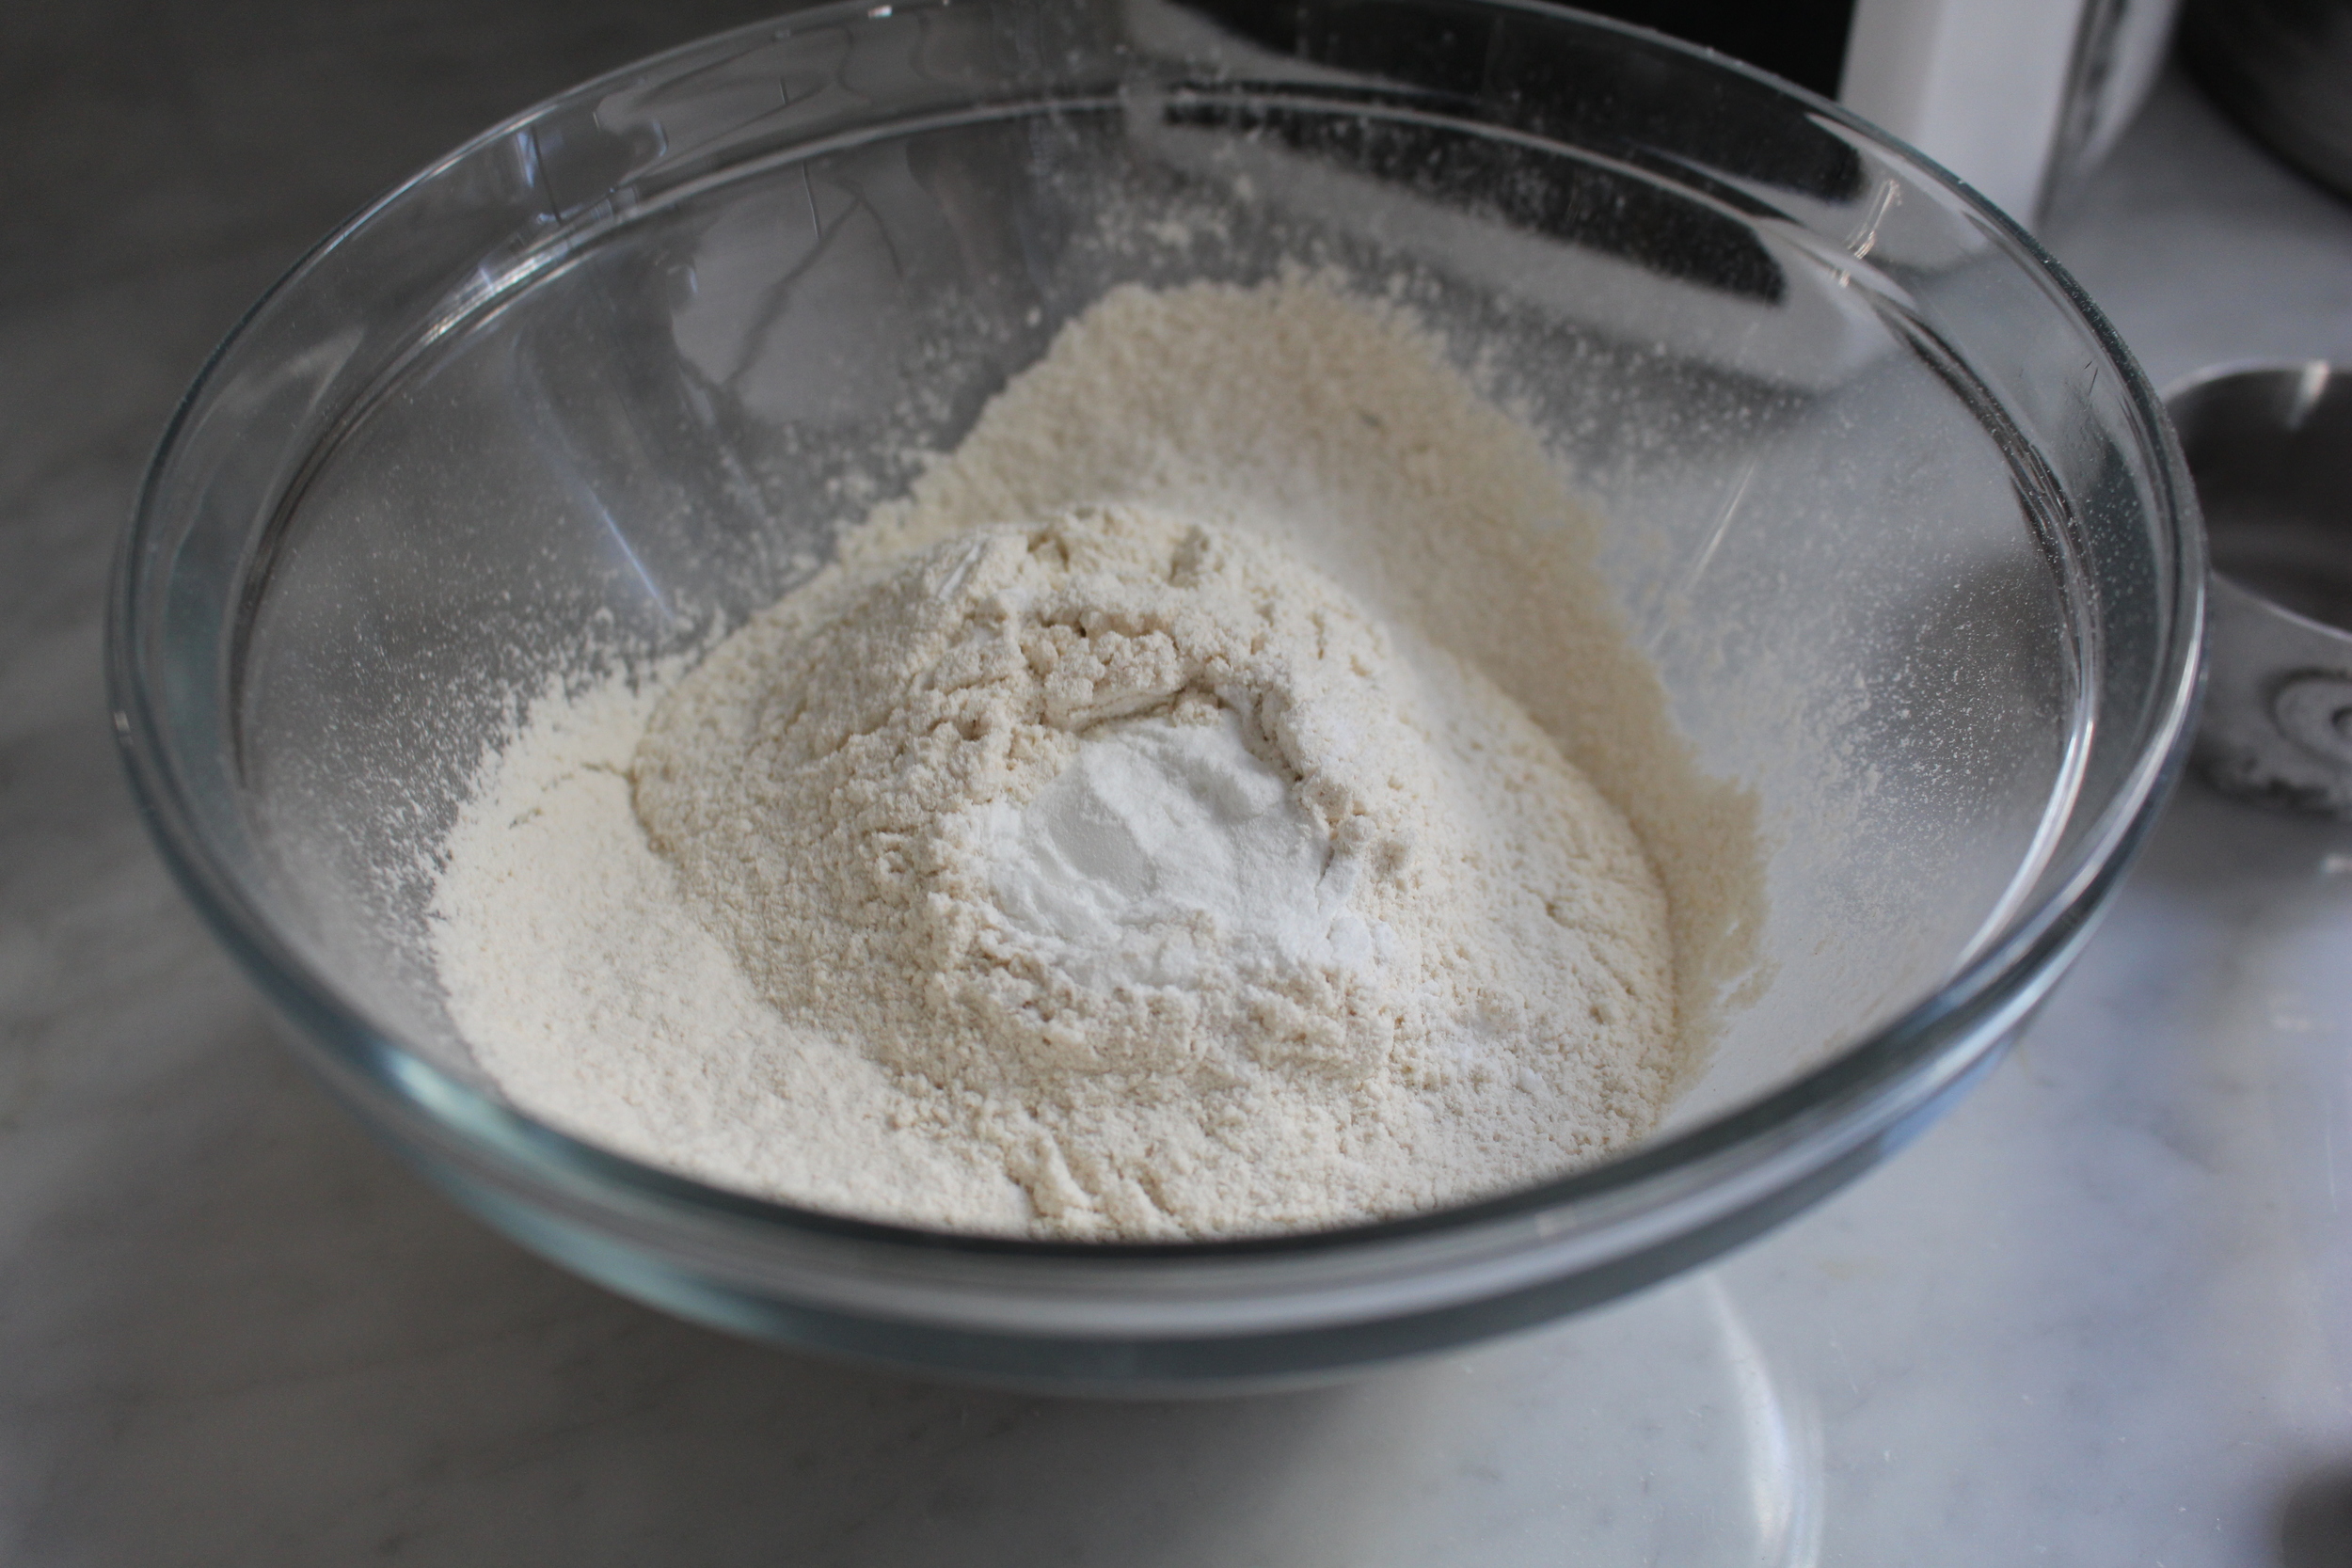
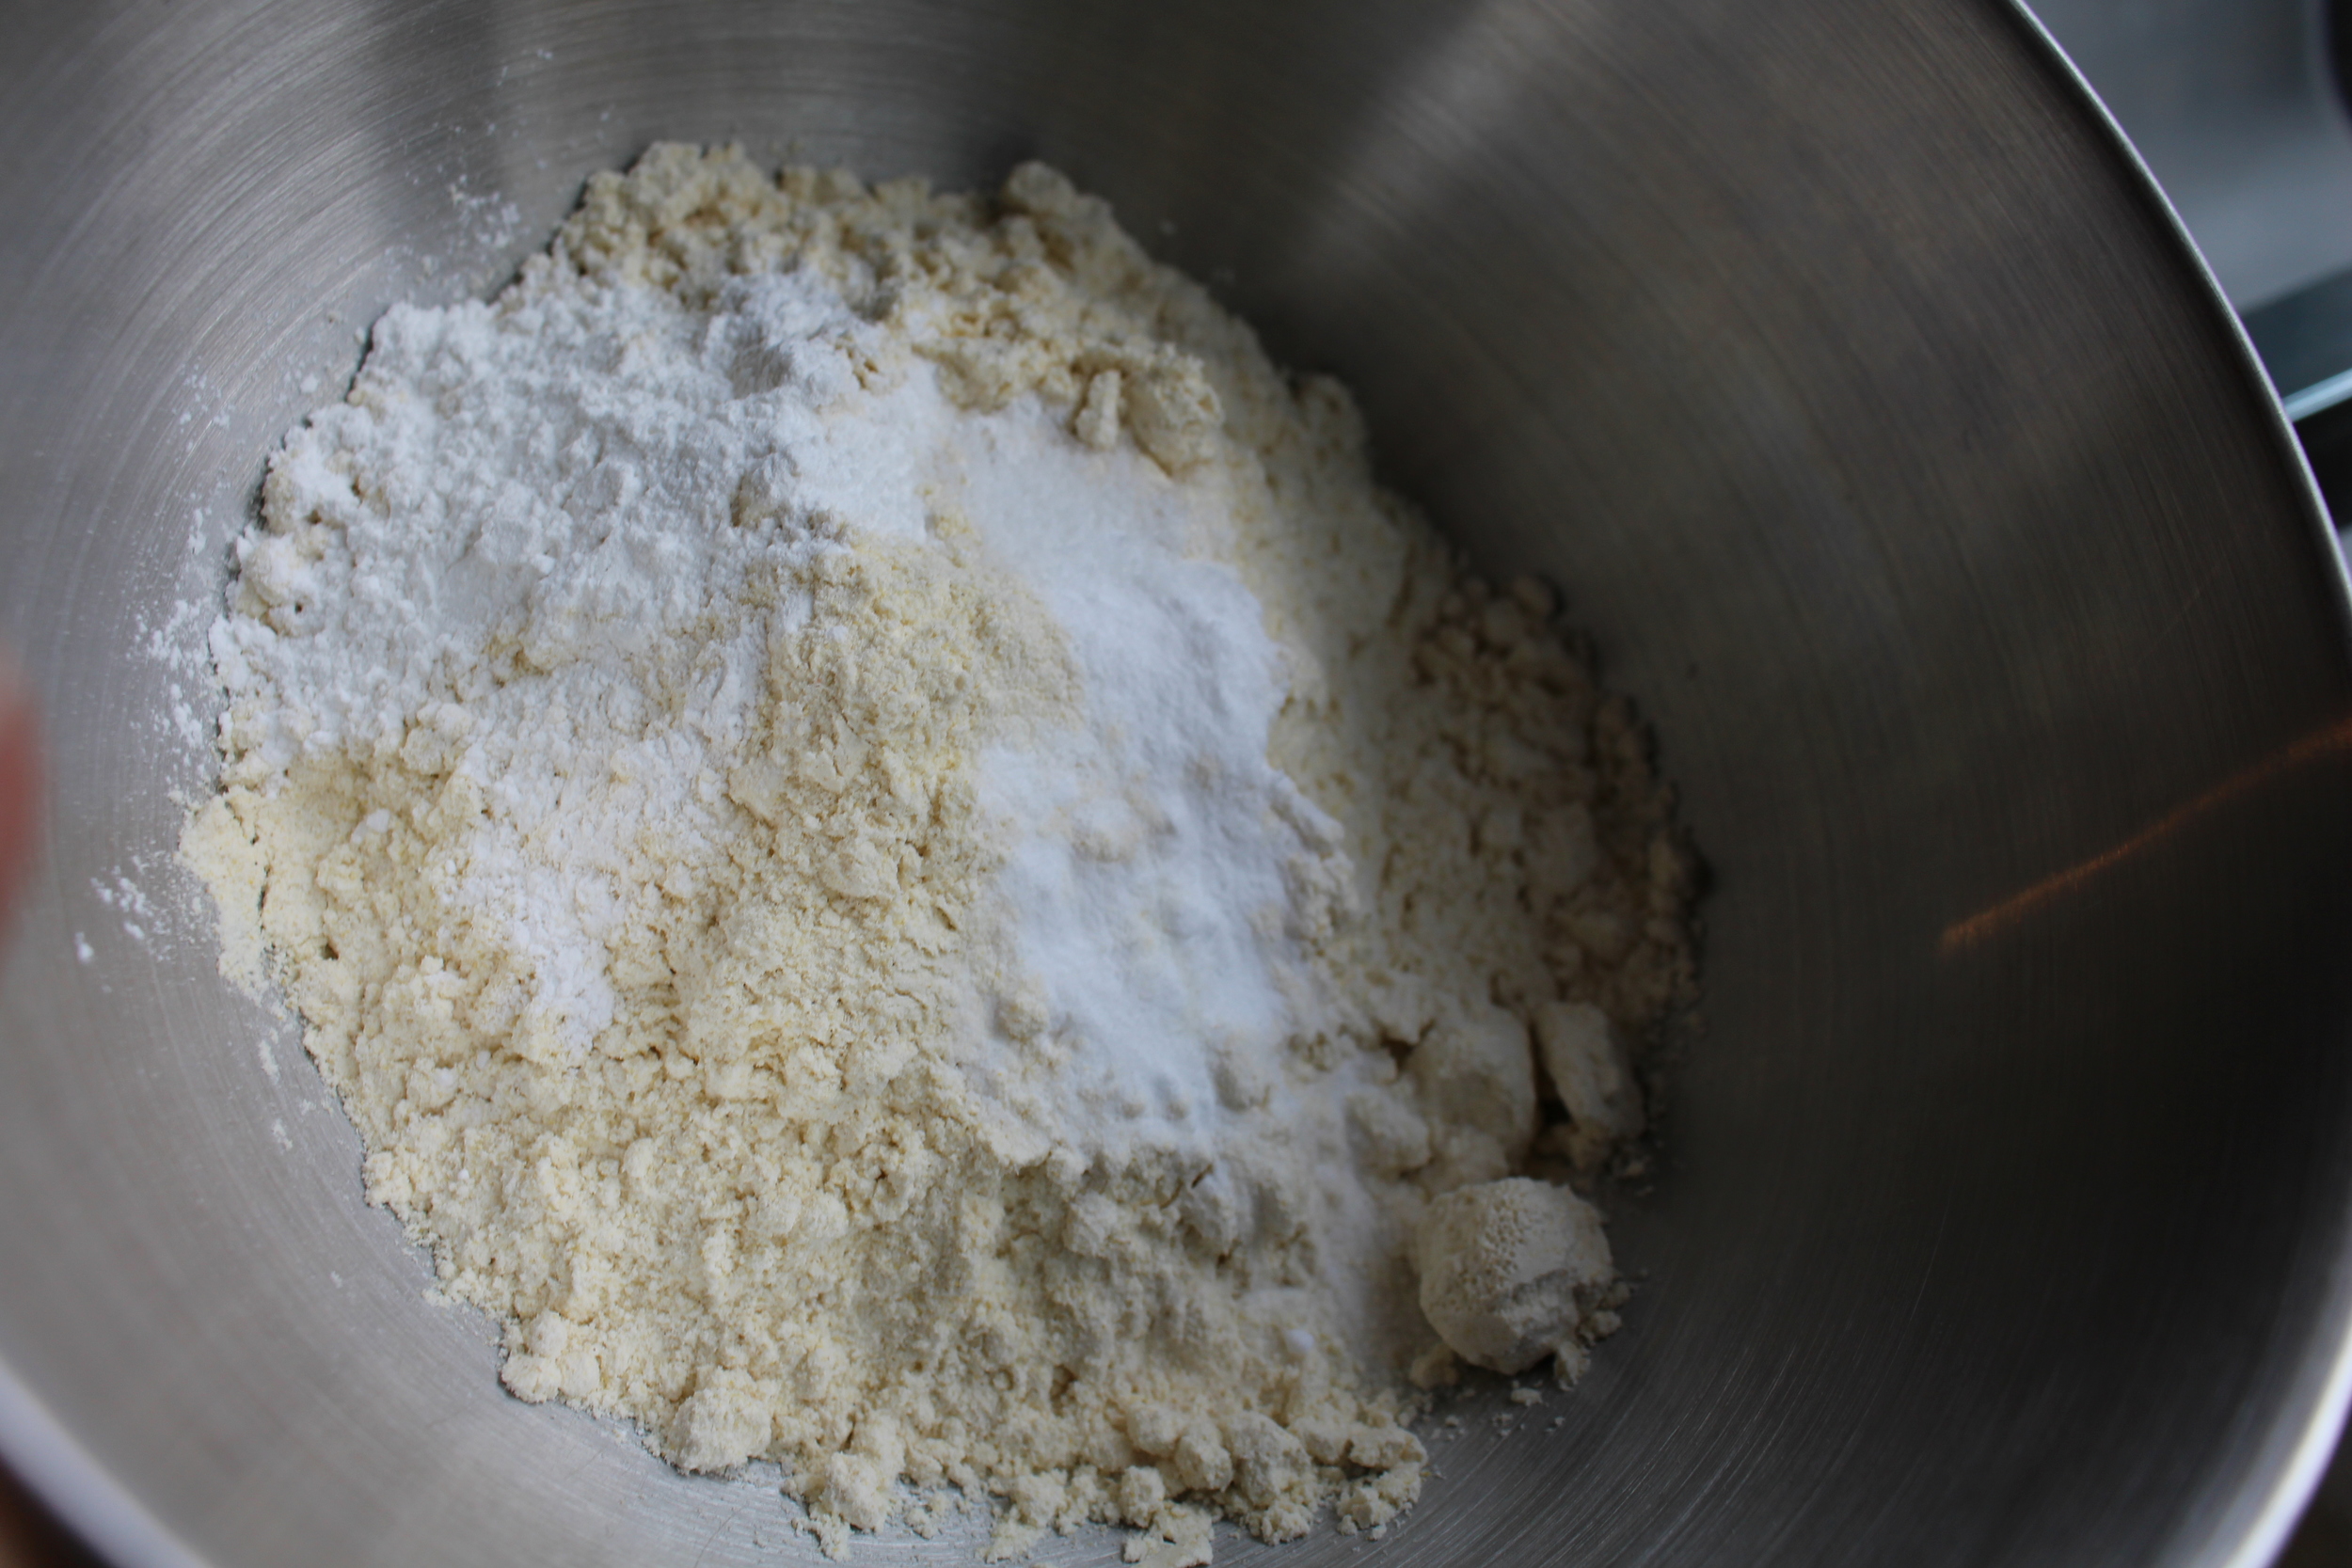
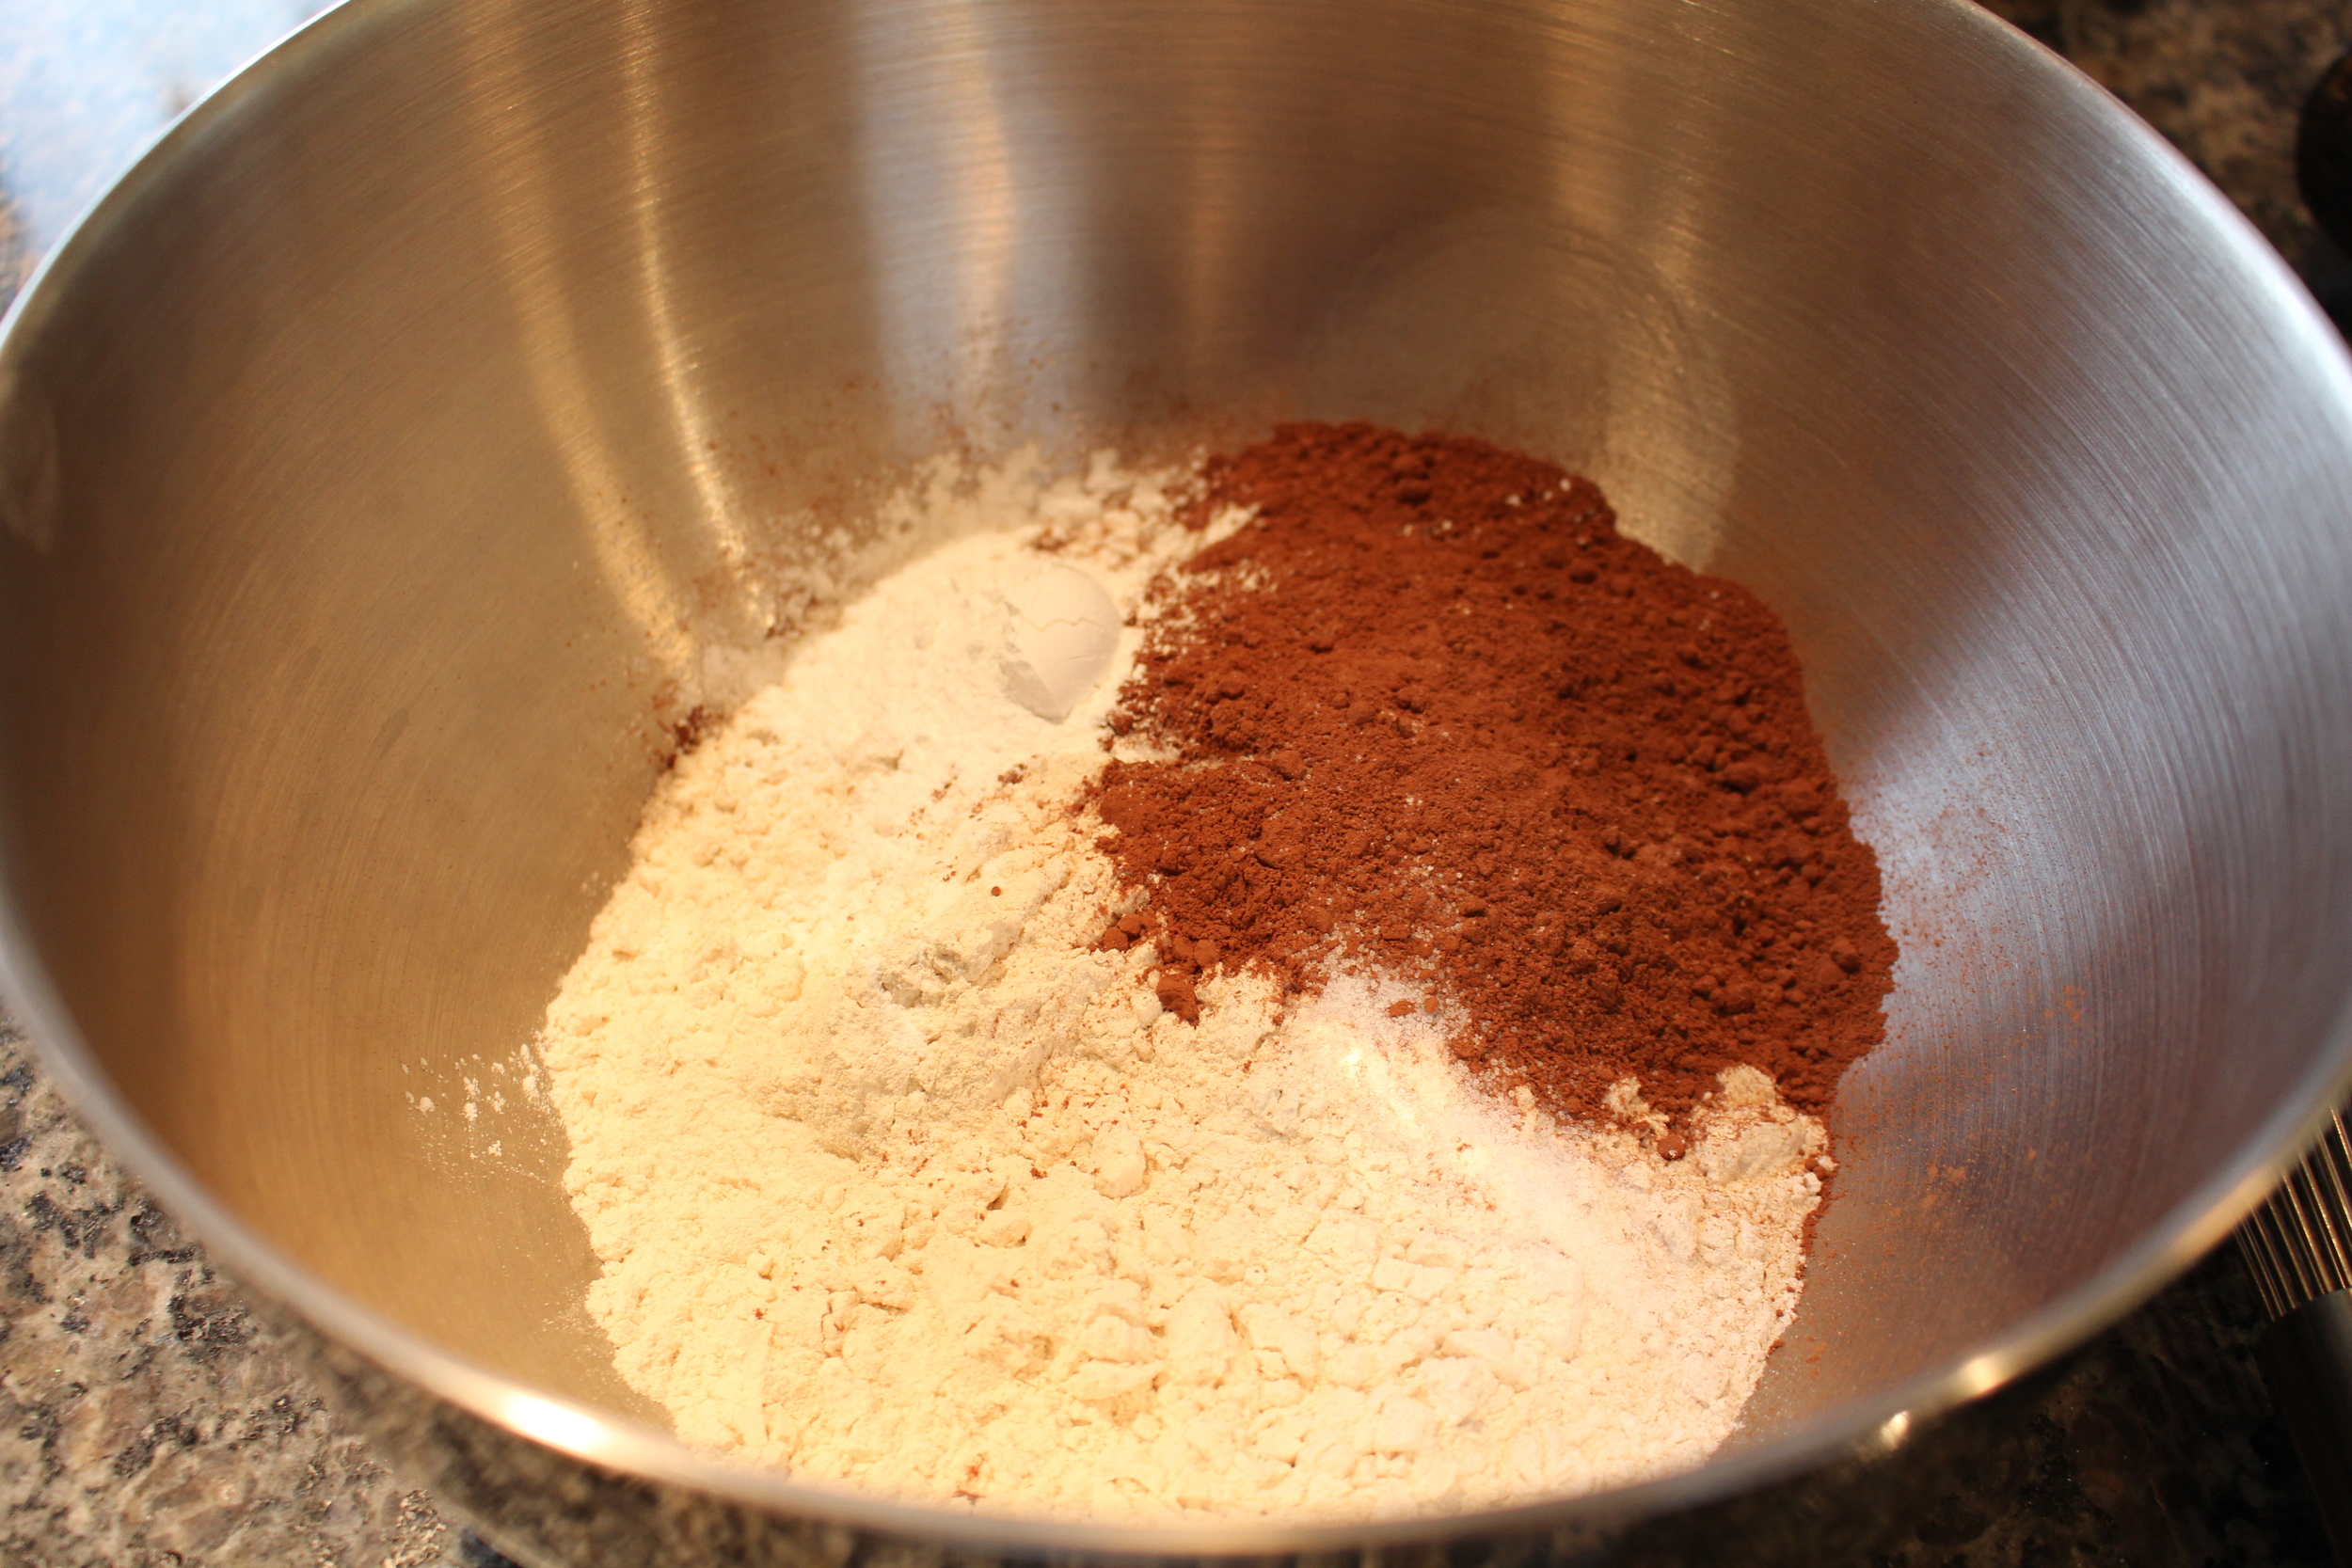
2. Whisk together flour, baking soda, and salt. Set aside.
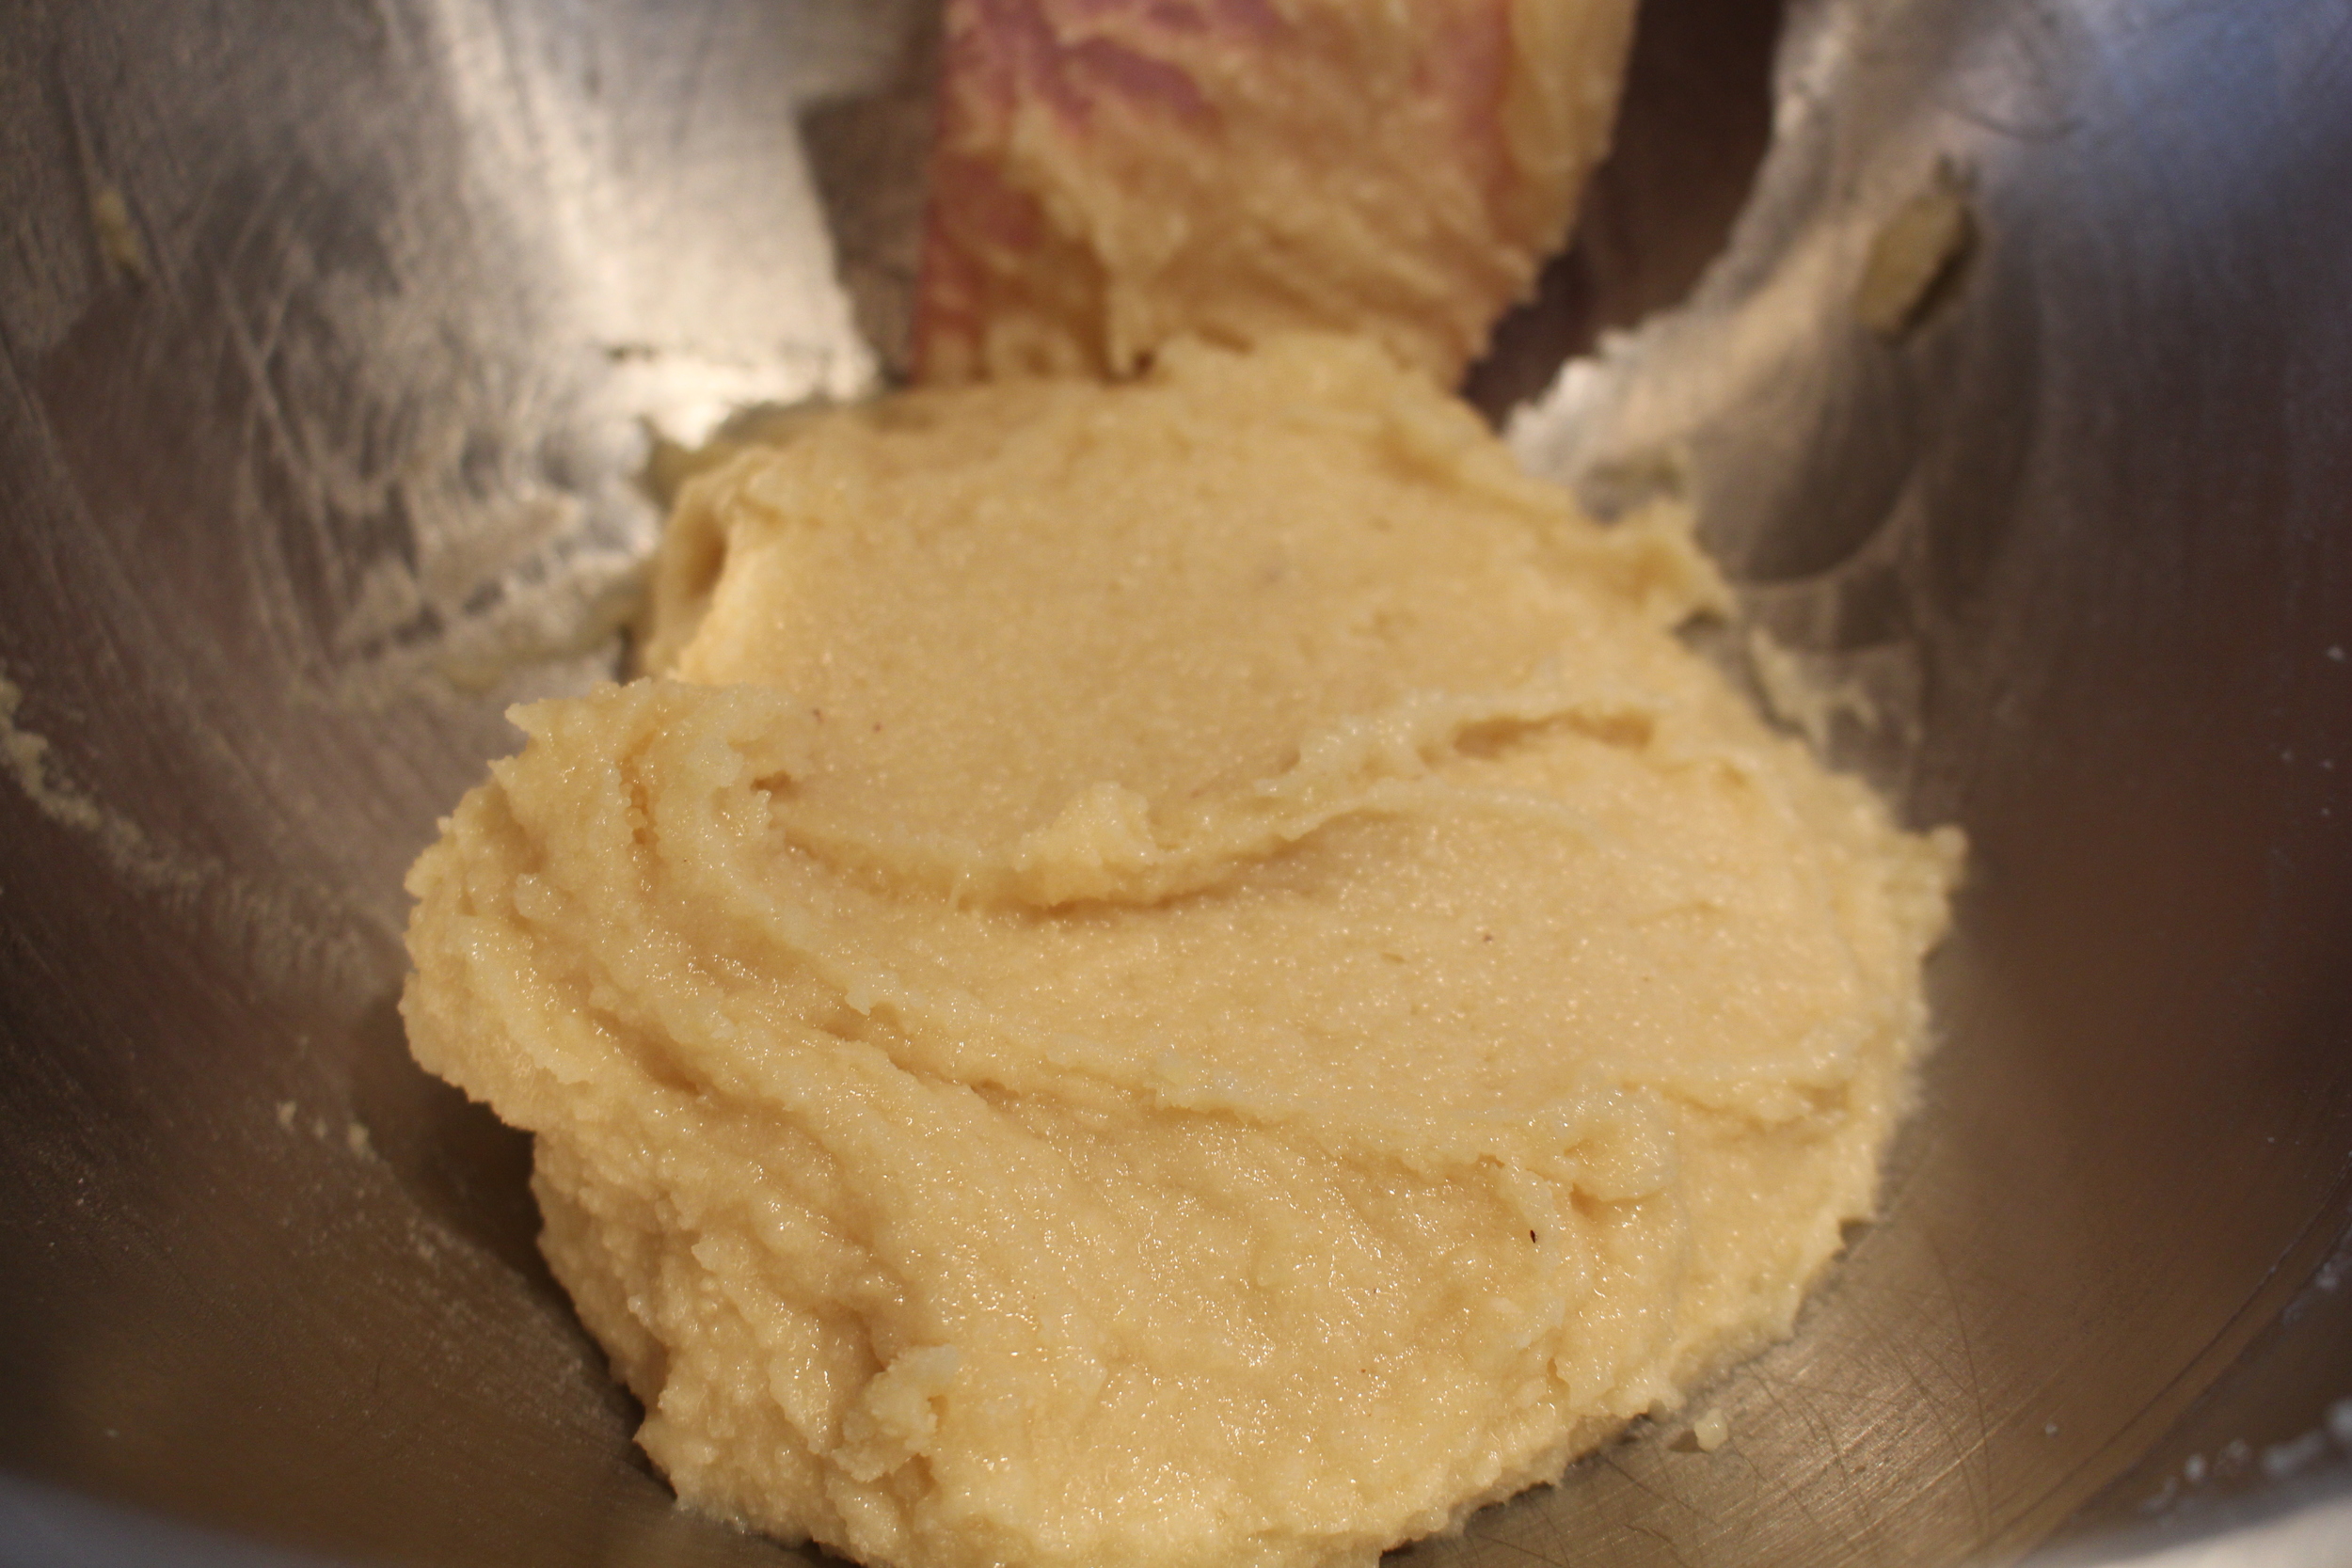
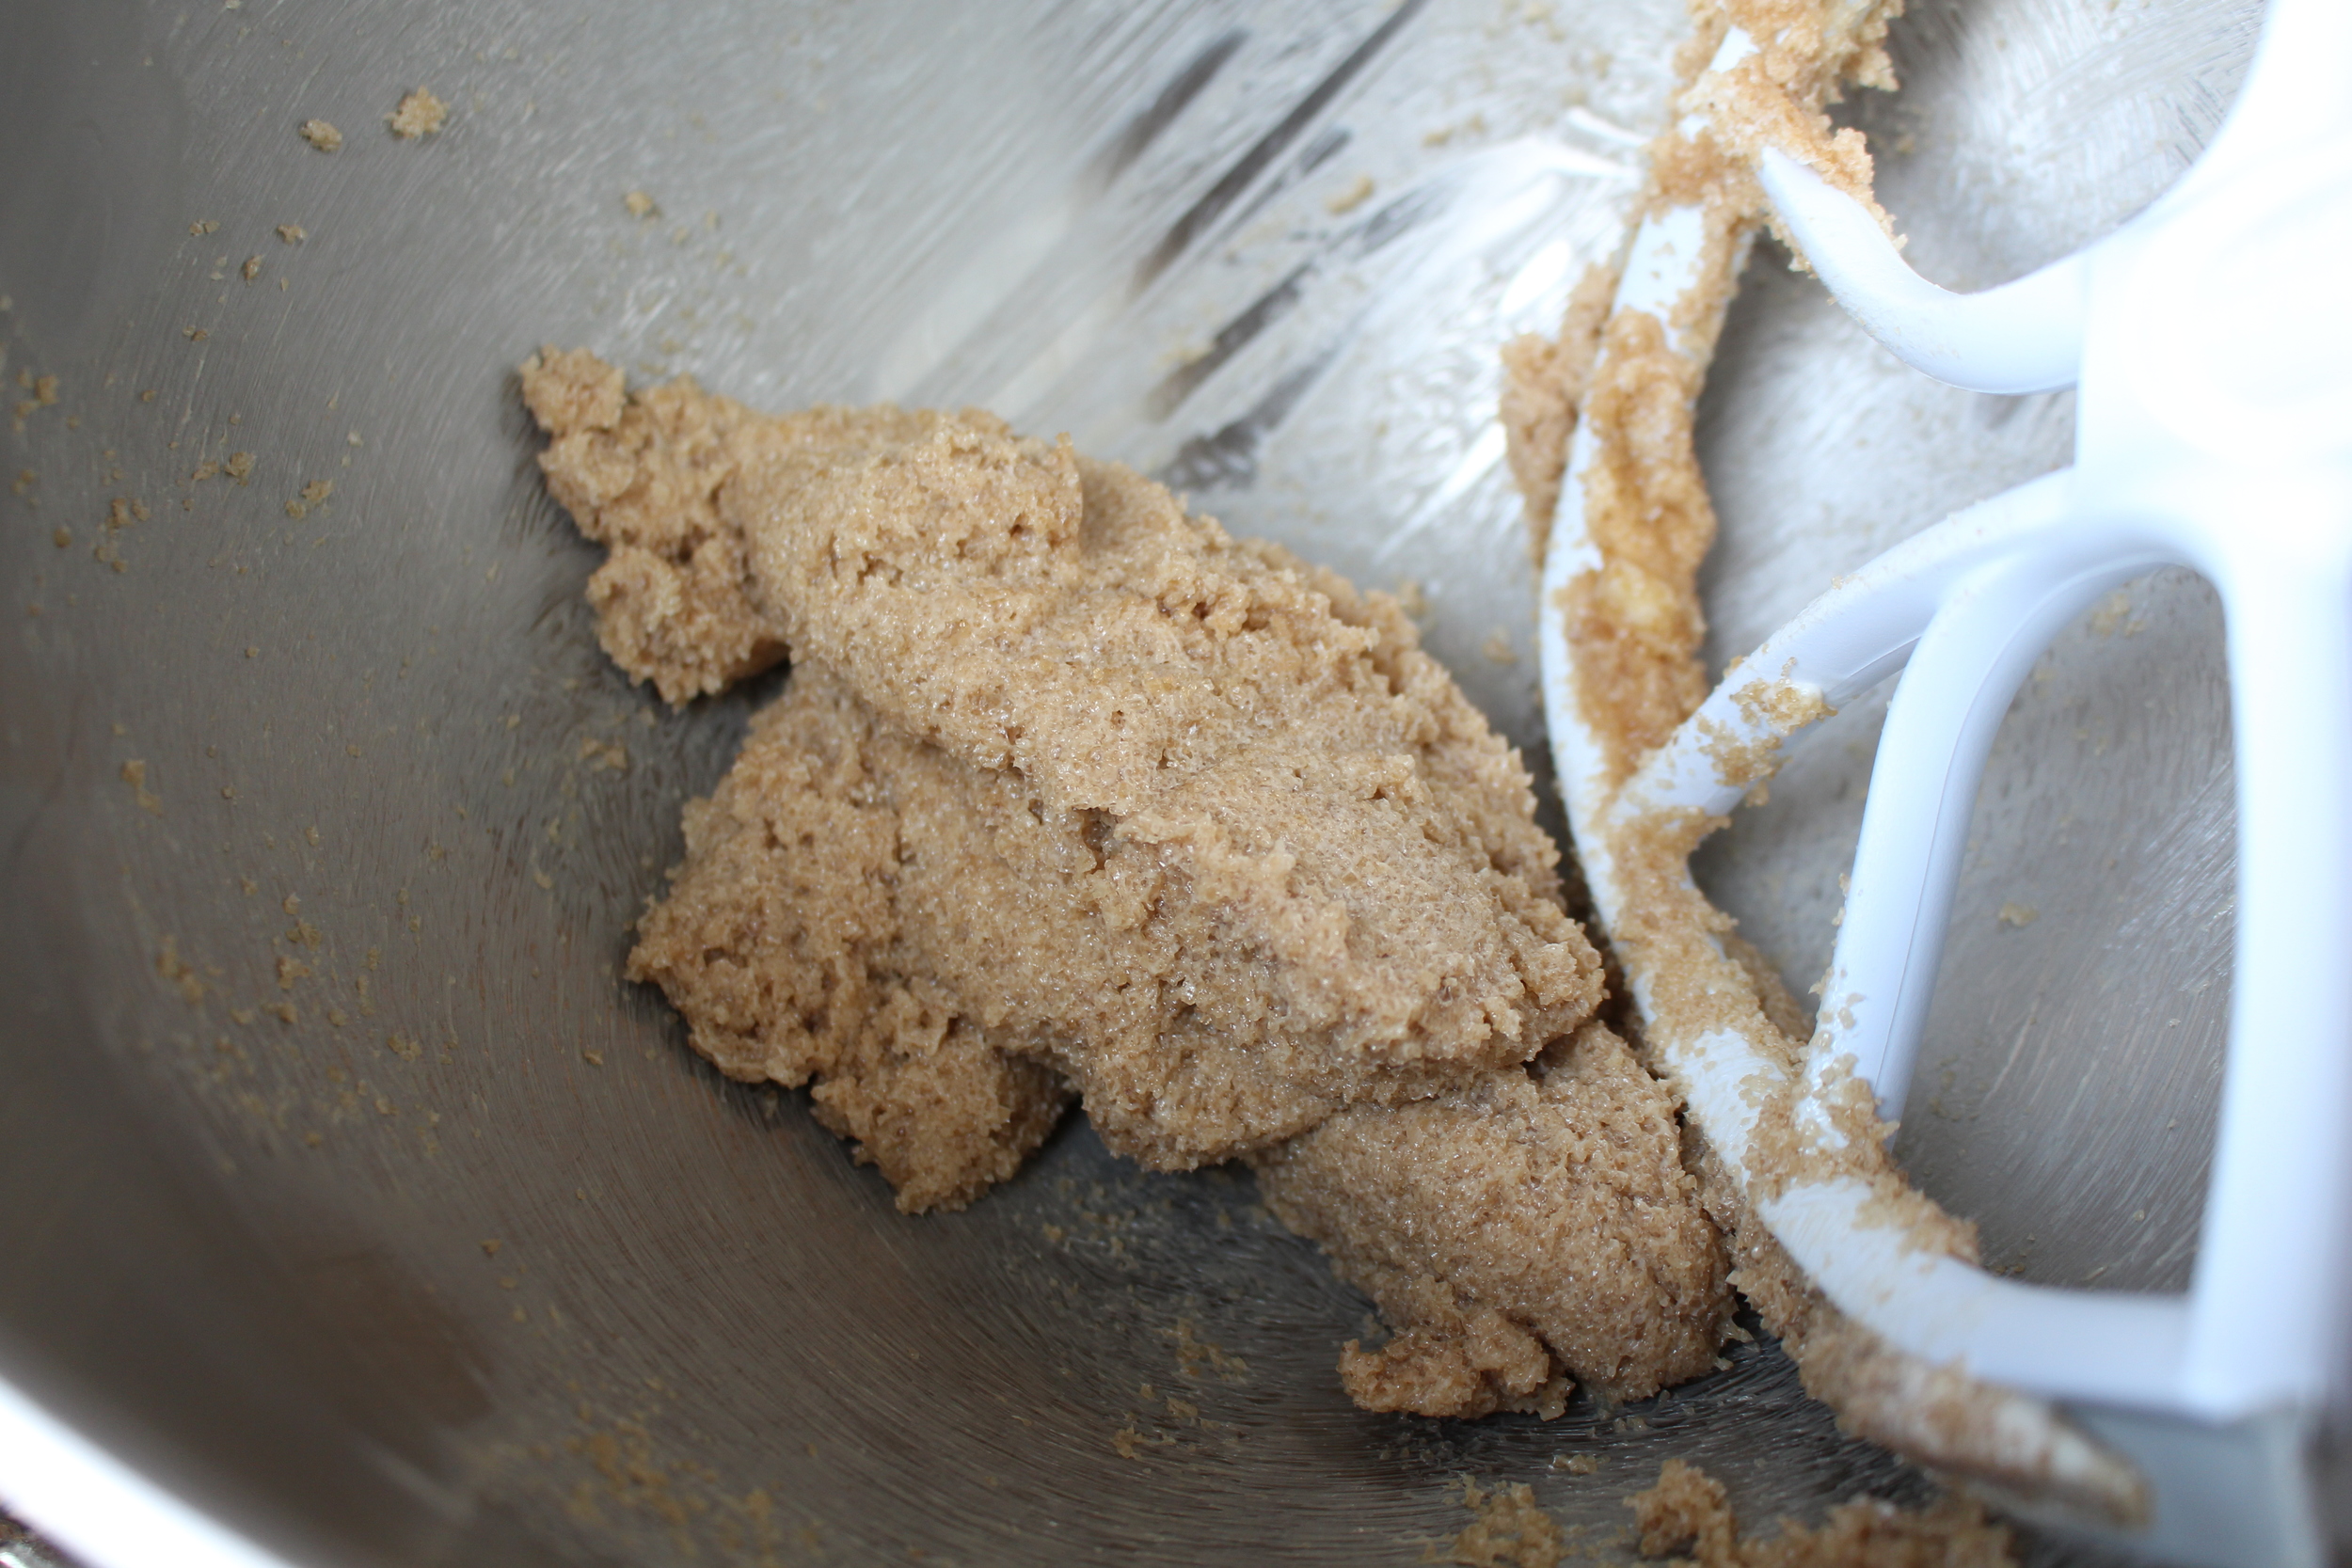
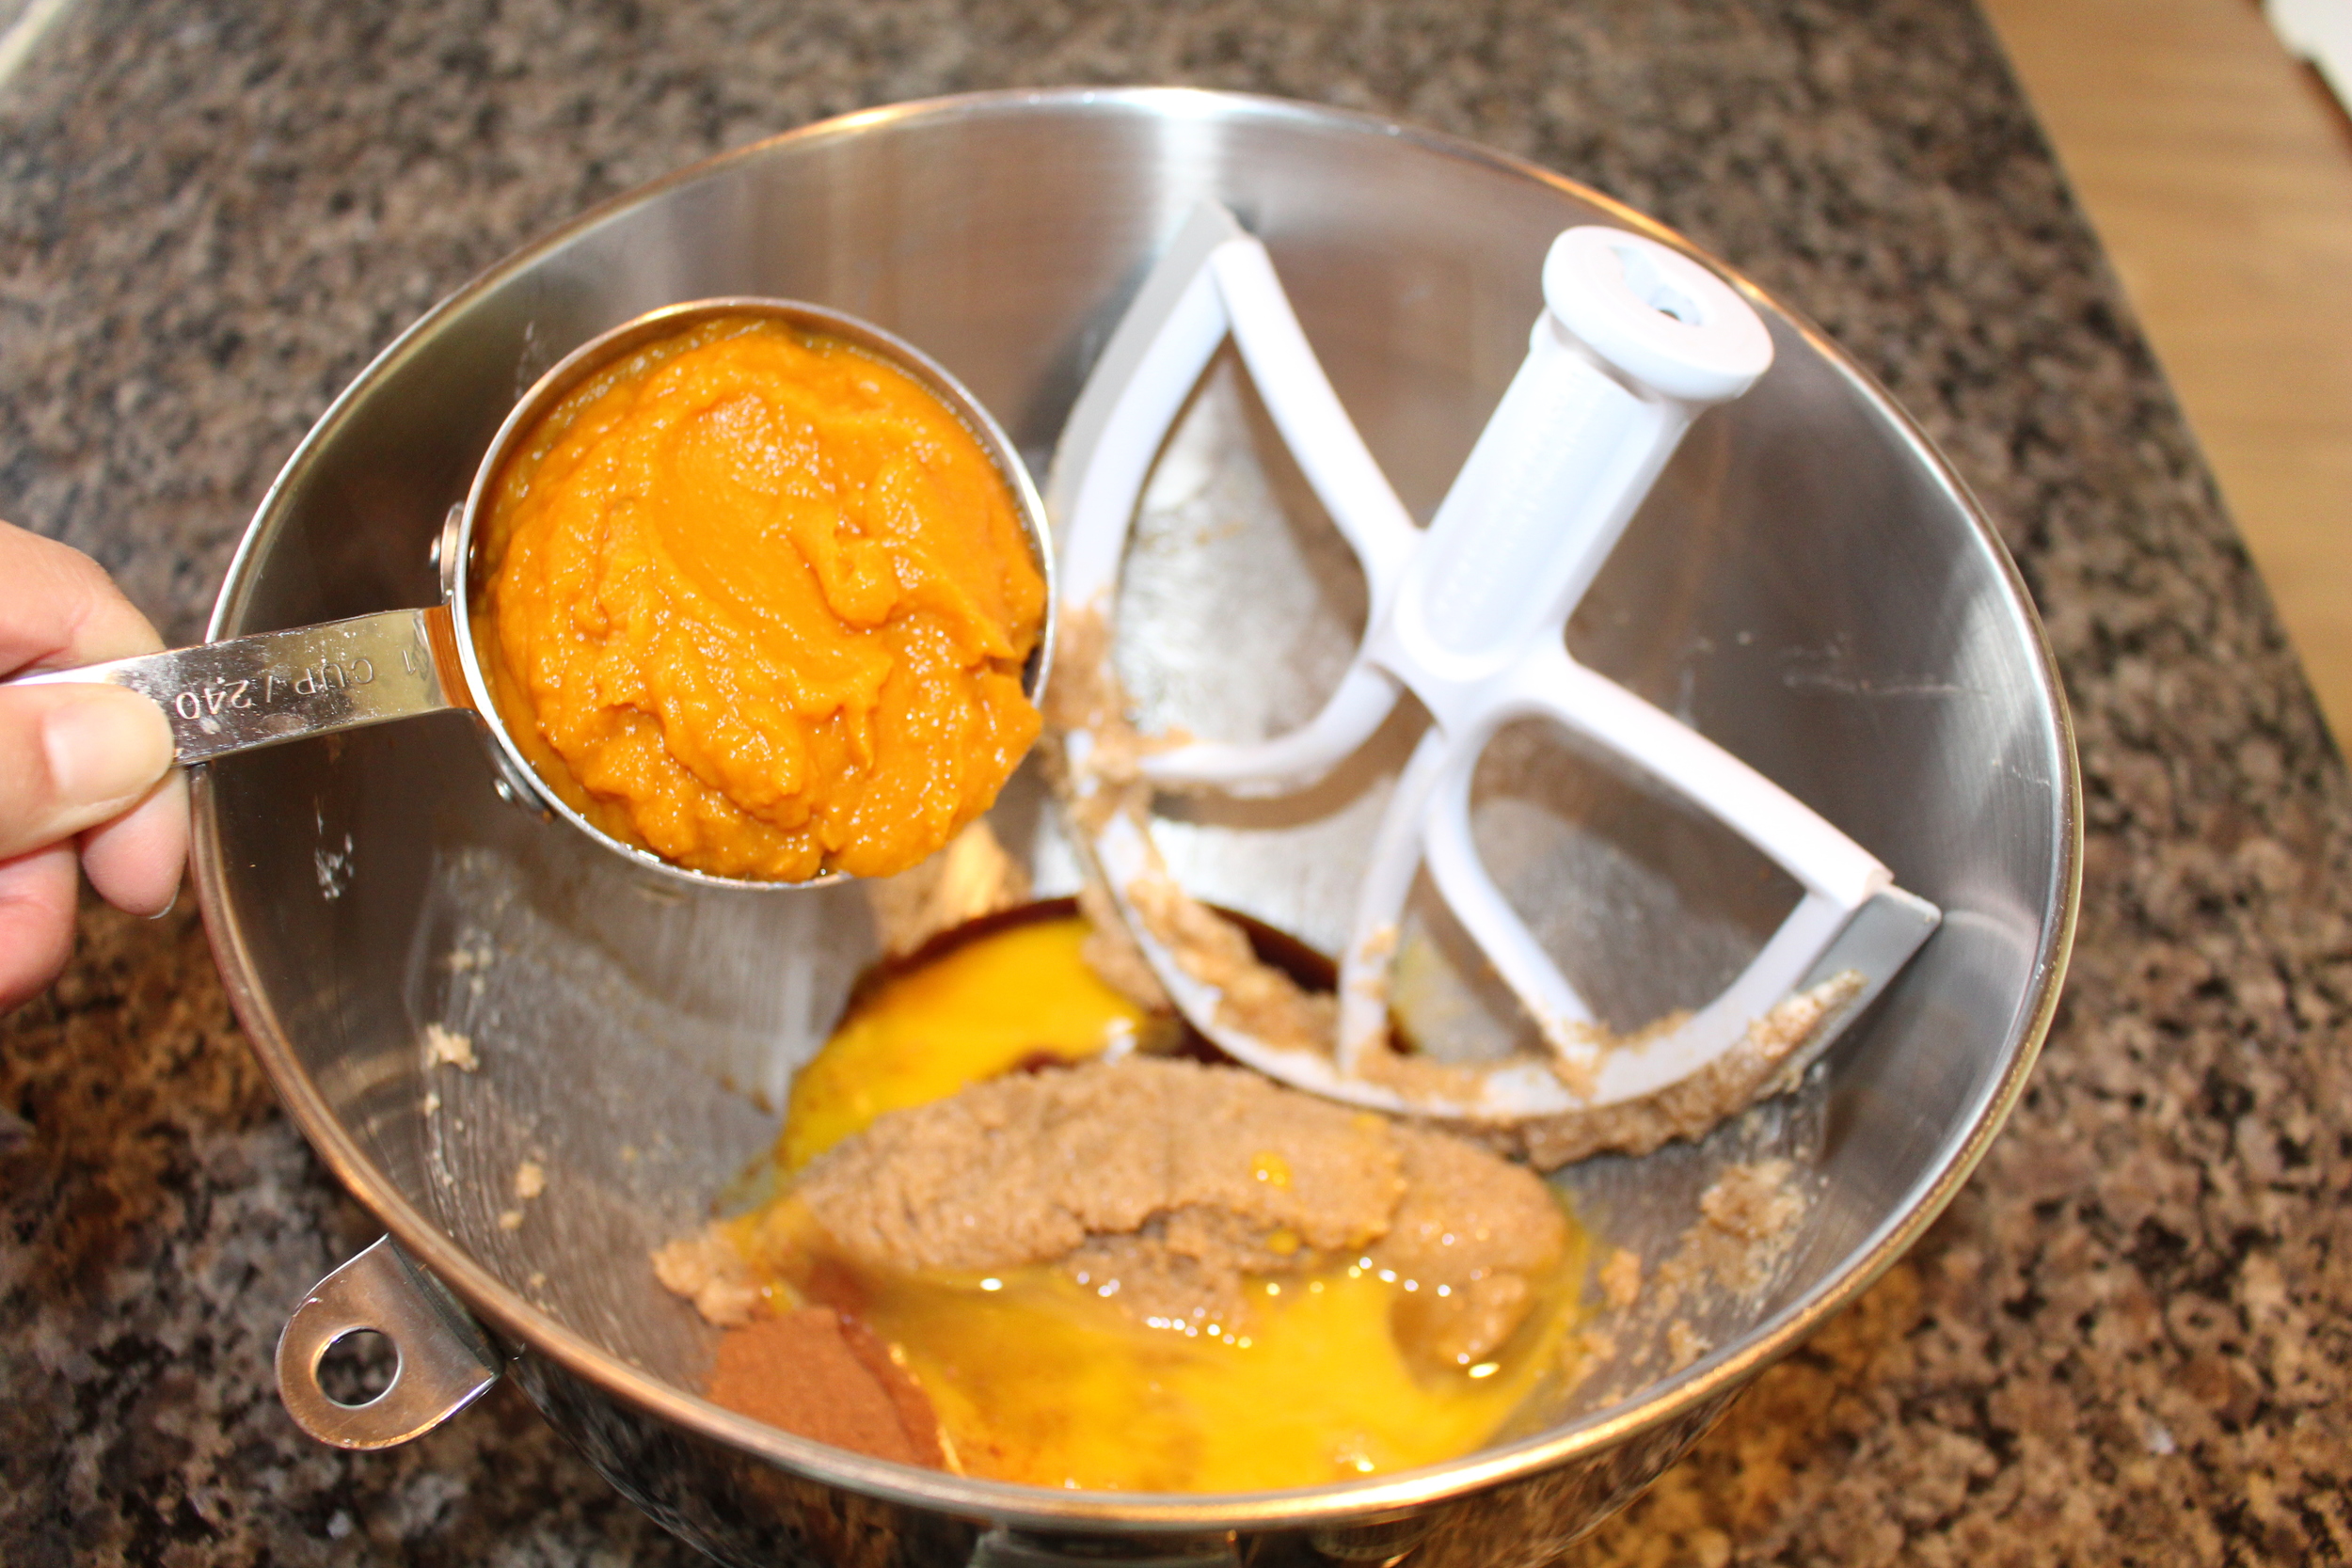
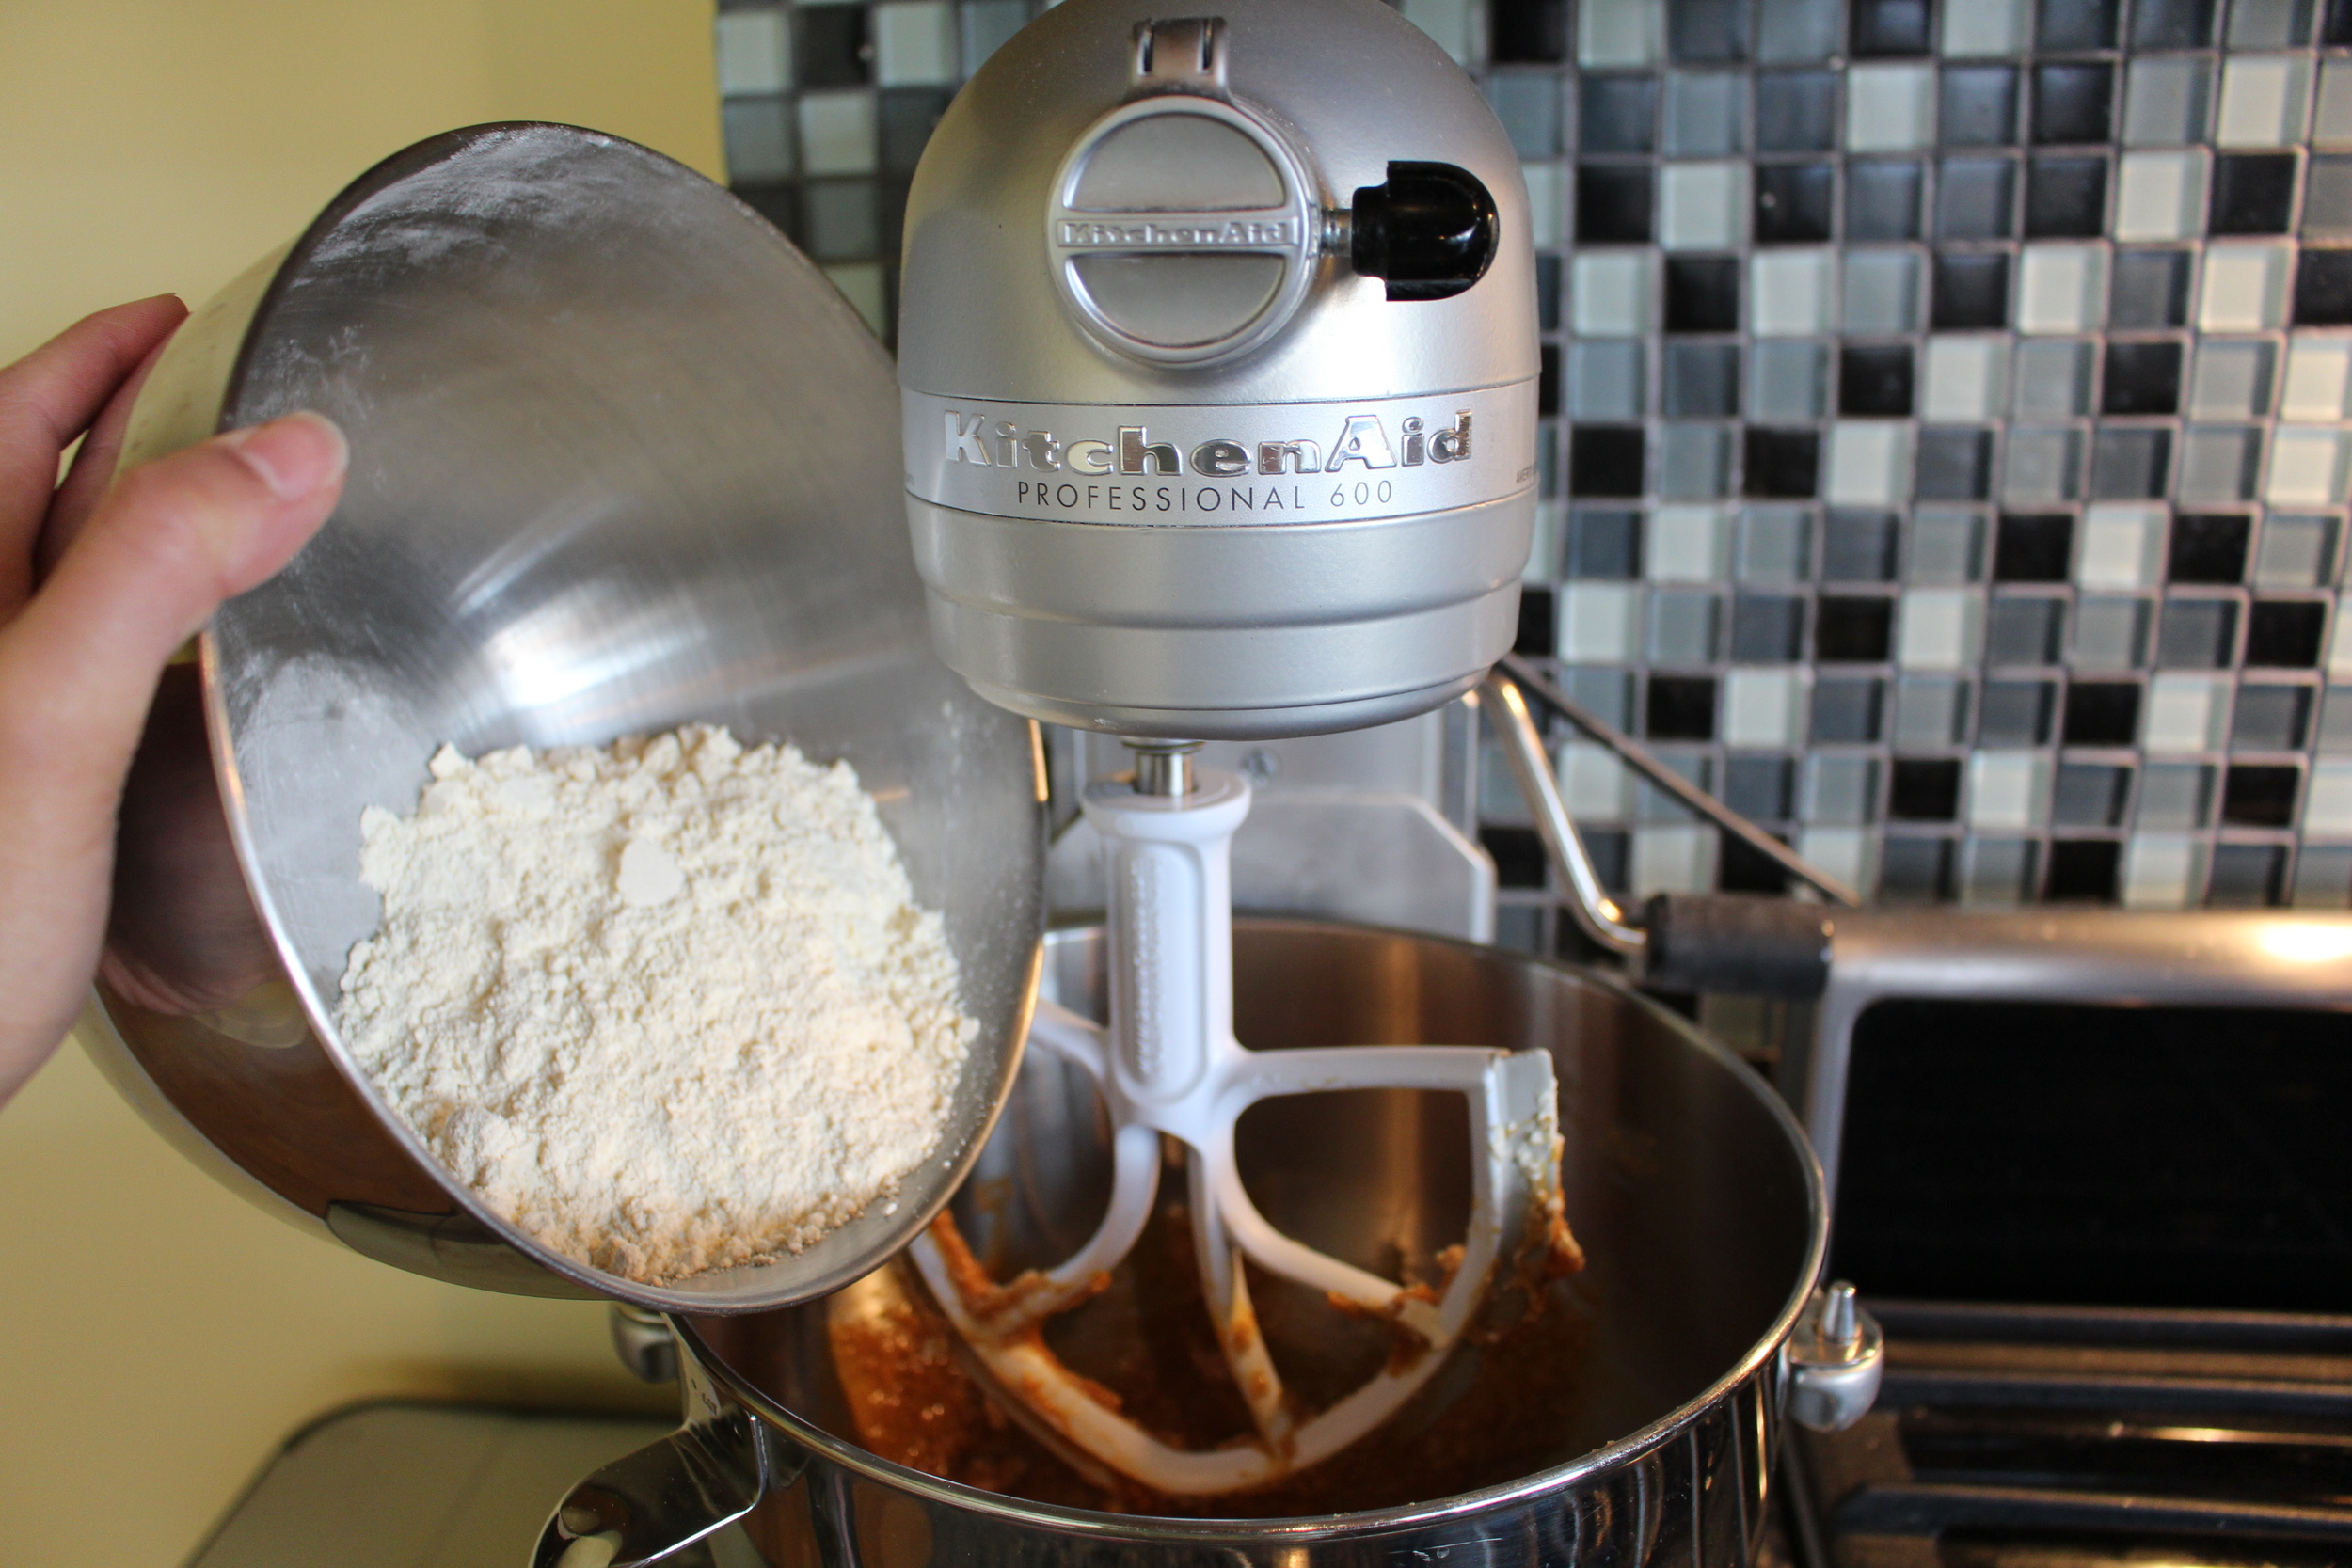
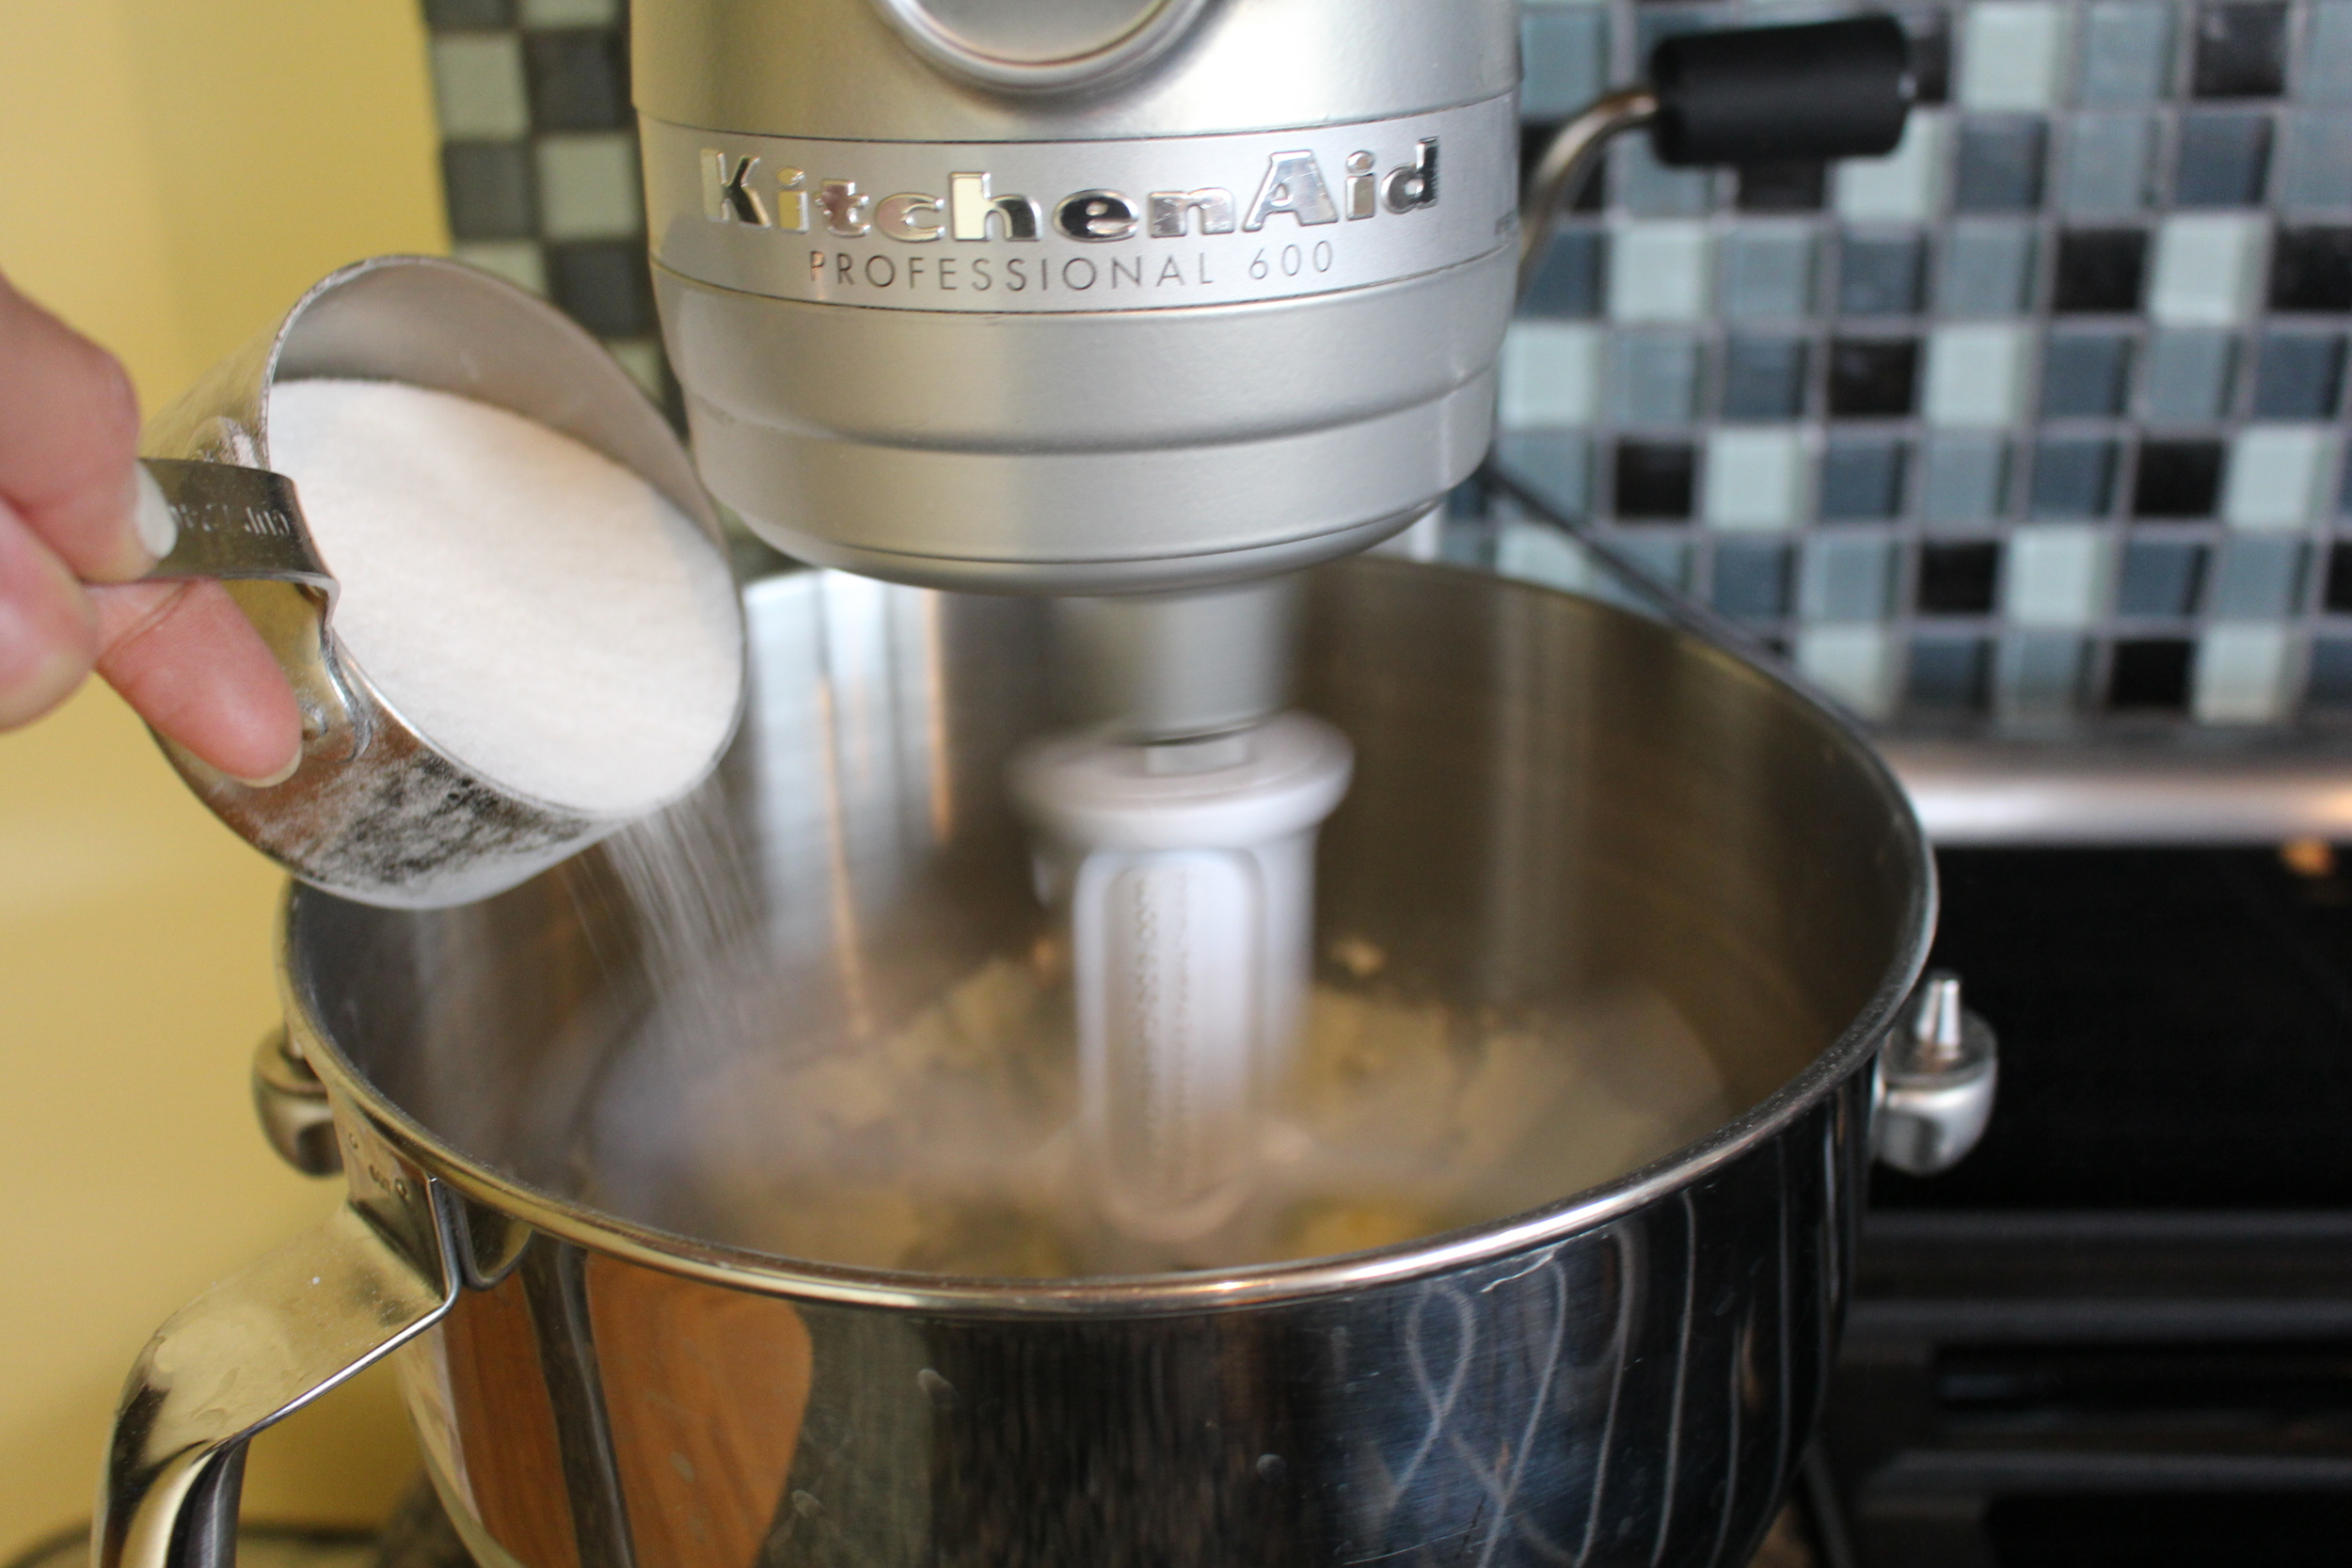
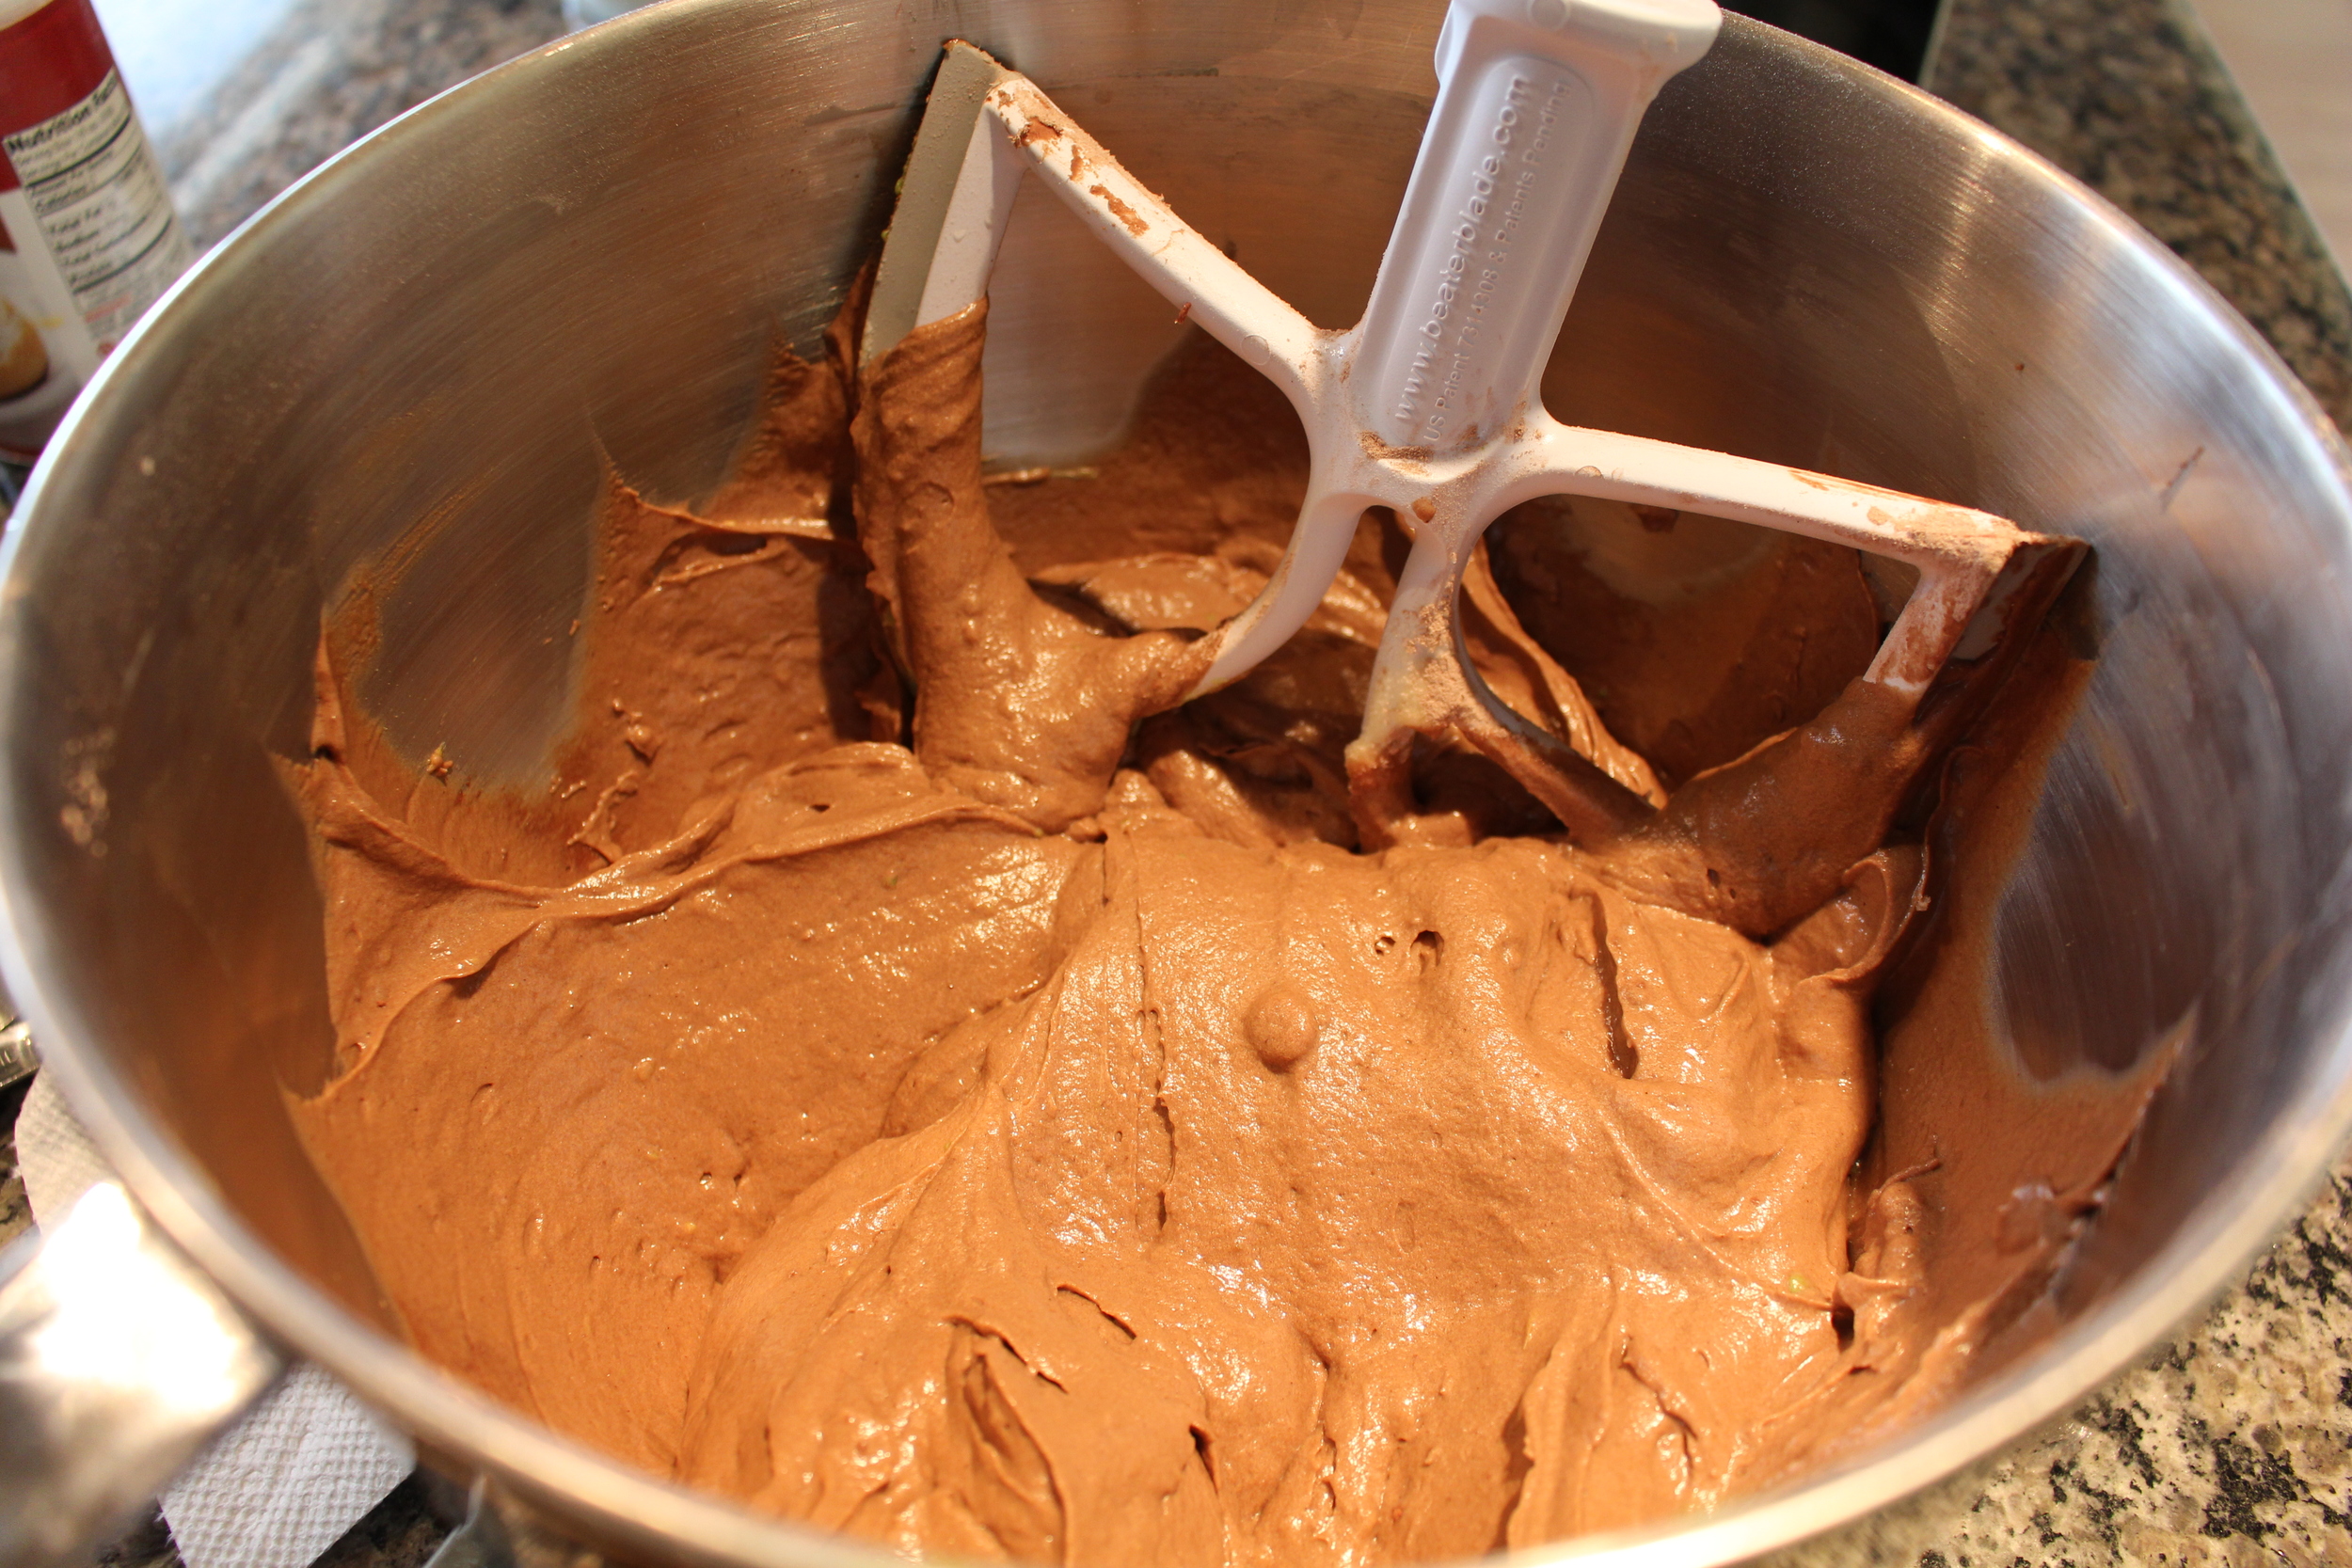
3. Using a mixer with a beating blade, mix the butter and sugar until almost white in color. Then mix in one egg at a time. Add vanilla and almond extract.
4. Gently mix the dry ingredients into the egg mixture, alternating with the buttermilk. If using powdered buttermilk, per the instructions, you add the dry buttermilk powder to the dry ingredients and use water to alternate with the dry ingredients.
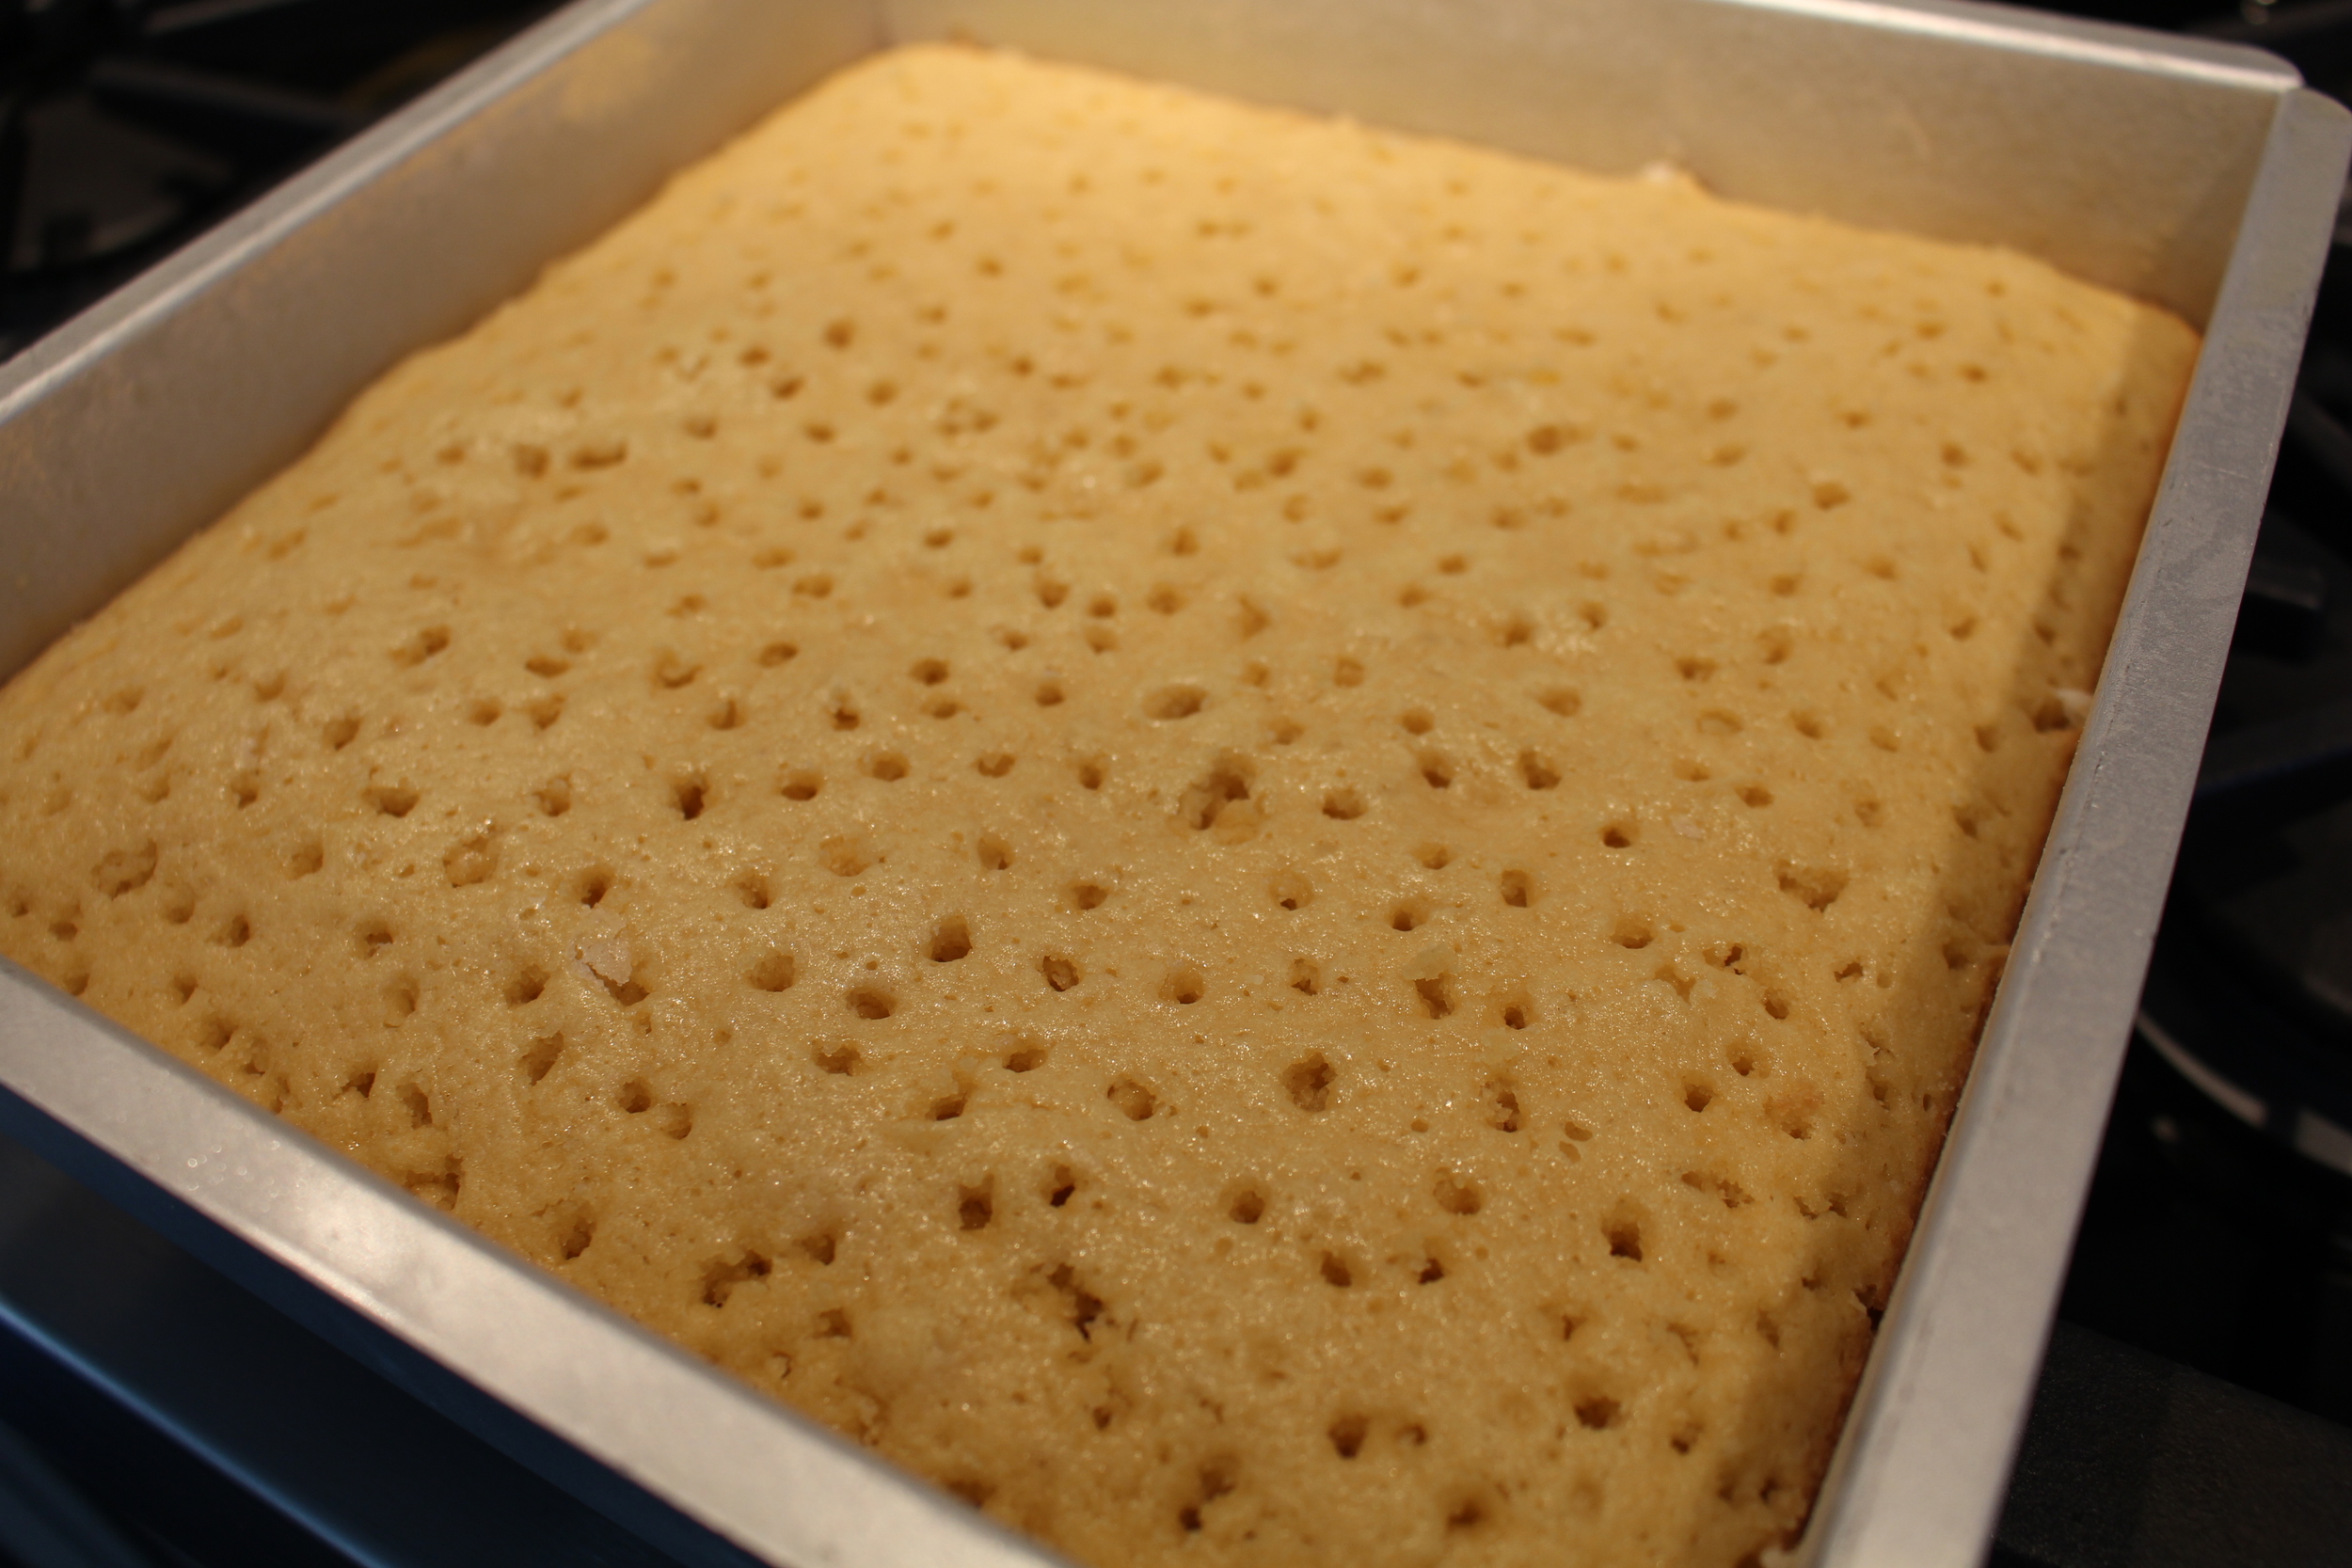
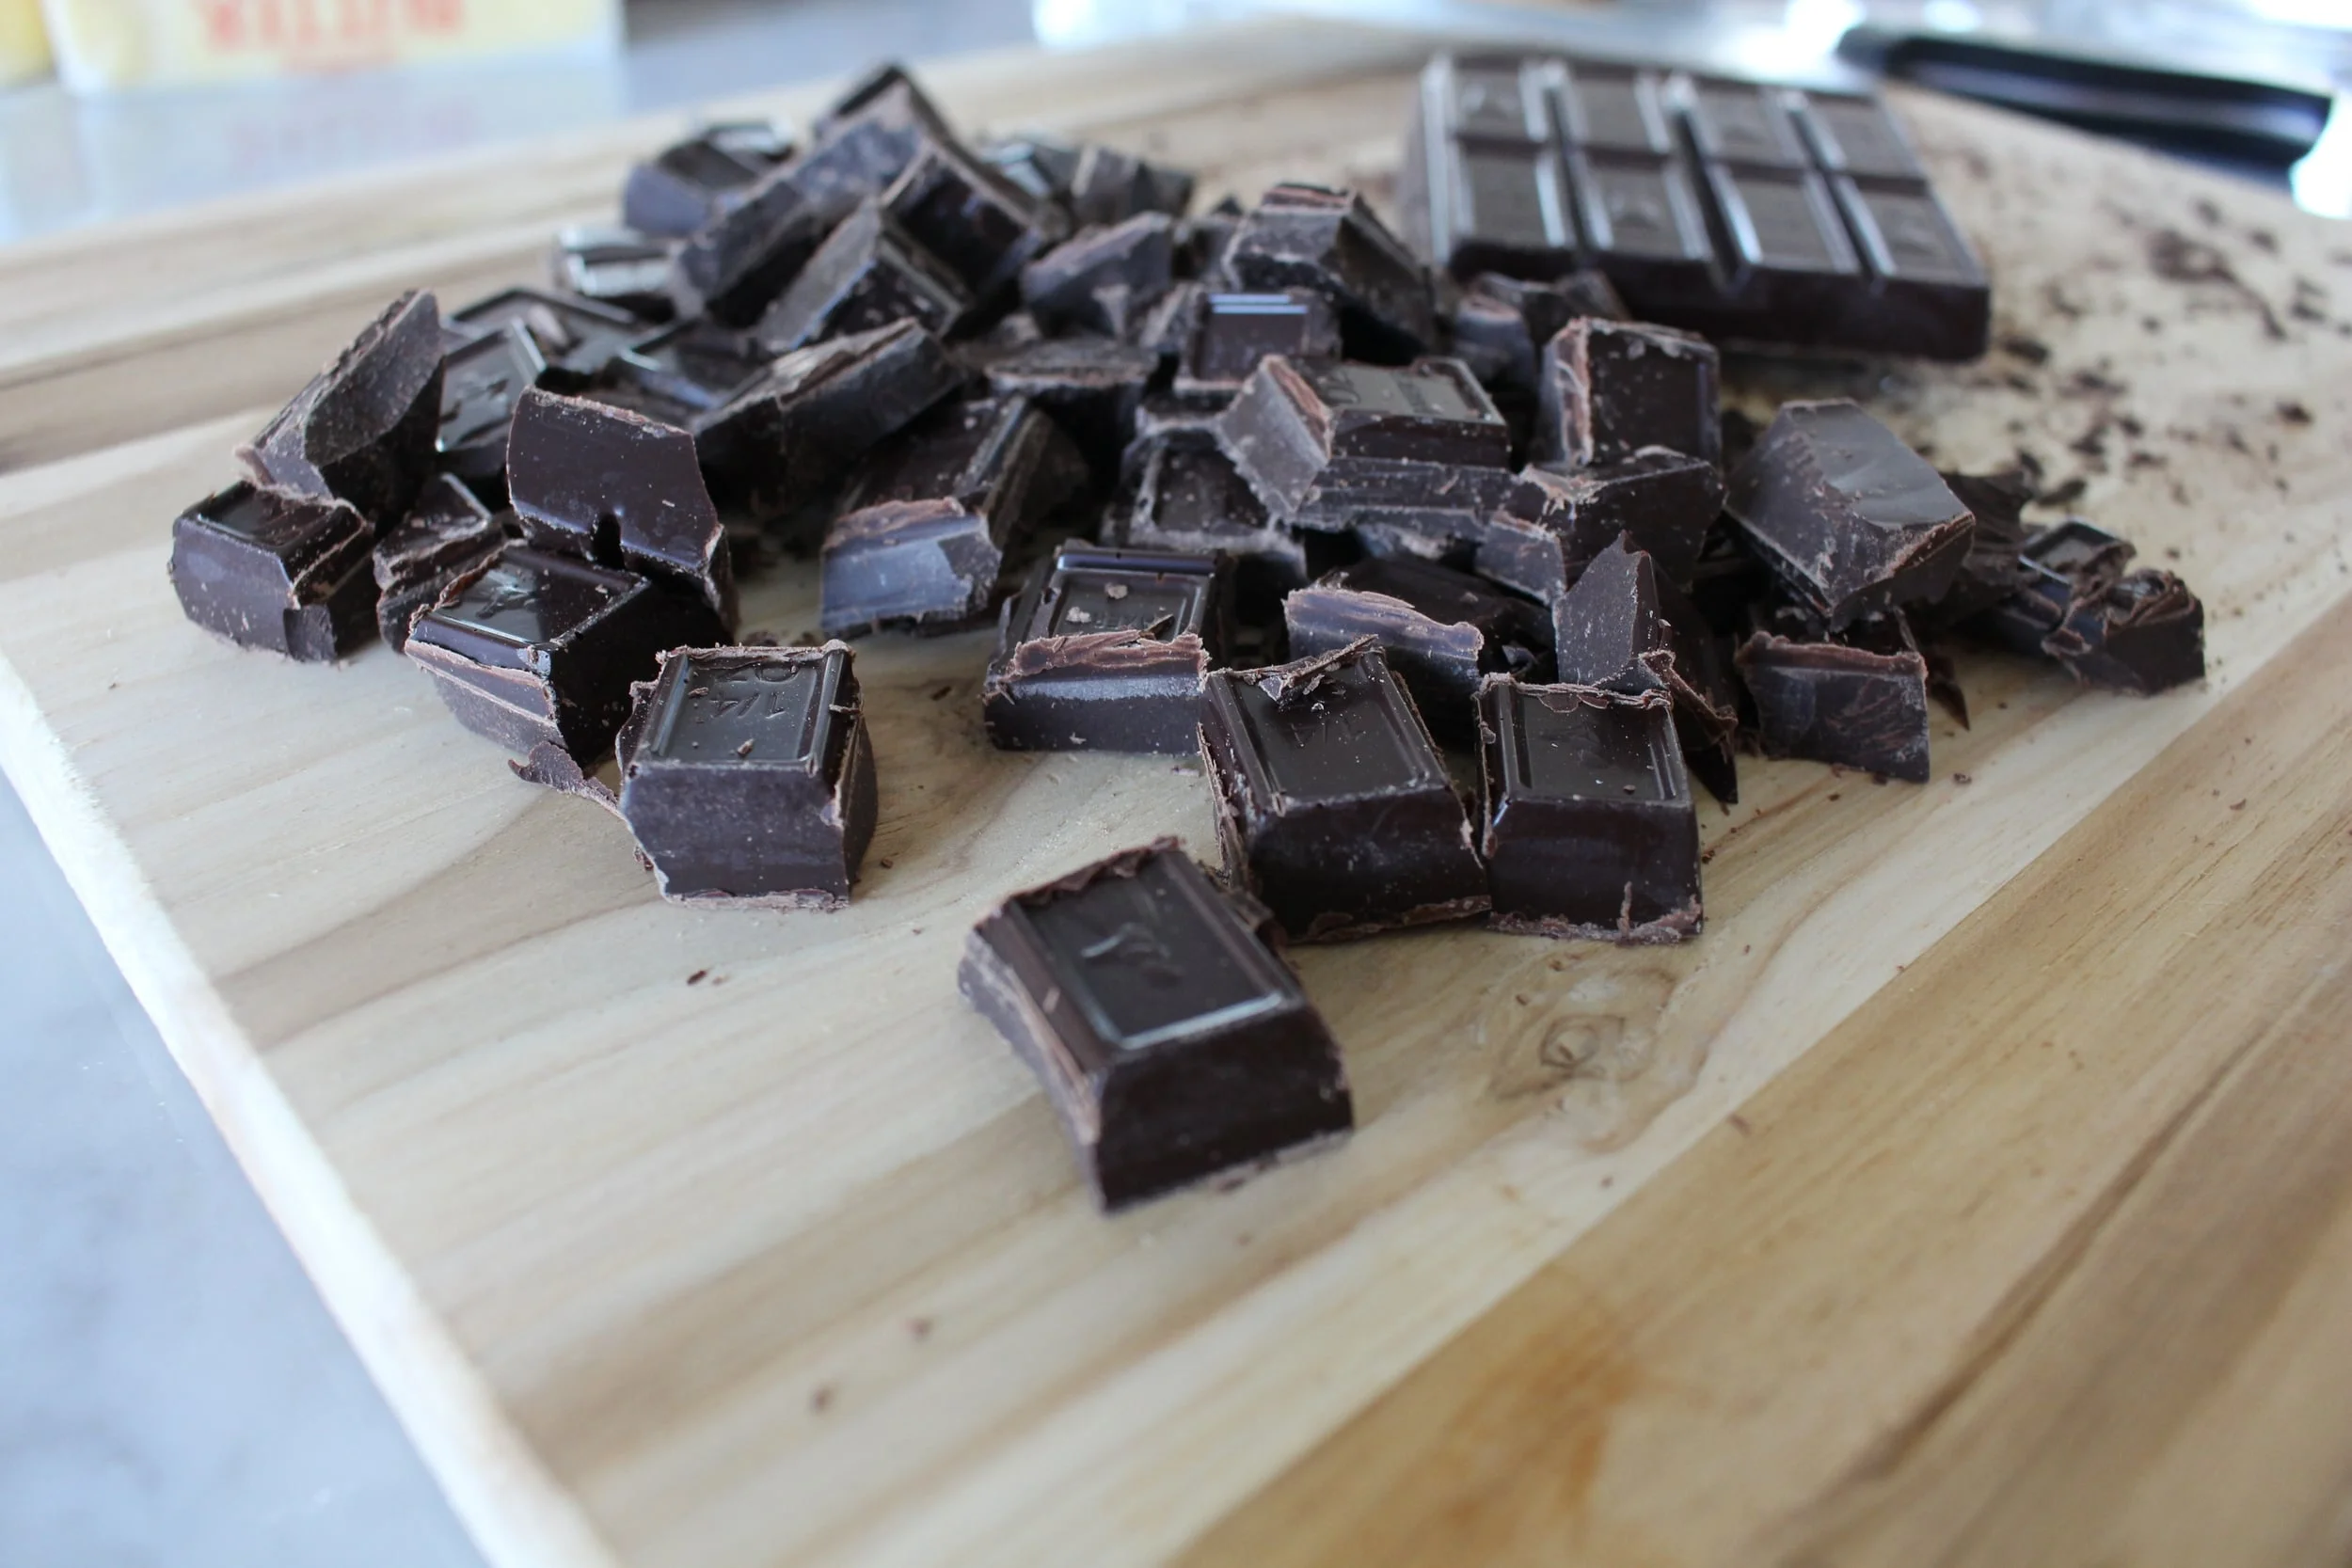
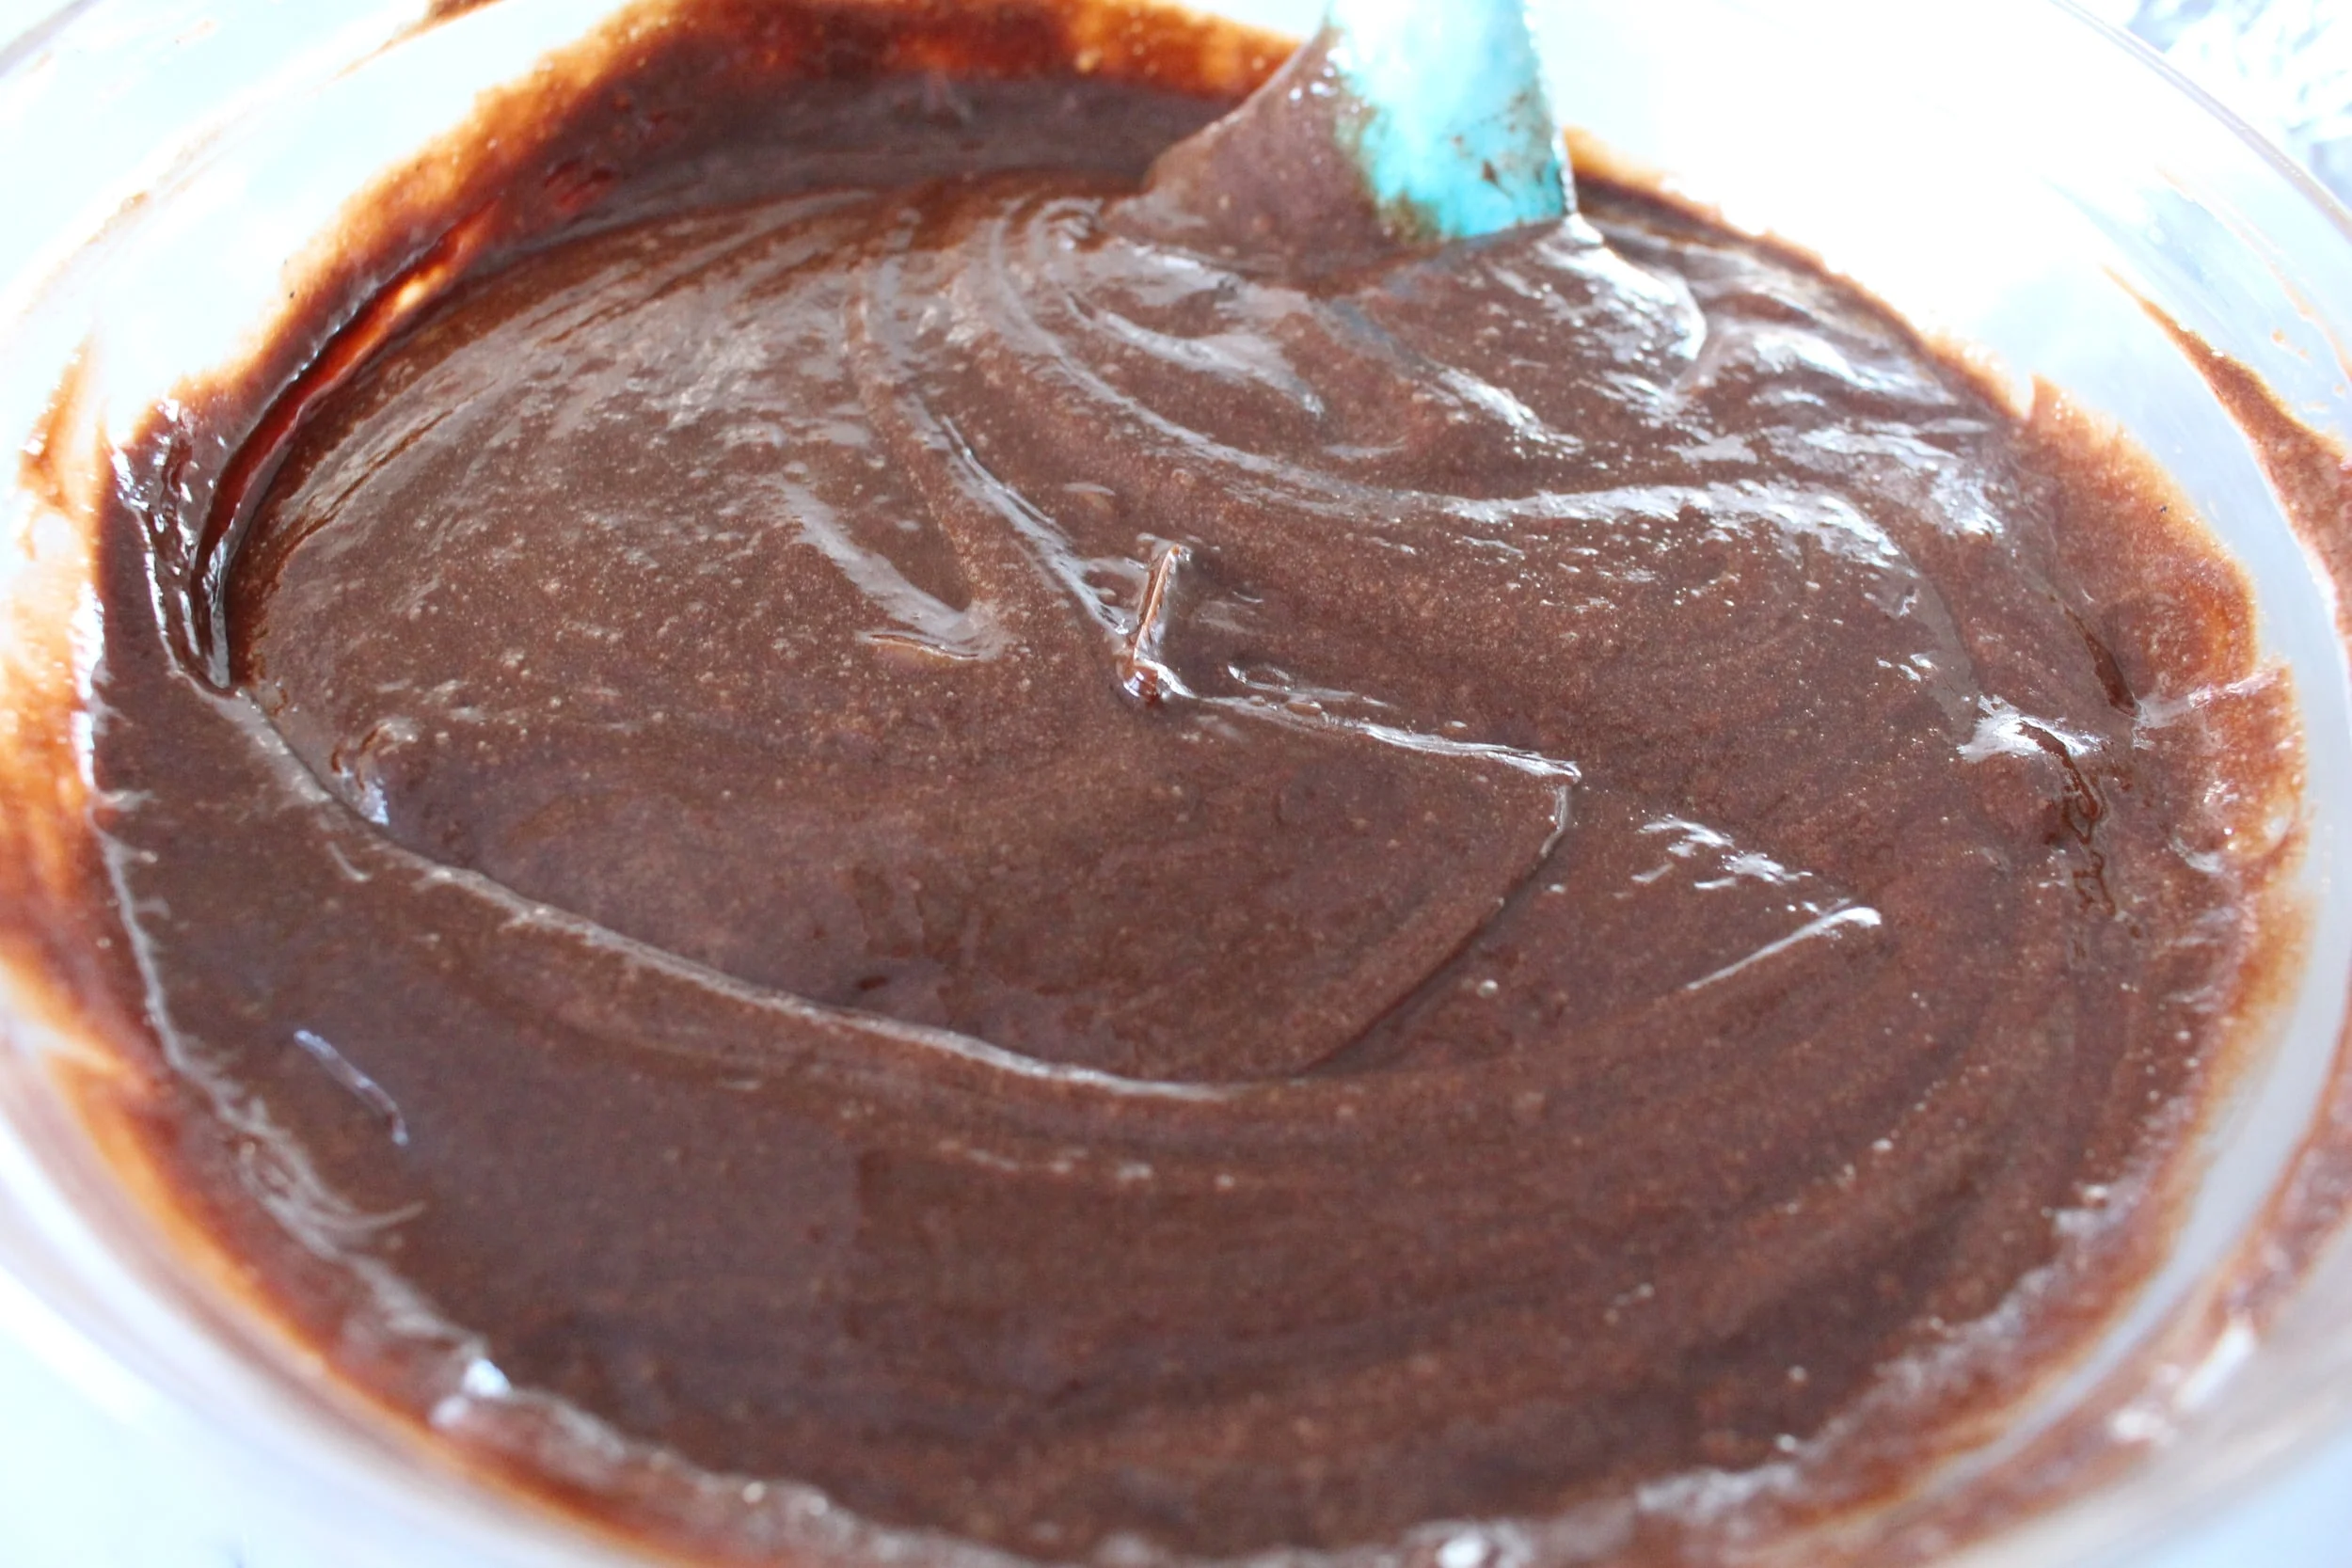
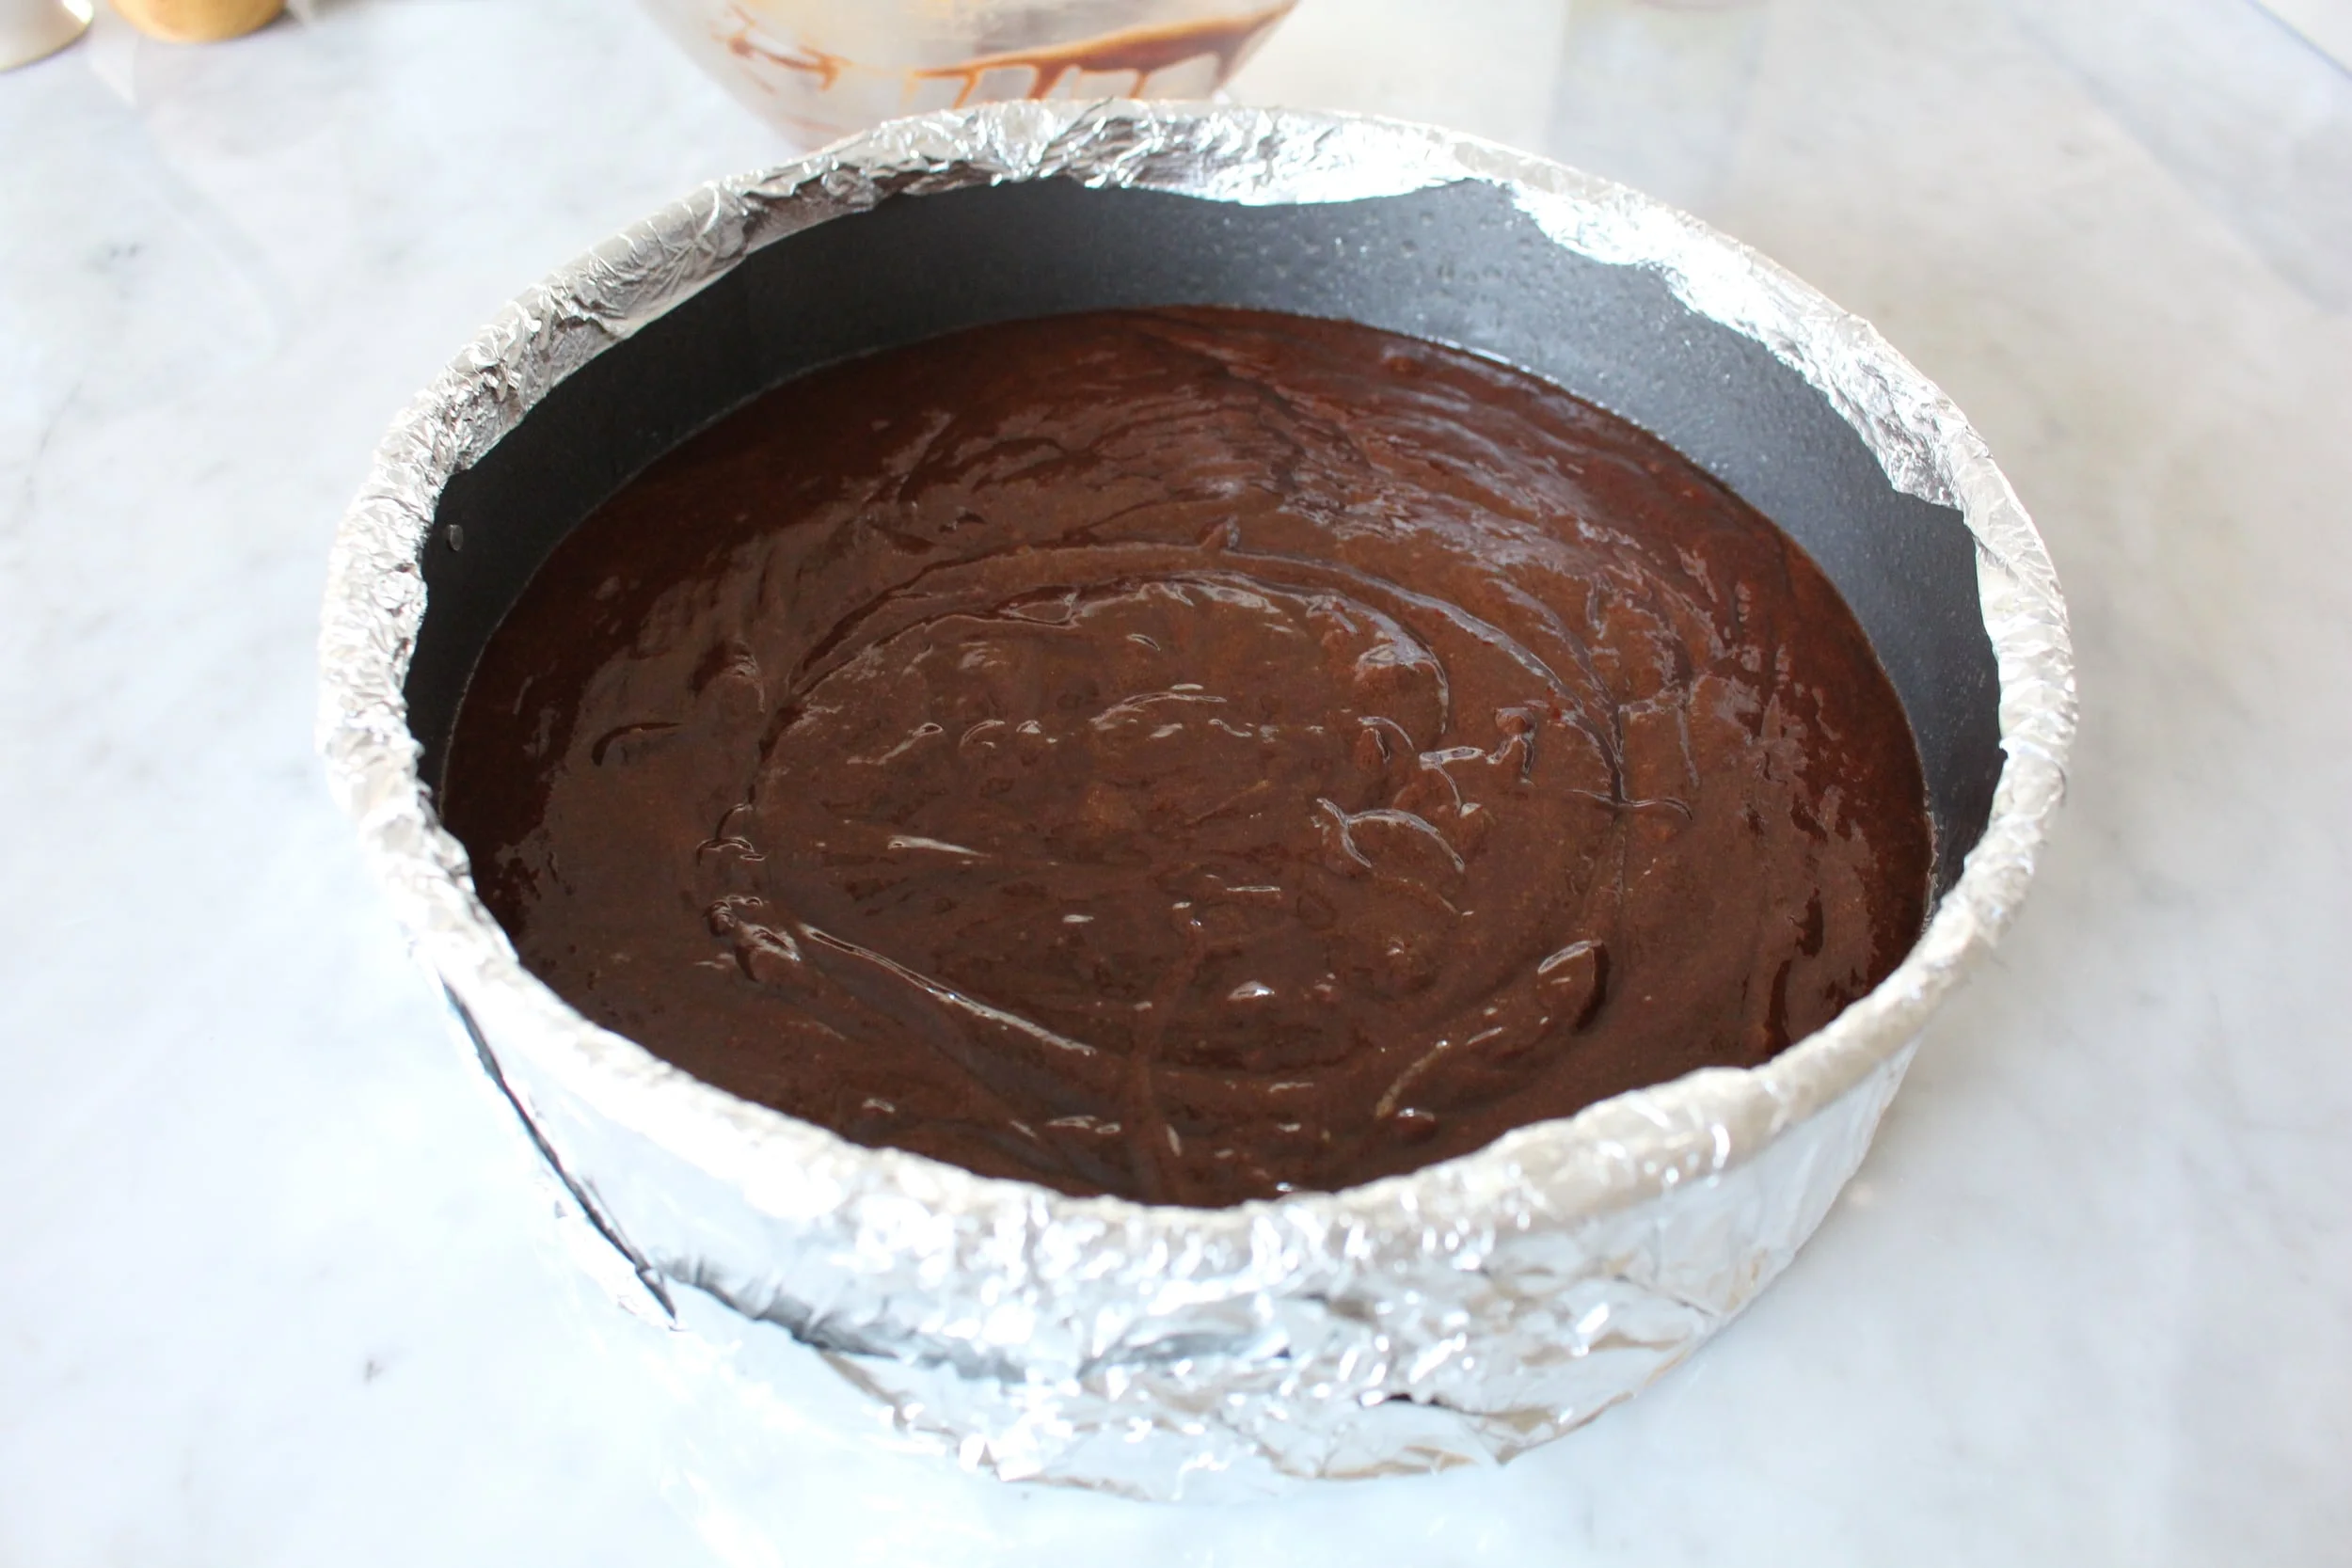
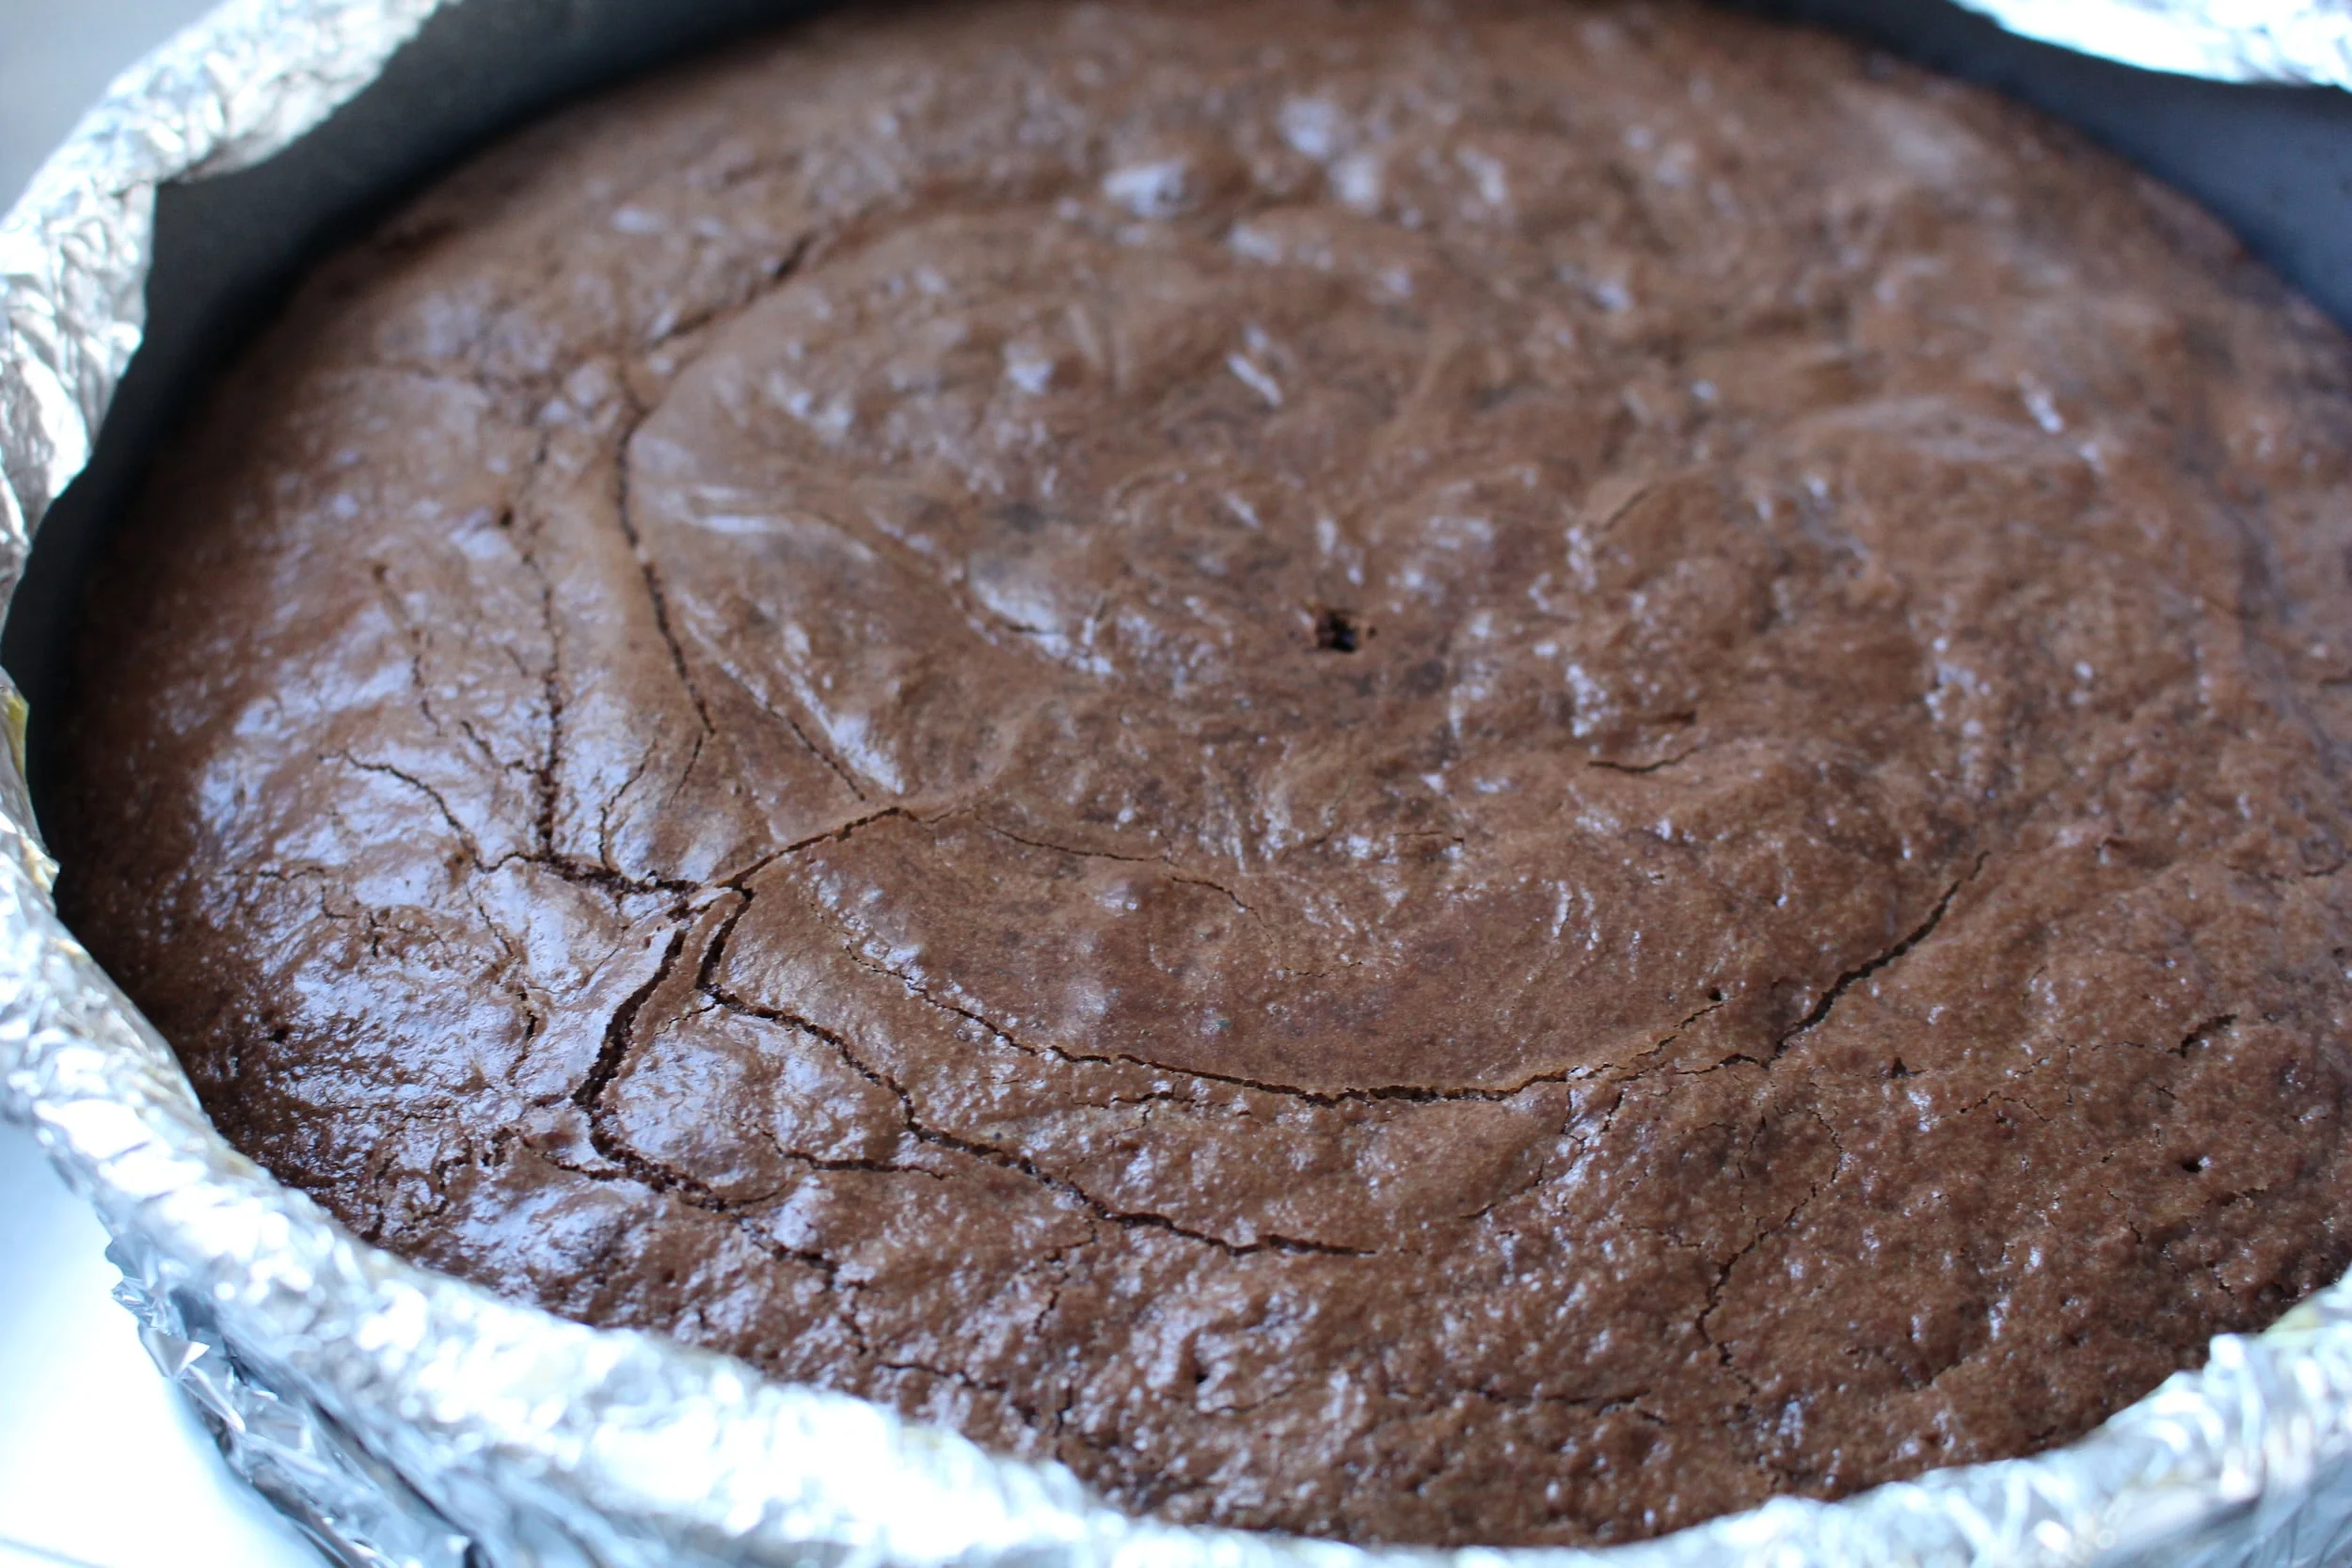
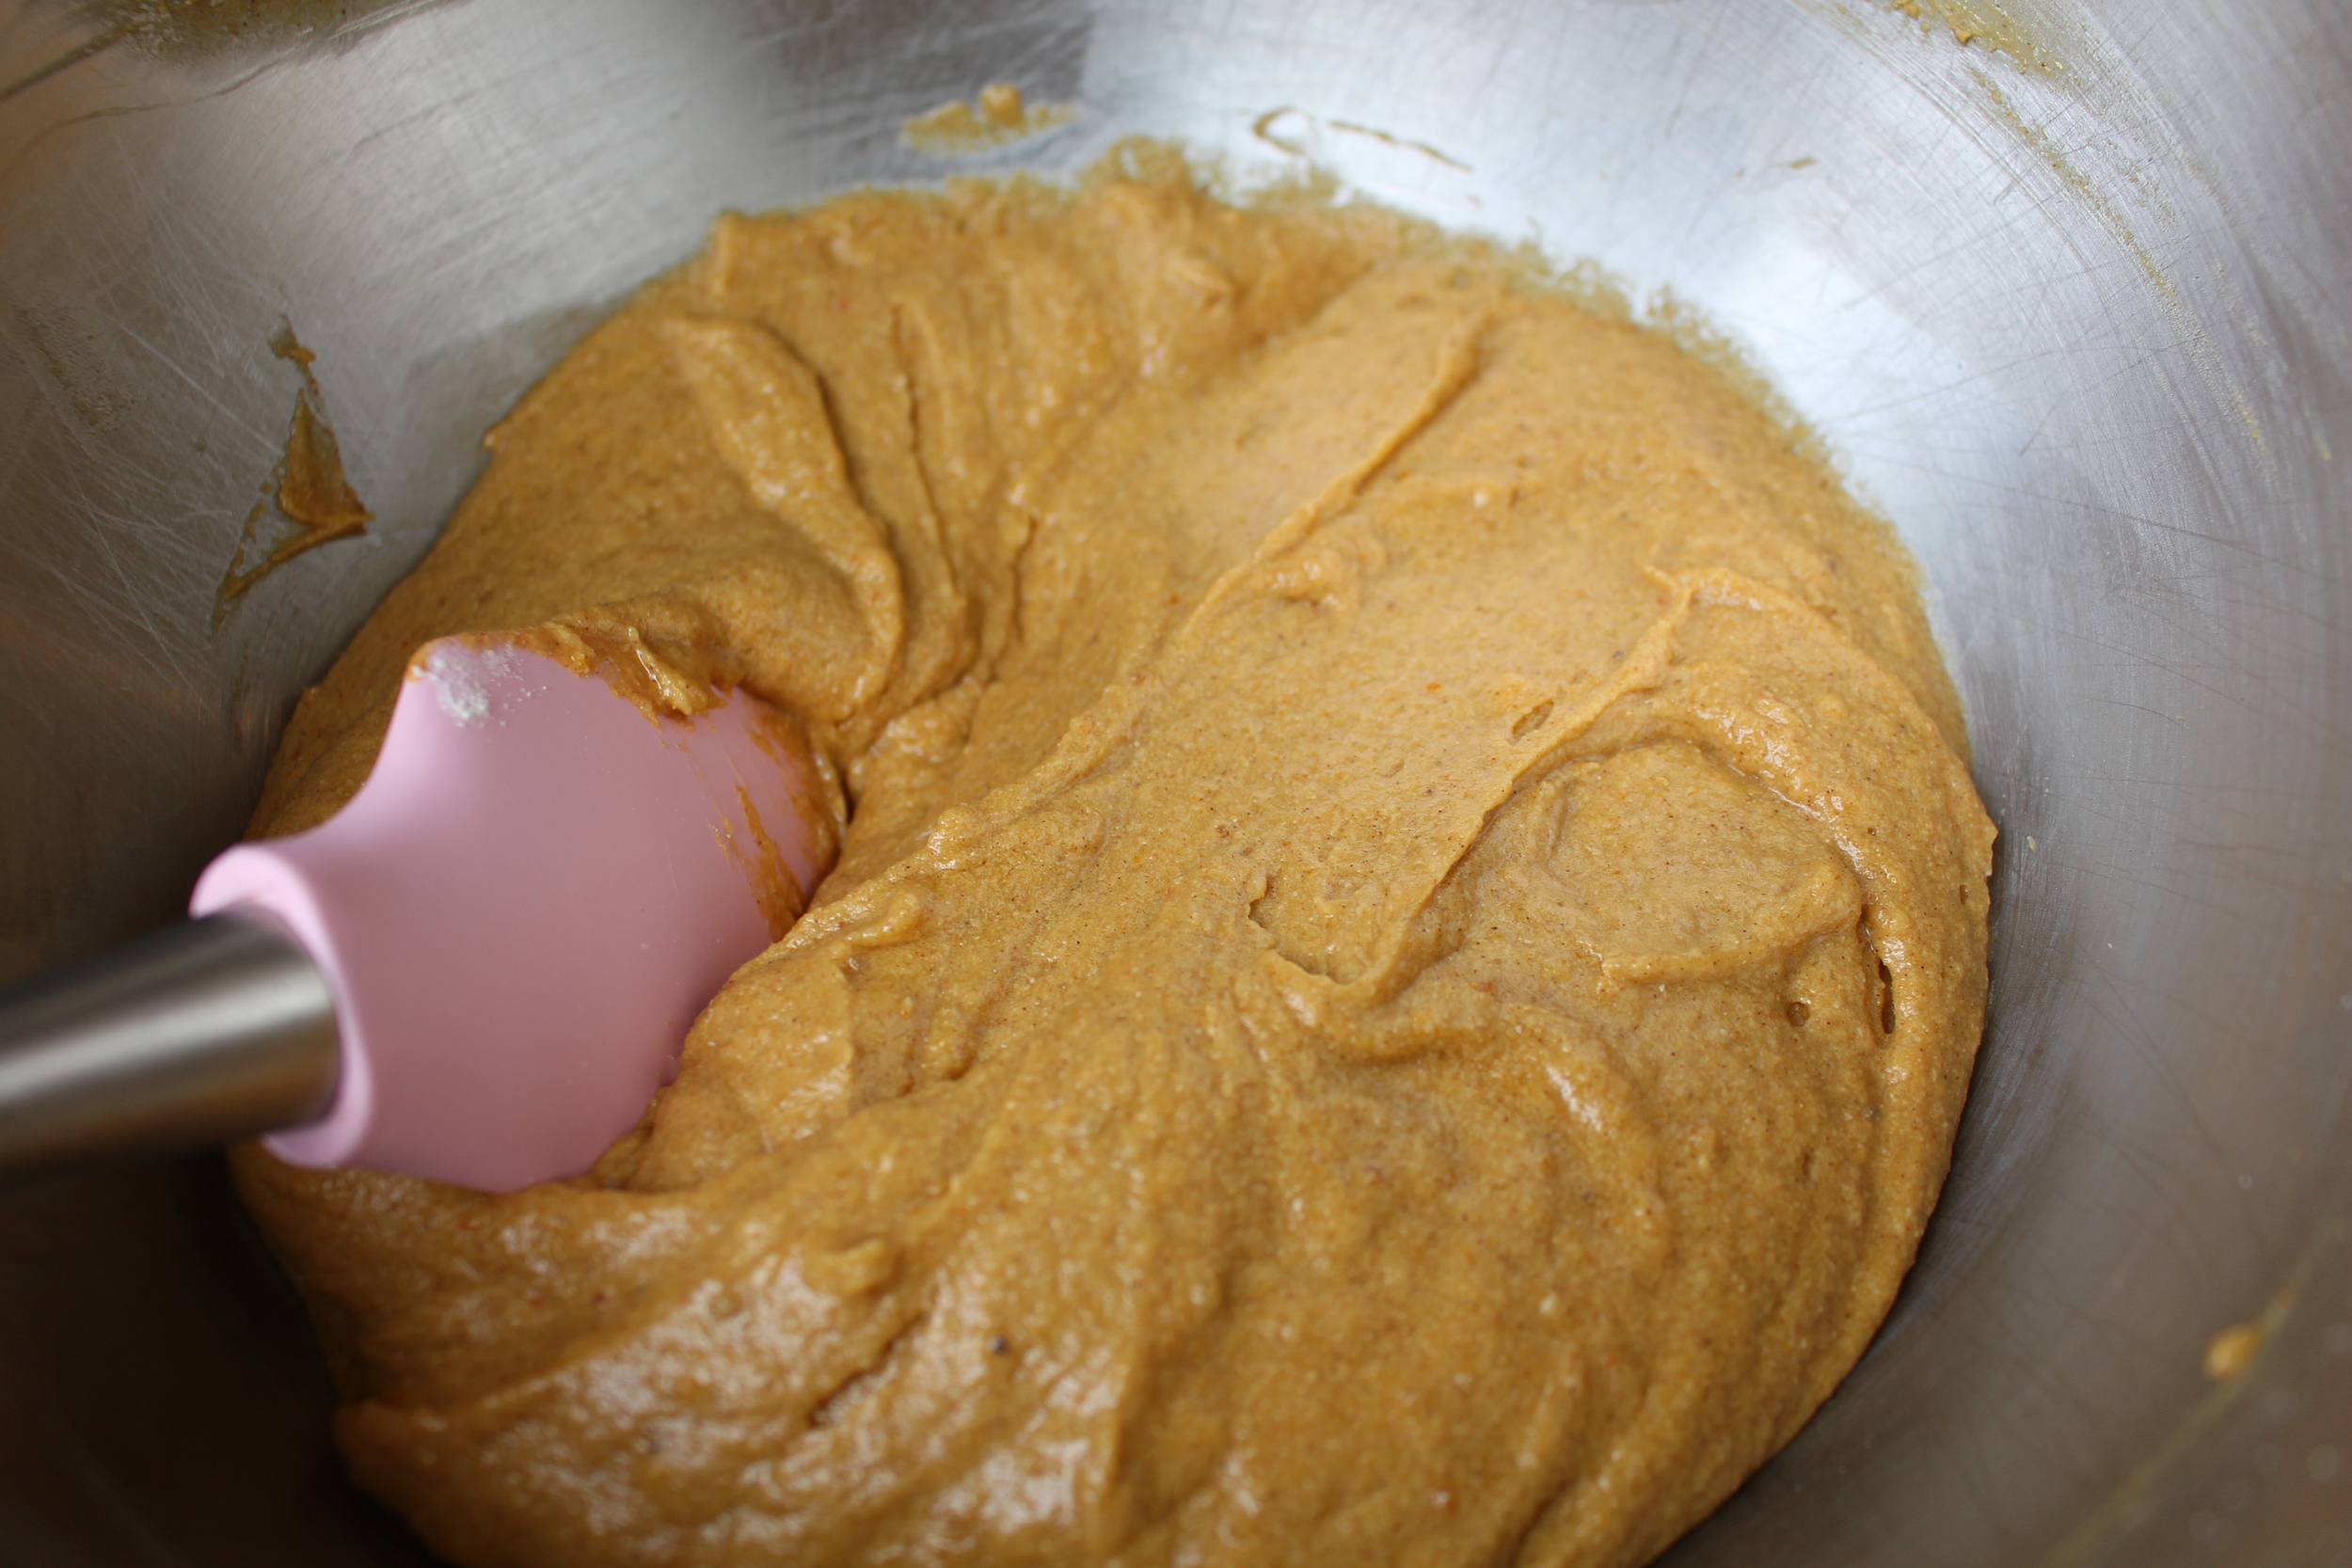
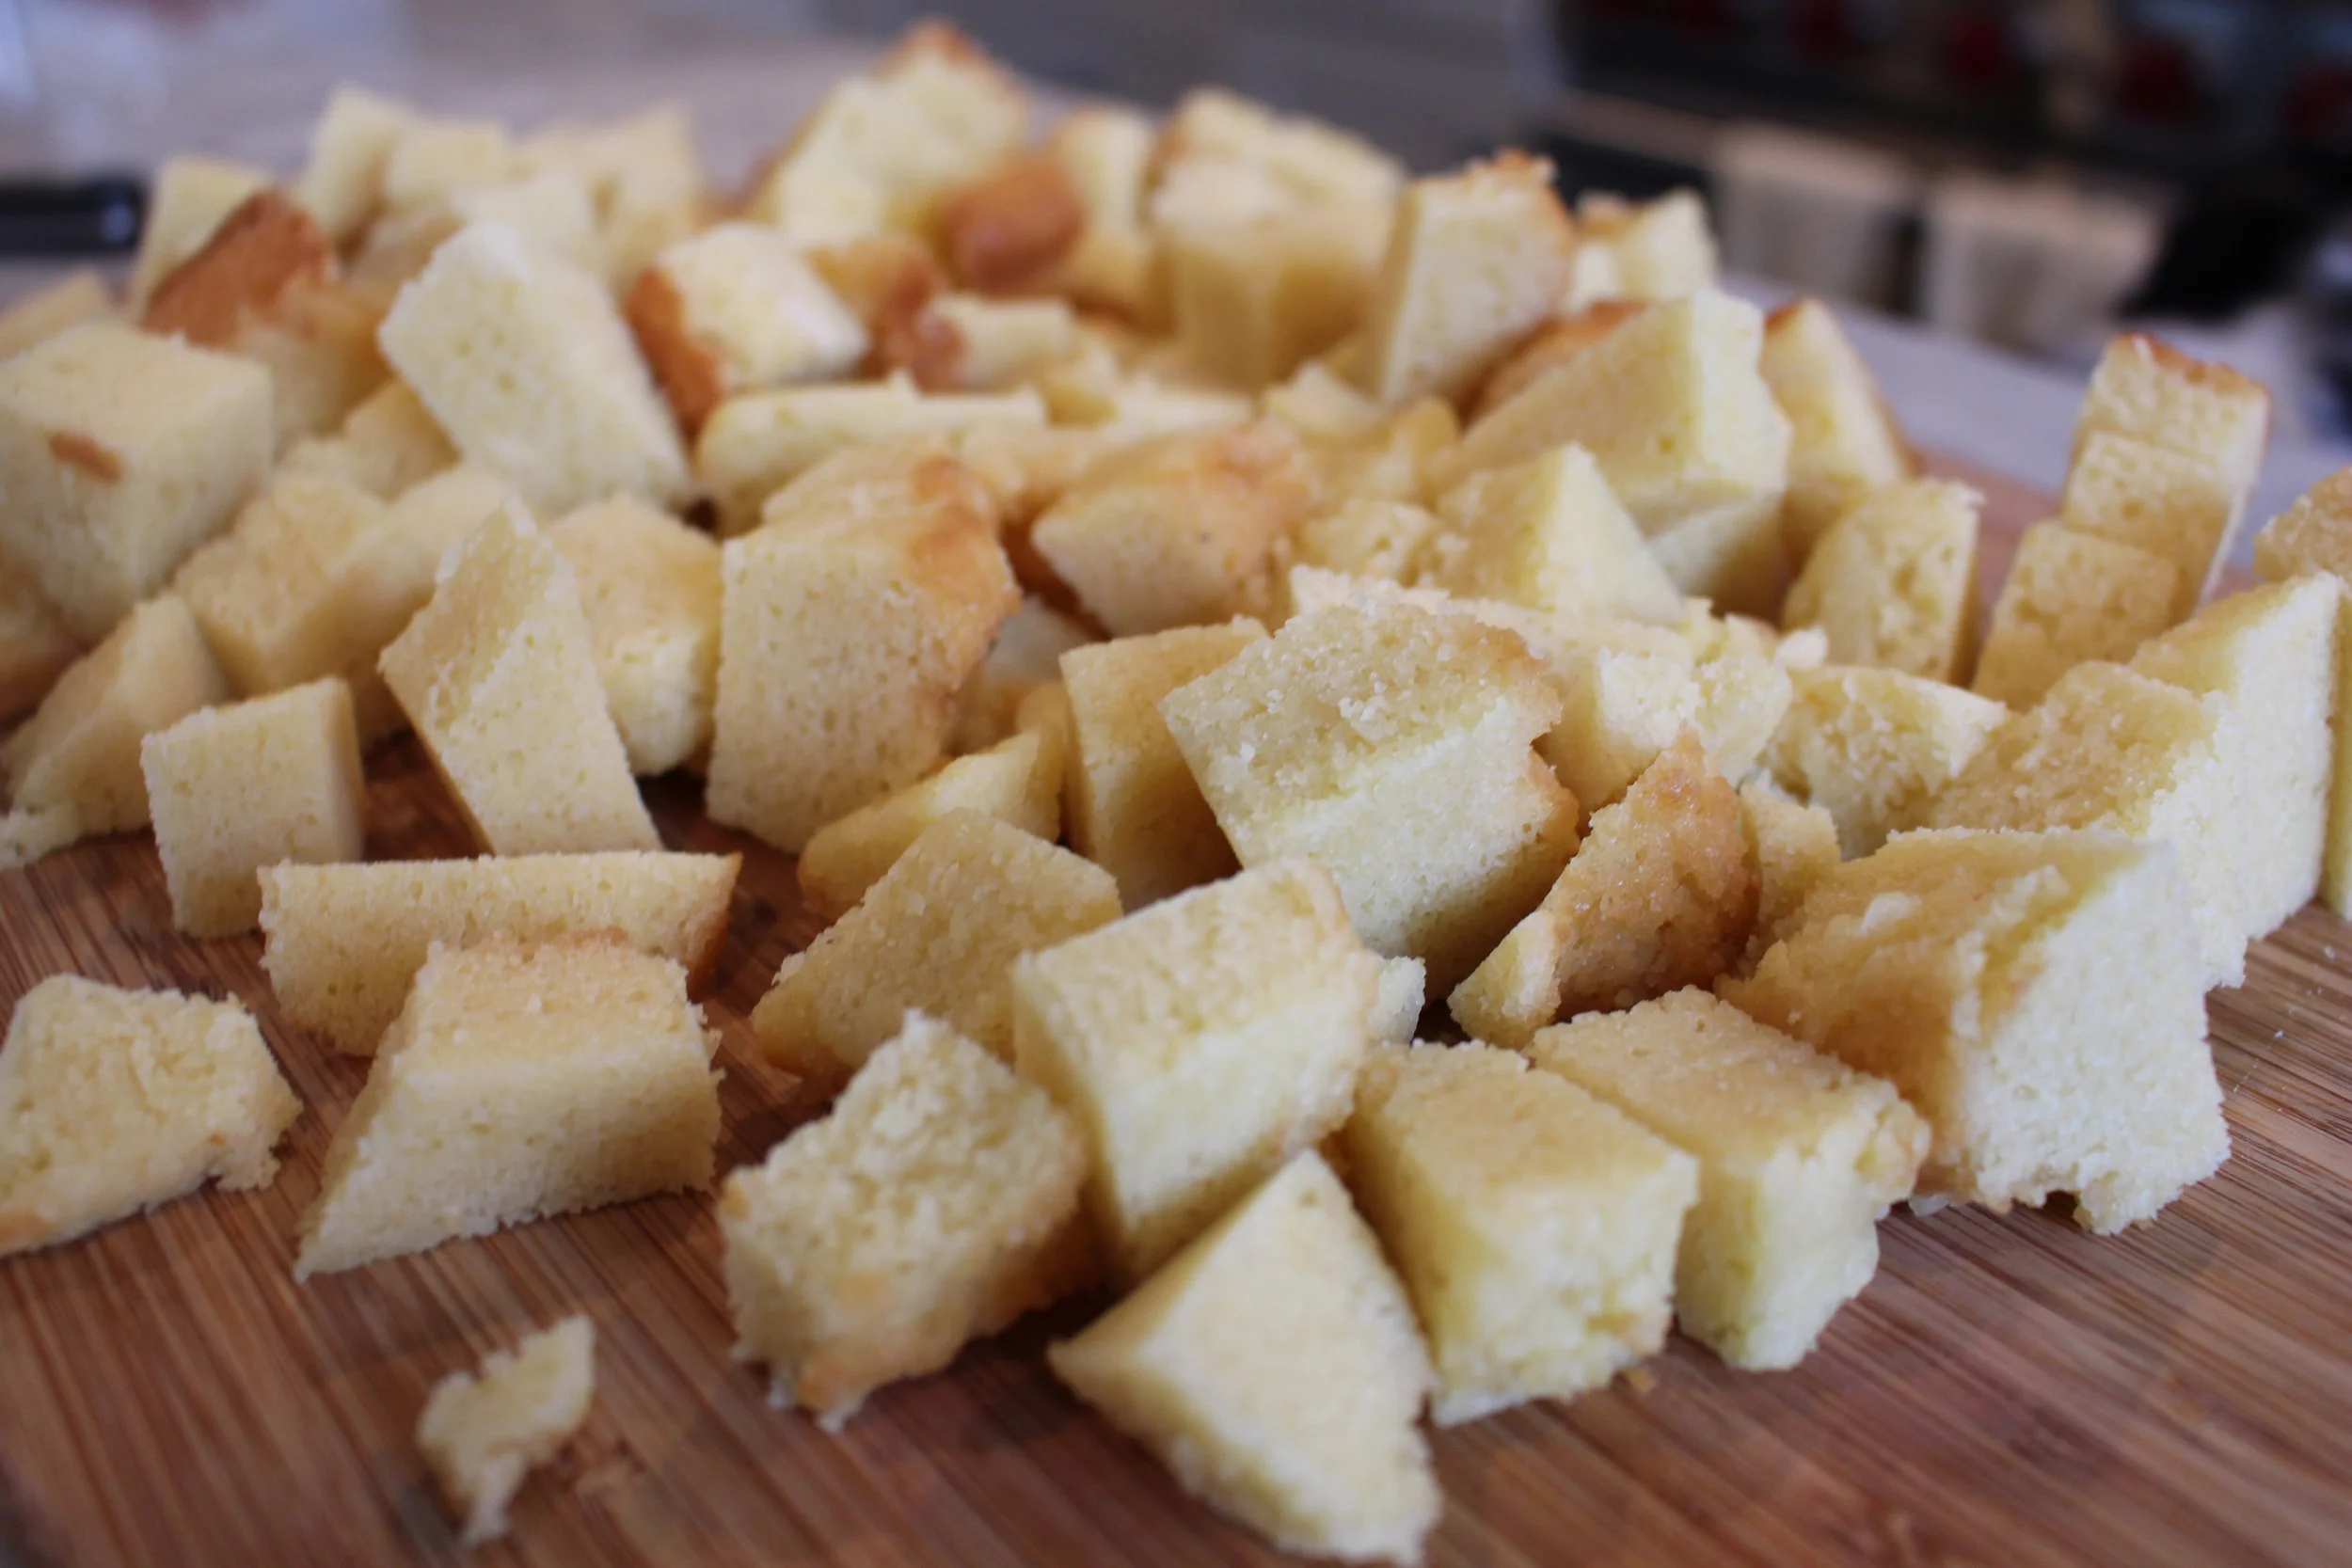
5. Pour thick batter into prepared pan and bake for about 90 minutes. When cake begins to pull away from the sides of the pan you know it's ready. Also you can stick a toothpick into the center of the cake and make sure it comes out clean. Let cake cool fully on cooling rack. Once completely cooled, cut the pound cake into slices and then cubes.
Adapted from: http://allrecipes.com/recipe/7722/buttermilk-pound-cake-ii/
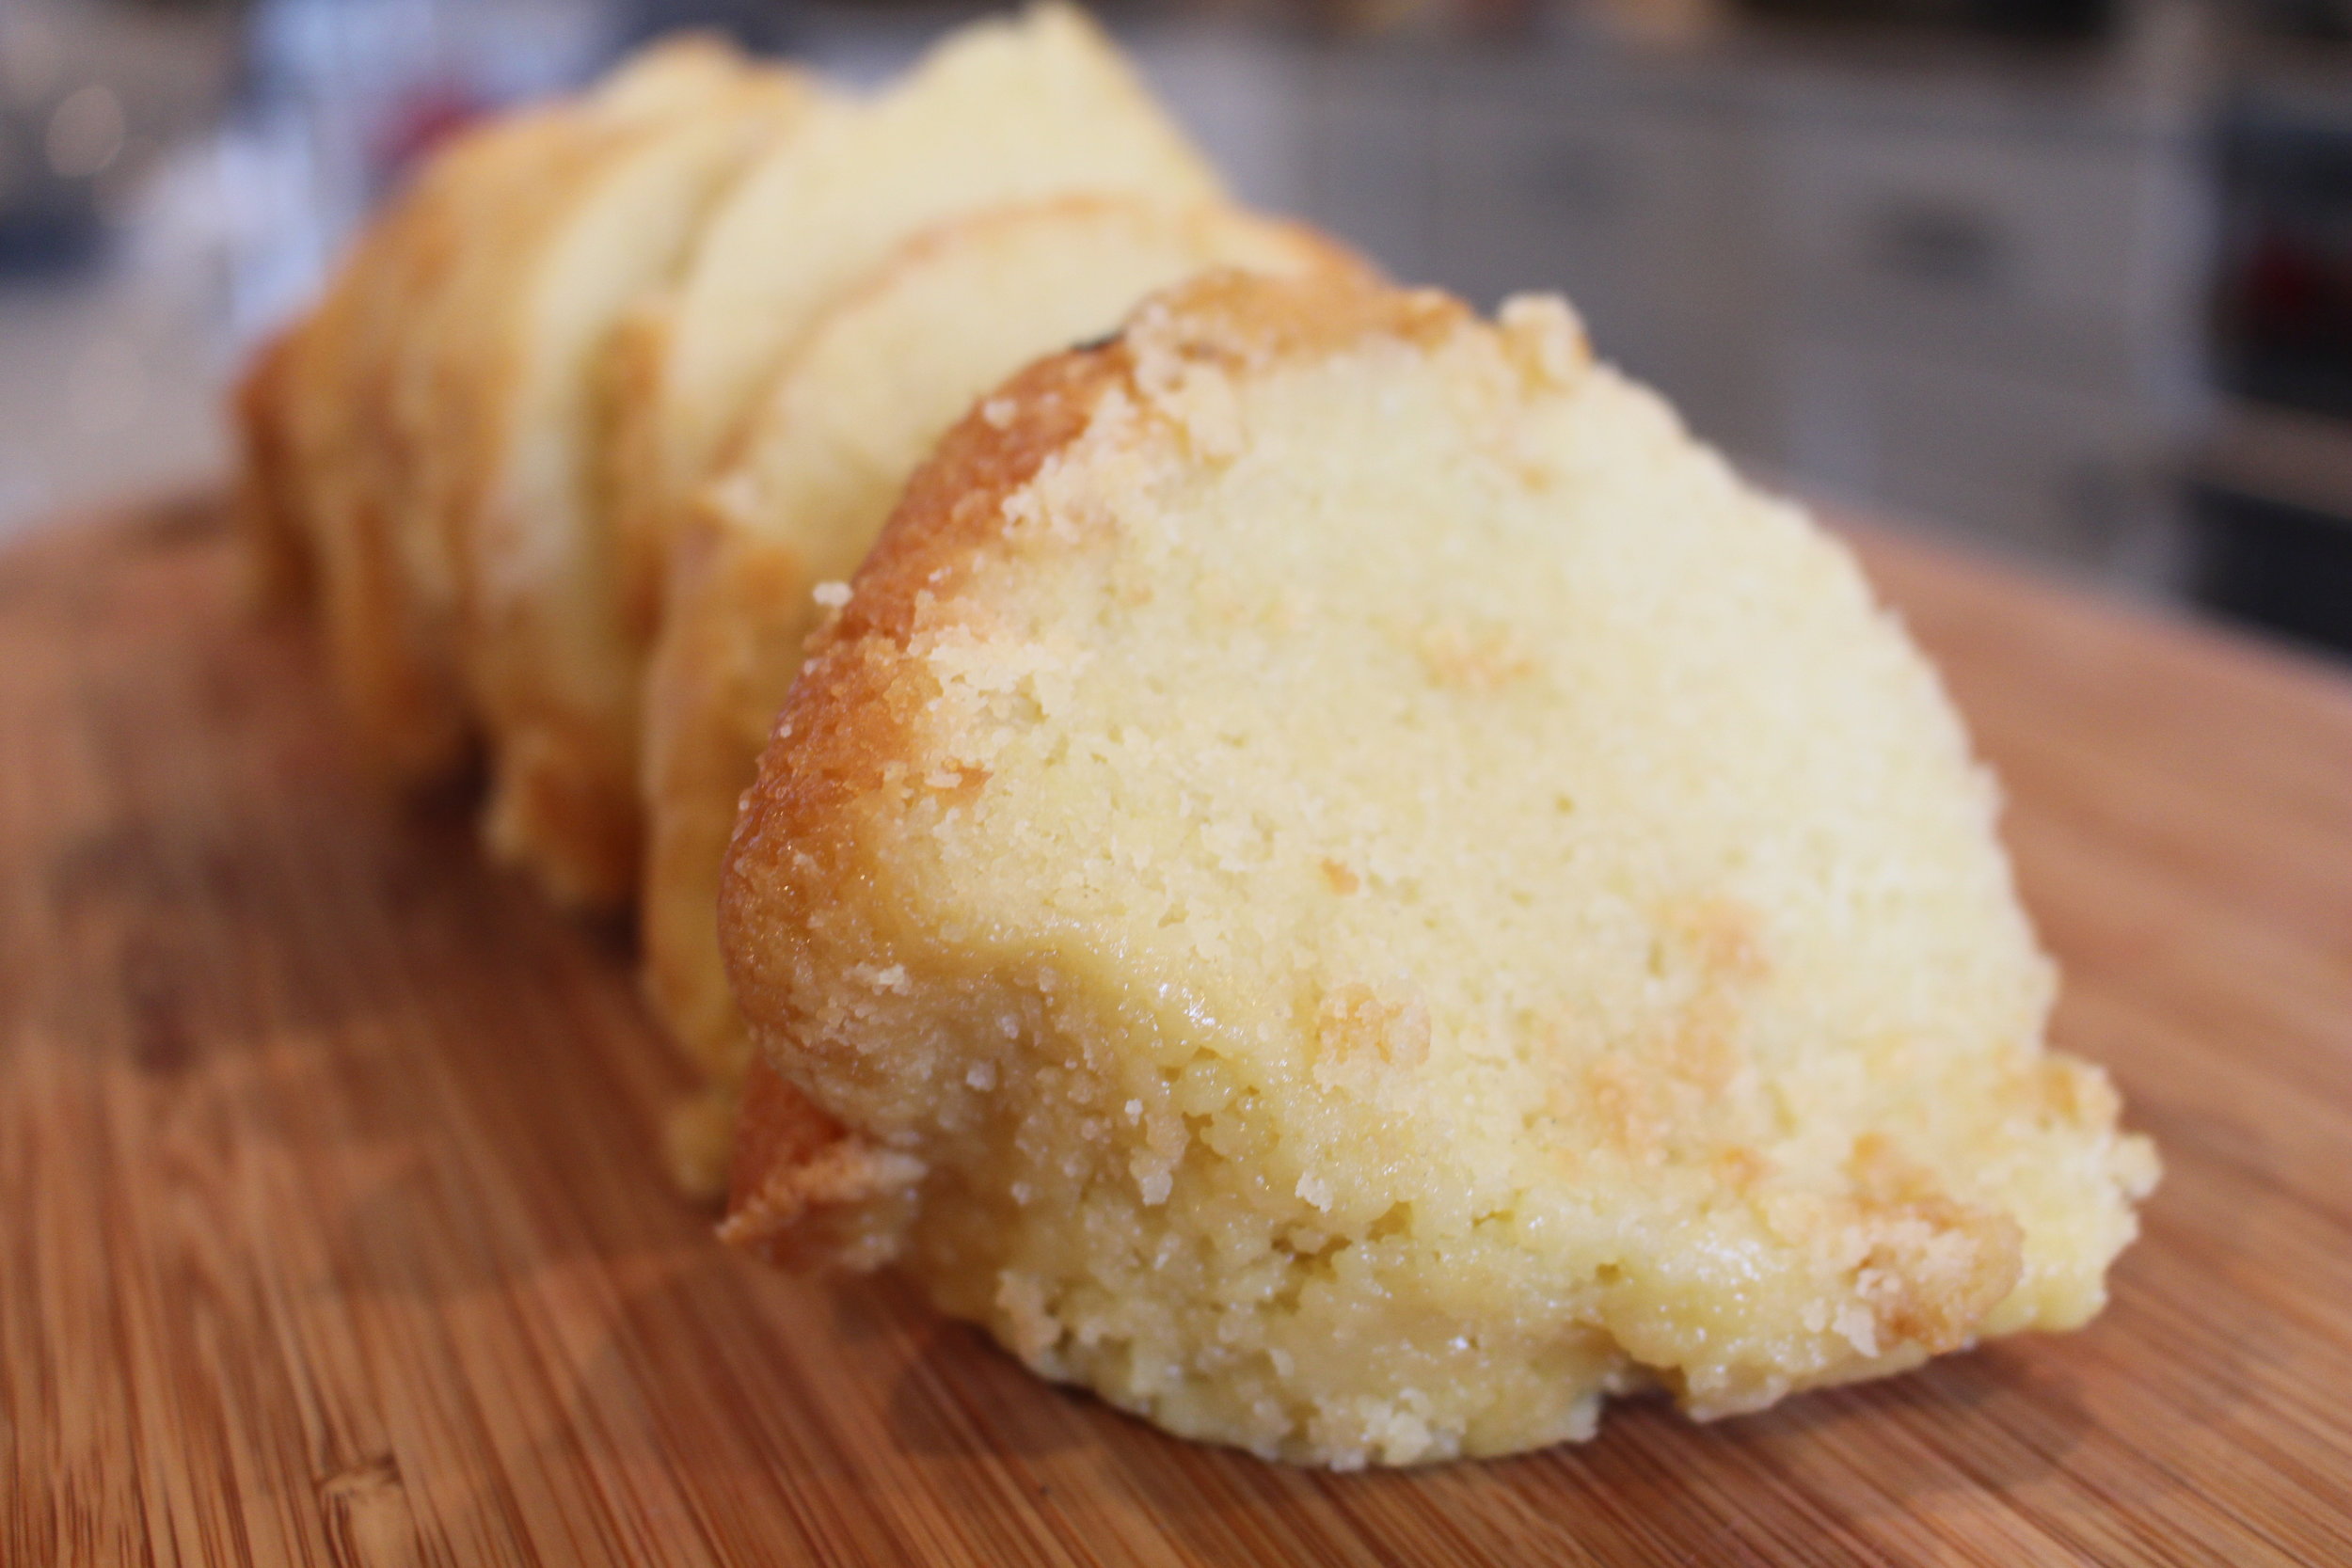
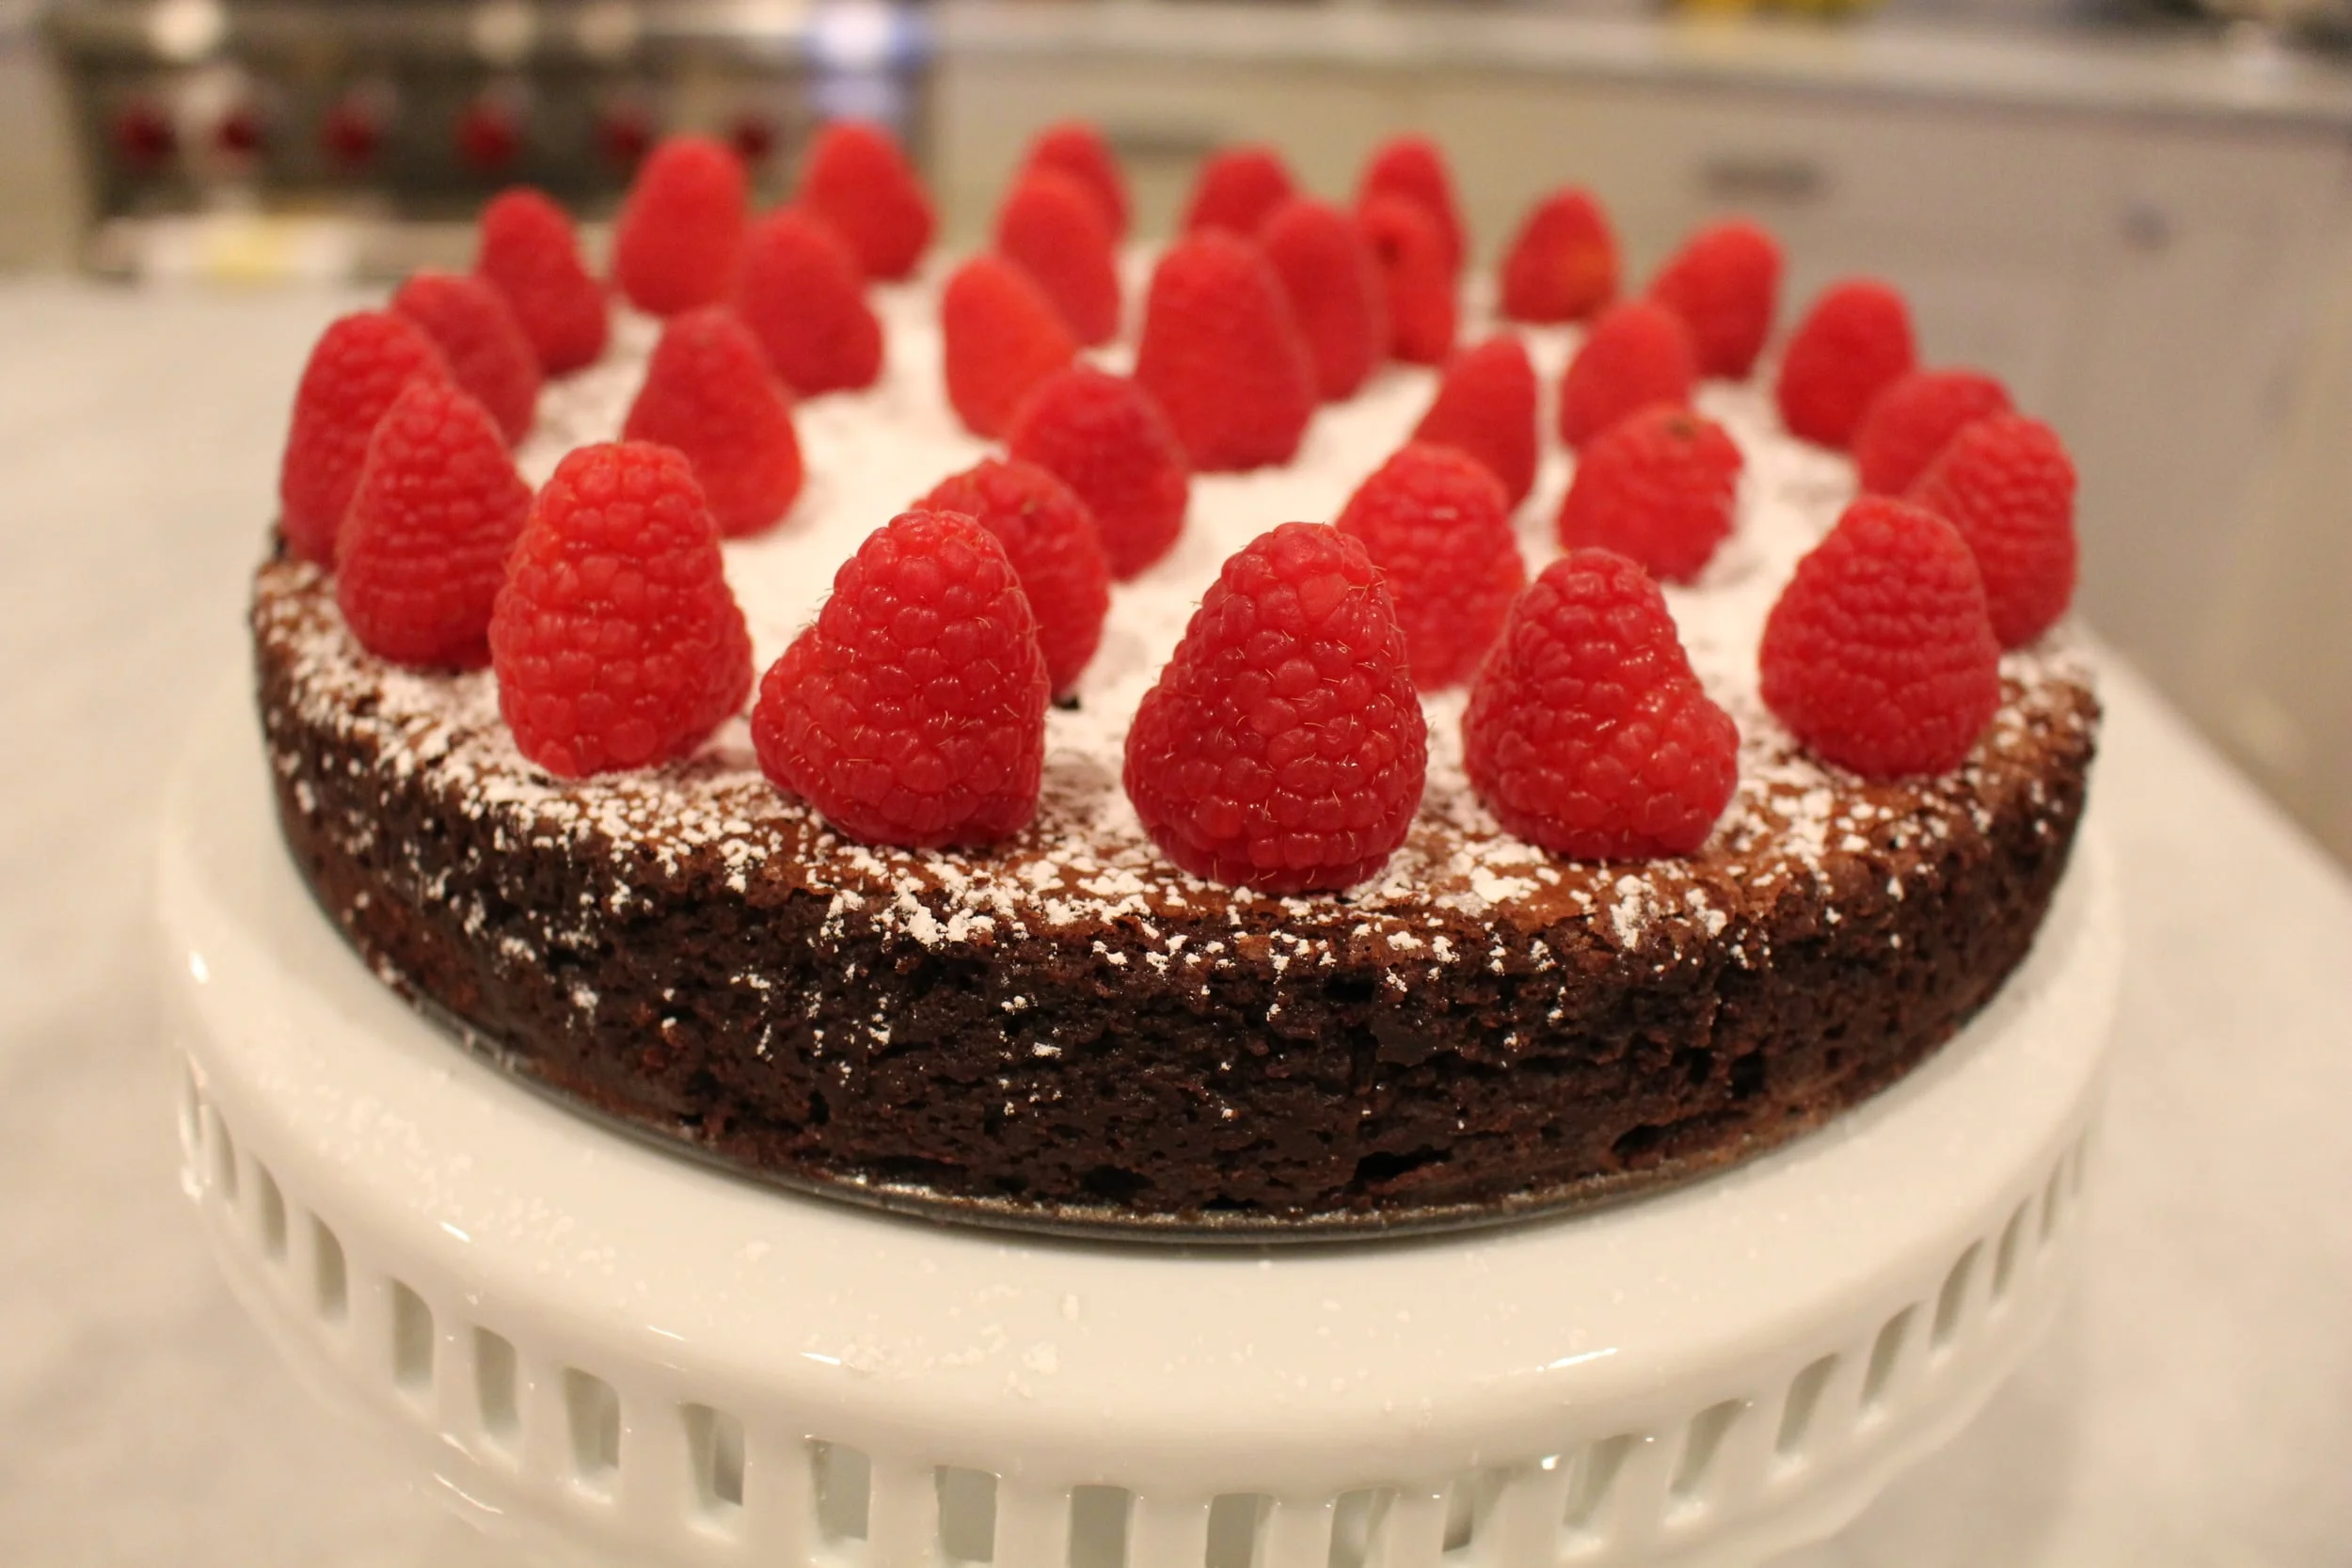
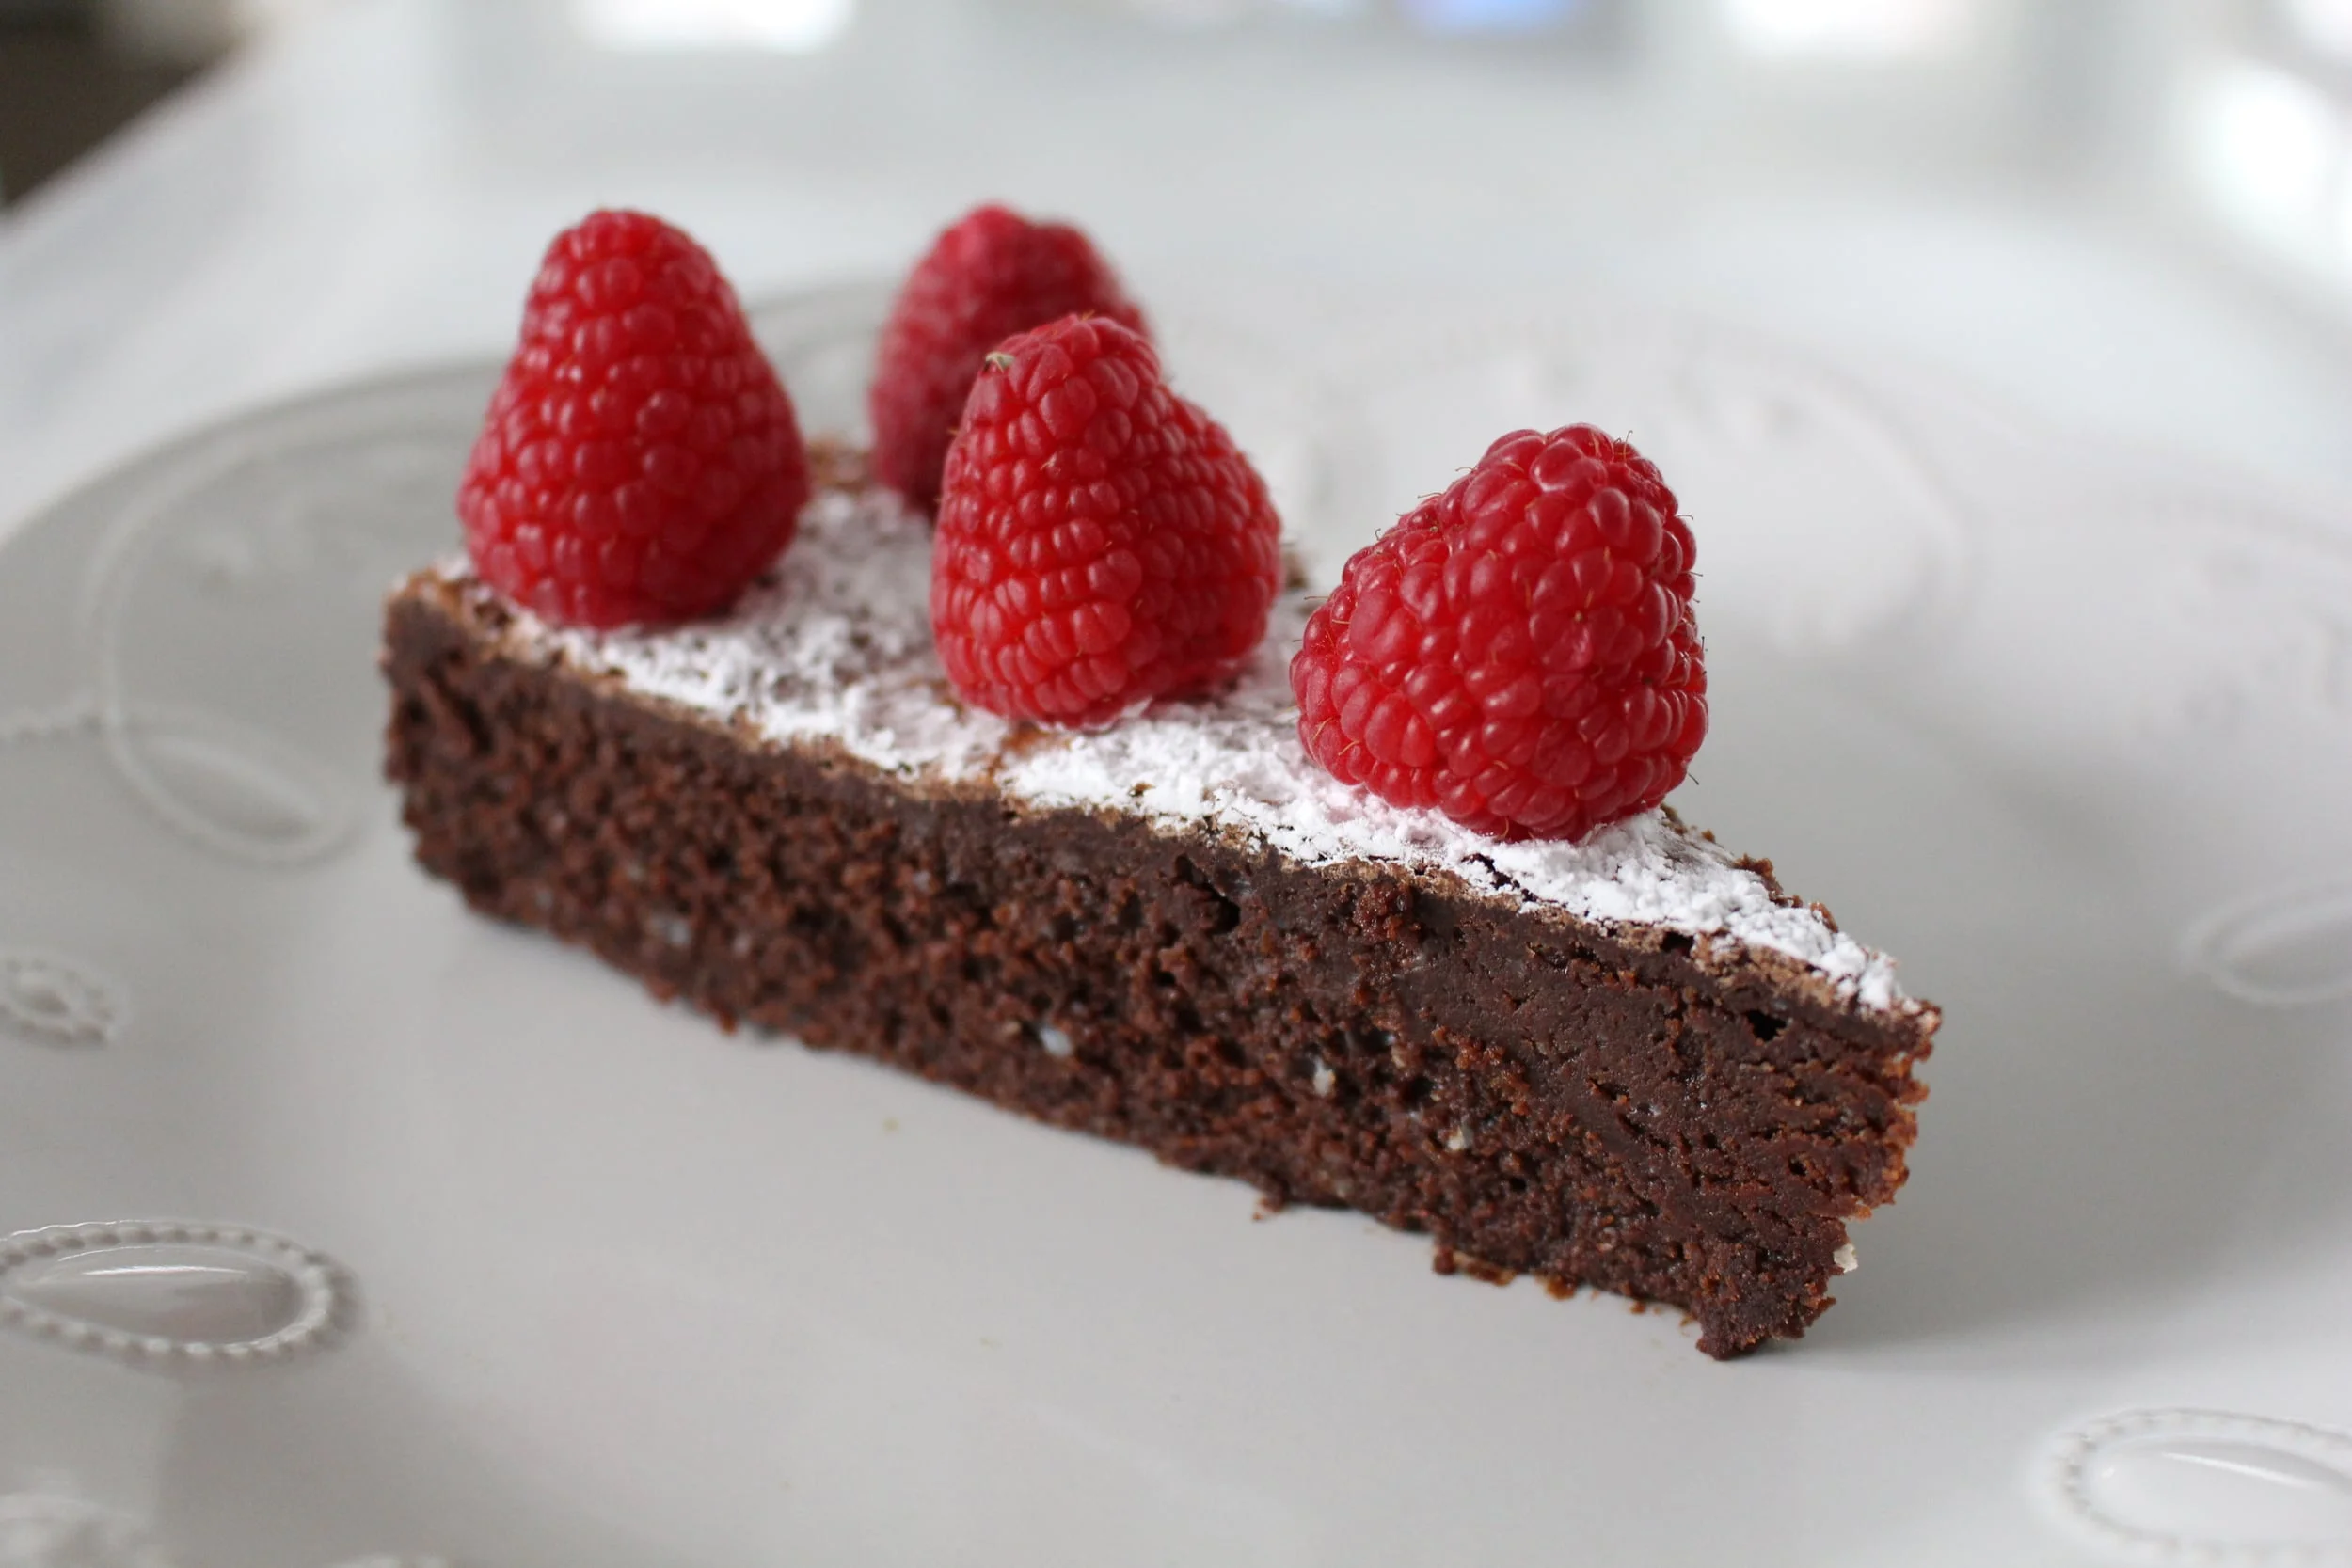
Seriously, check out that crumble...*drool*.
Now it's time to make your strawberry sauce to dress that delicious pound cake!
Strawberry sauce ingredients:
1 -12oz bag of frozen strawberries
1.5 tbsp white sugar
2 tbsp water
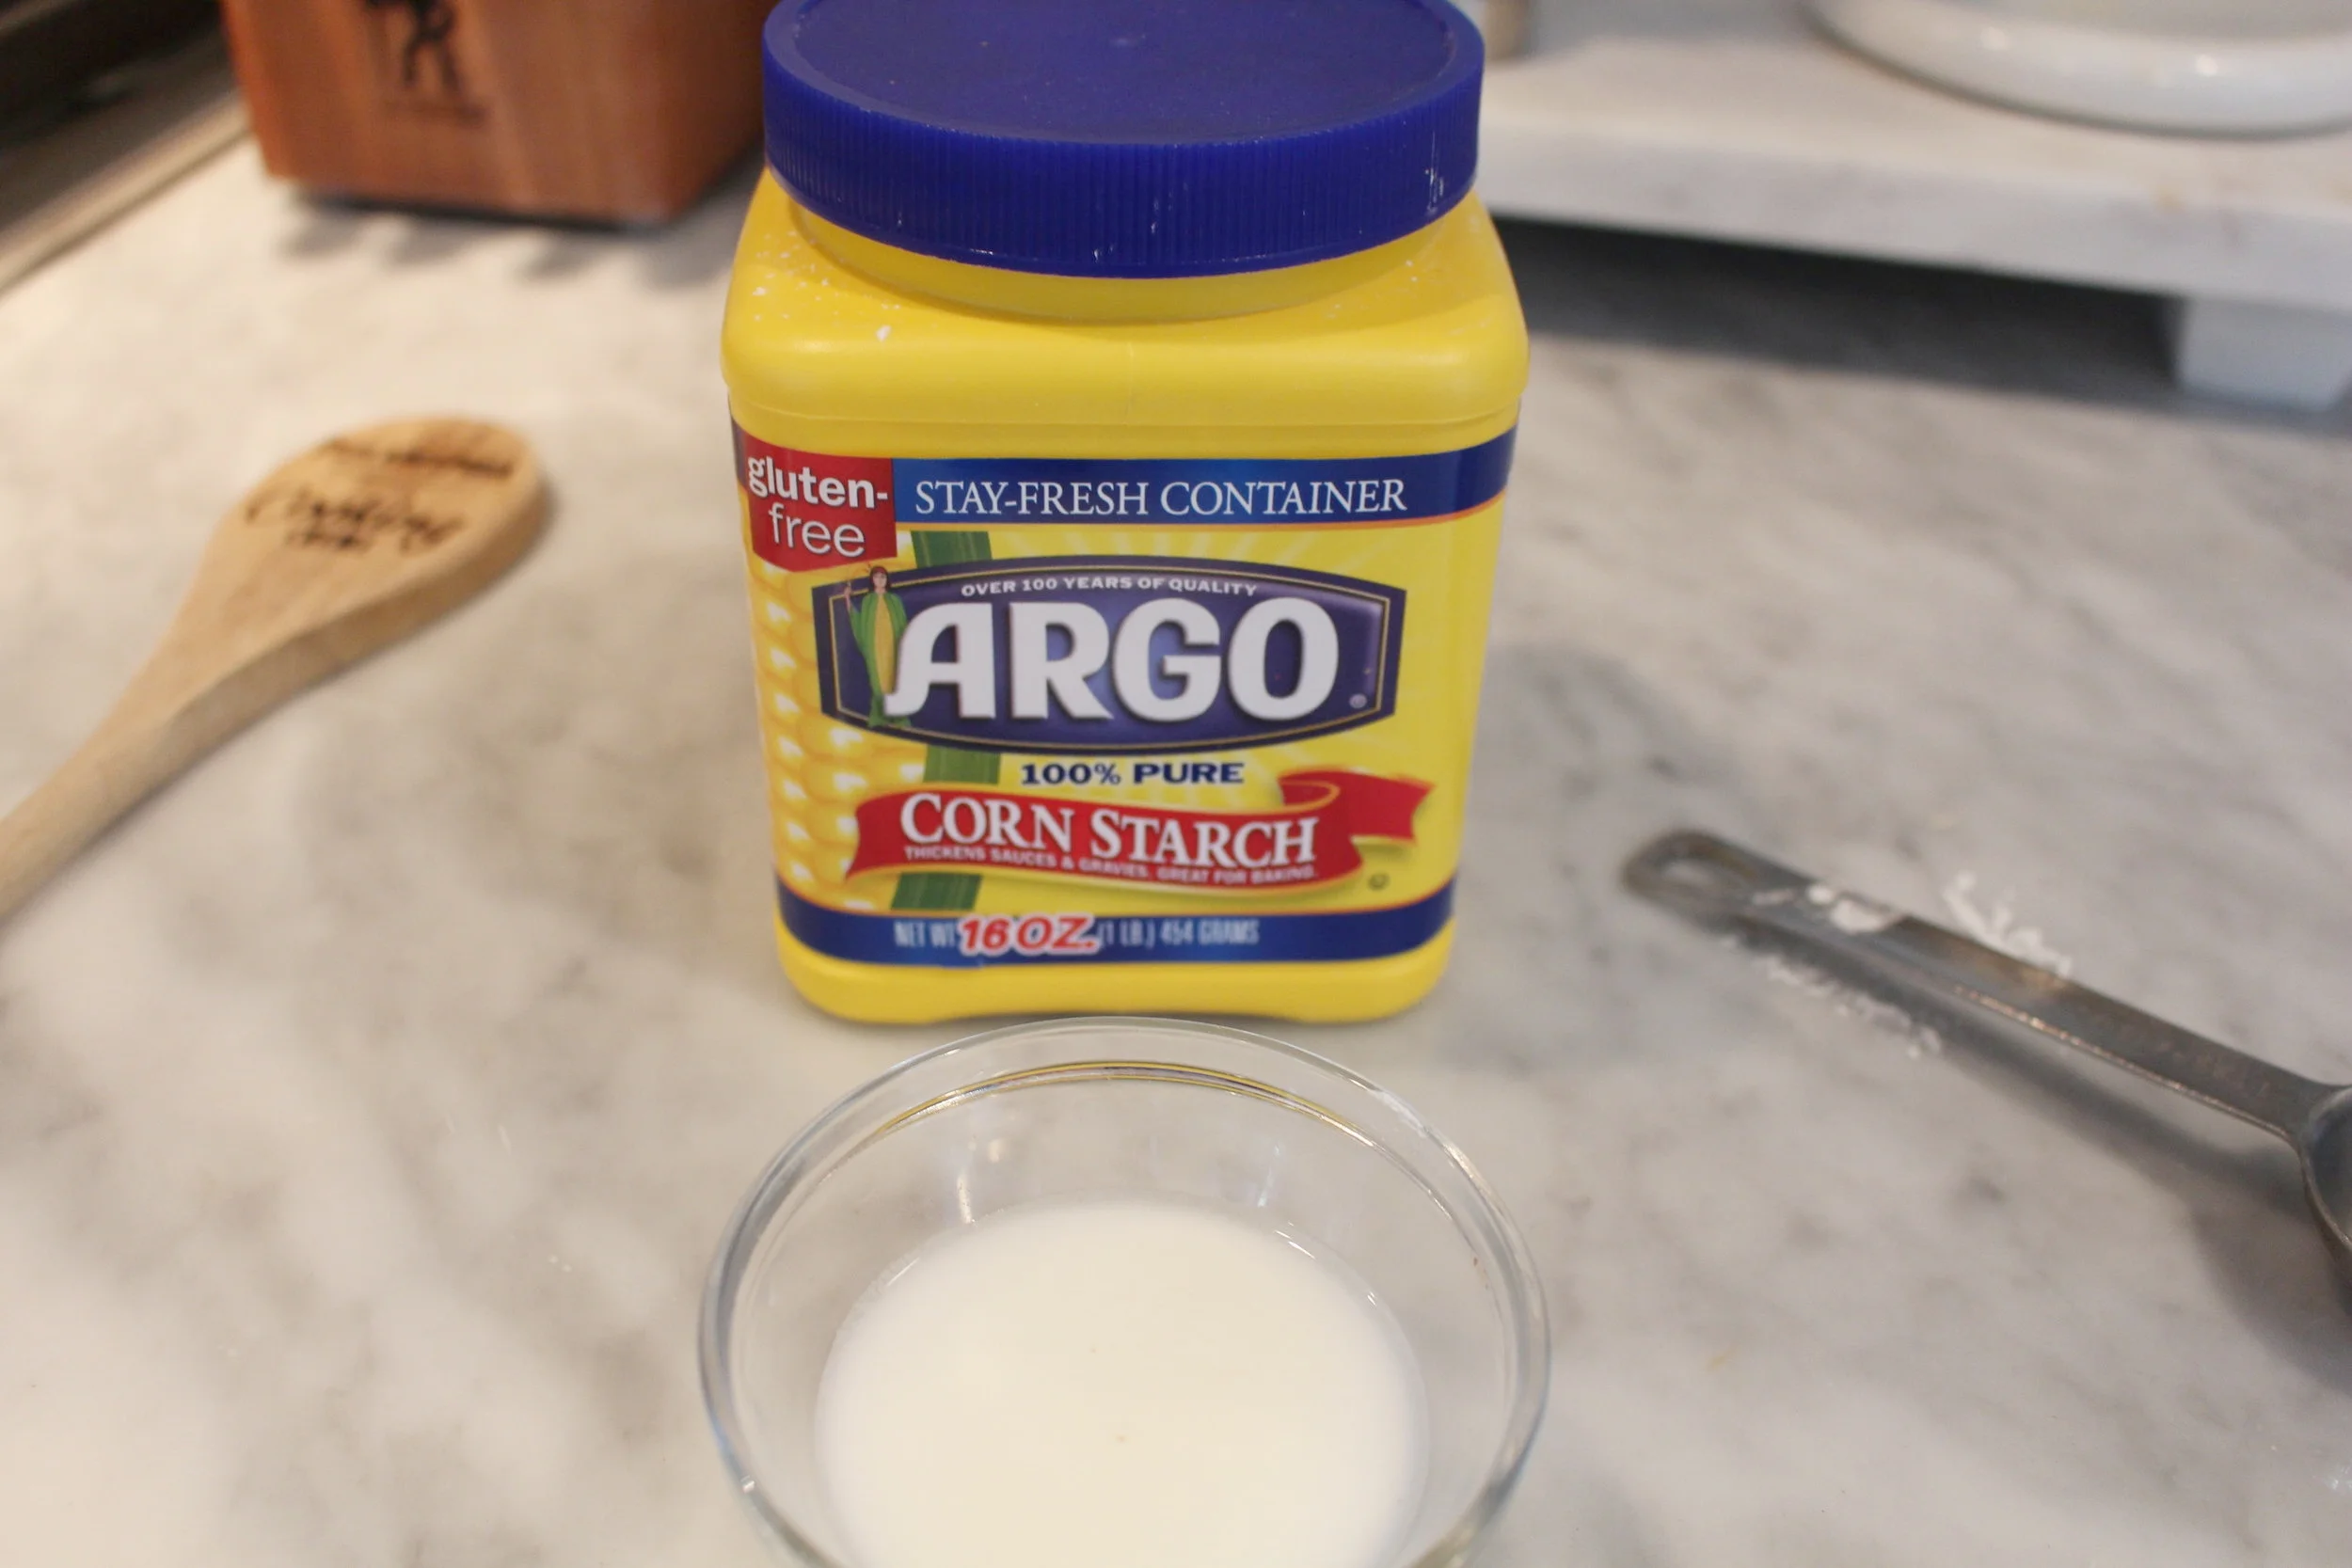
1/2 tbsp cornstarch
Directions:
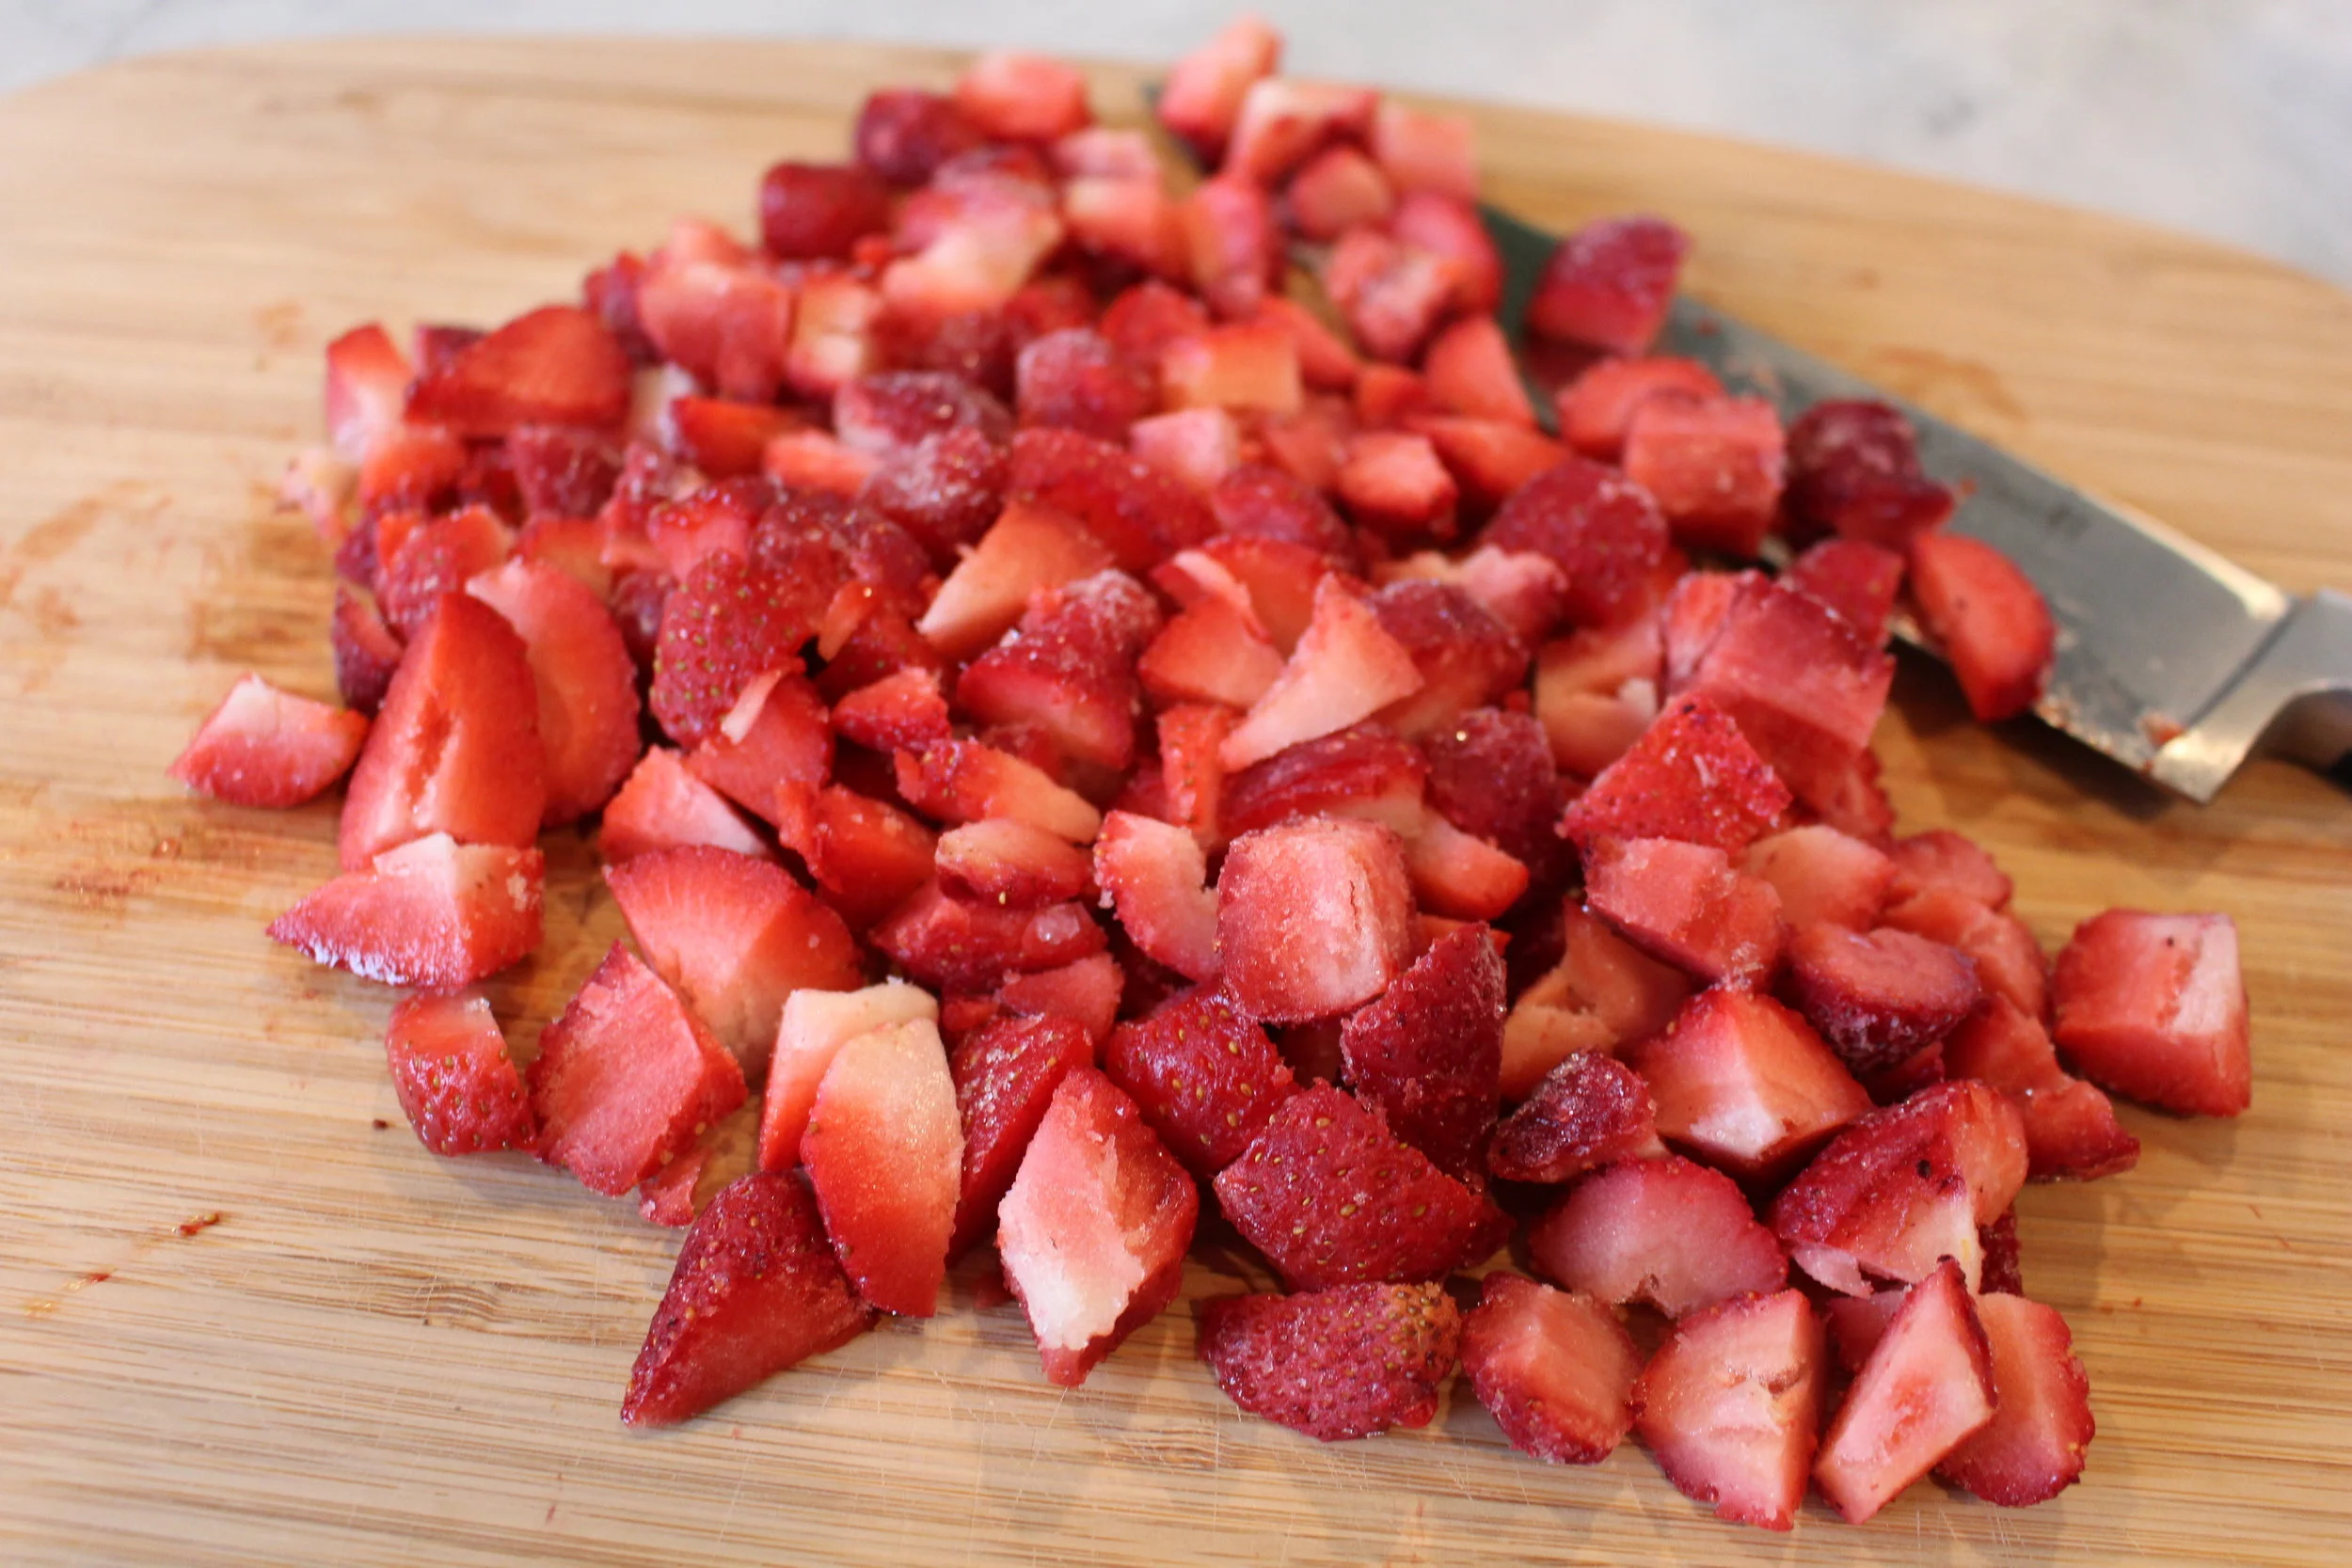
1. Dice frozen strawberries, I cut the strawberries into quarters or even smaller if the strawberry was larger.
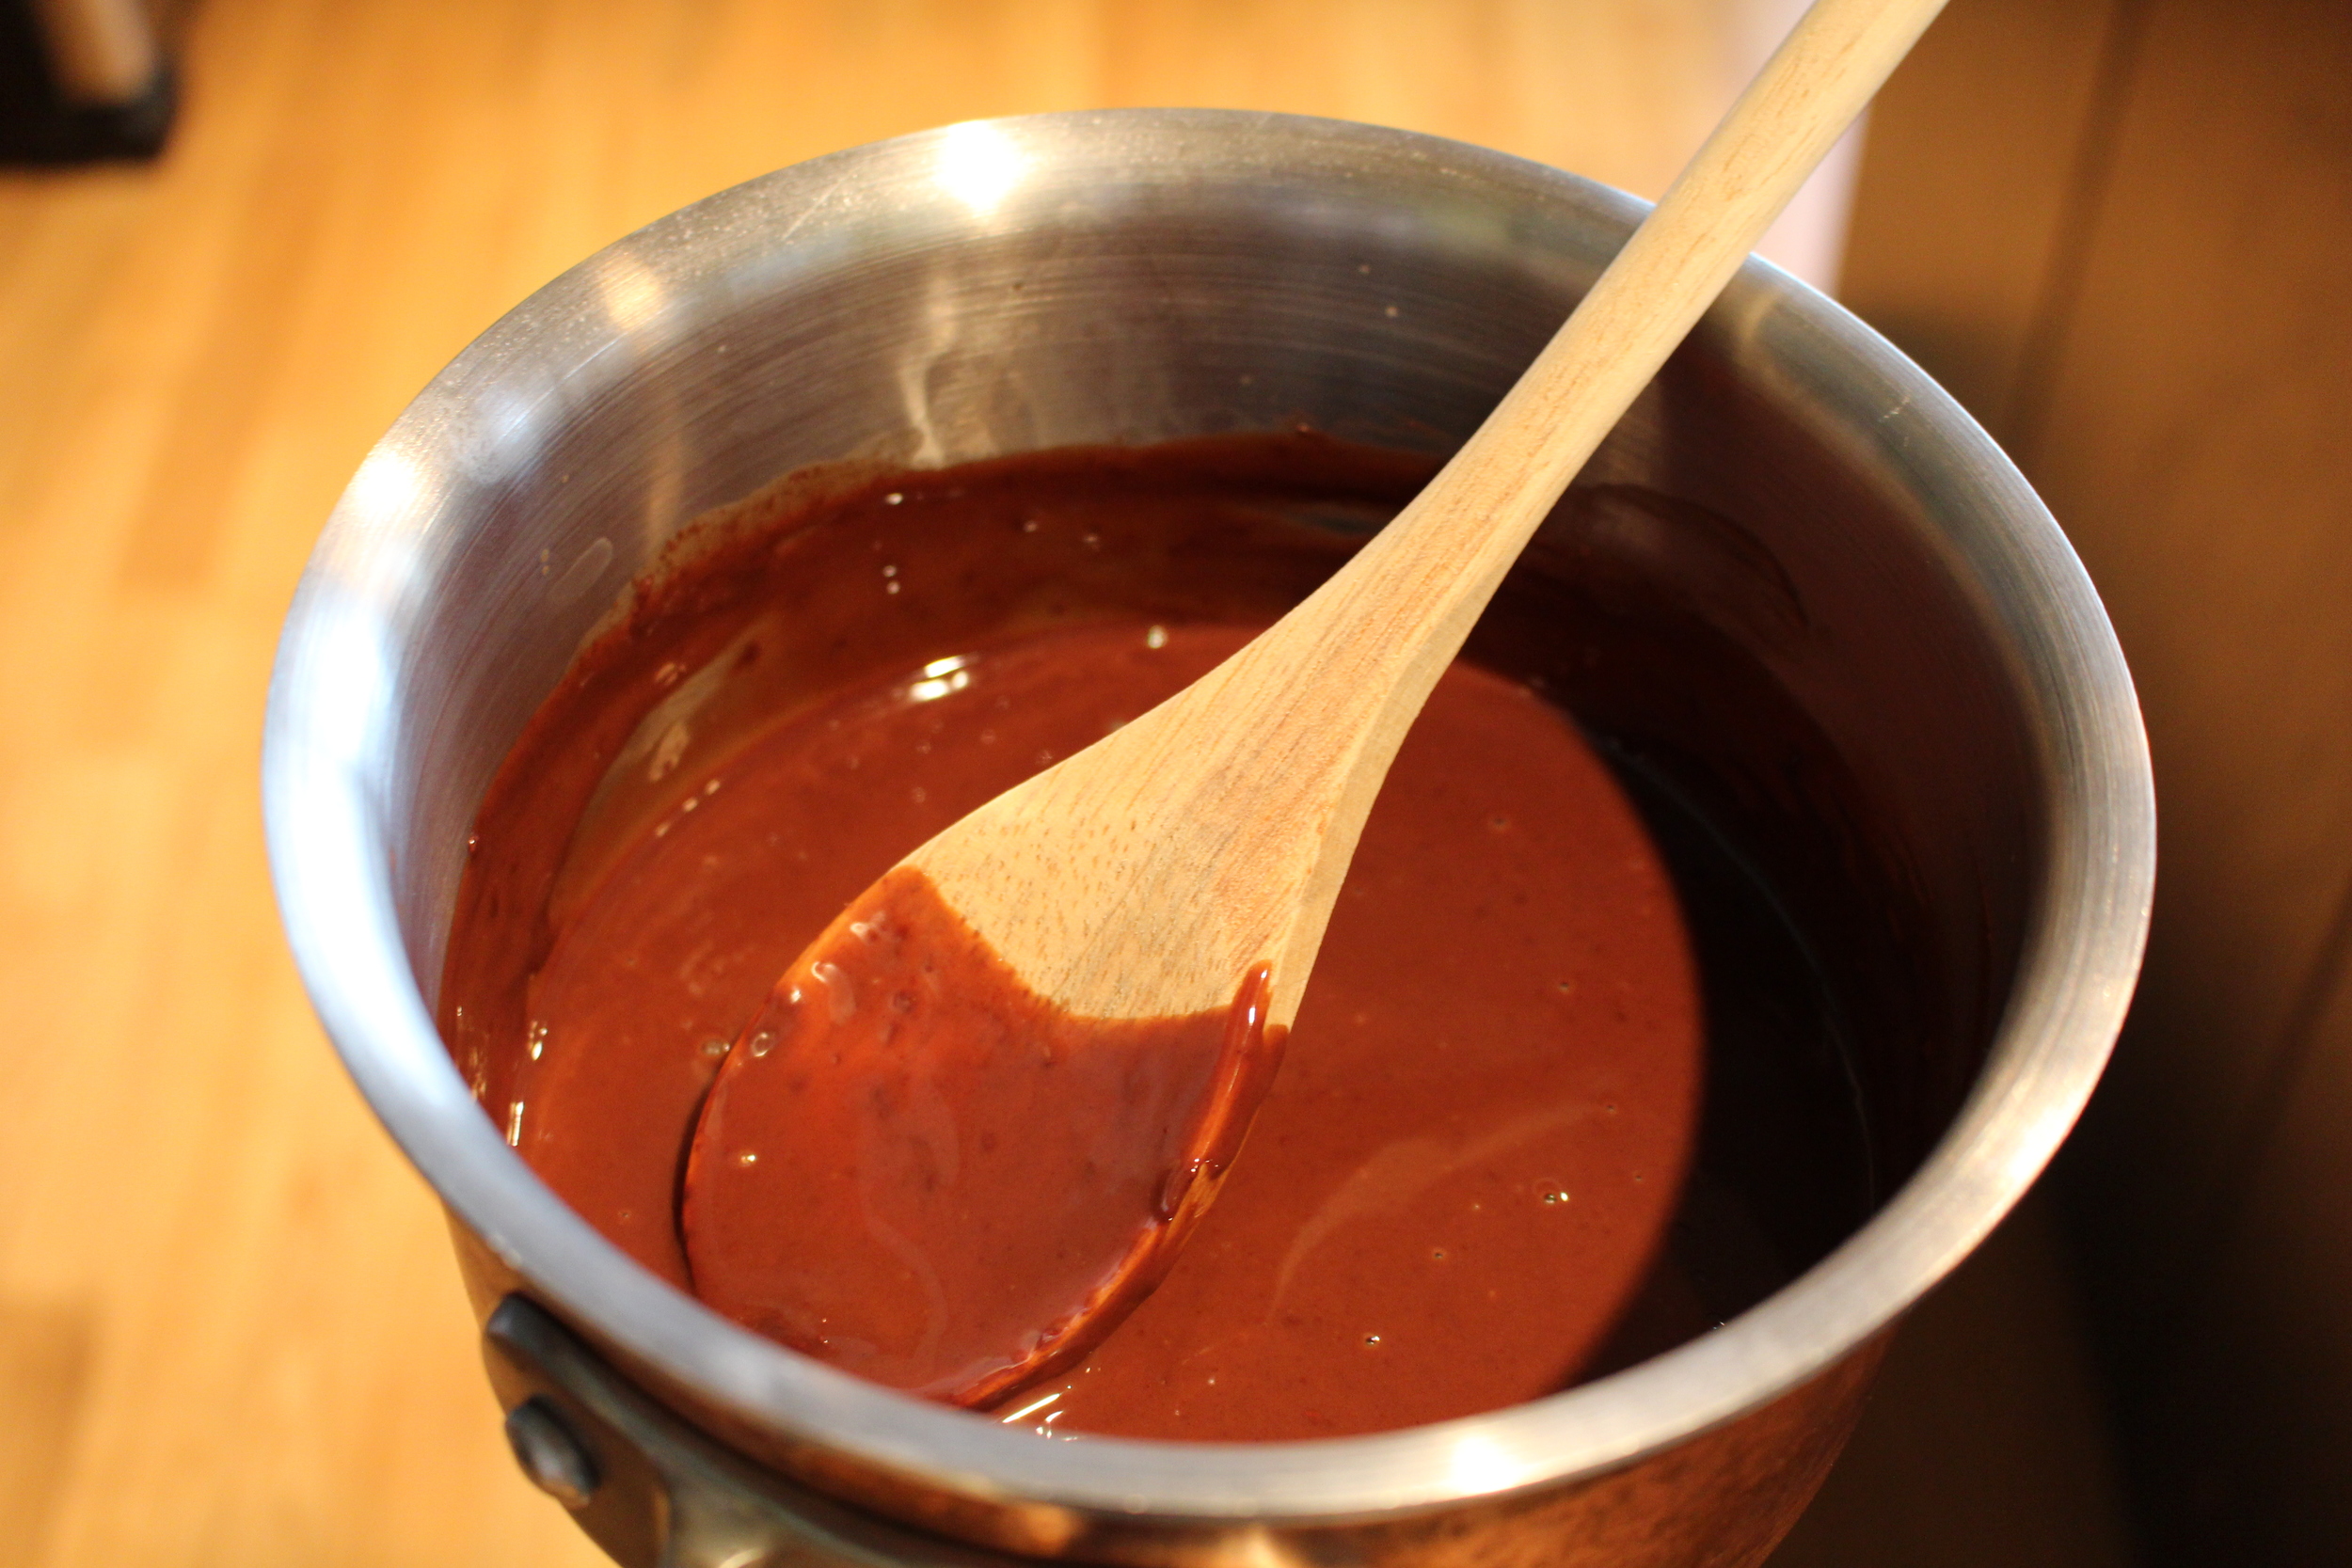
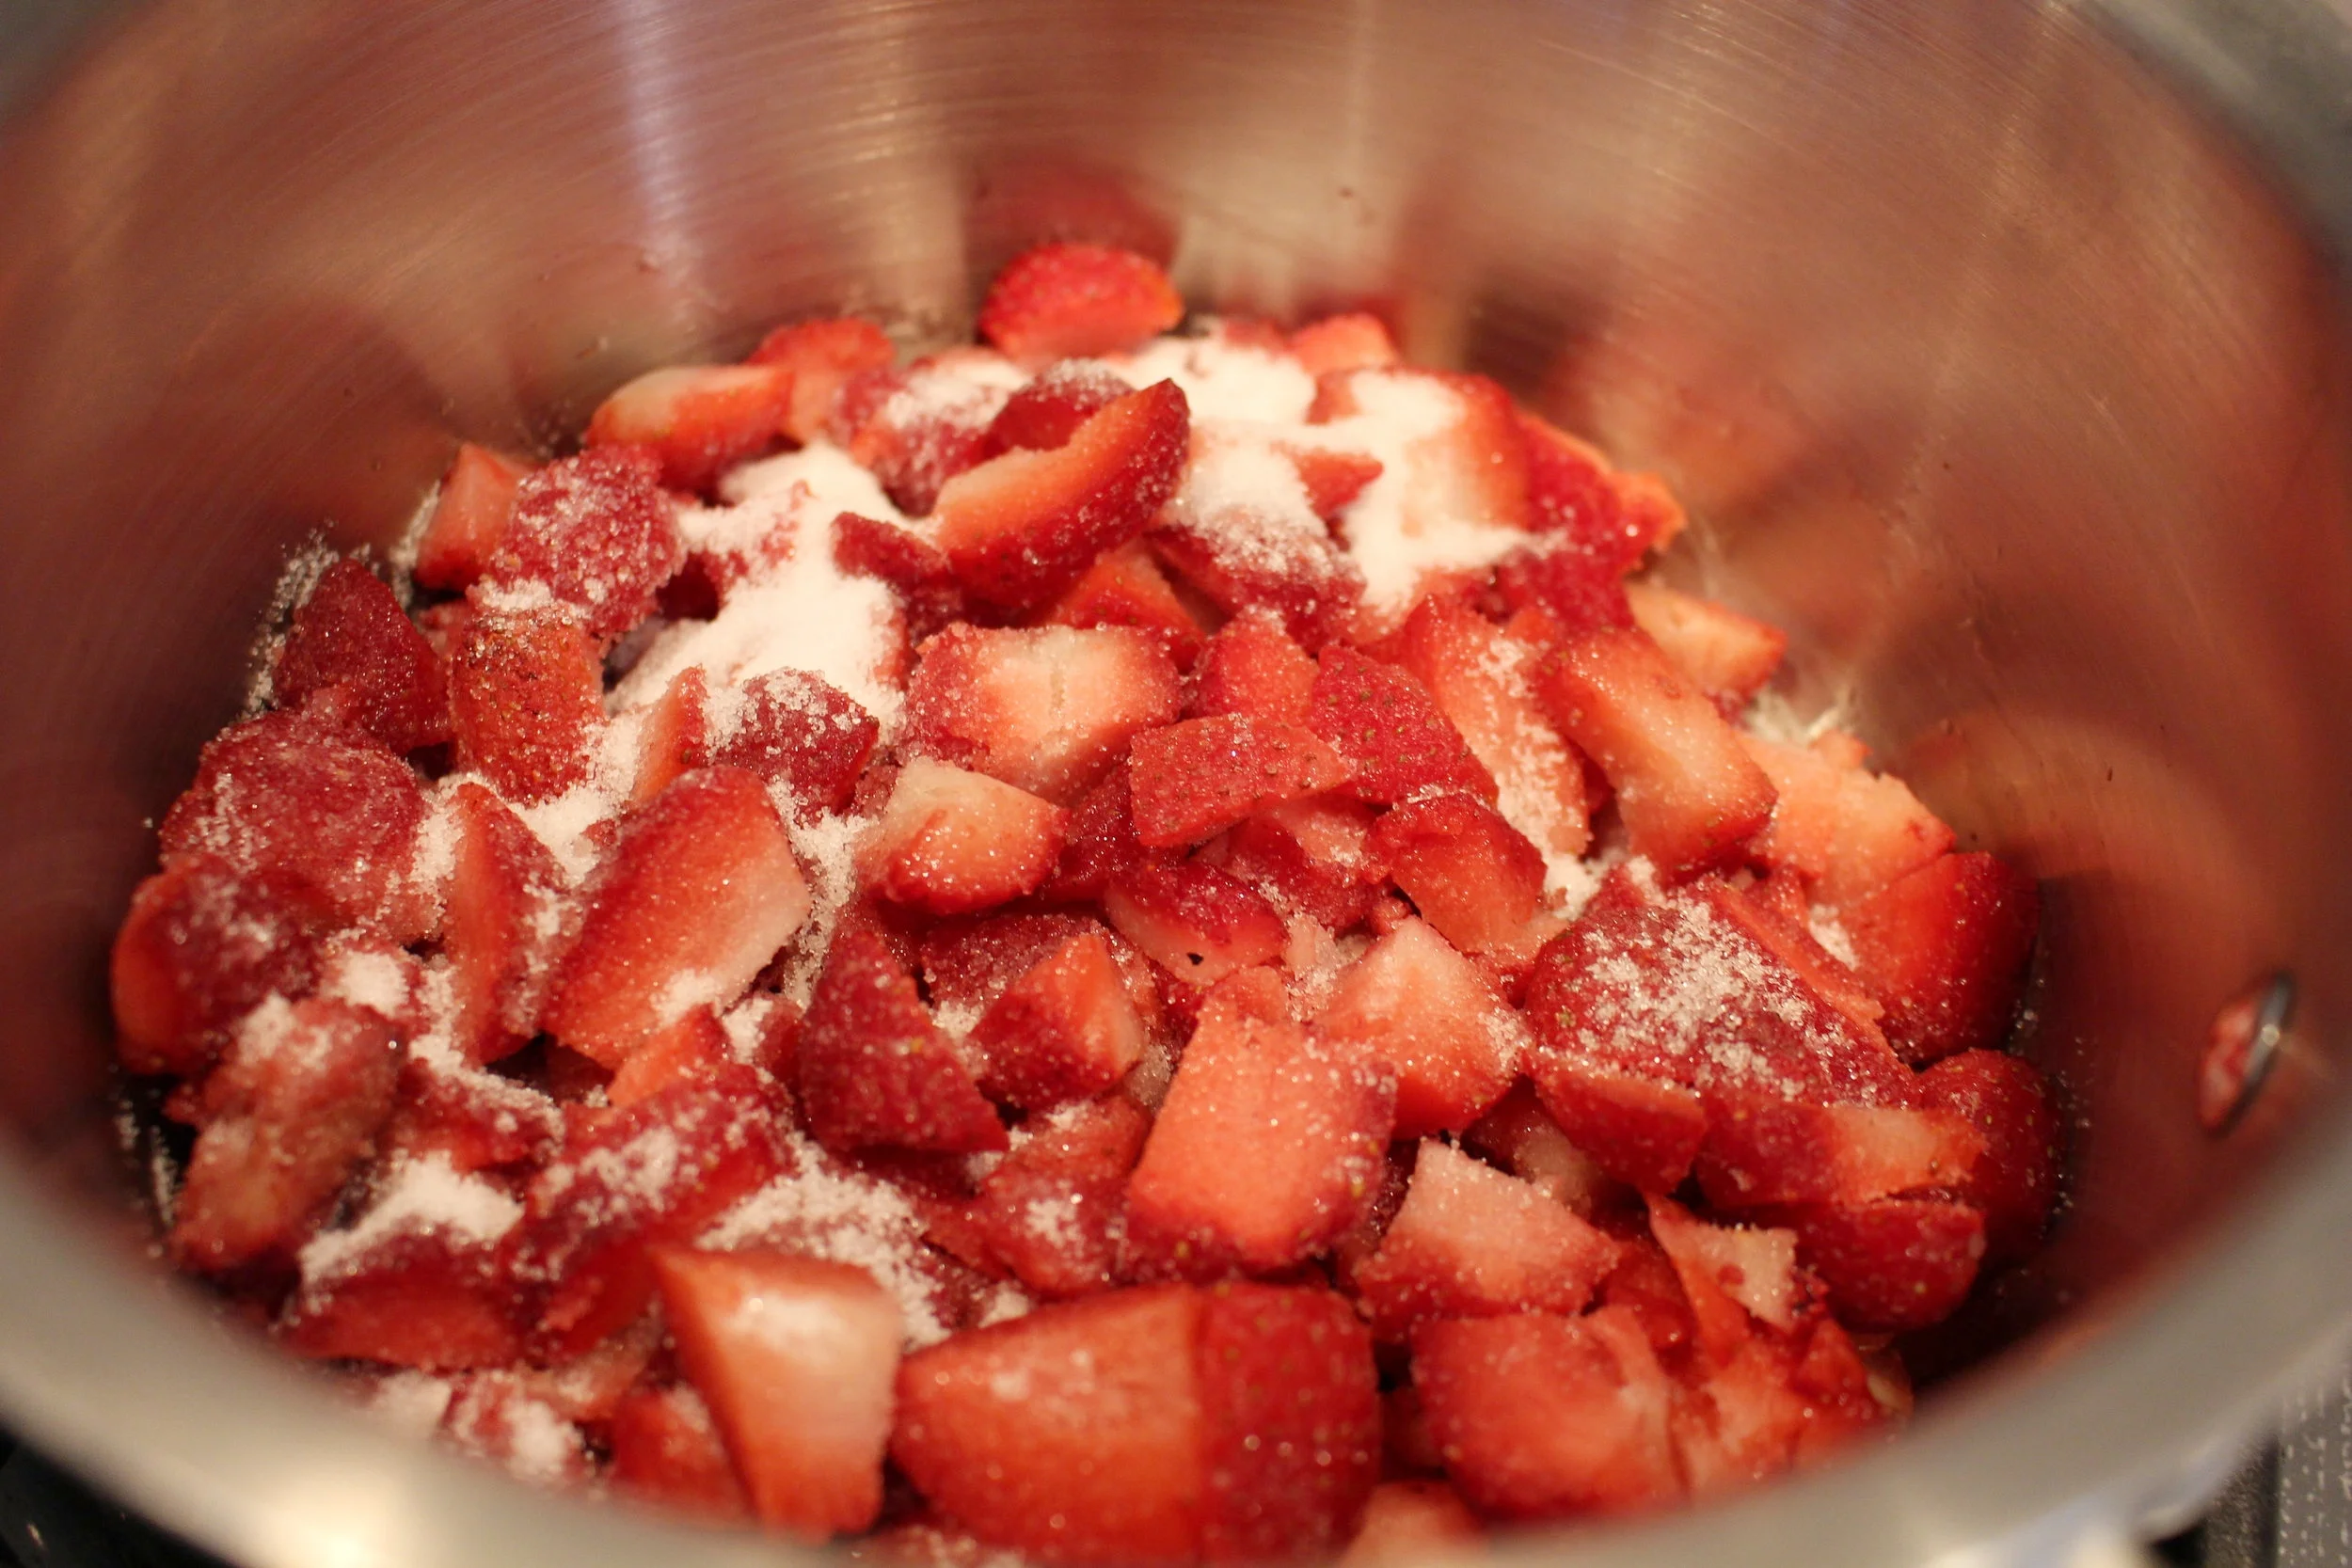
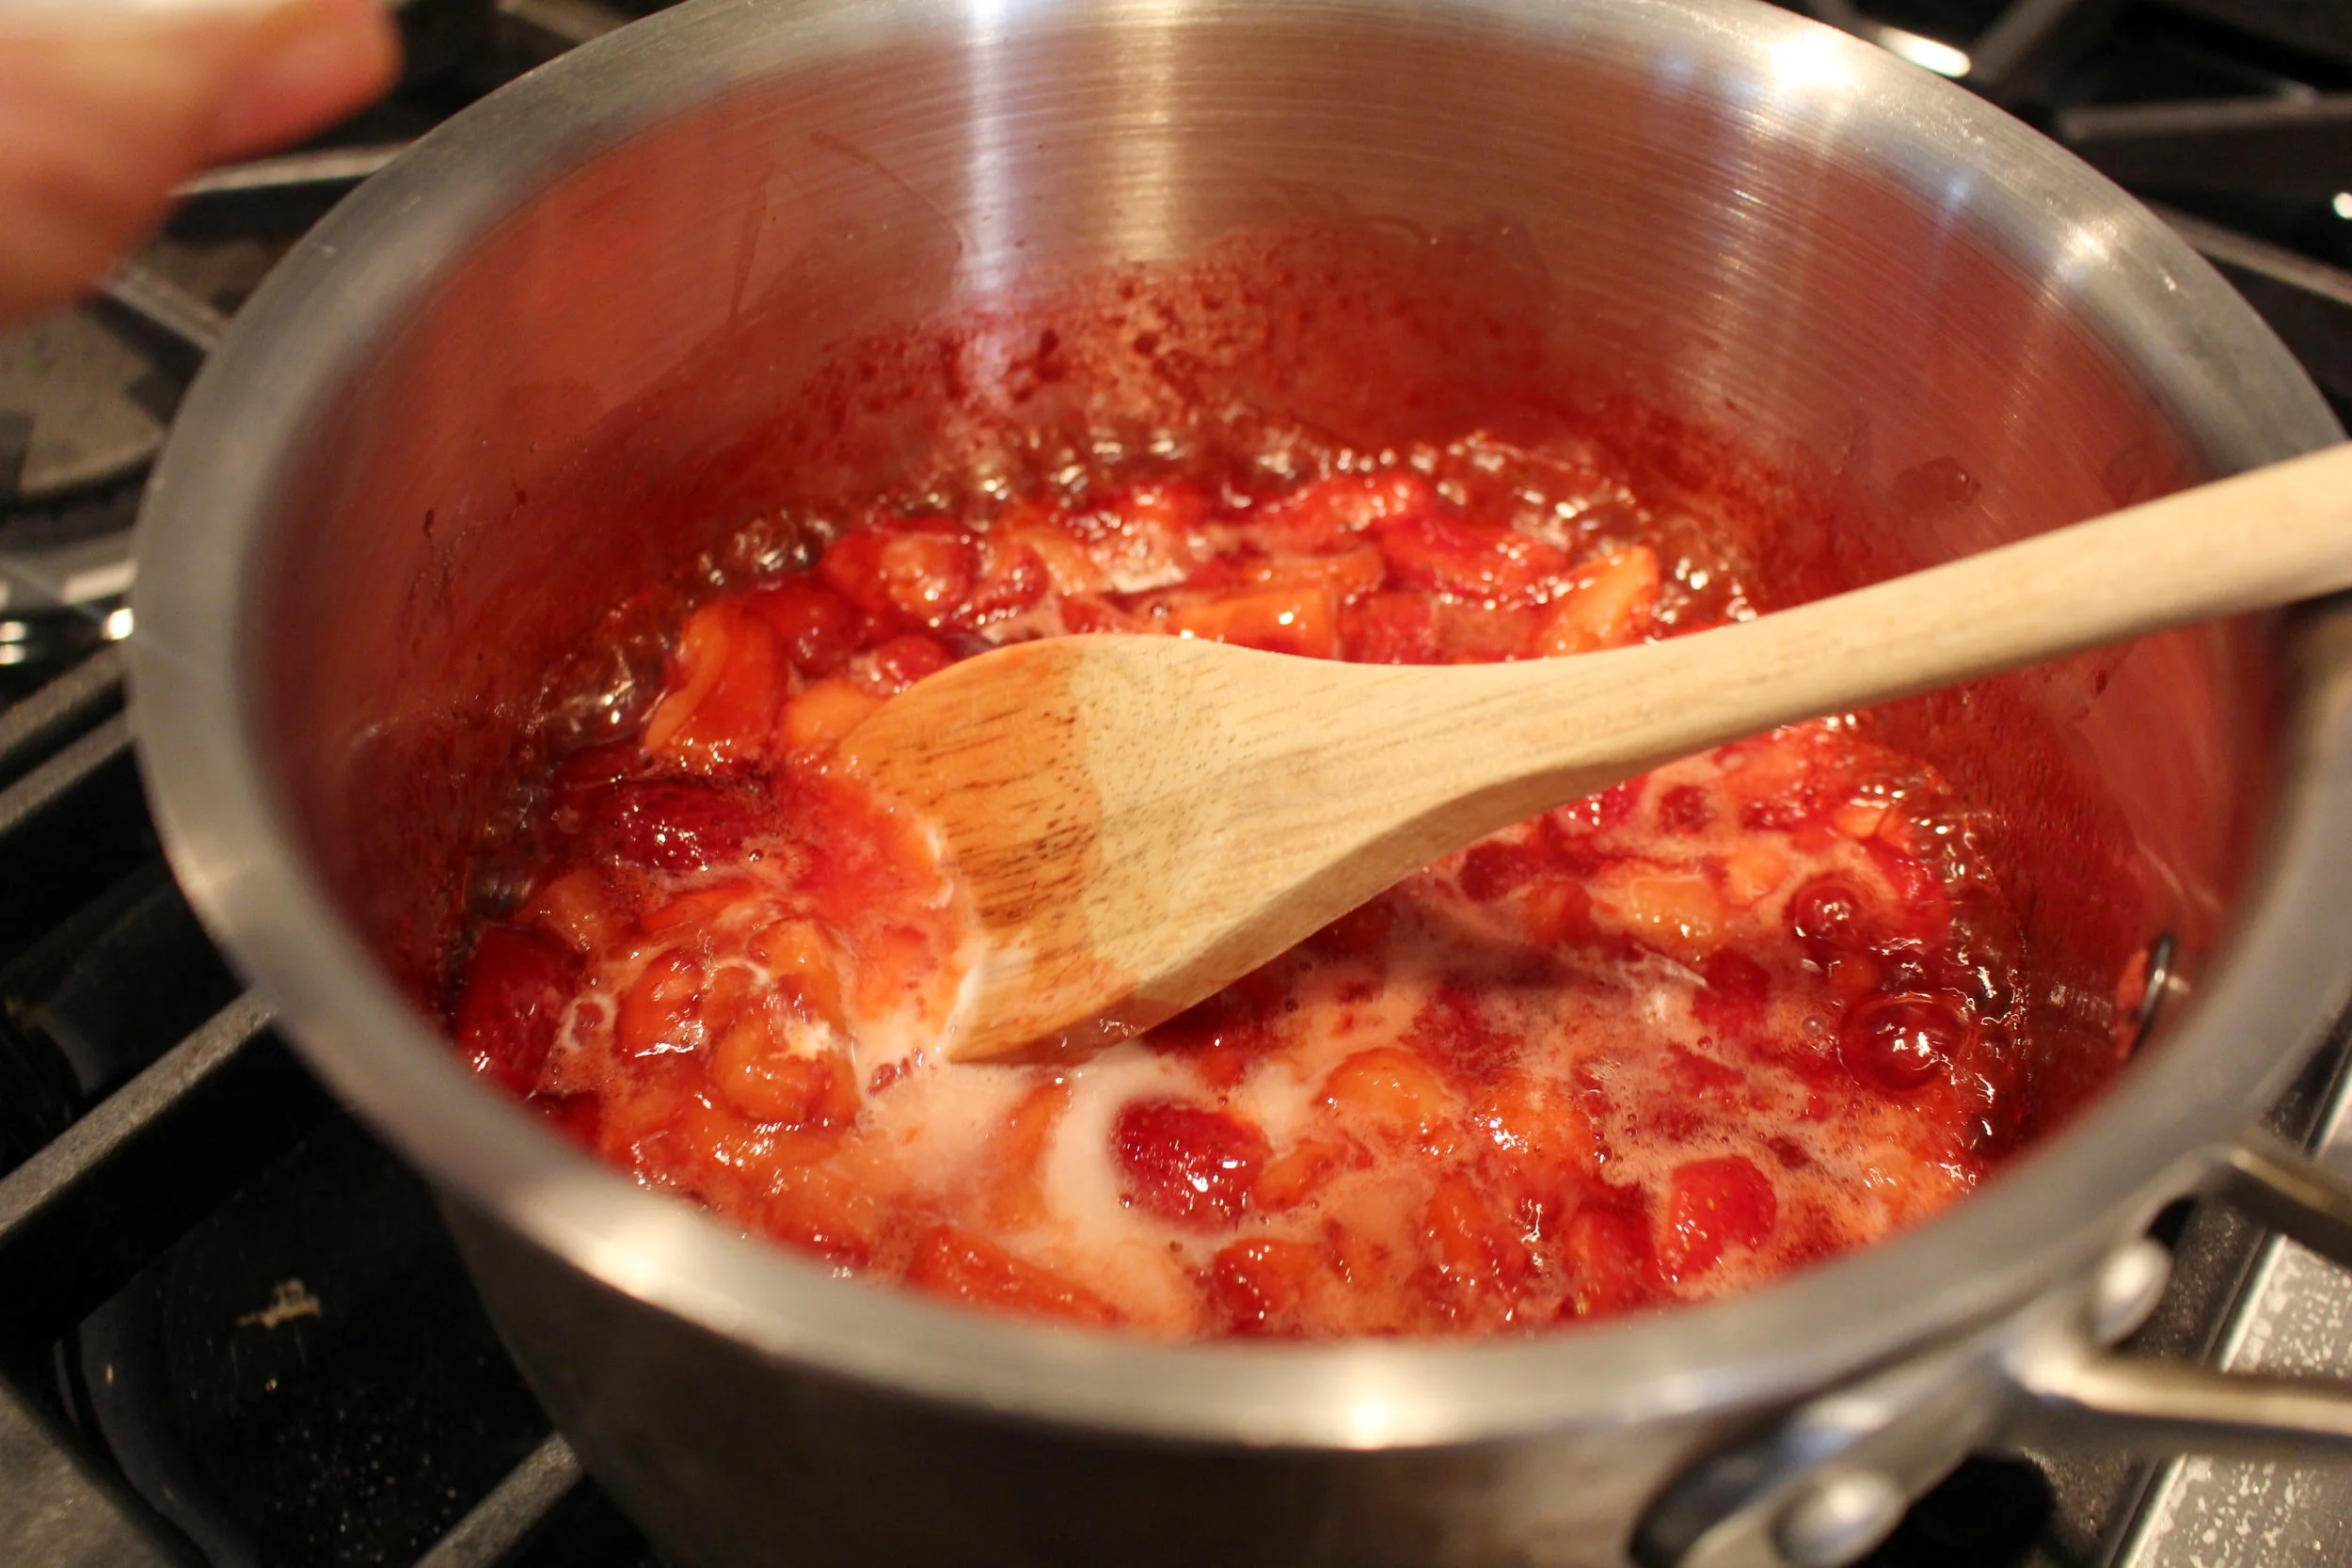
2. Place strawberries in a sauce pan and cook on medium heat. Add white sugar and continue to cook strawberries until liquid pools.
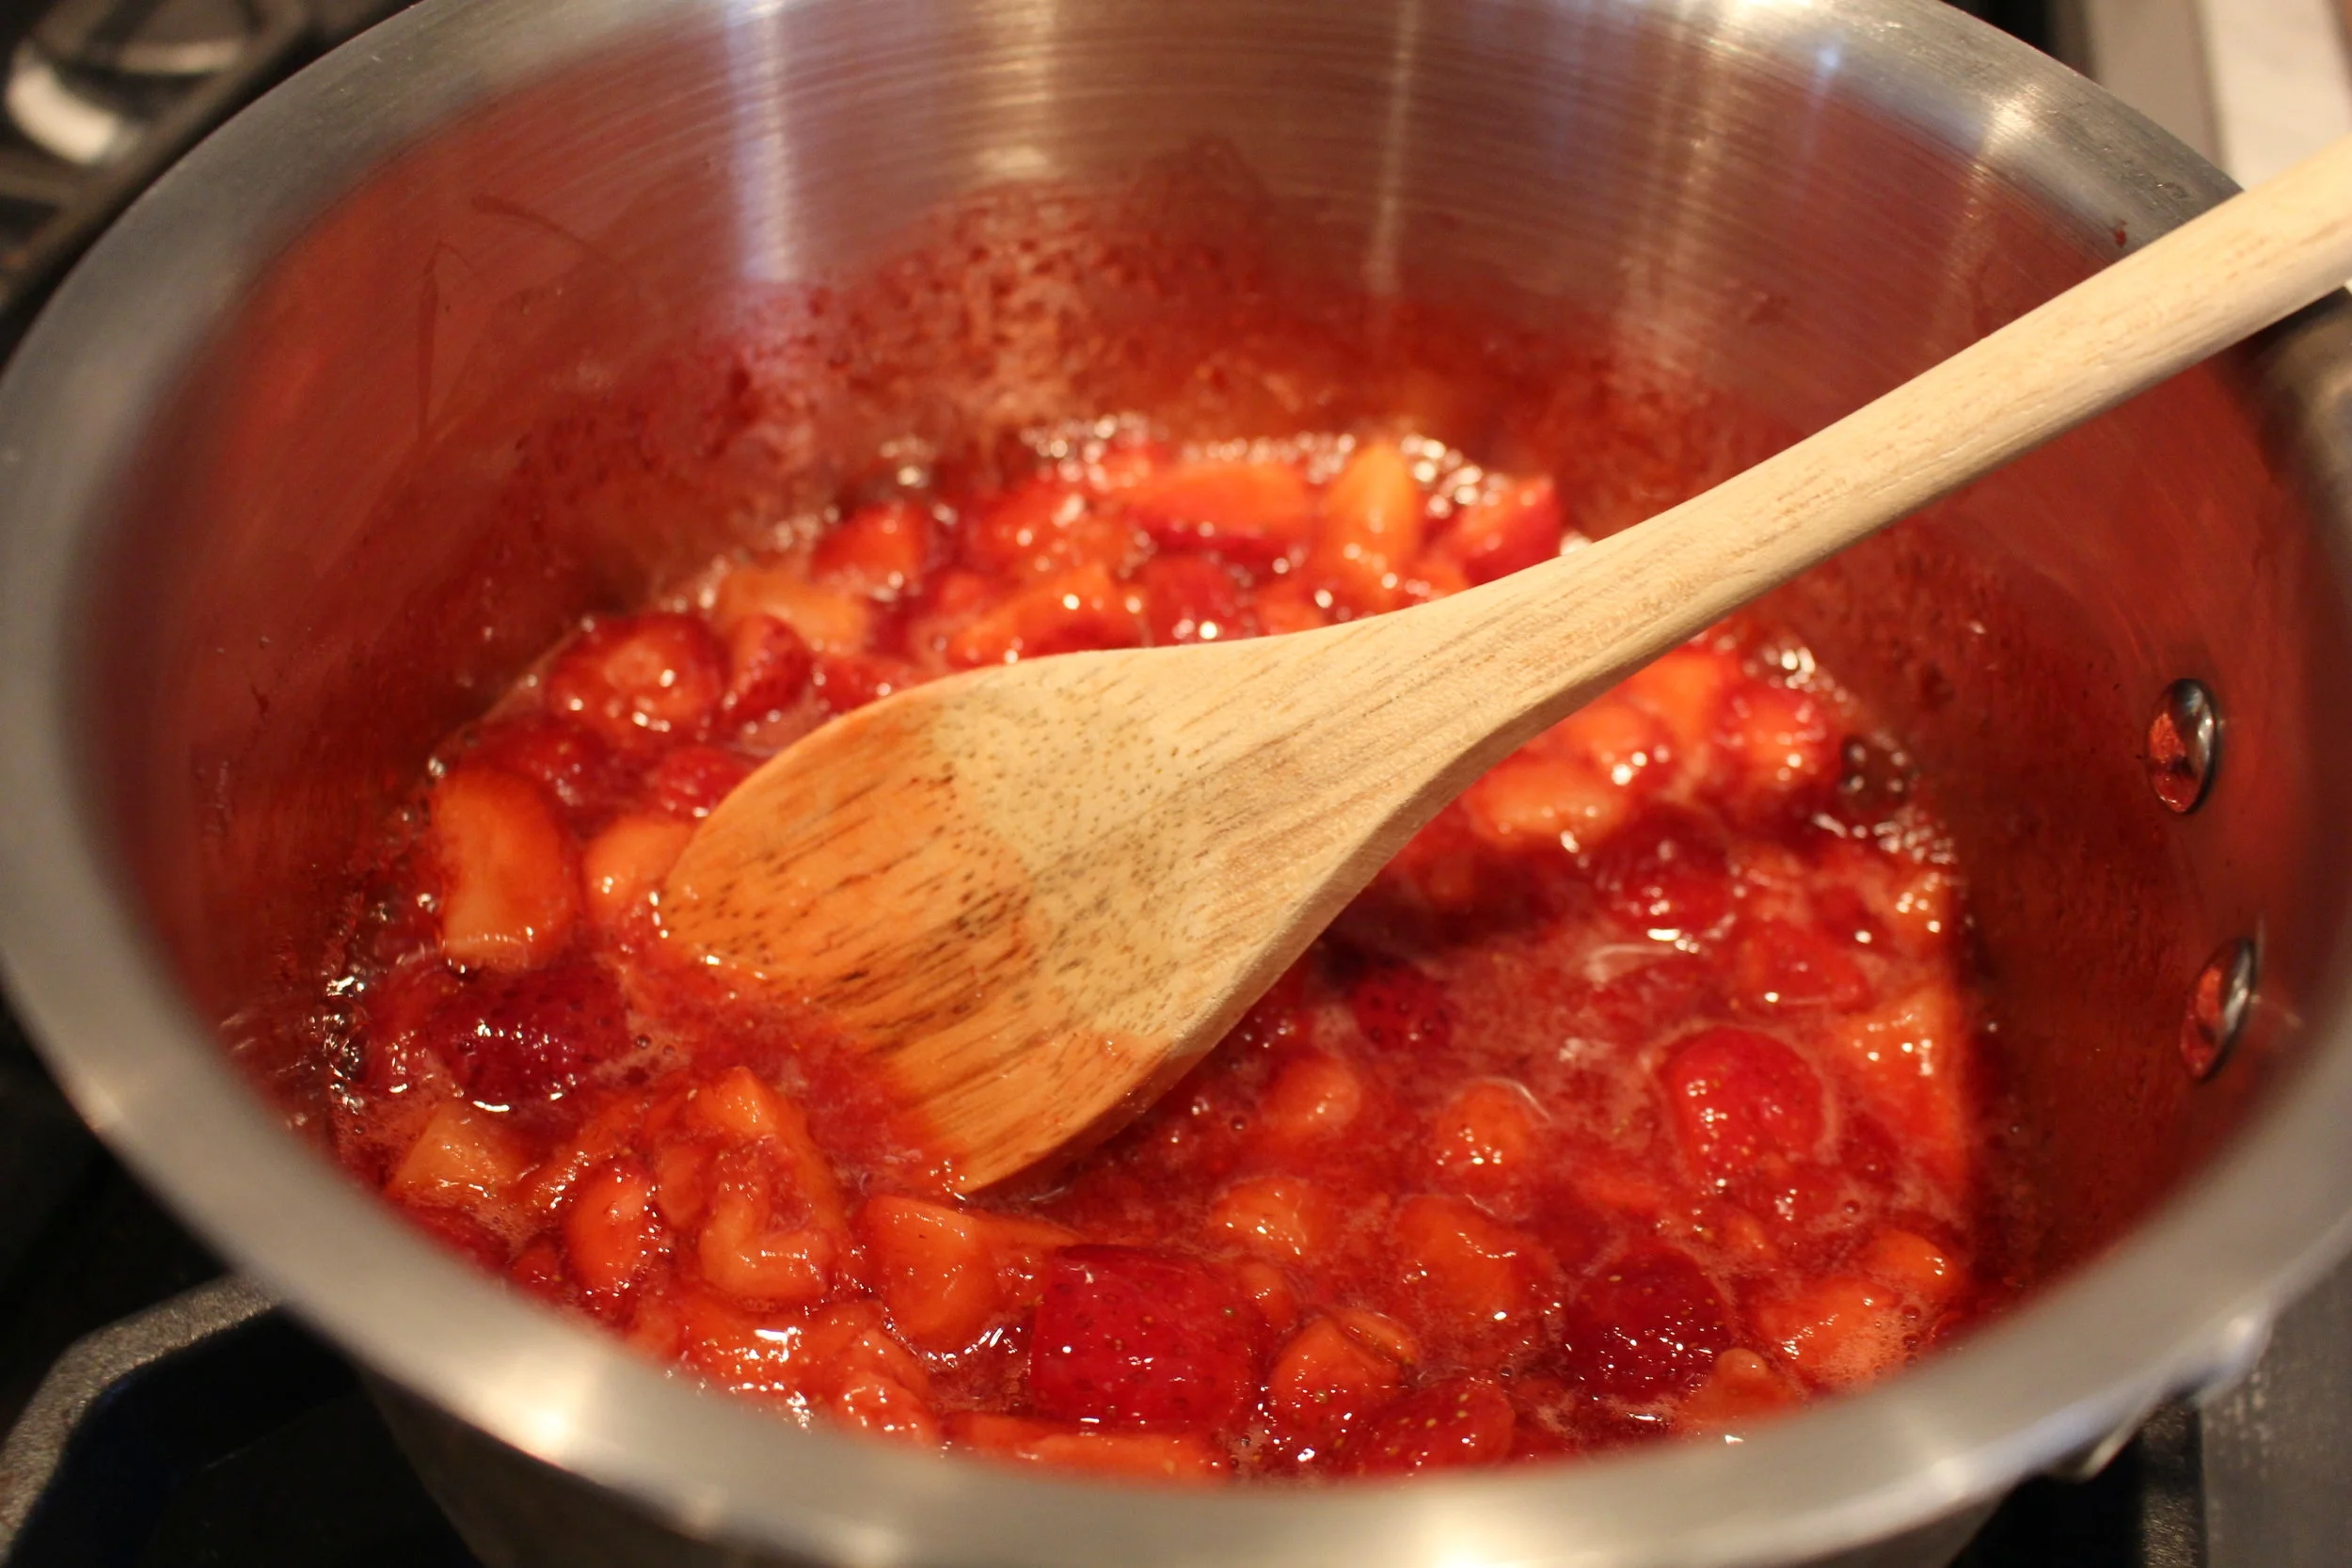
3. Dissolve cornstarch into water and then add to the strawberry mixture. Take off heat once adding cornstarch/water mixture. Allow sauce to thicken as it cools.
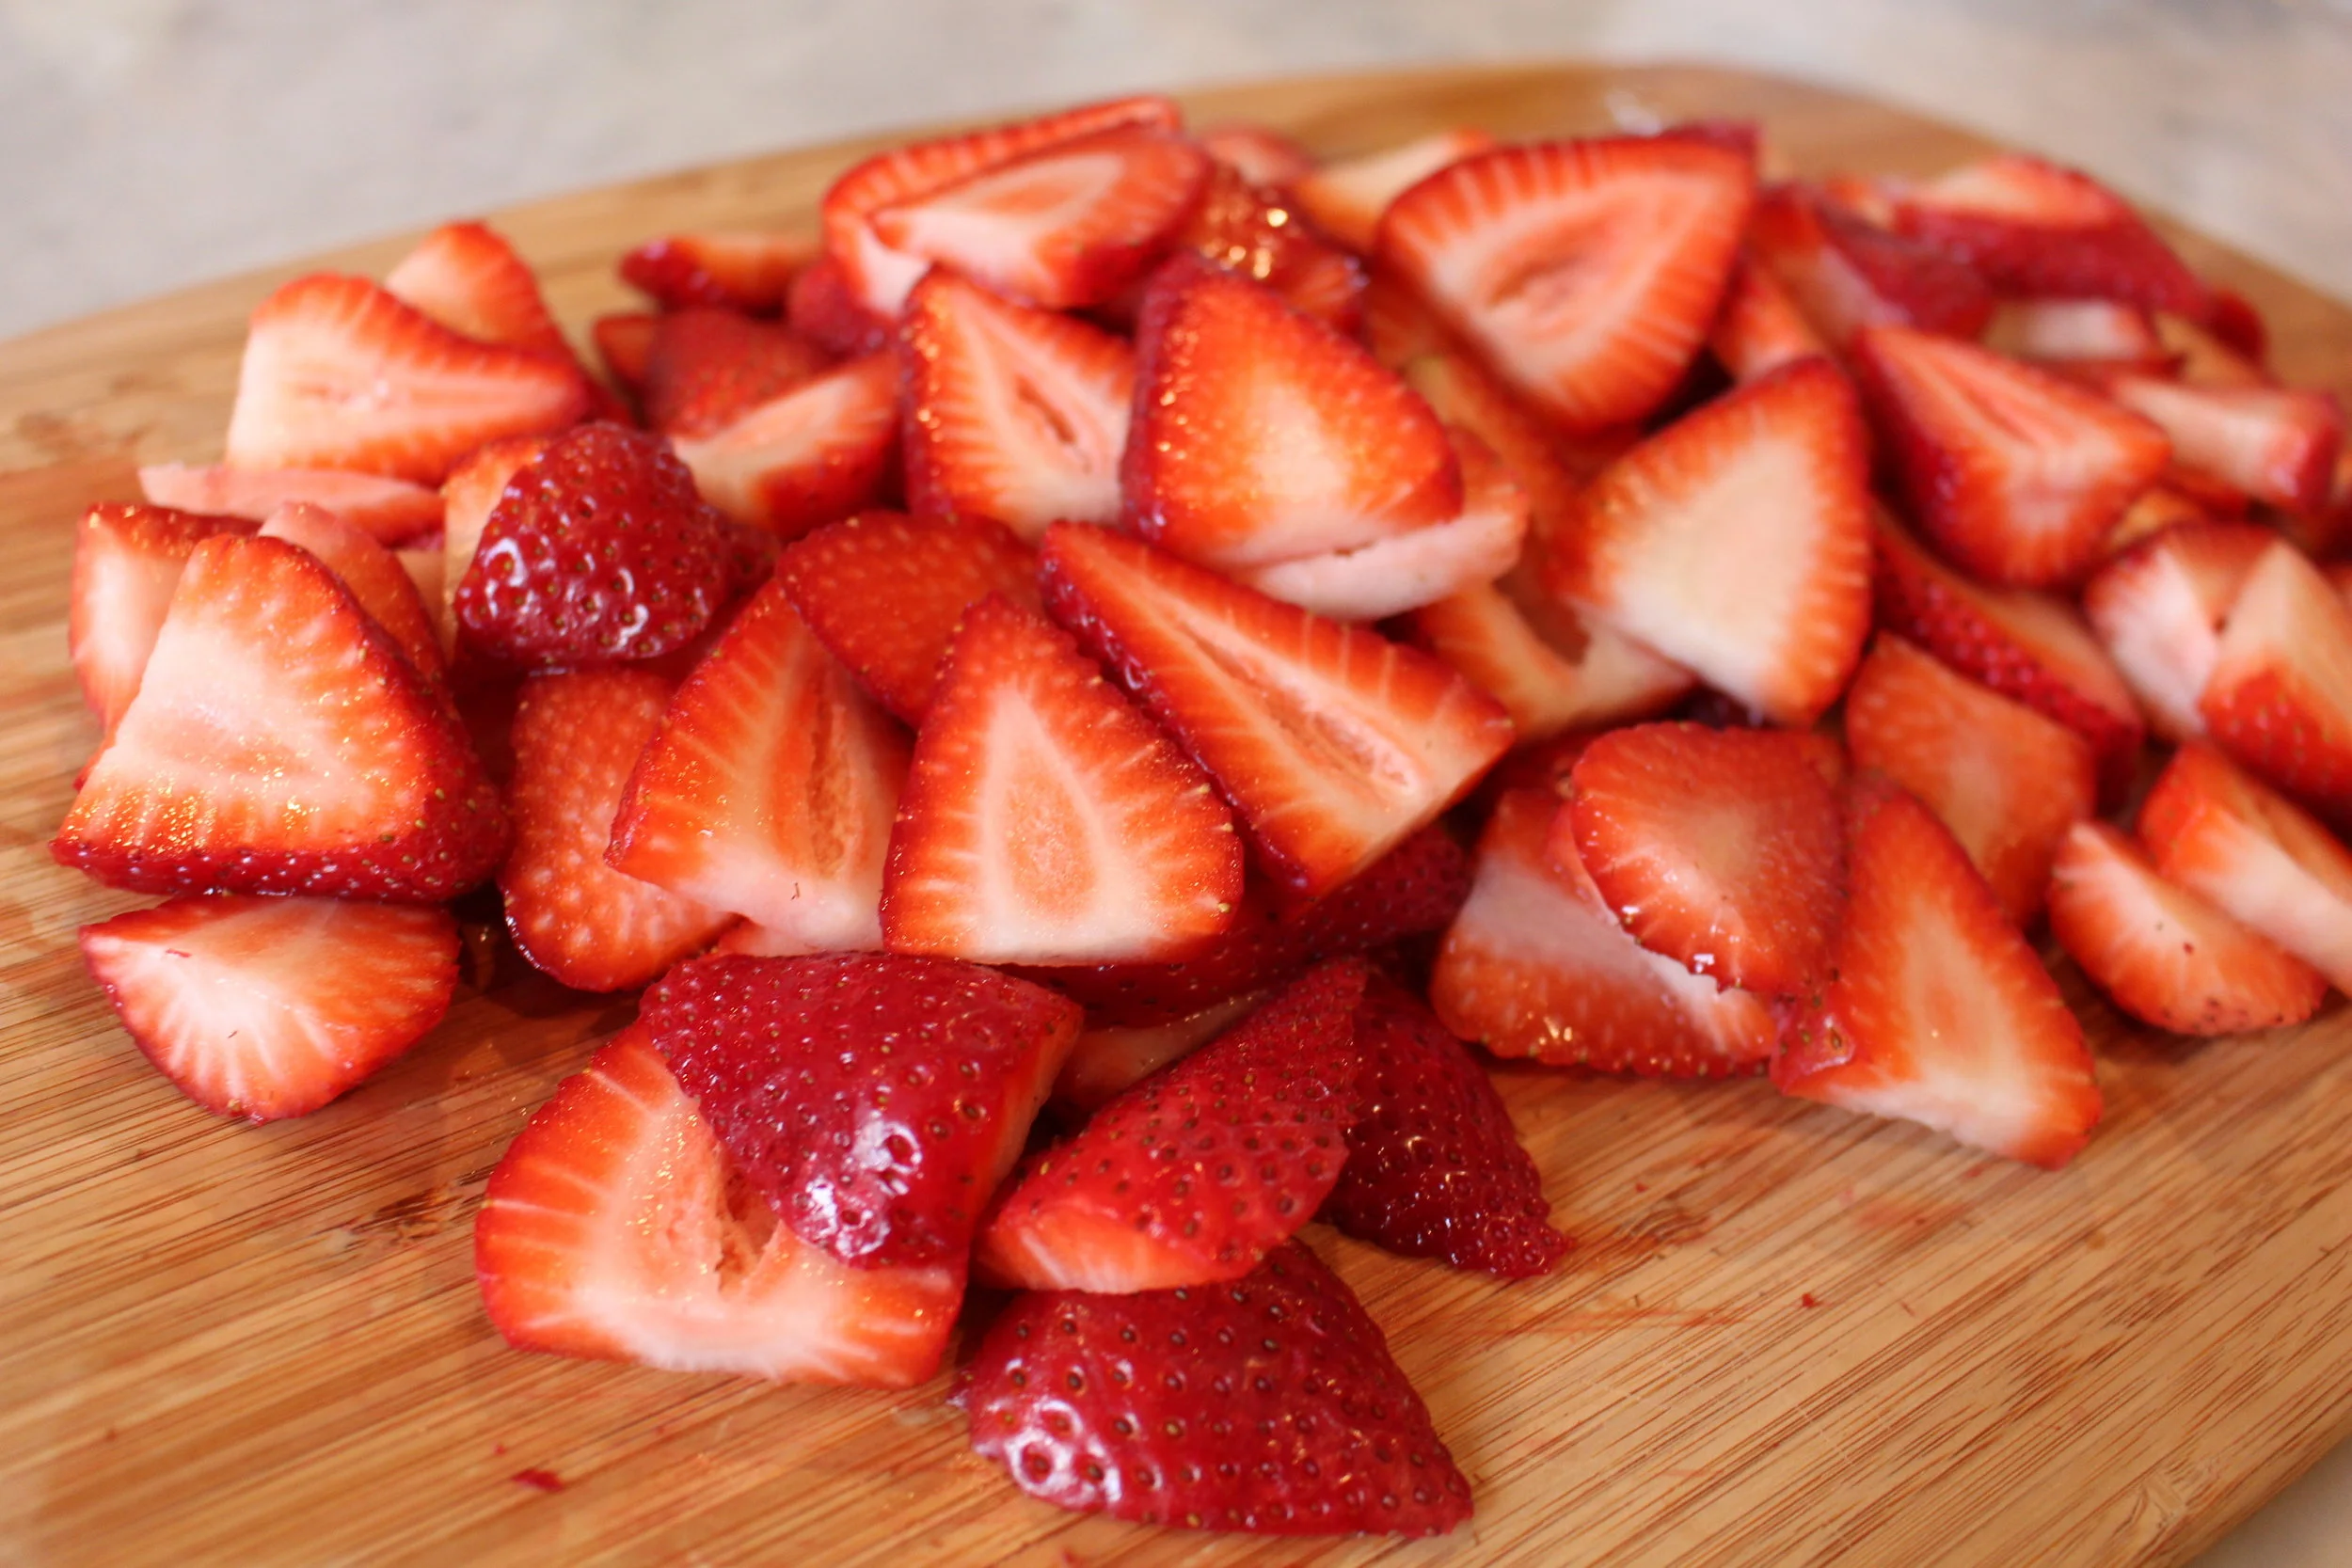
The next step is washing and slicing your FRESH strawberries. I used two pints of strawberries!
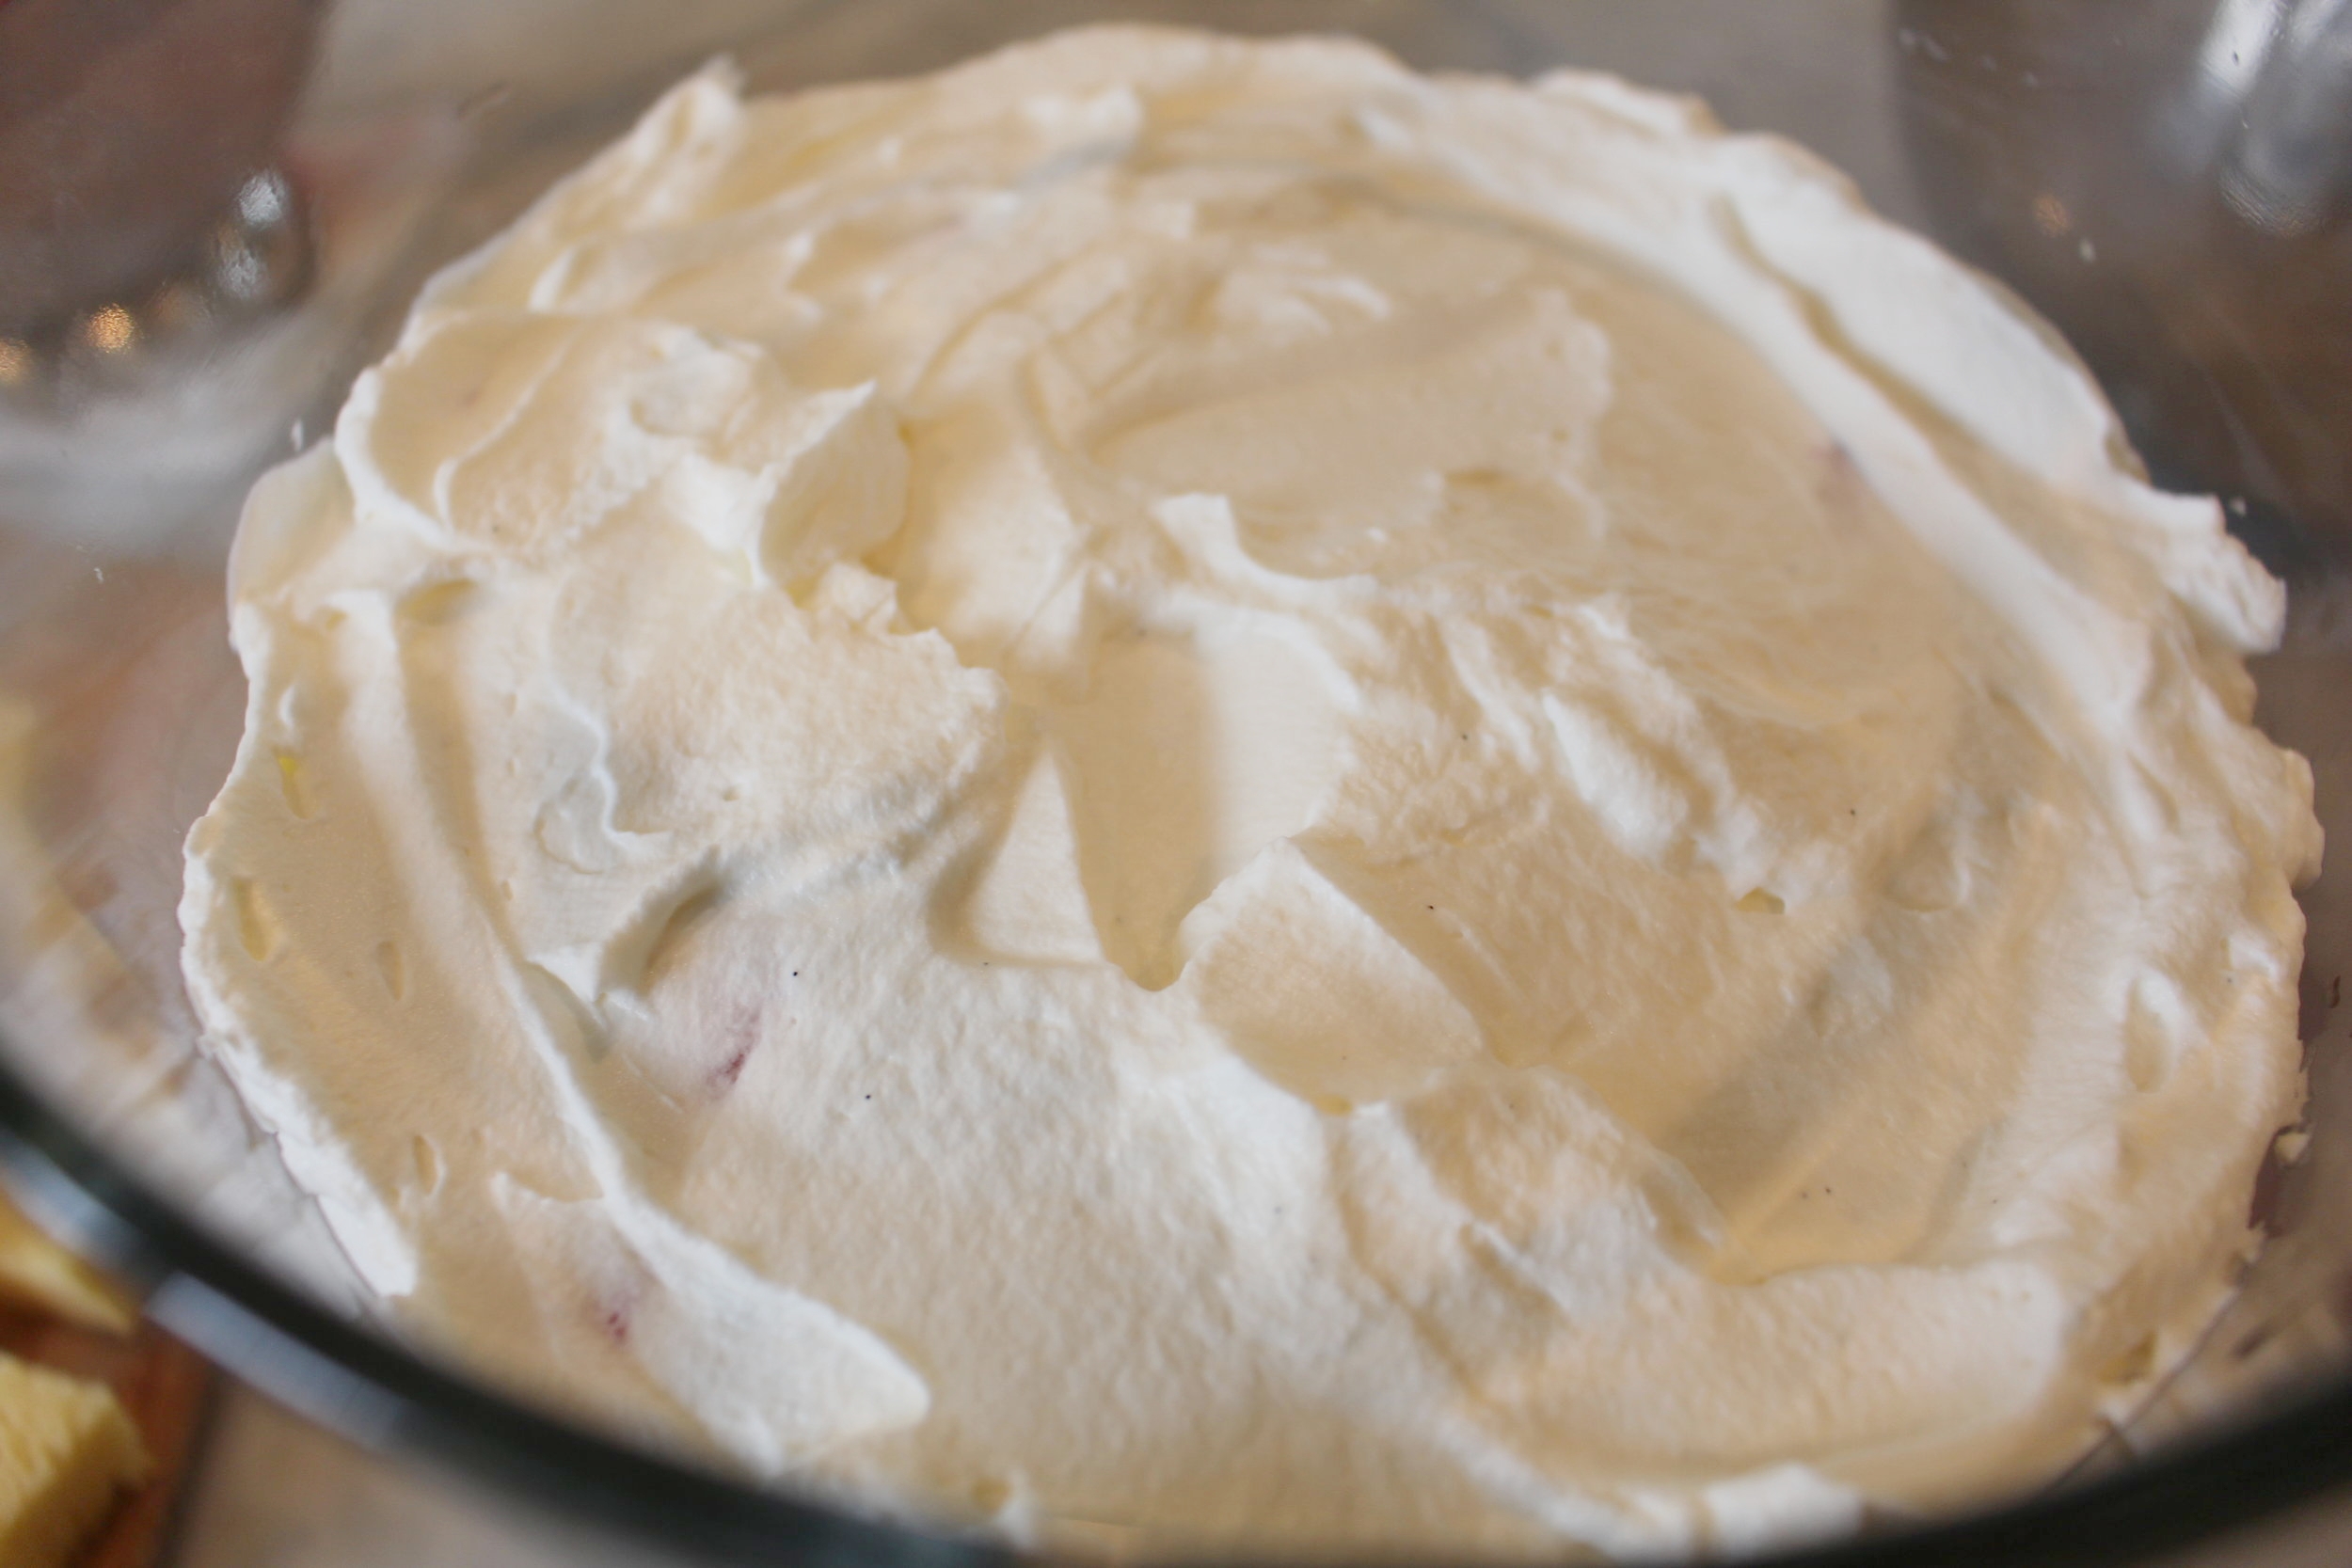
The last step is making the whipped cream. This is the best part! I absolute LOVE LOVE homemade whipped cream. If you've never made it before you must give it a try. You can play around with the sweetness and it's just so much better than store bought and it's unbelievably easy!! Only 3 ingredients!
Whipped Cream Ingredients:
1.5 cups of Whipping Cream
7 tbsp of powdered sugar
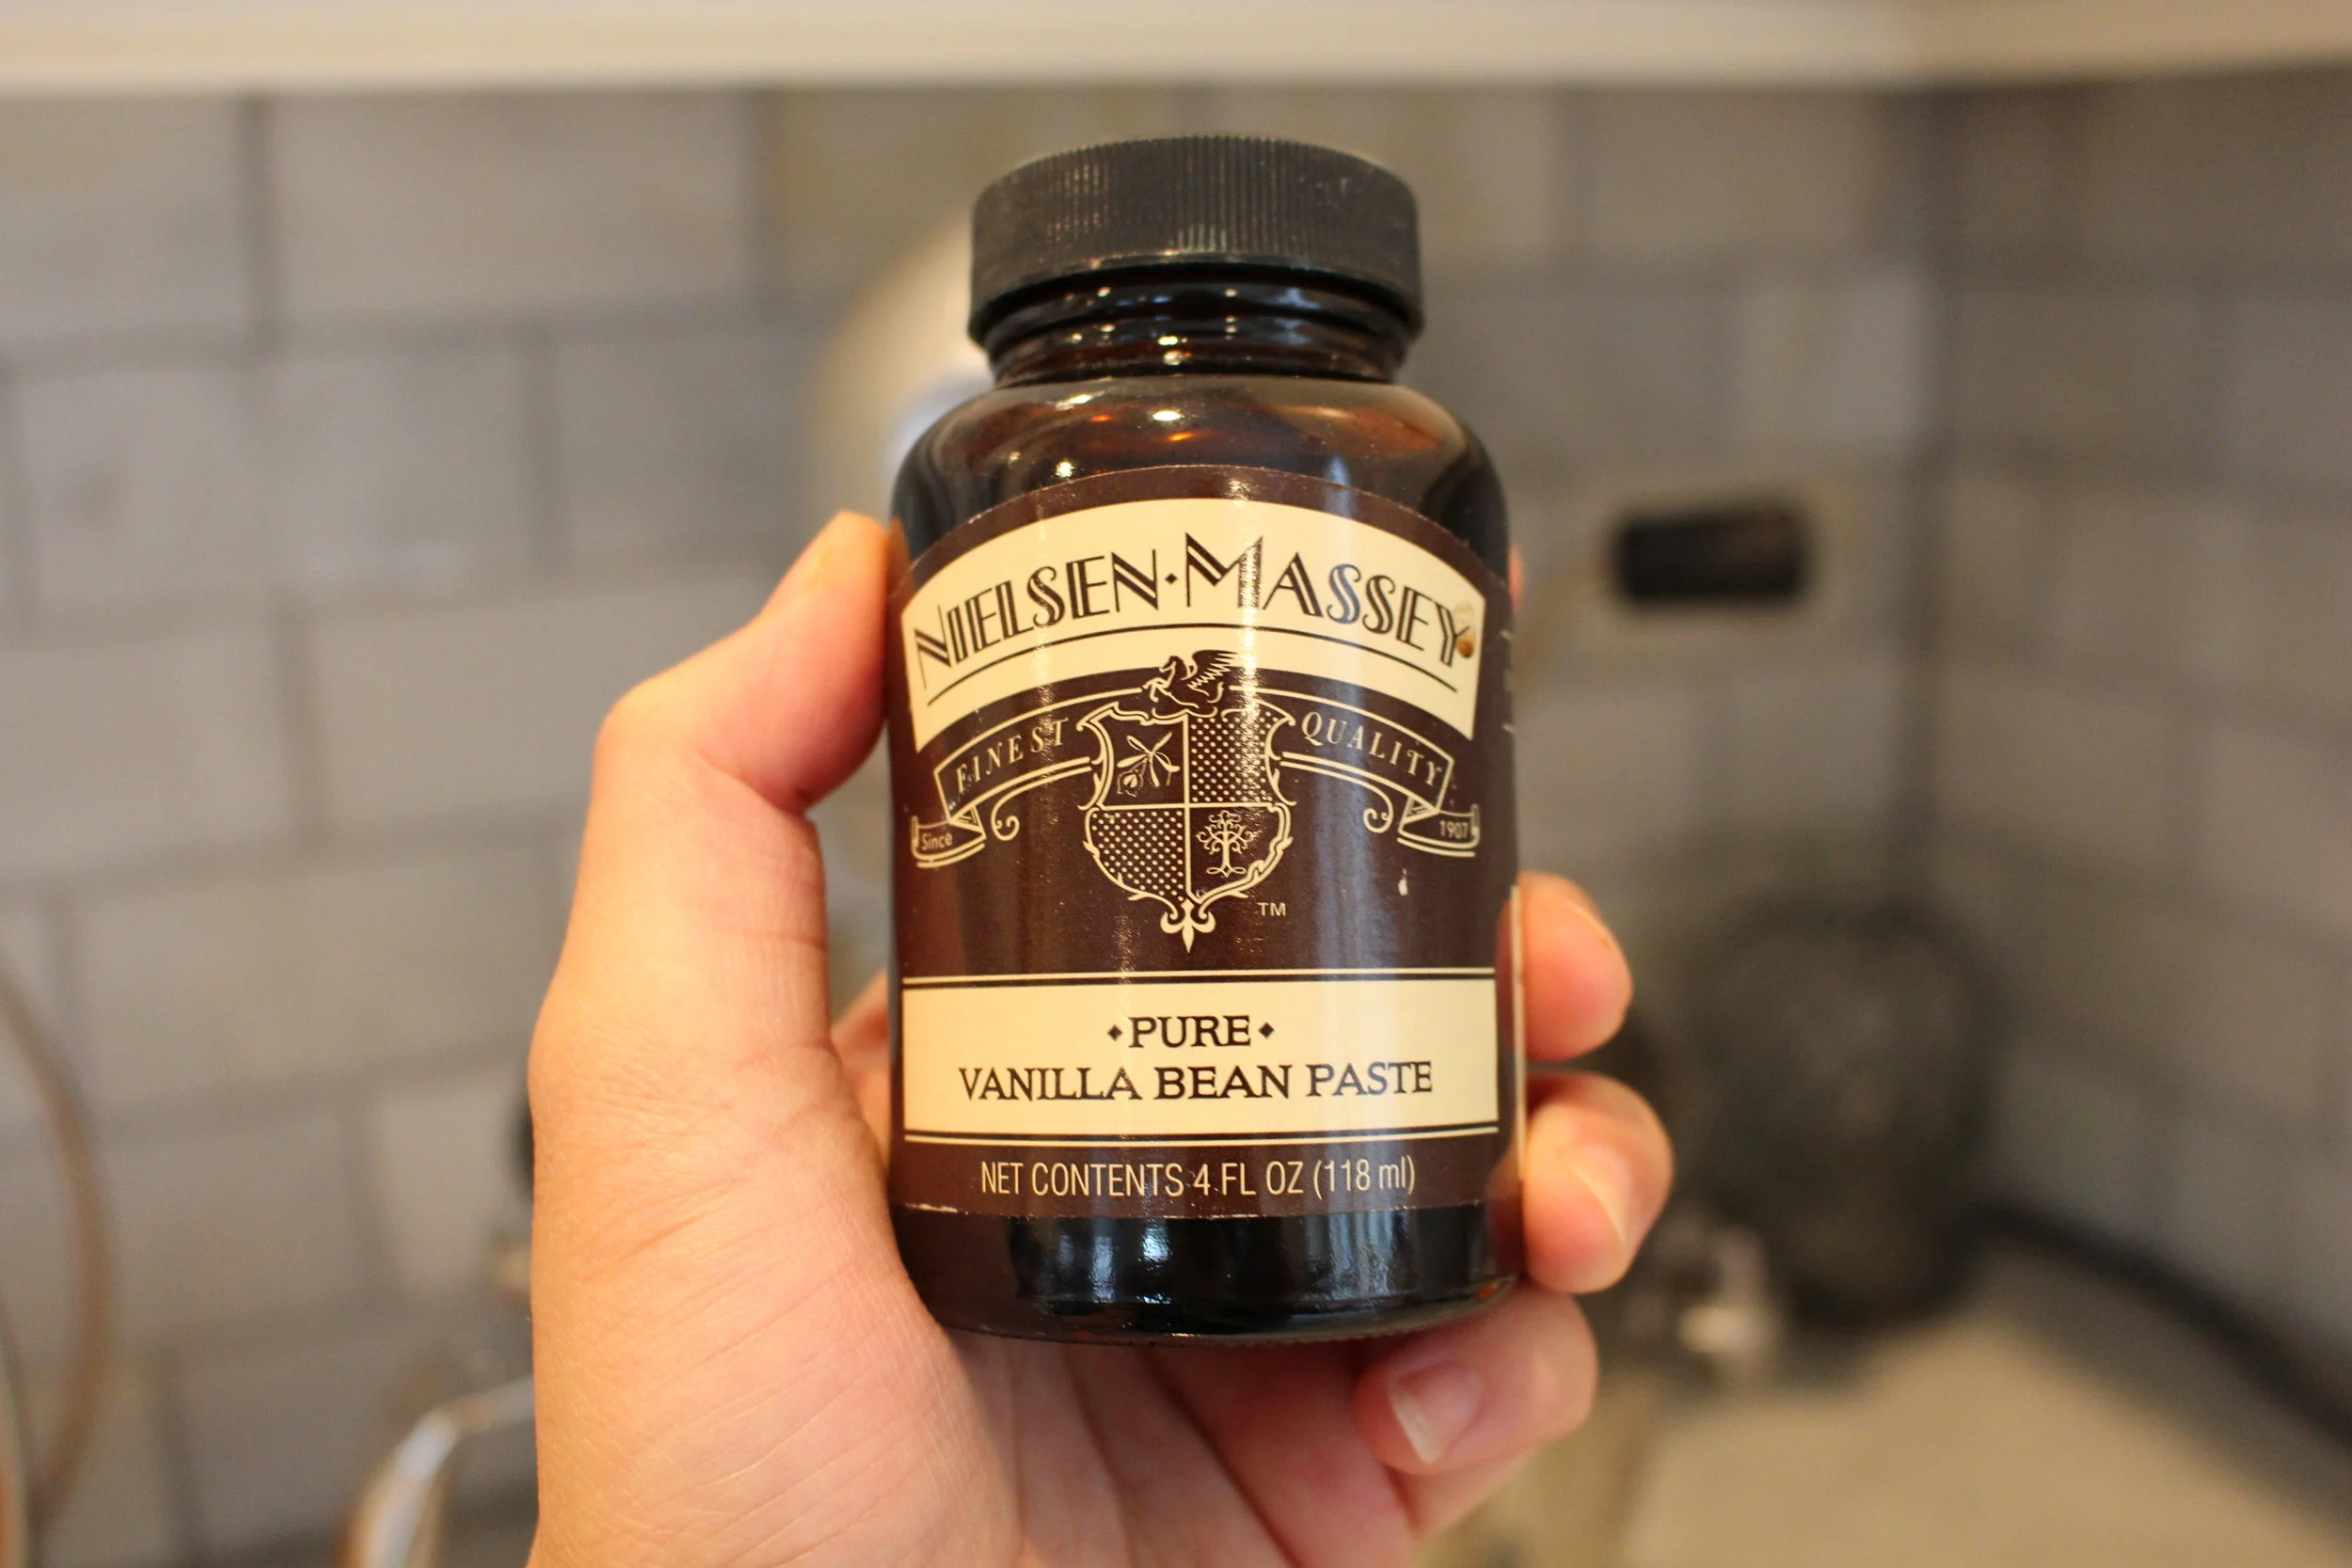
1 tsp of vanilla extract or I used vanilla bean paste for a more robust vanilla flavor
Directions:
1. Pour whipping cream into mixing bowl. Add powdered sugar.
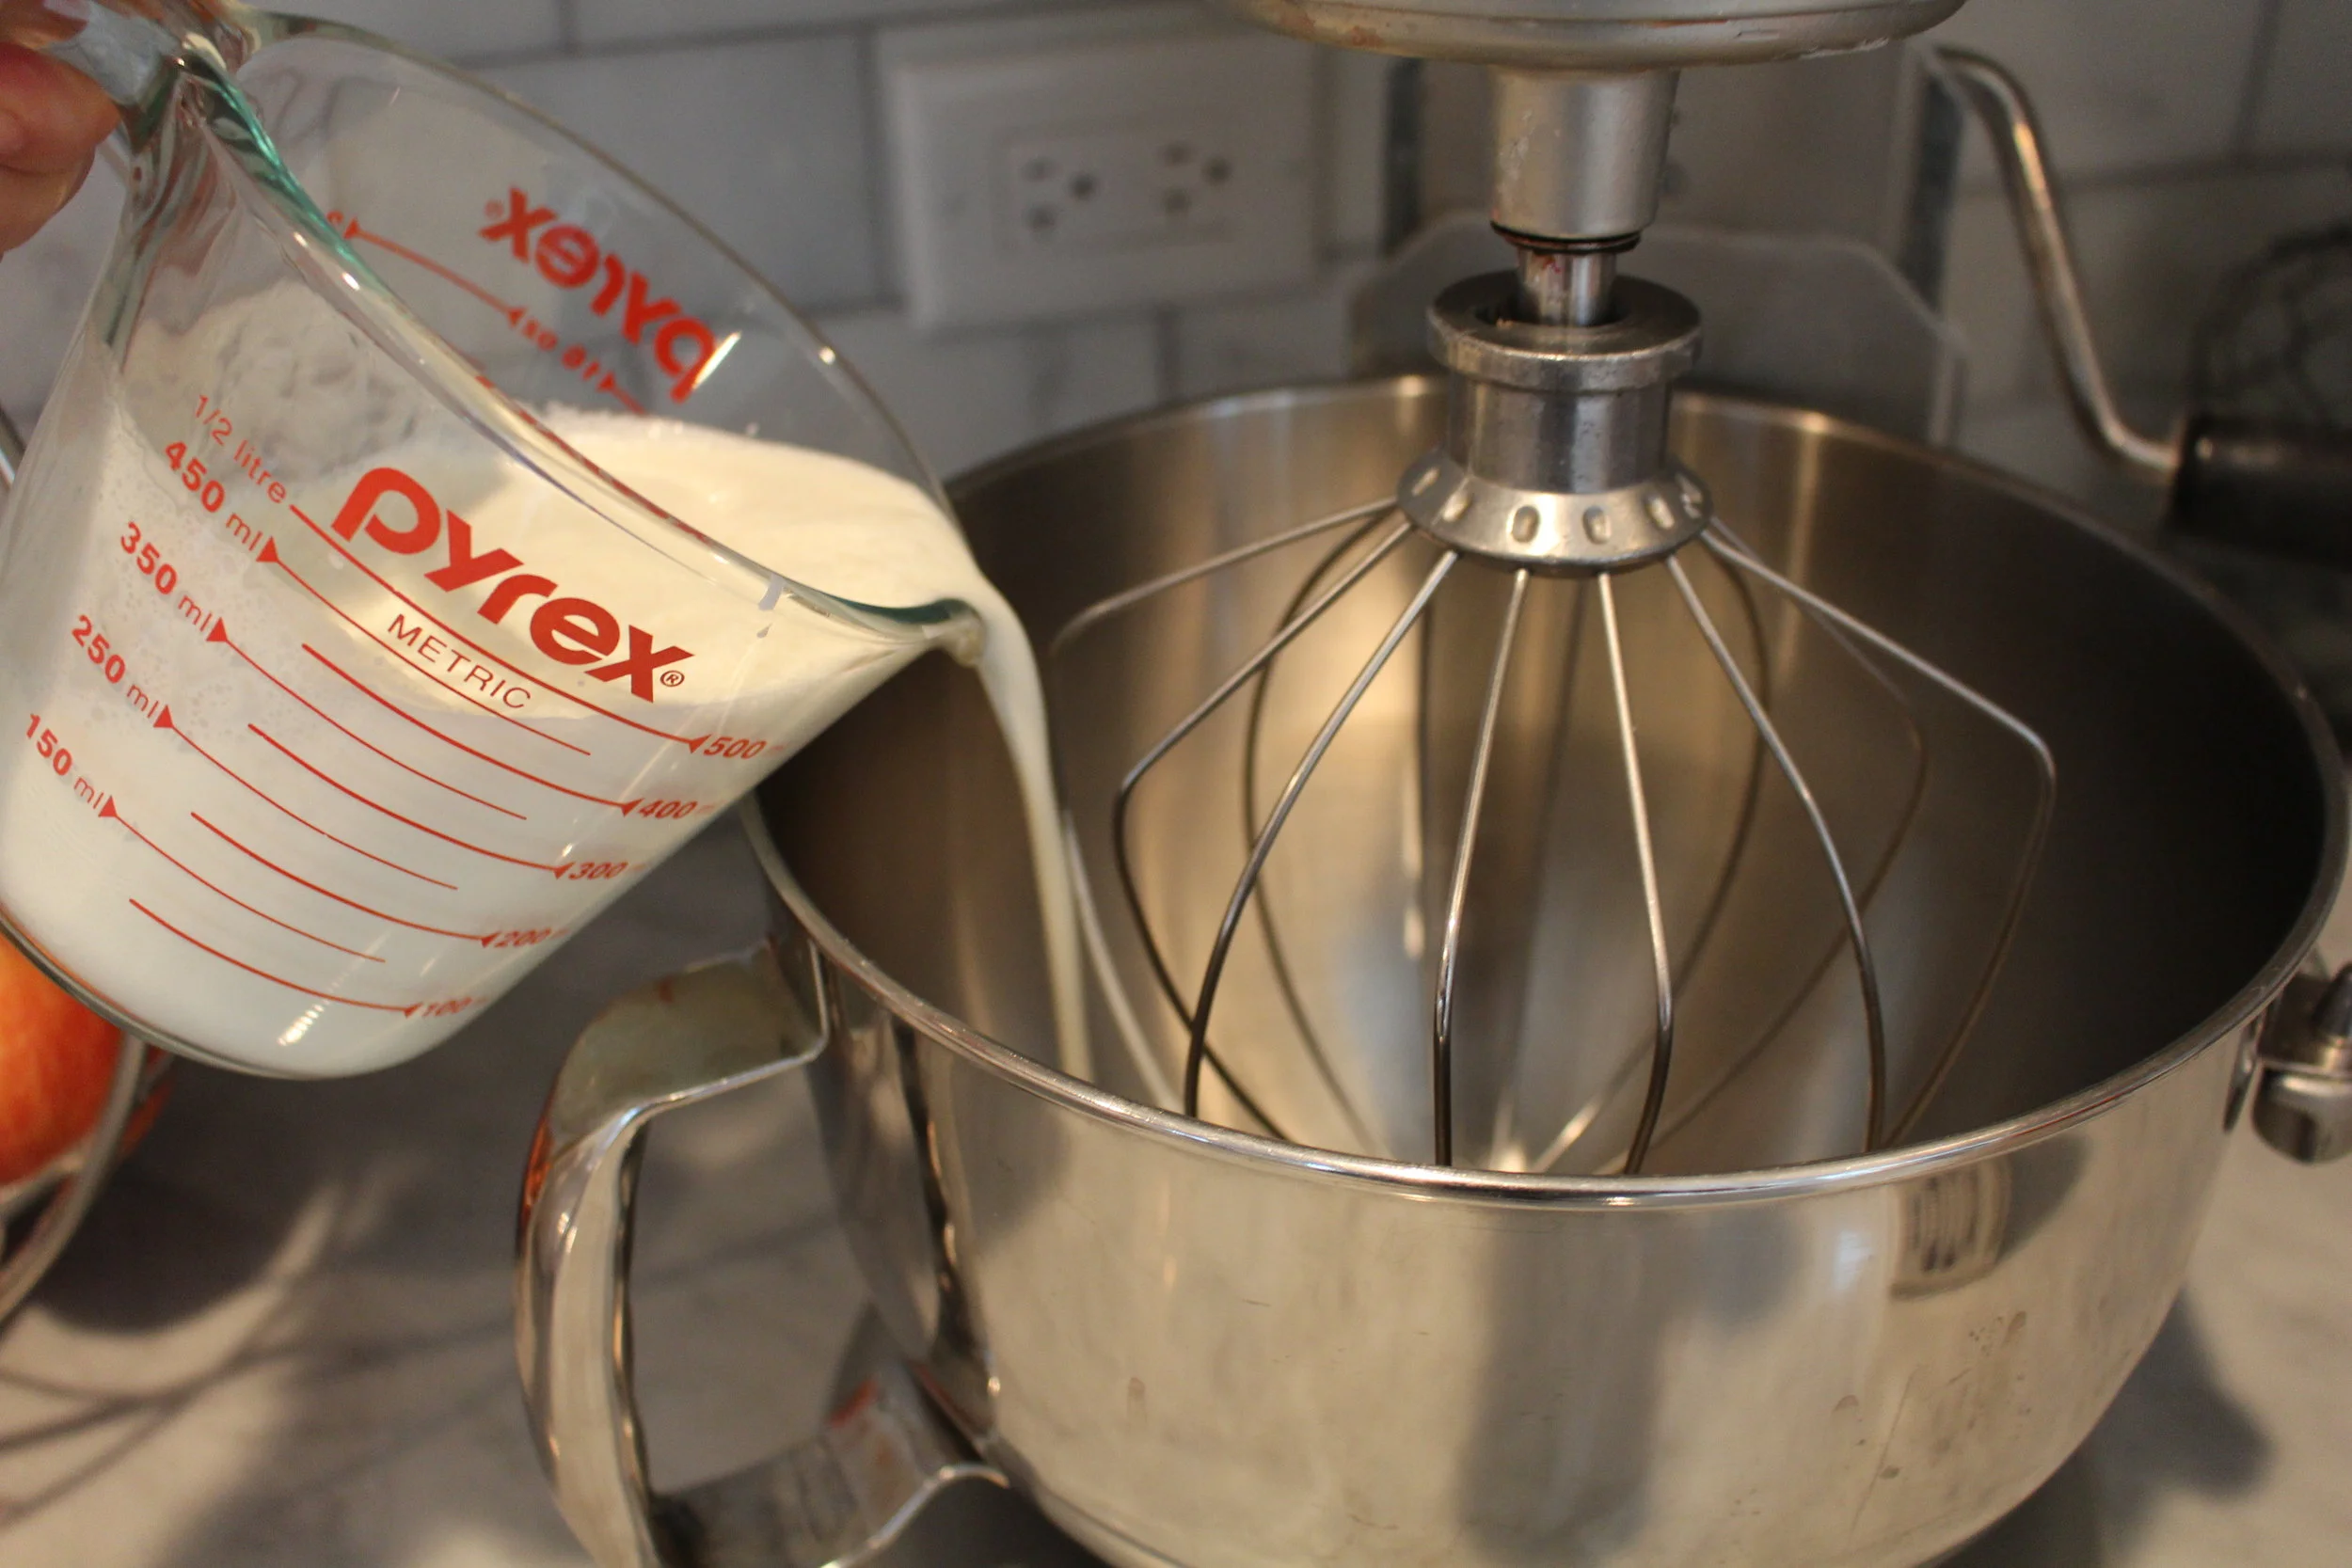

2. Mix on high until thickens. Add vanilla.
3. Mix until texture resembles whipped cream. You can taste it at this point to see if you like it more or less sweet. (add more powdered sugar or more cream respectively).
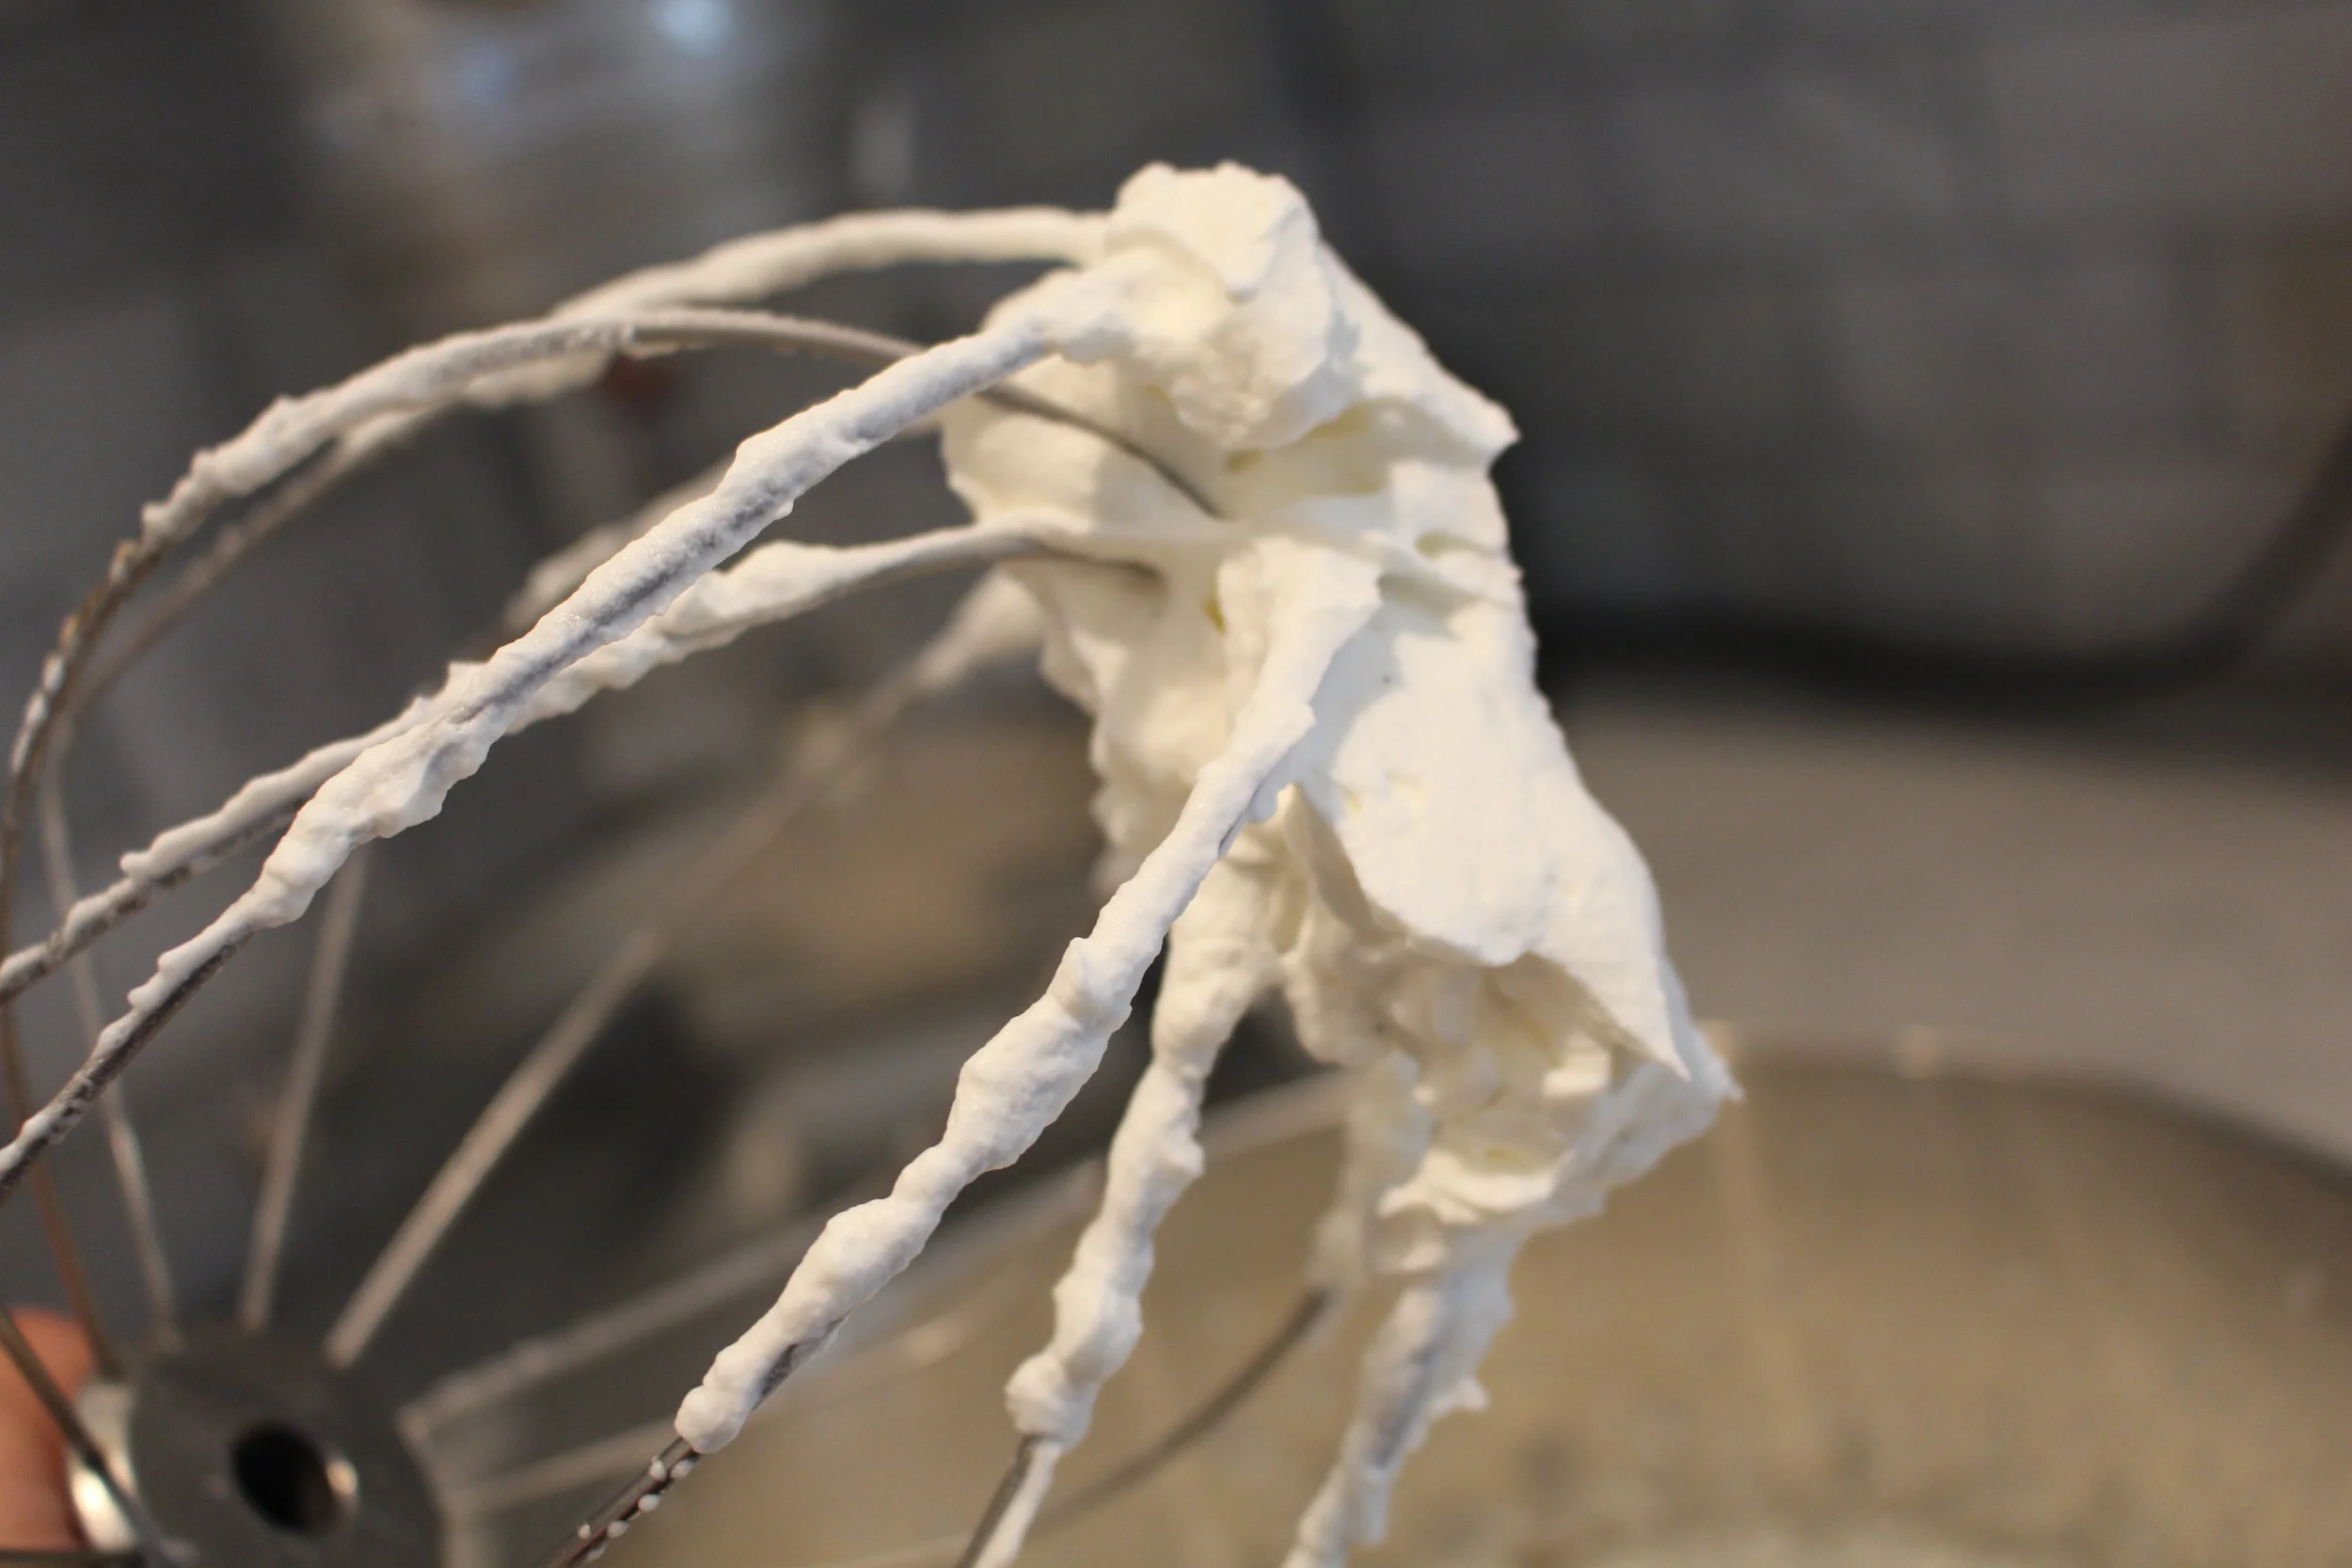
YUMMMMY!
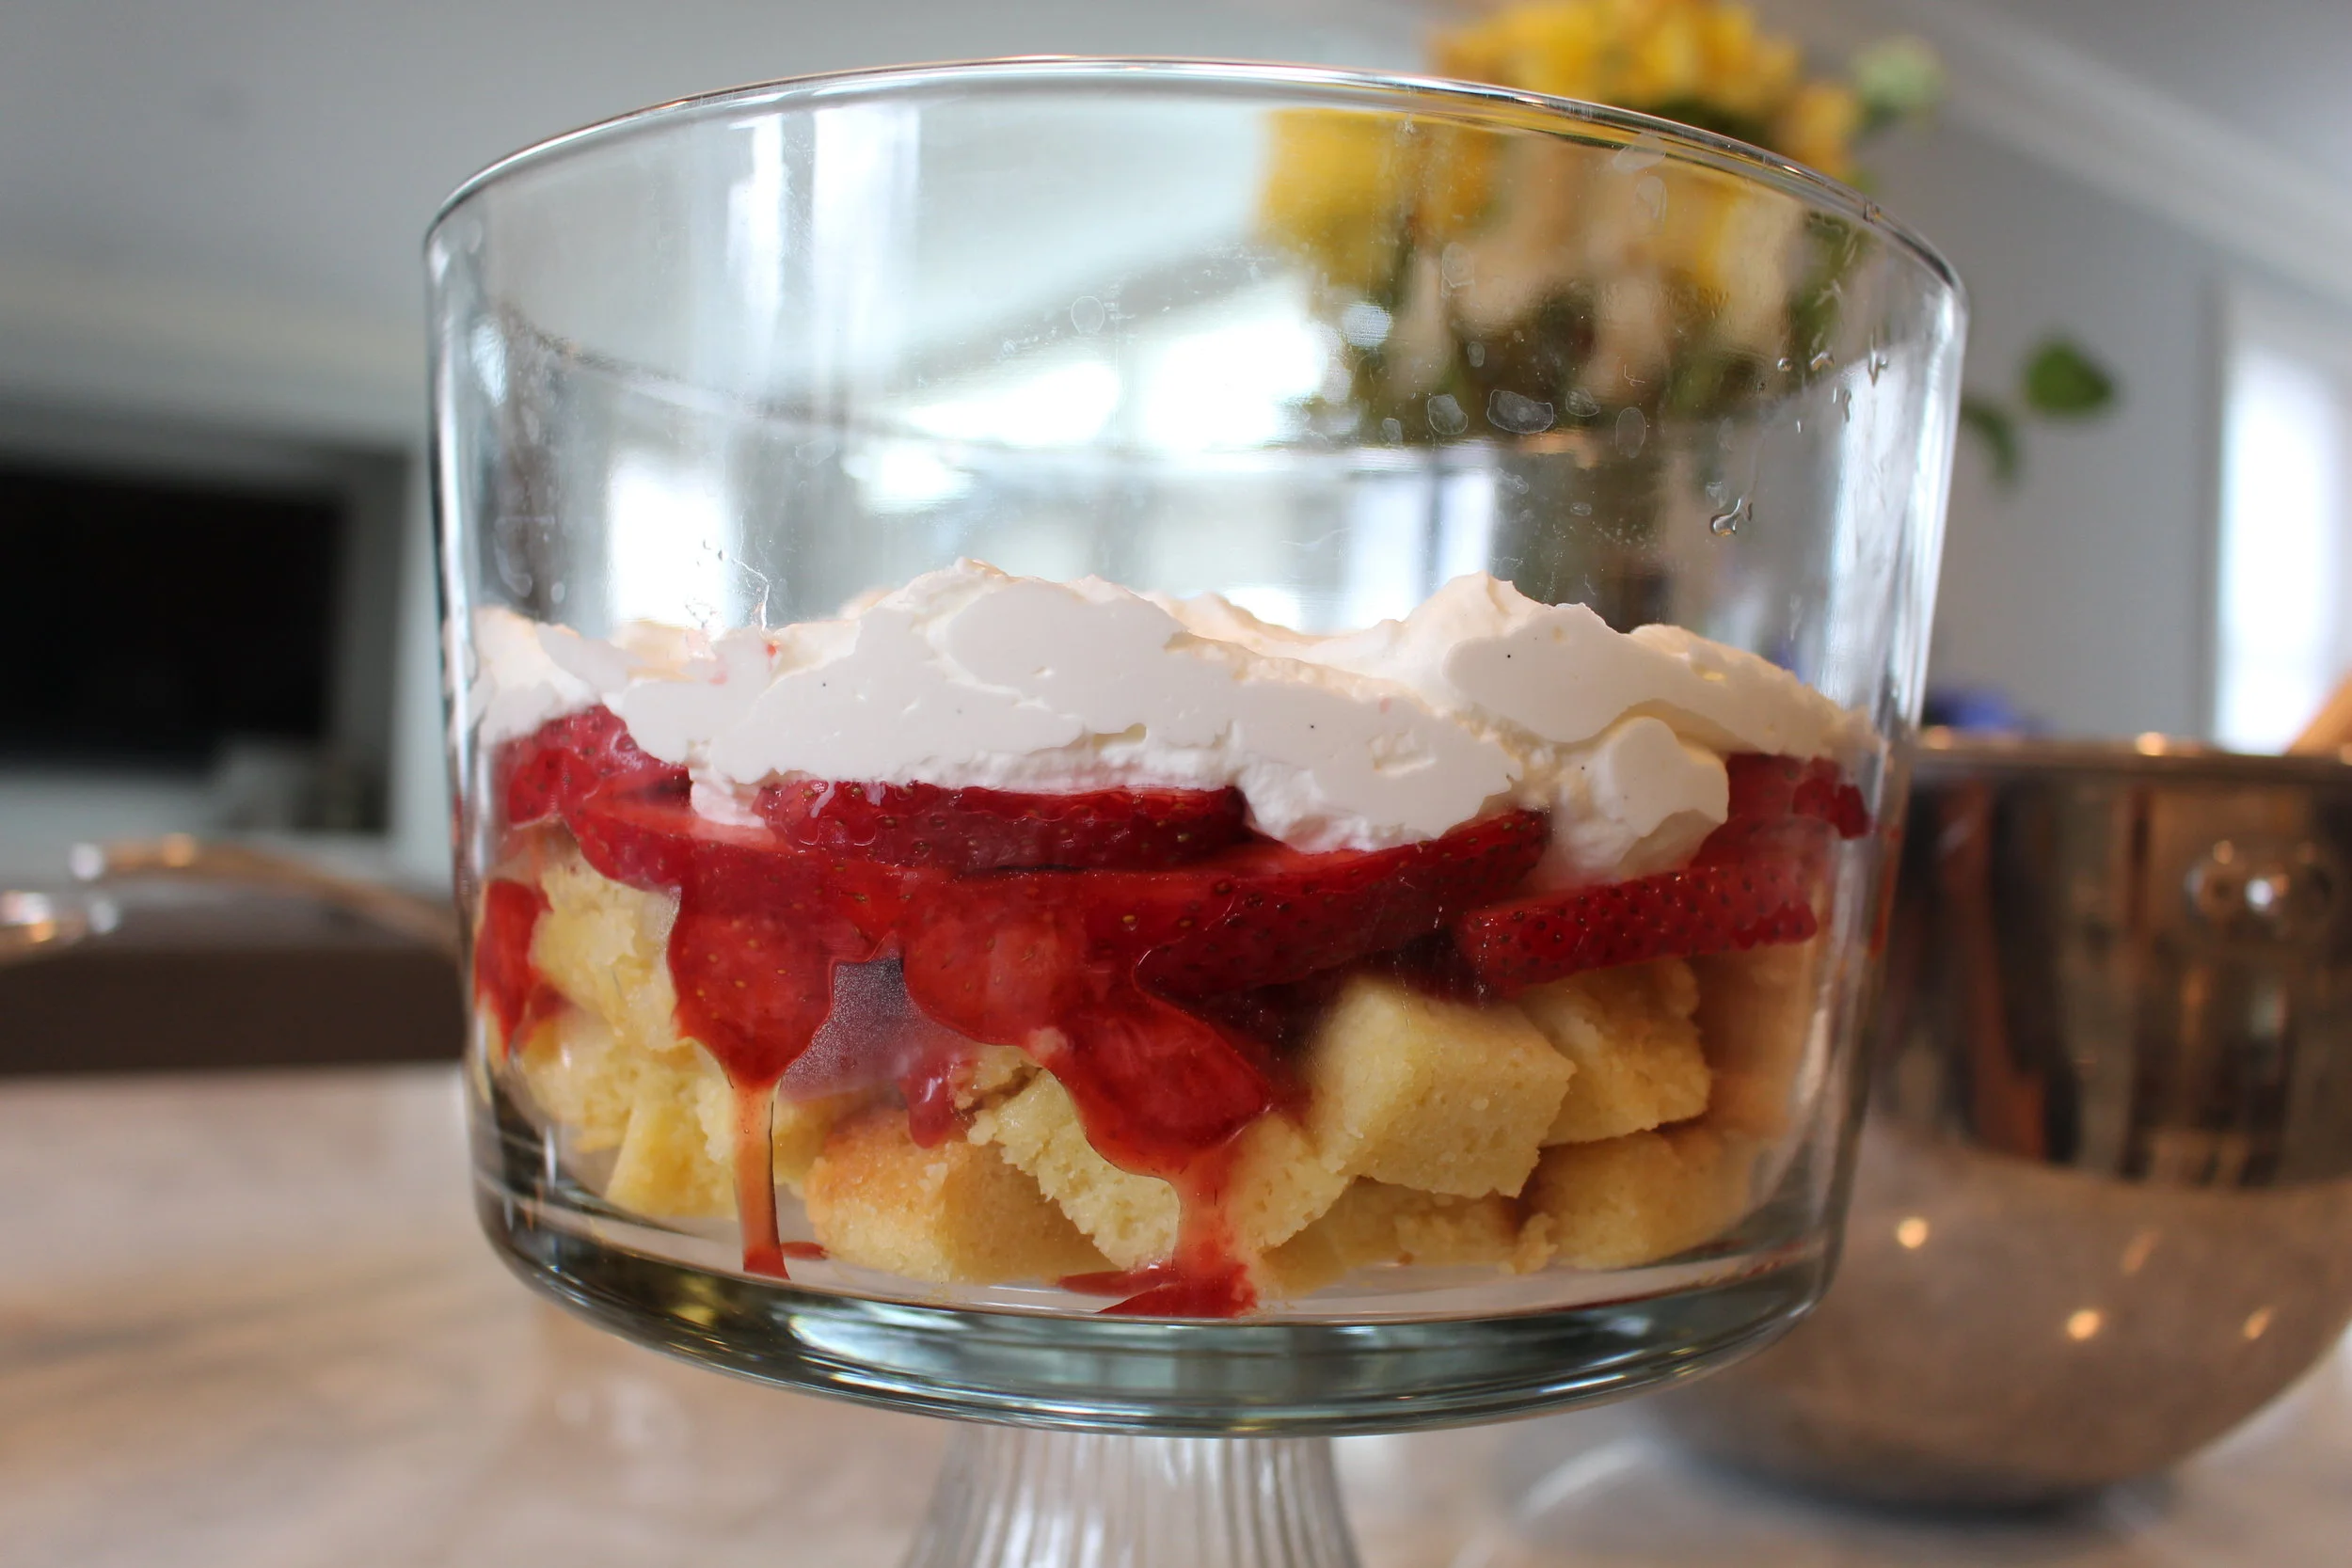
Now that everything is prepared, it is now time to build our trifle! It's the best part! If you've never made a trifle the important thing is layering evenly and neatly so that you can see all the layers from the sides of the bowl. Also if you accidentally get sauce or whipped cream on the sides you might want to wipe it clean if it's noticeable so that you see the layers cleanly. If you can careless don't worry about it! People won't mind, I'm just a bit OCD when it comes to presentation :).
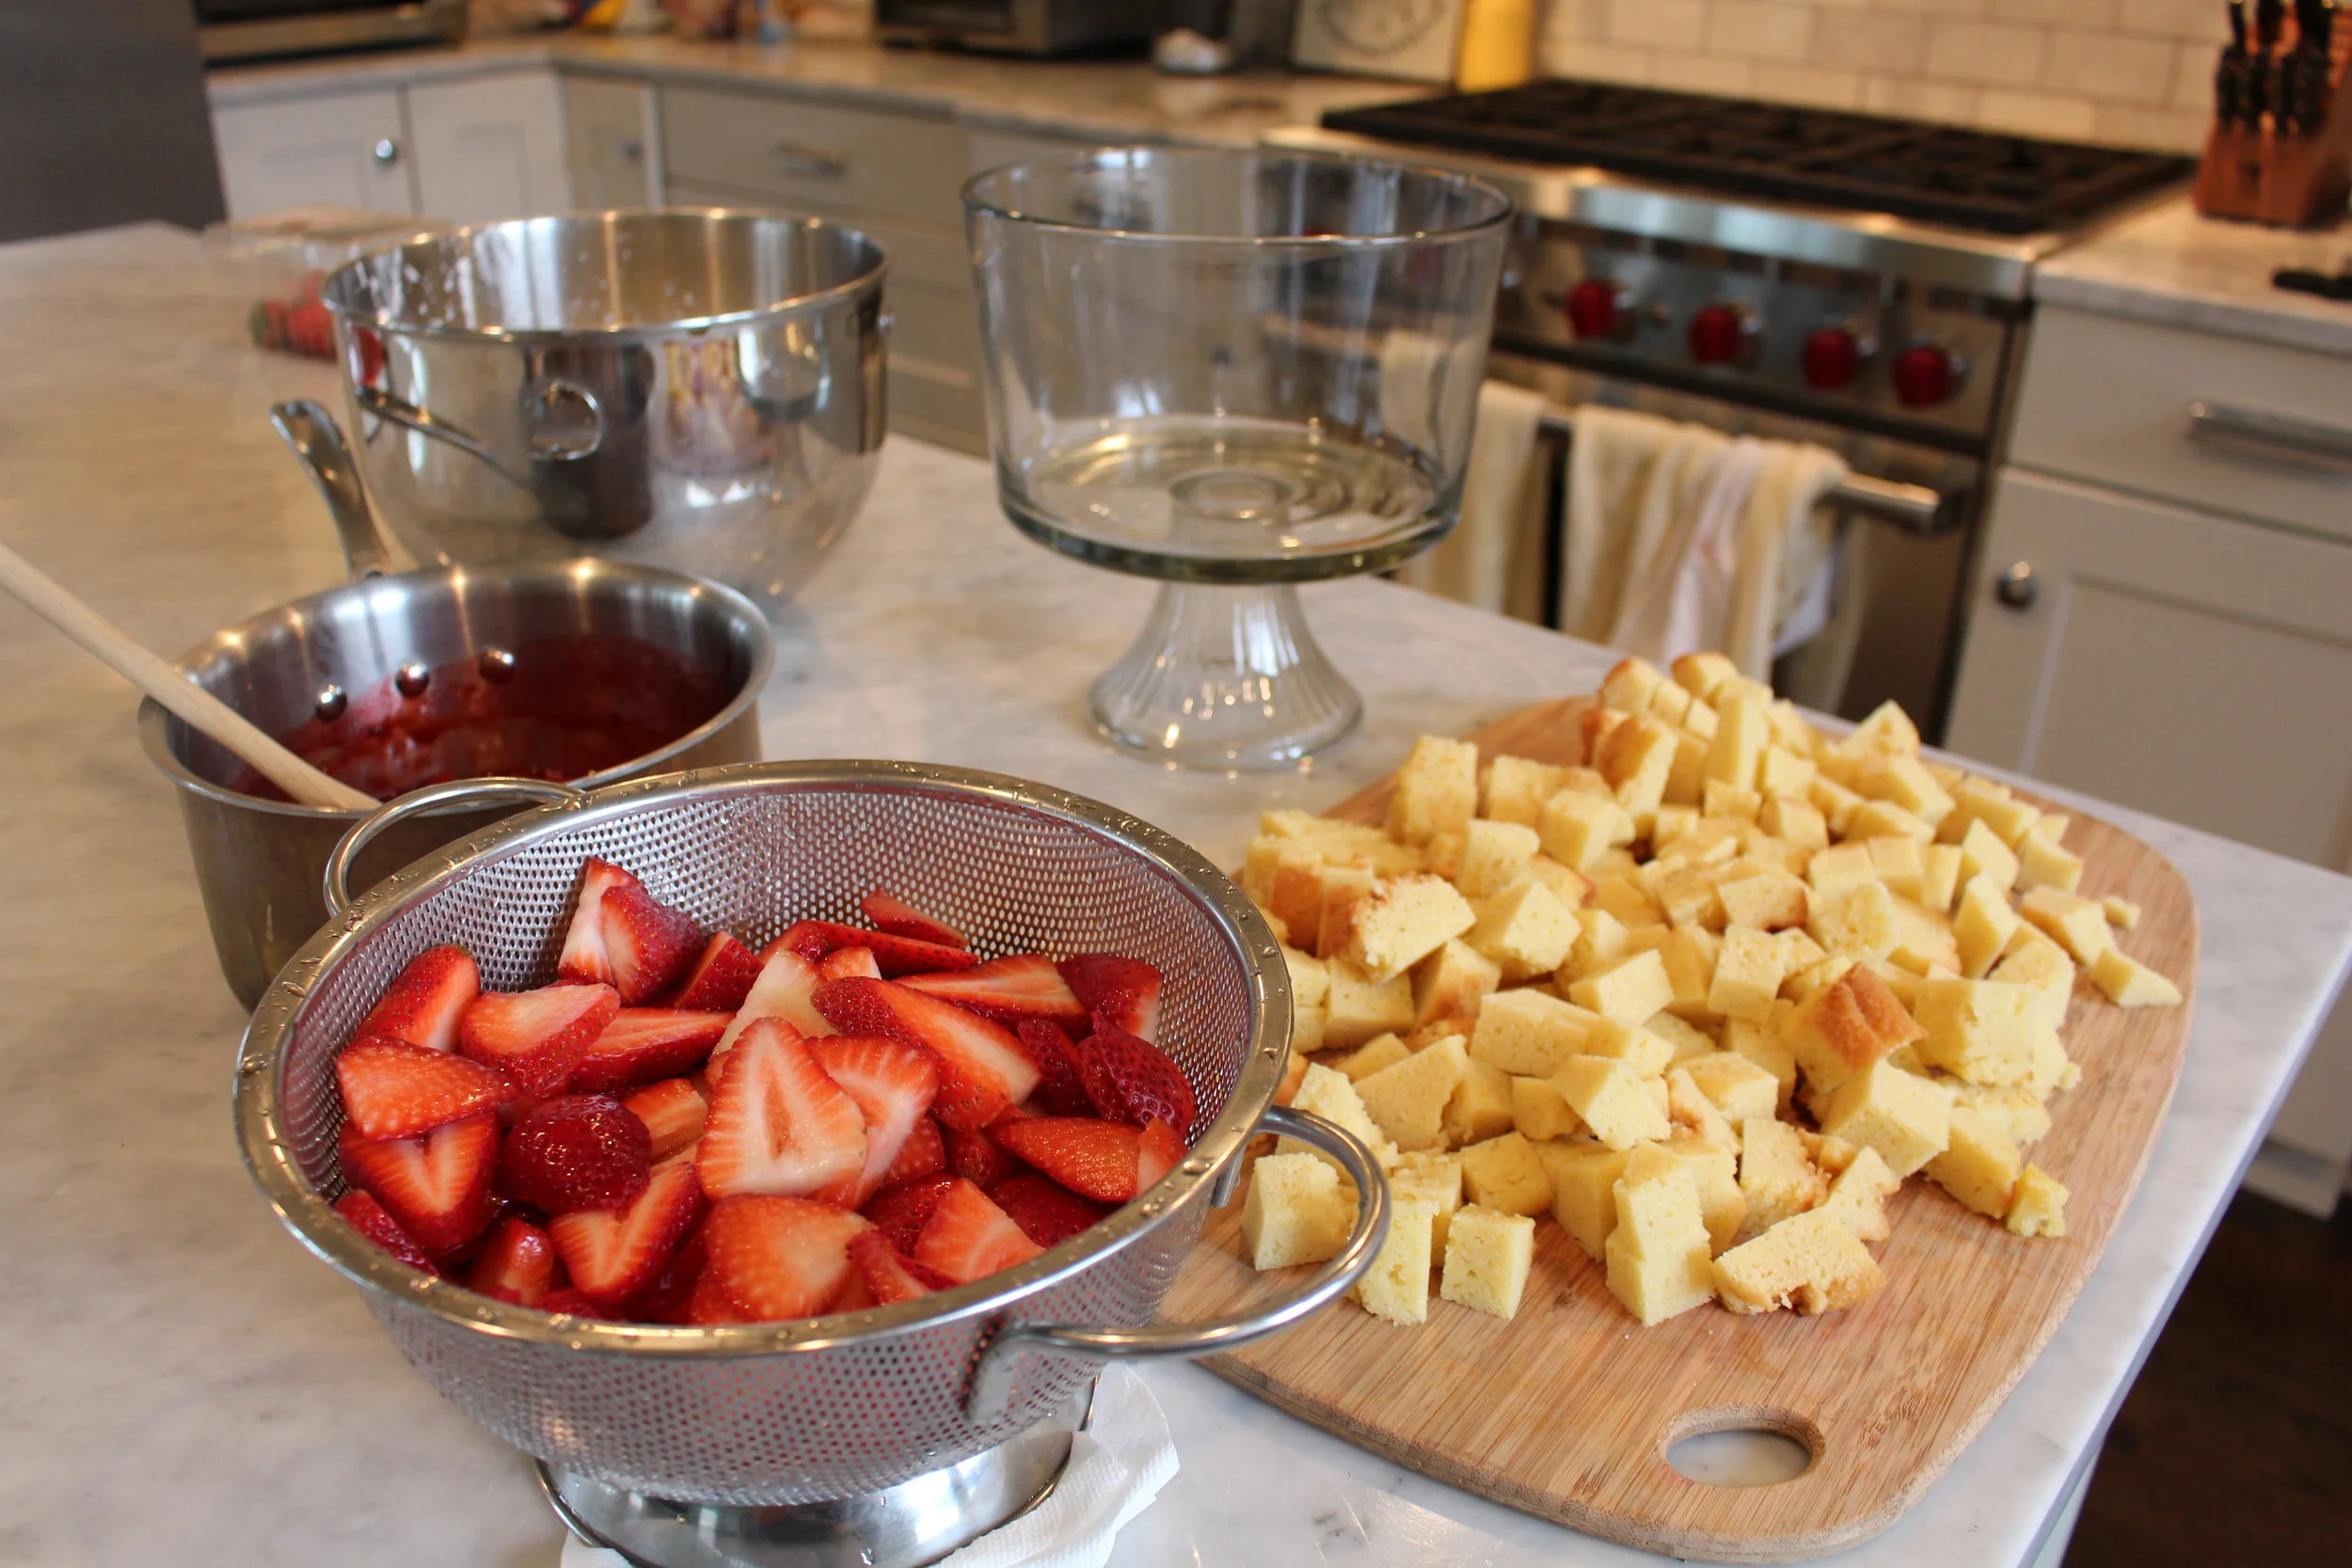
All of our ingredients all prepped and ready to go!
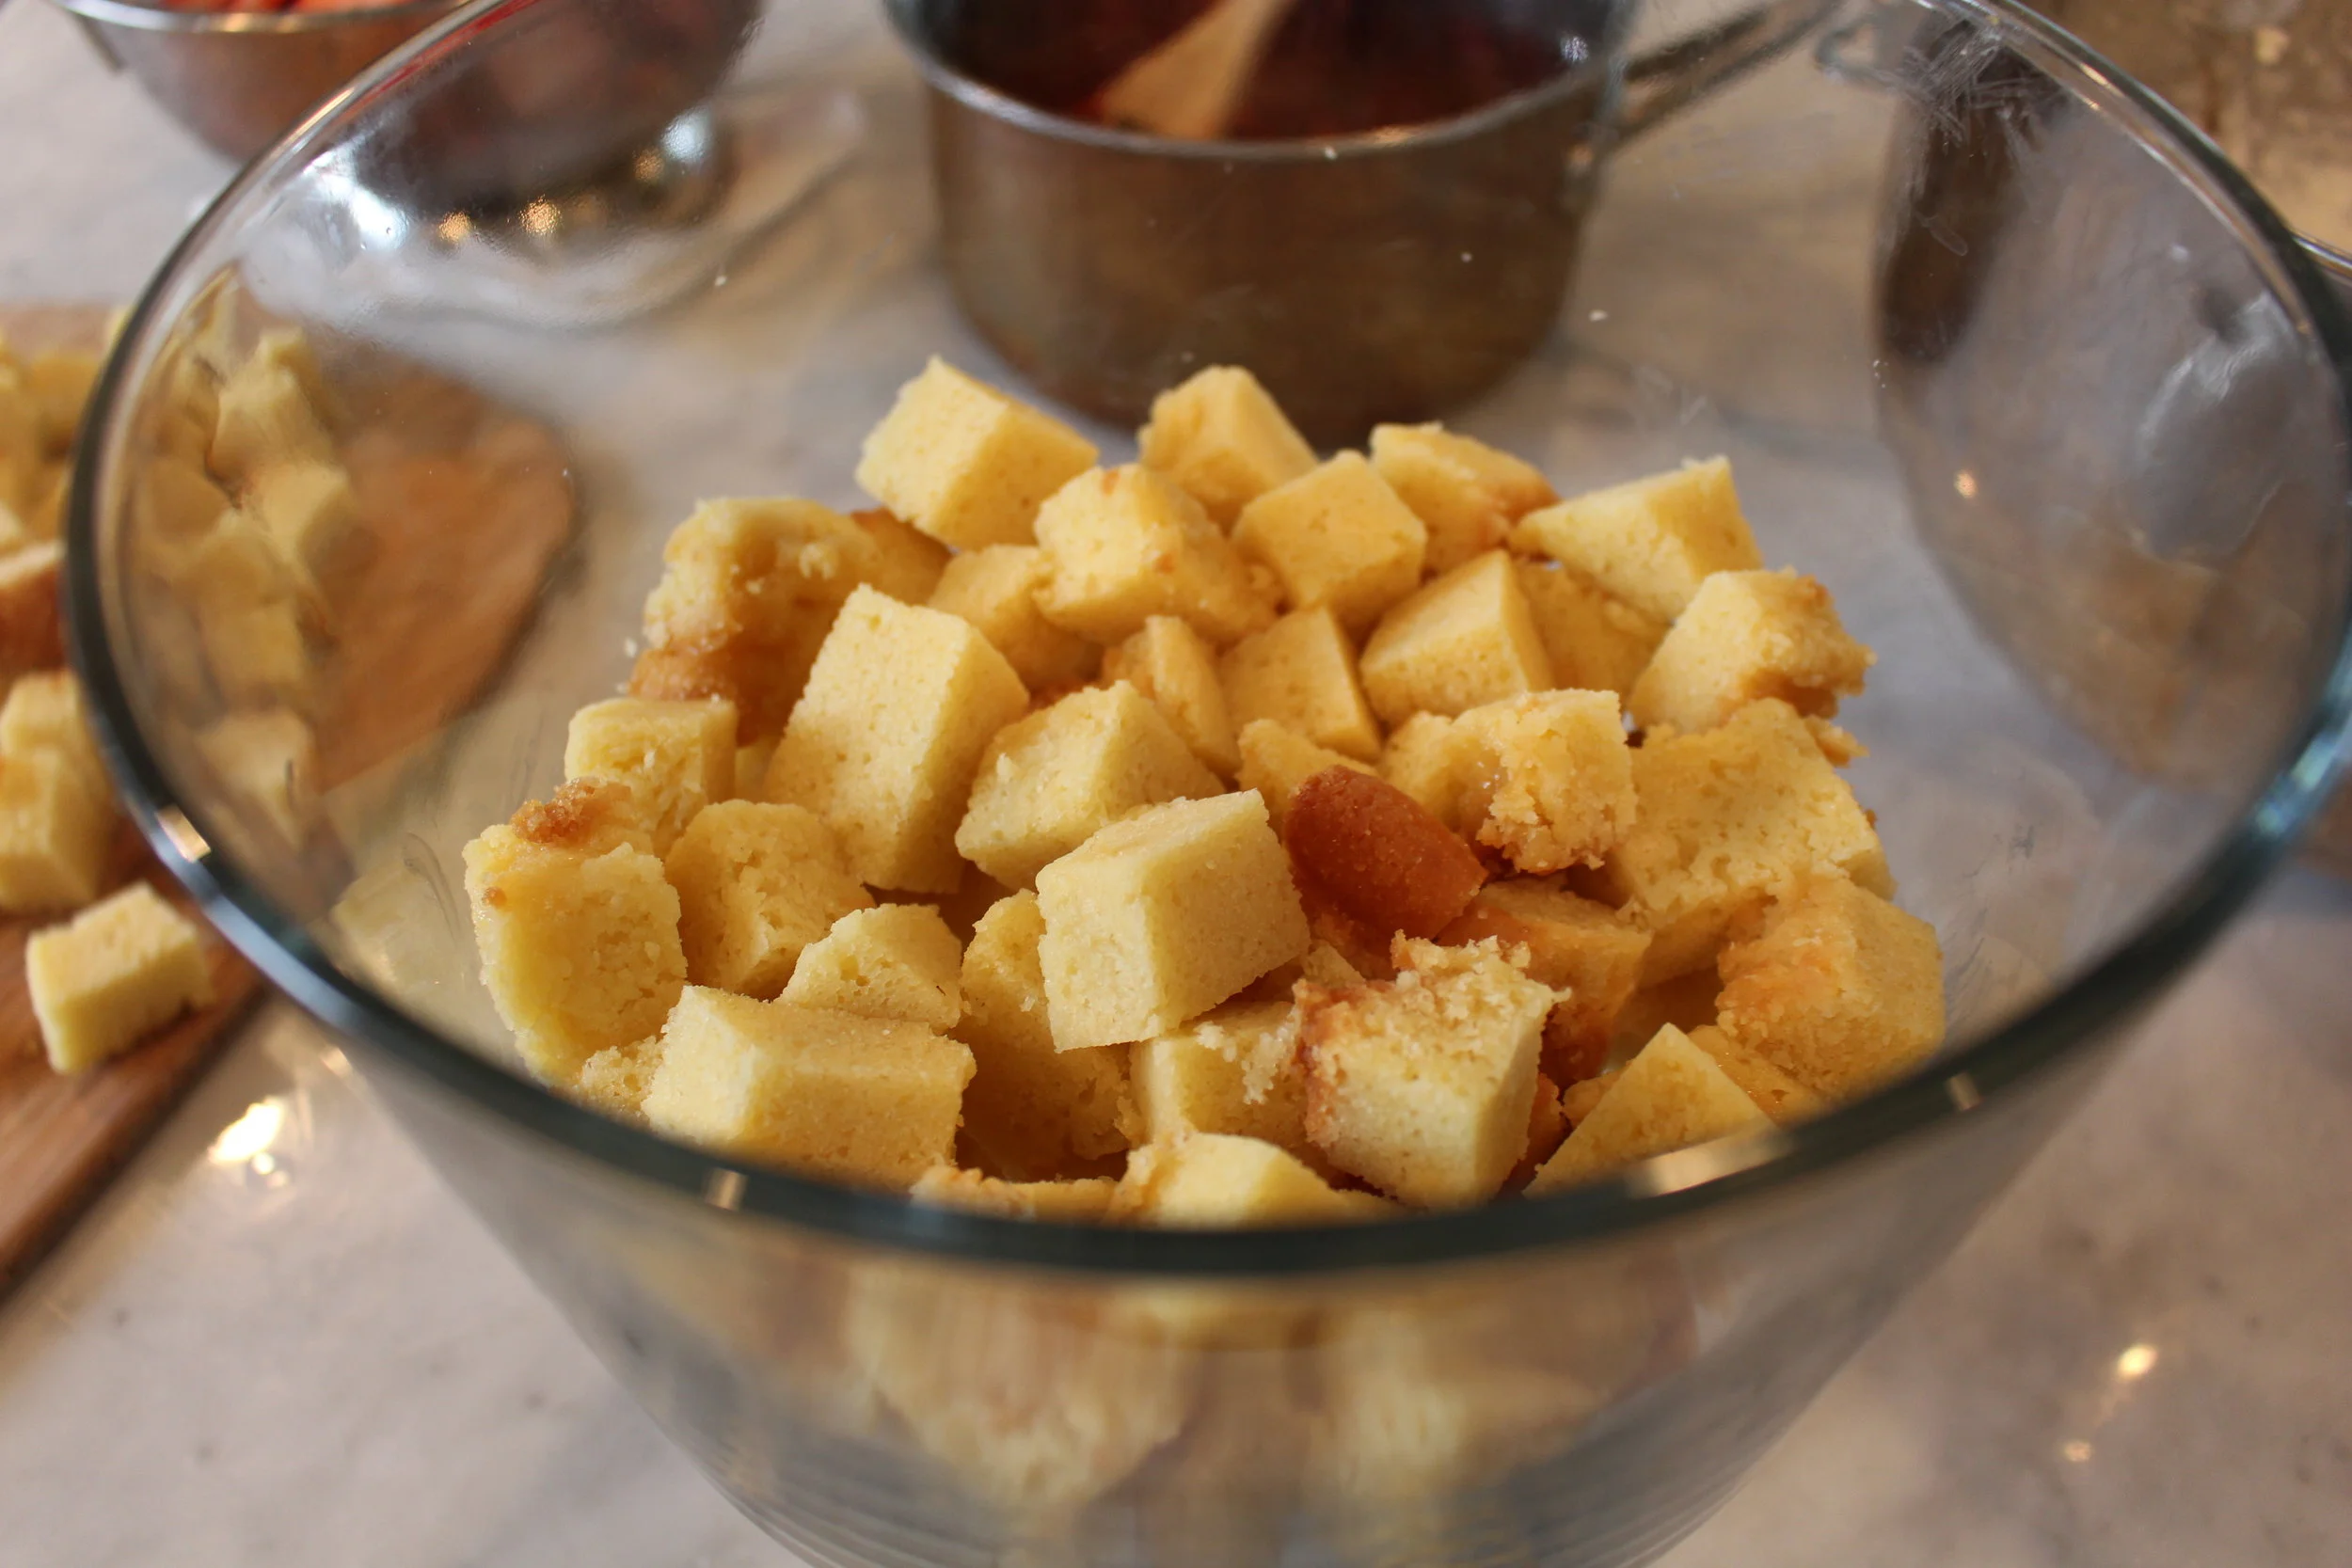
First add a layer of pound cake. Be sure to cover any gaps on the sides and on the bottom.
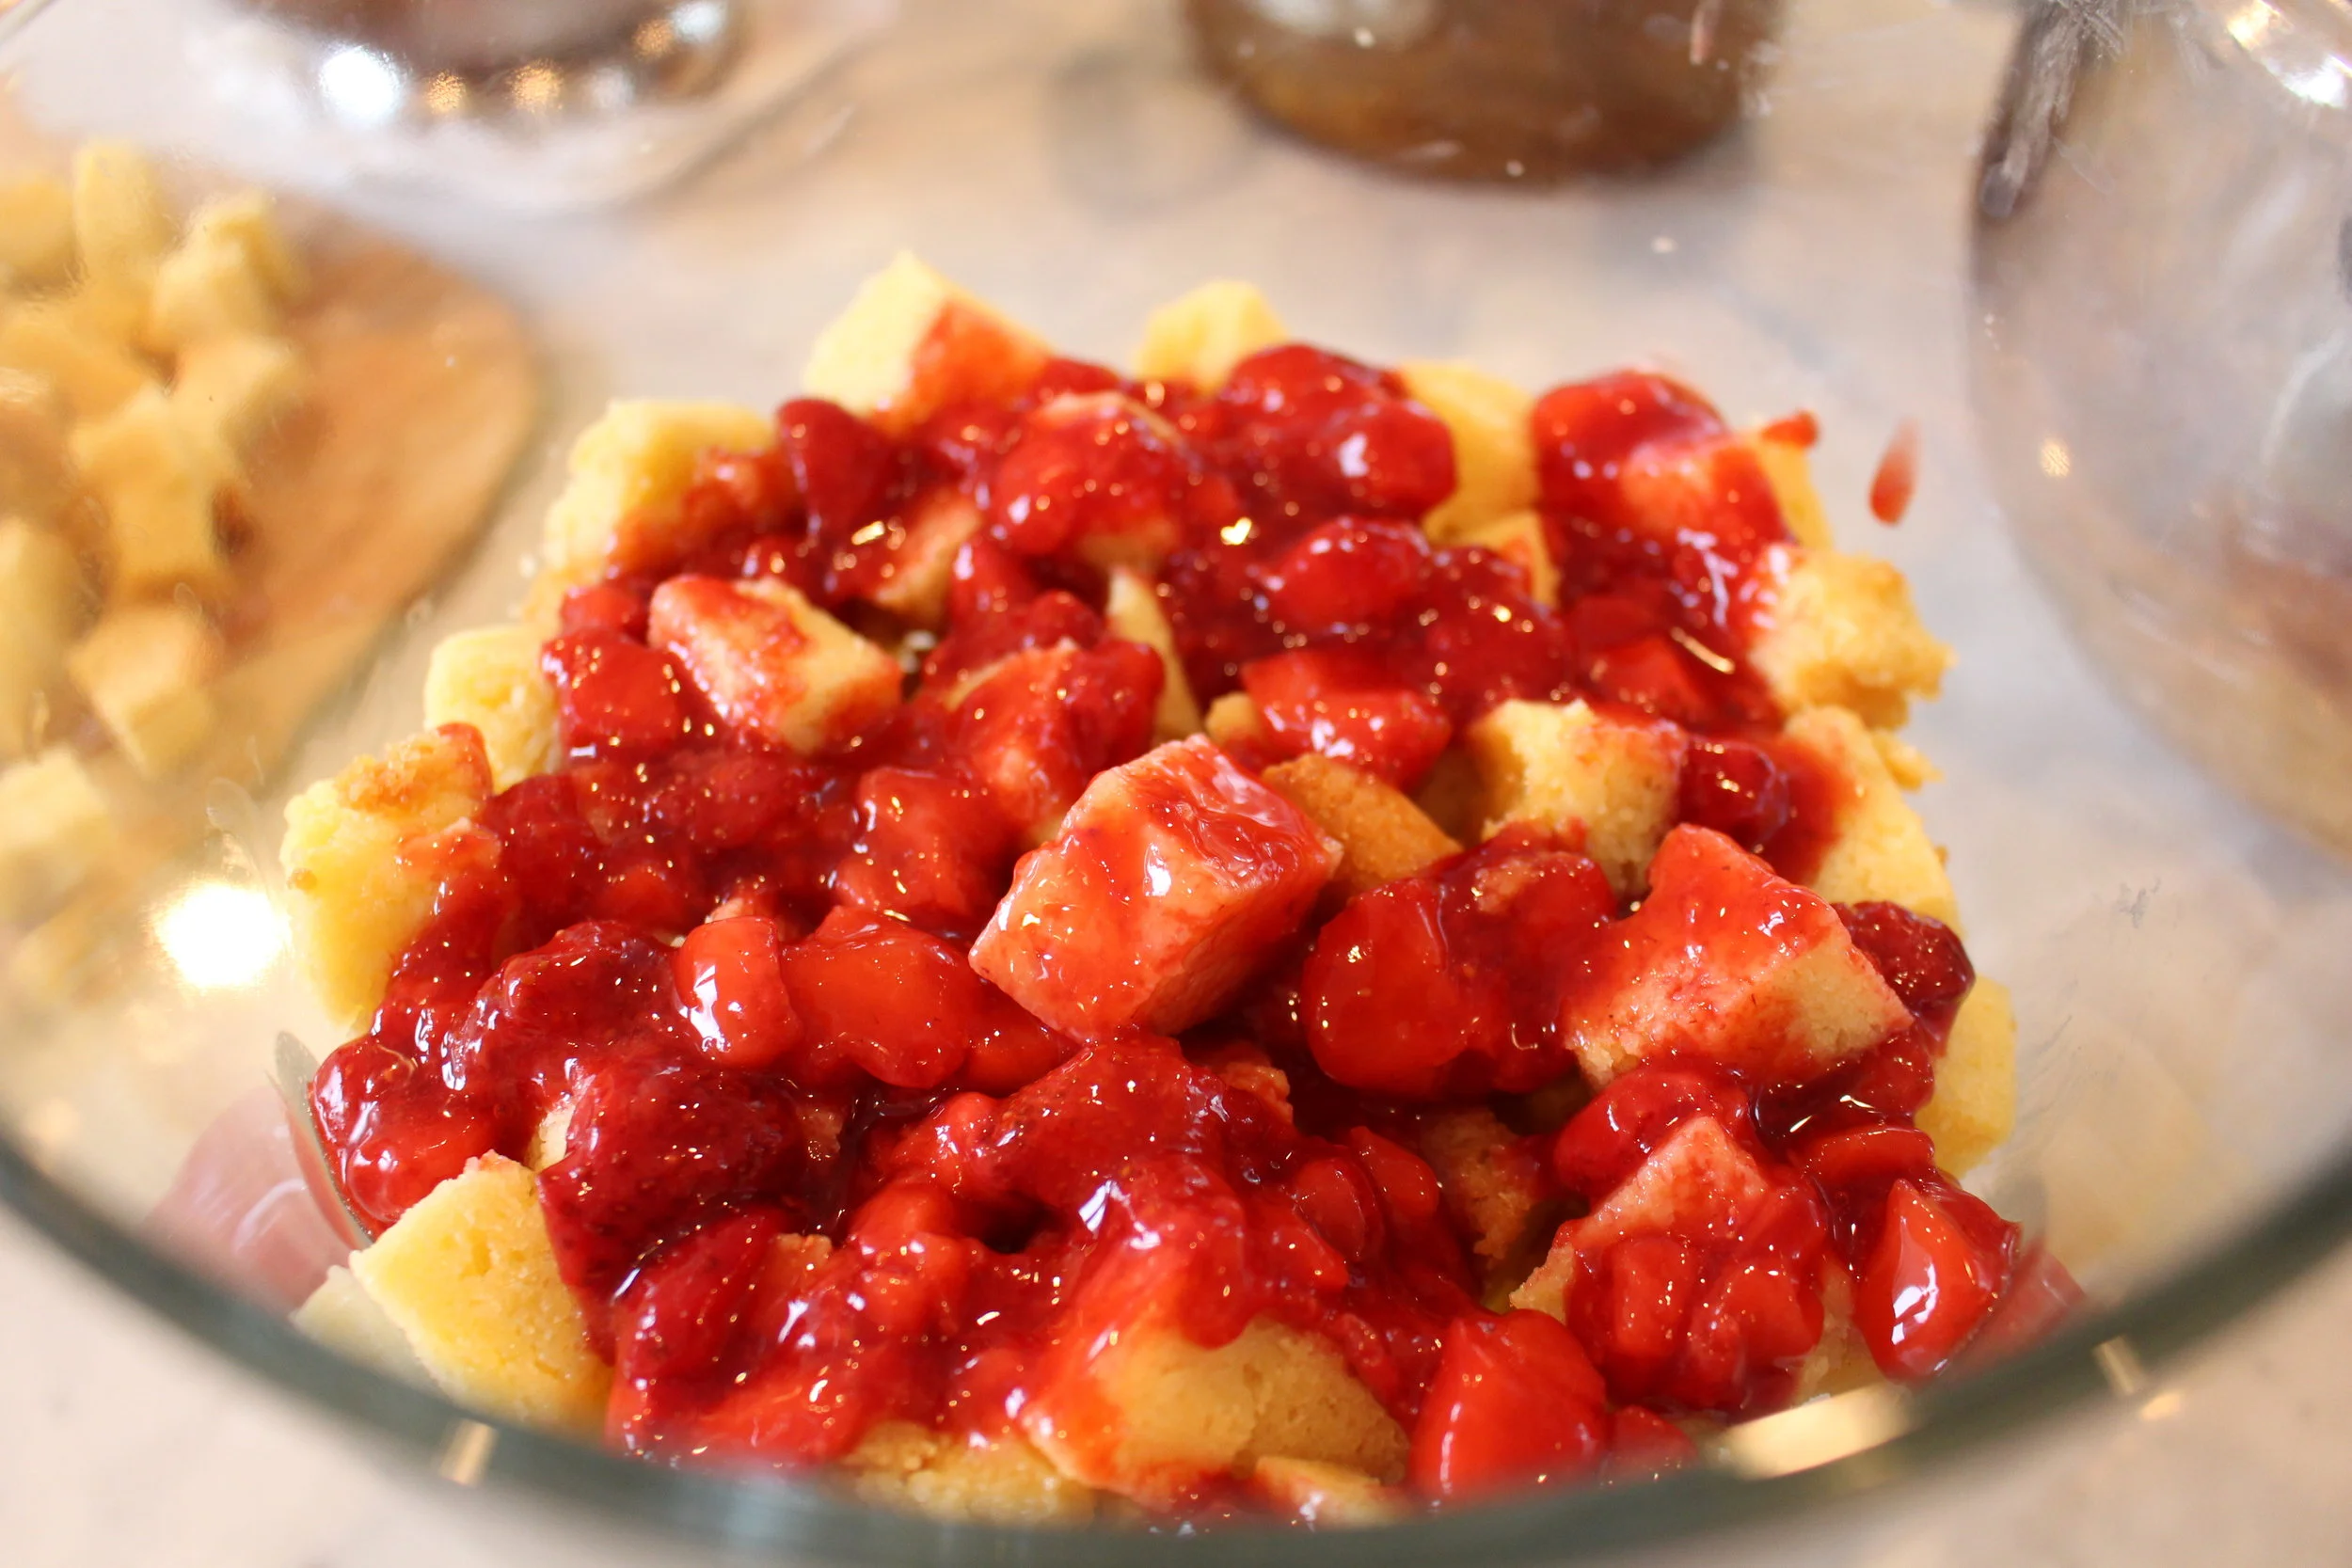
Pour half of strawberry sauce over the pound cake layer so it soaks up the strawberry goodness!
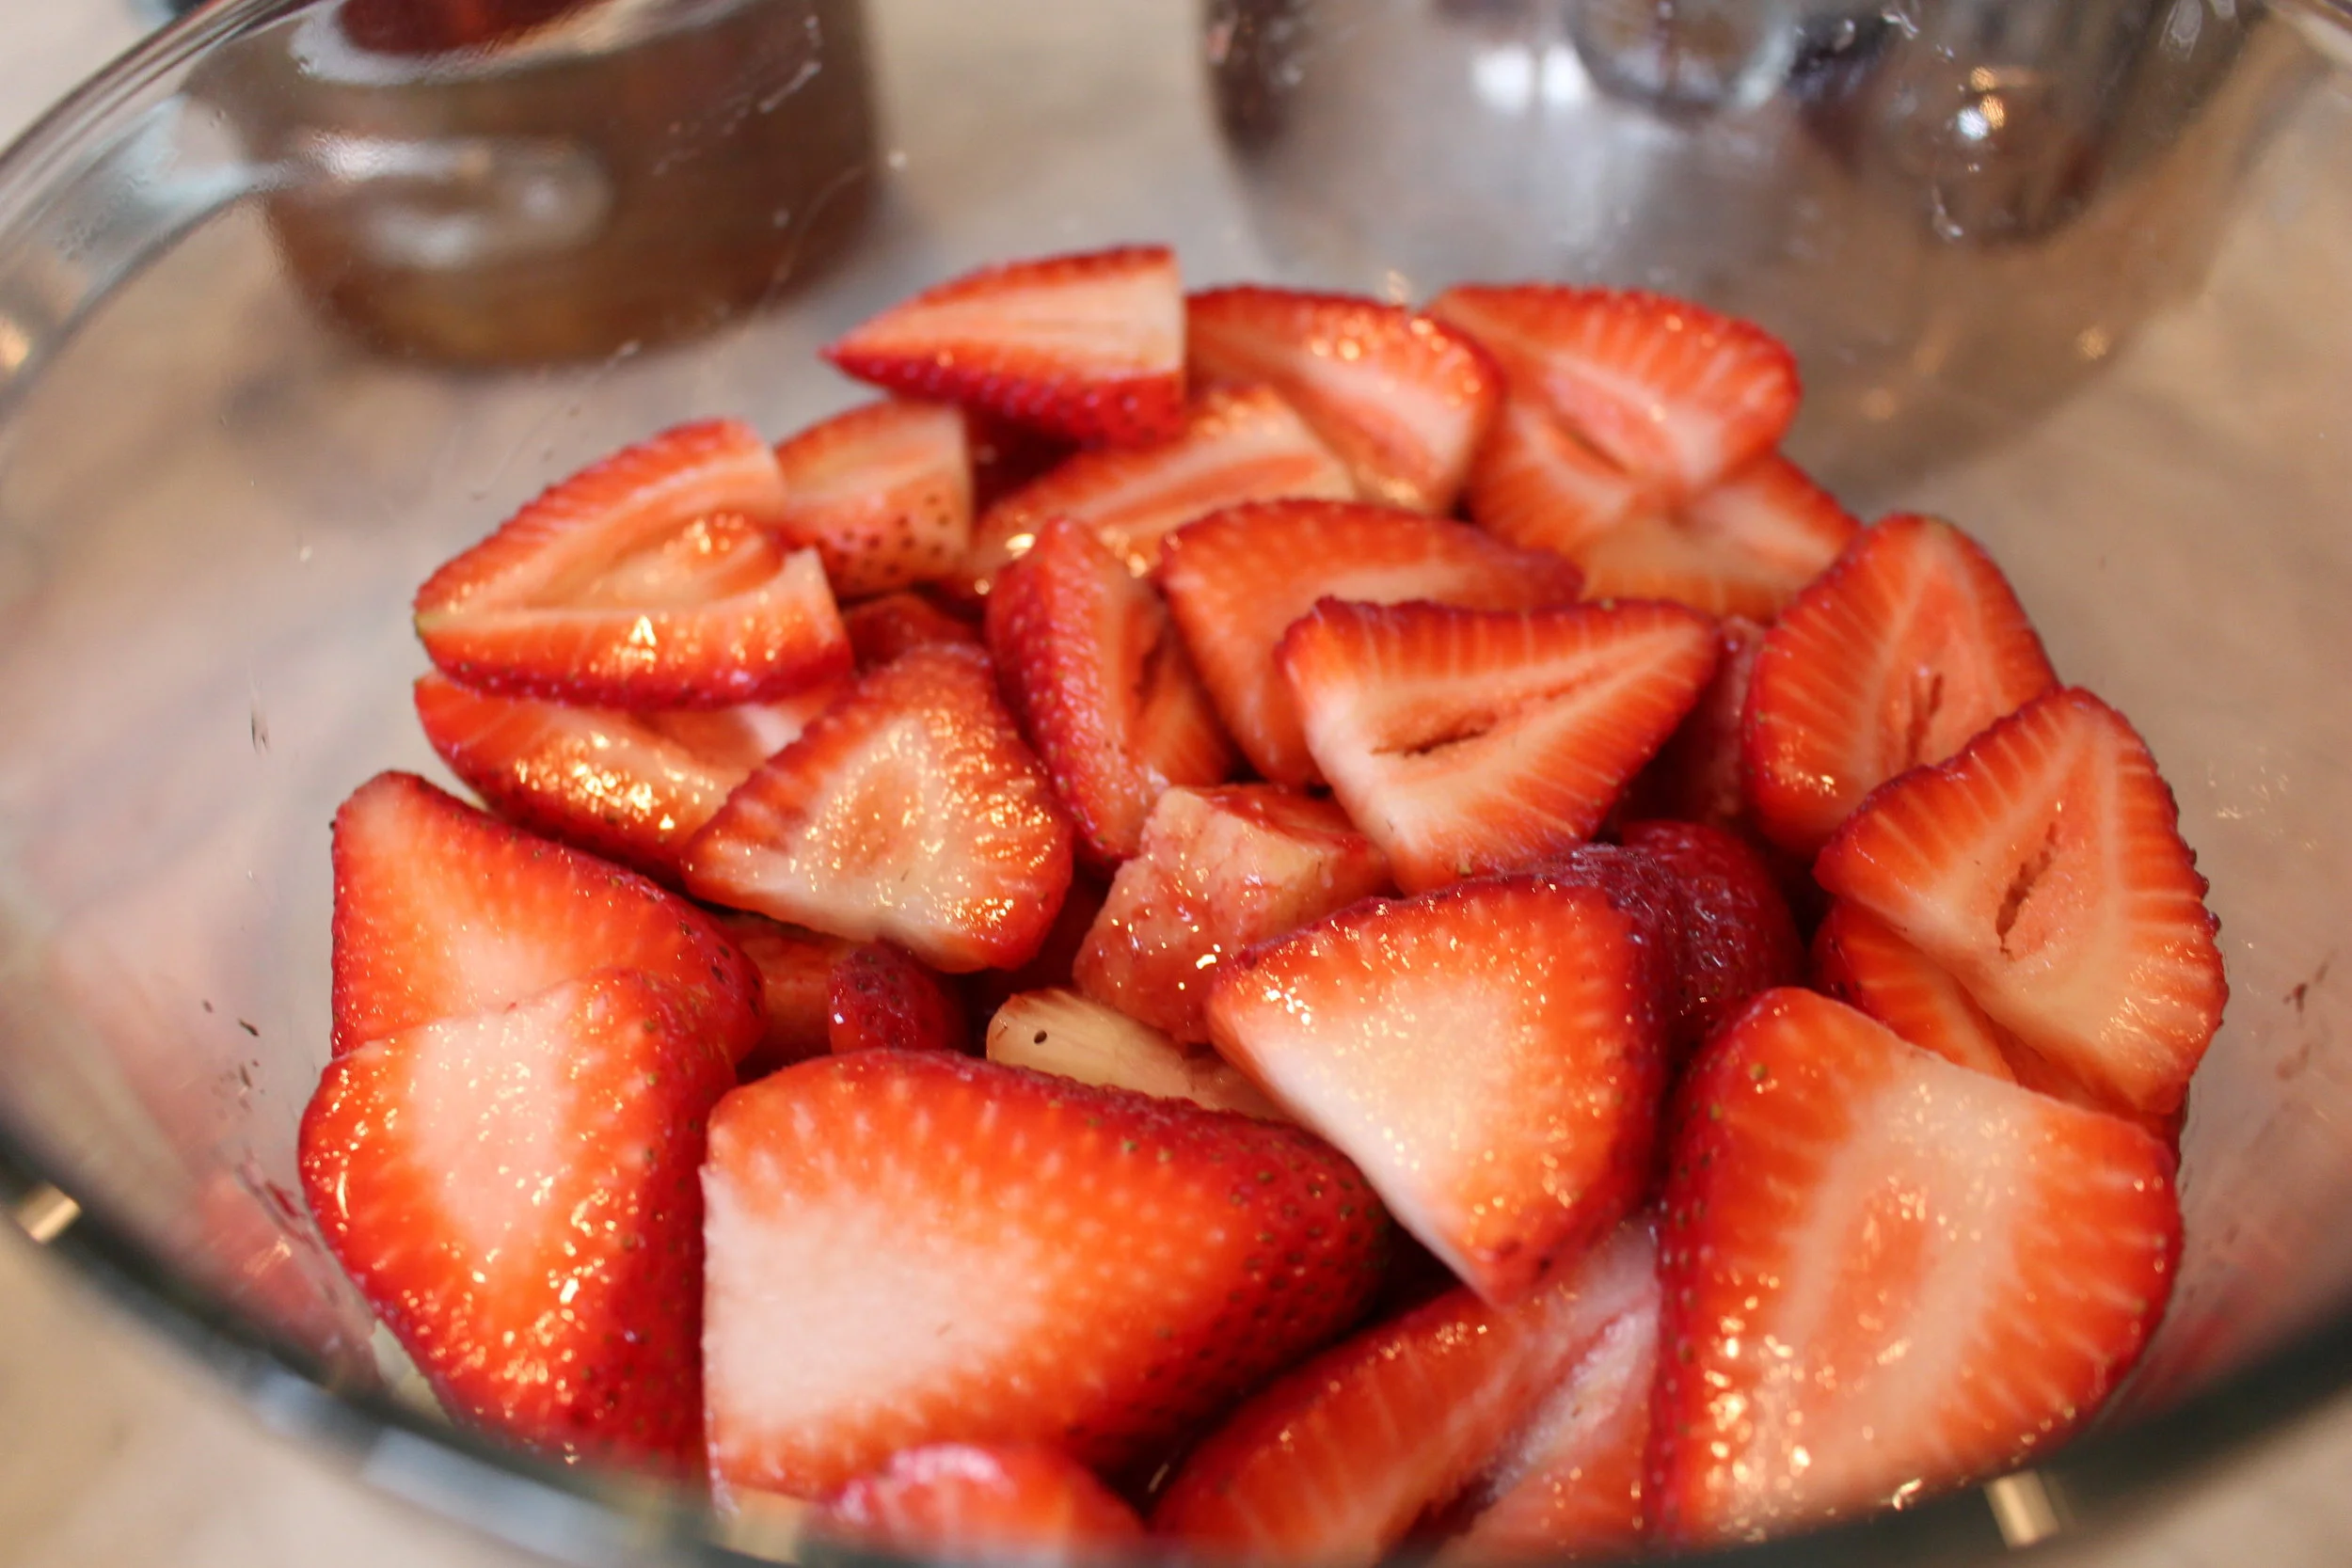
Next, evenly layer your sliced fresh strawberries.

Be sure to check the sides of your bowl as you're assembling so you can see all the layers.
Pour half of the whipped cream over the strawberries and spread evenly.
Again, check the sides so you can see that all the layers are even.
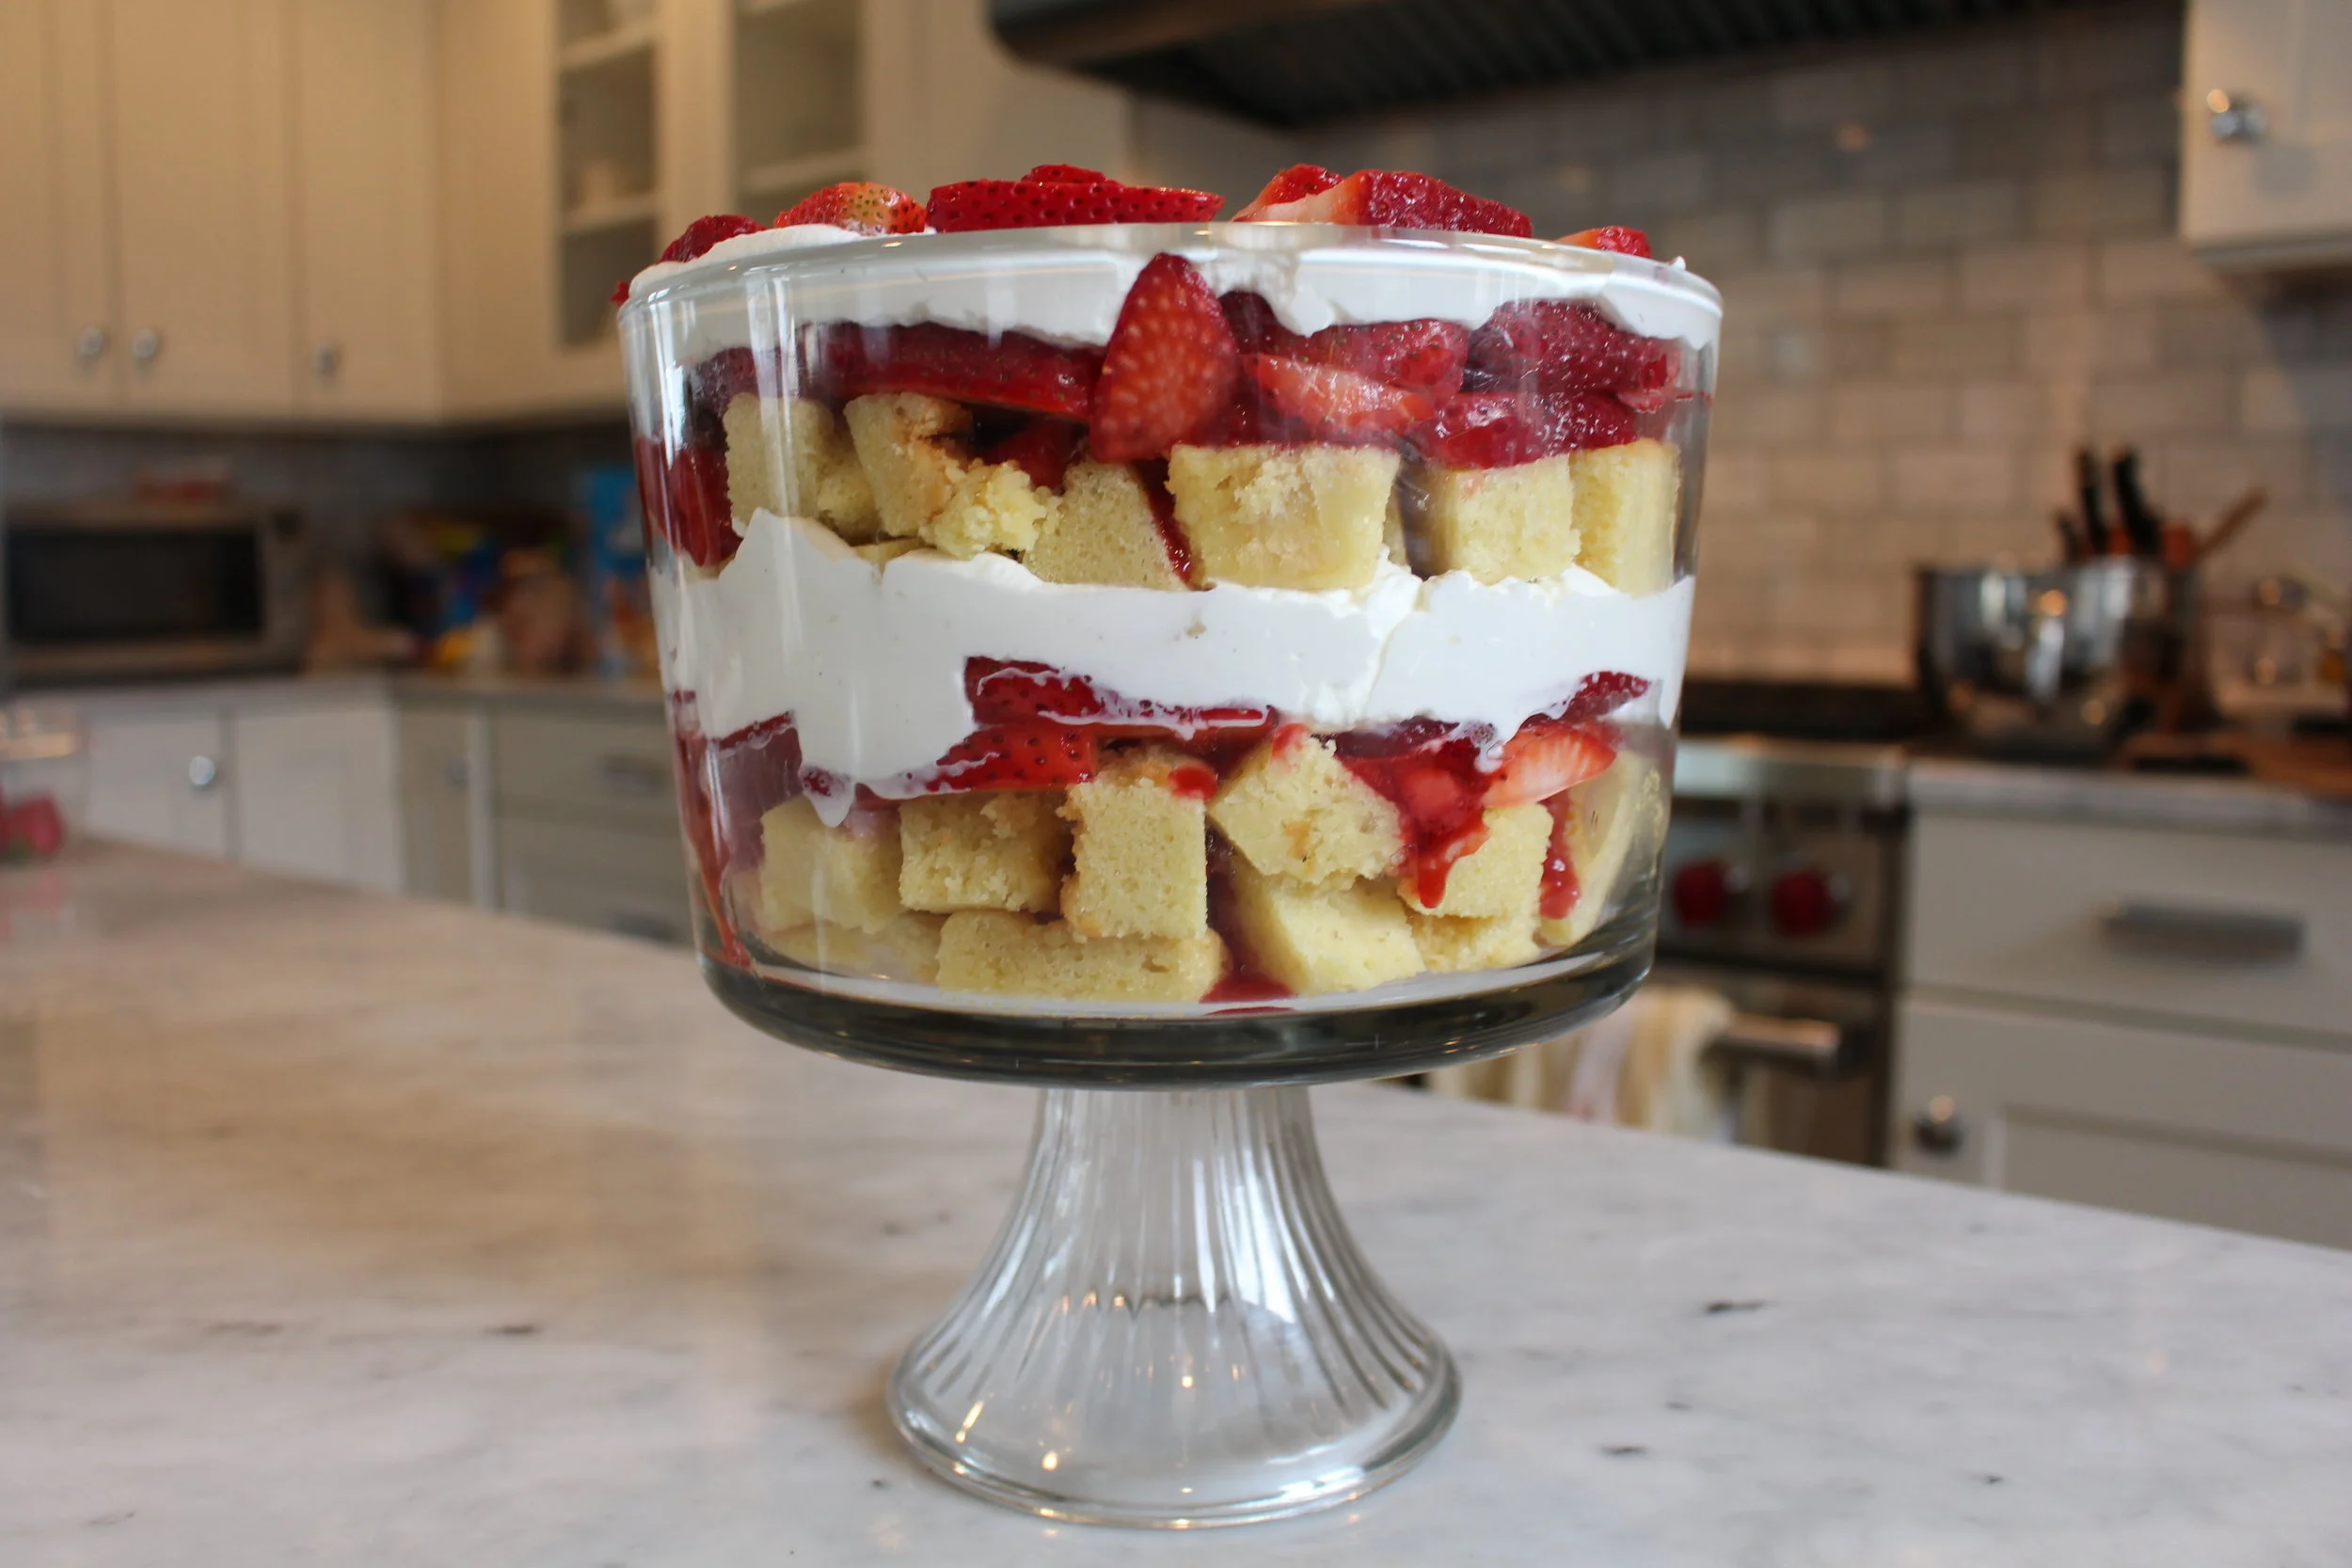
Repeat steps, and add a layer of strawberries to the top! What a beauty! :D
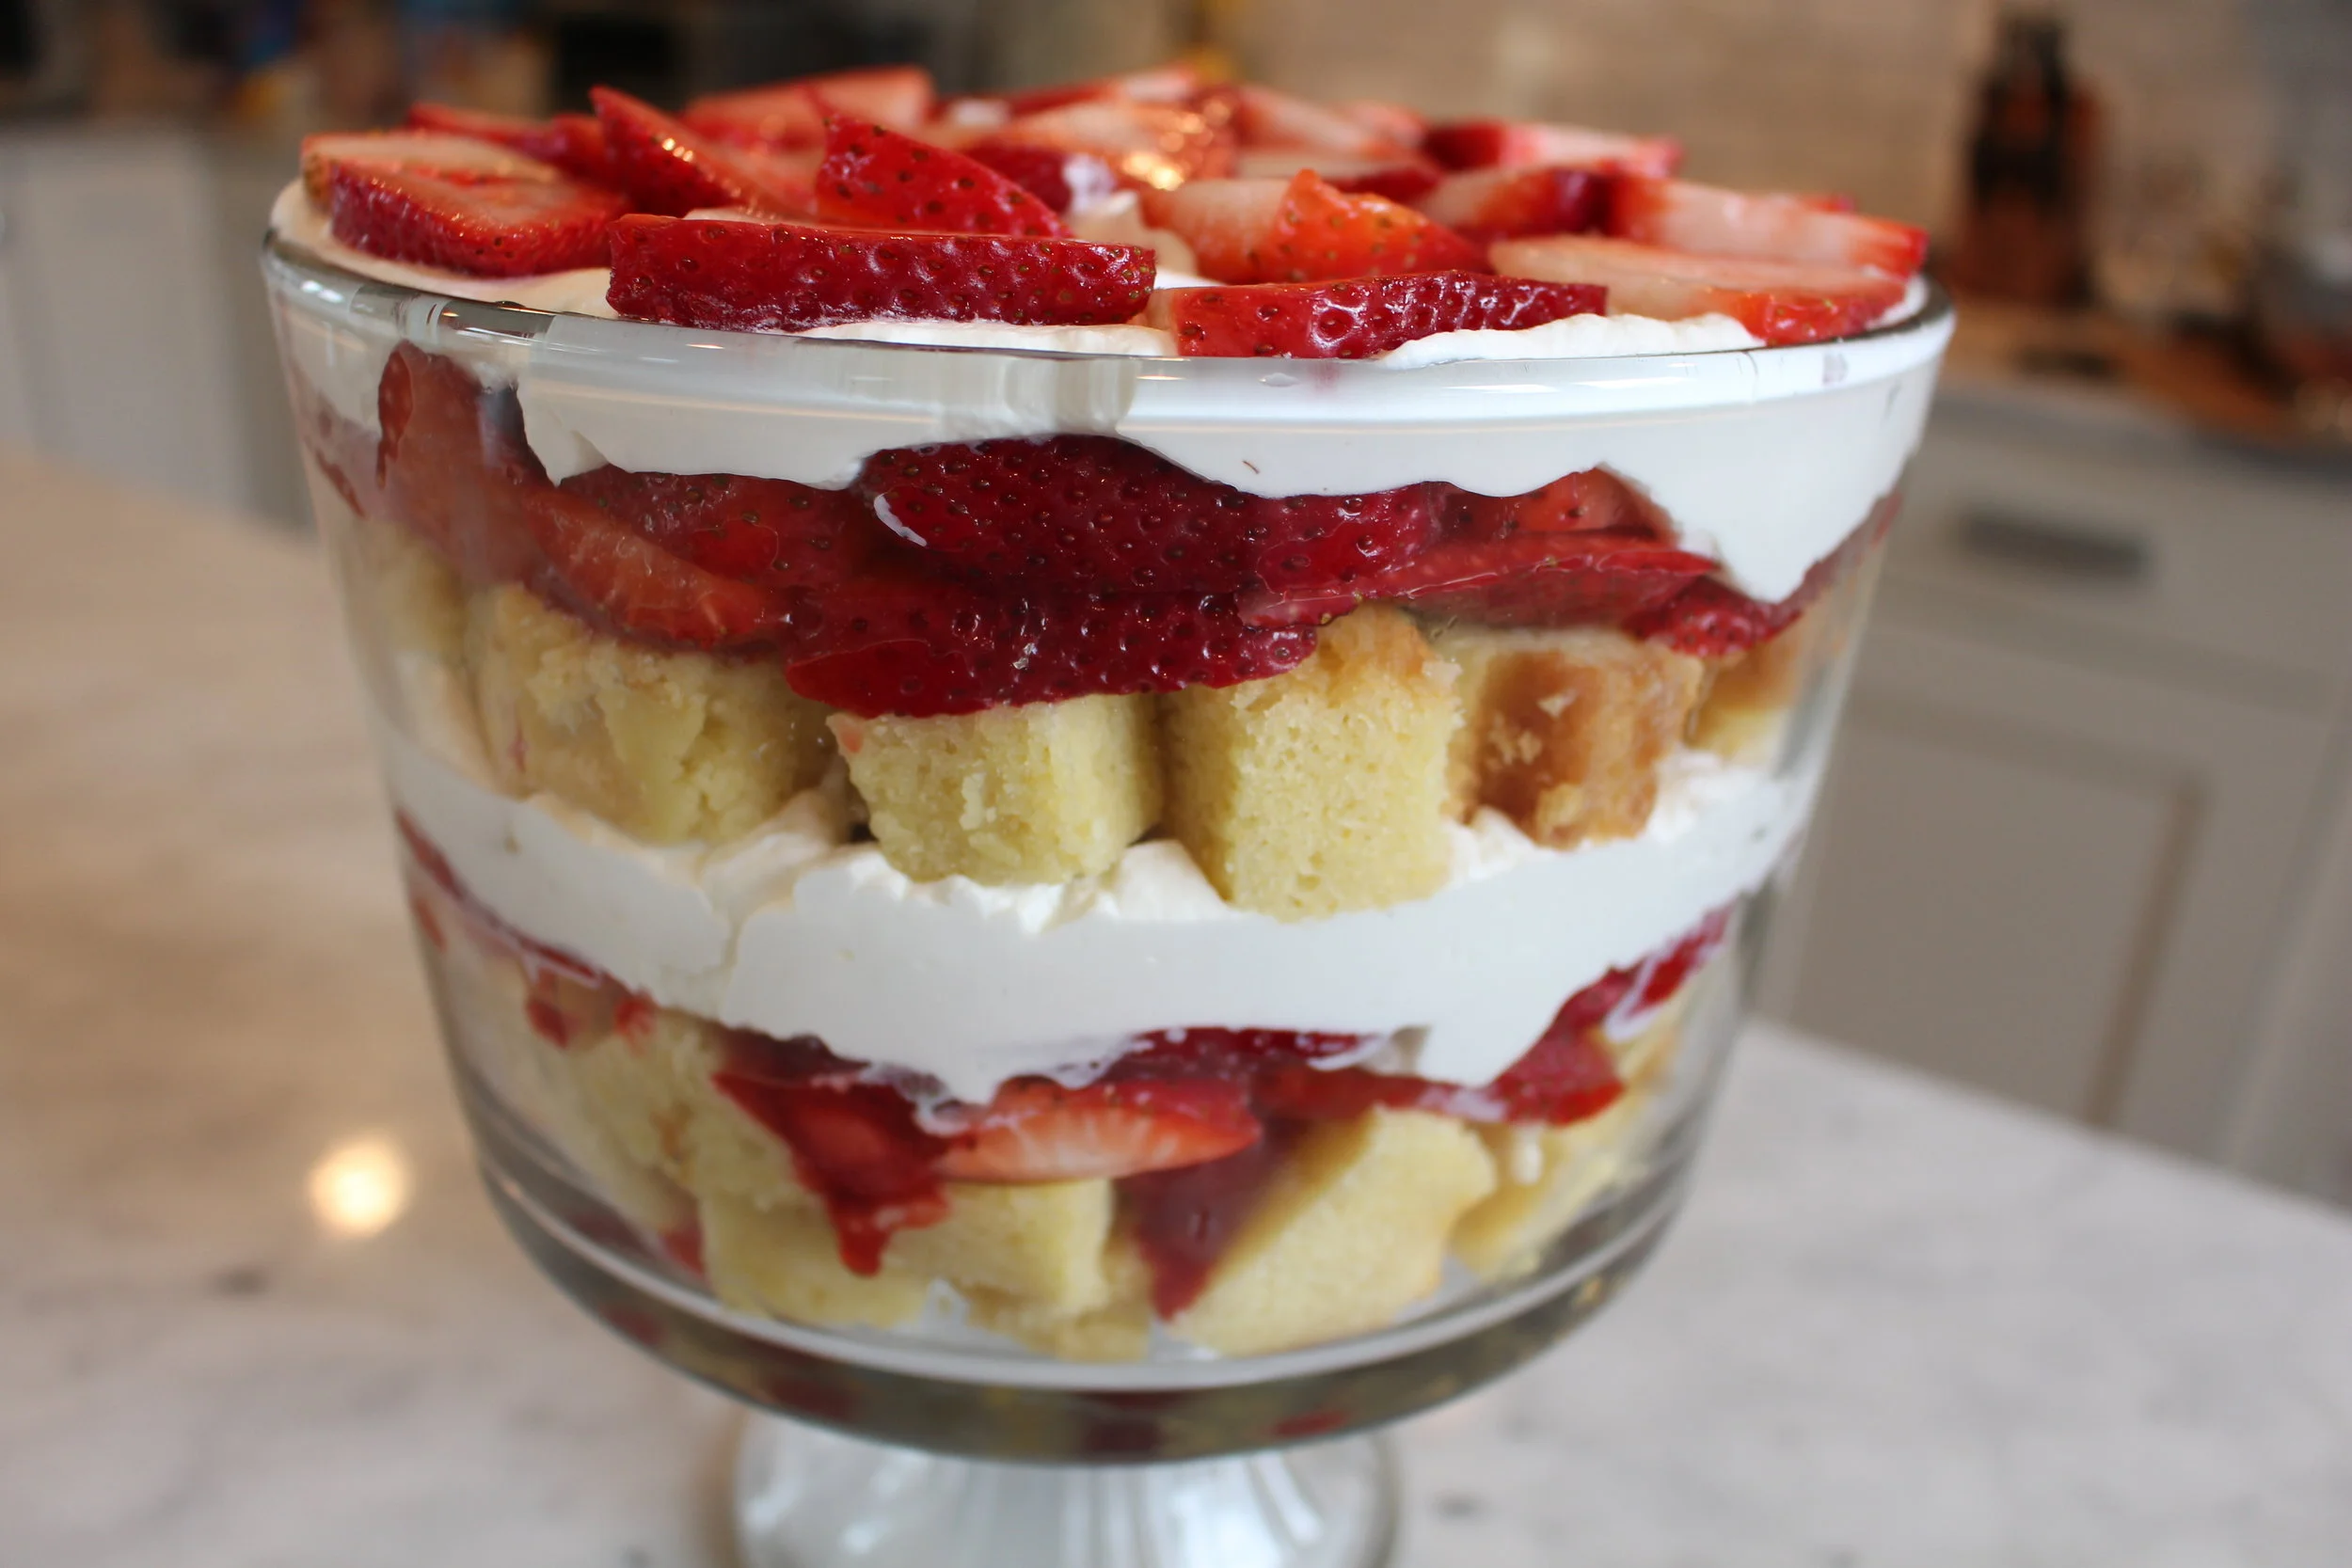
Check out those pretty, even layers!!
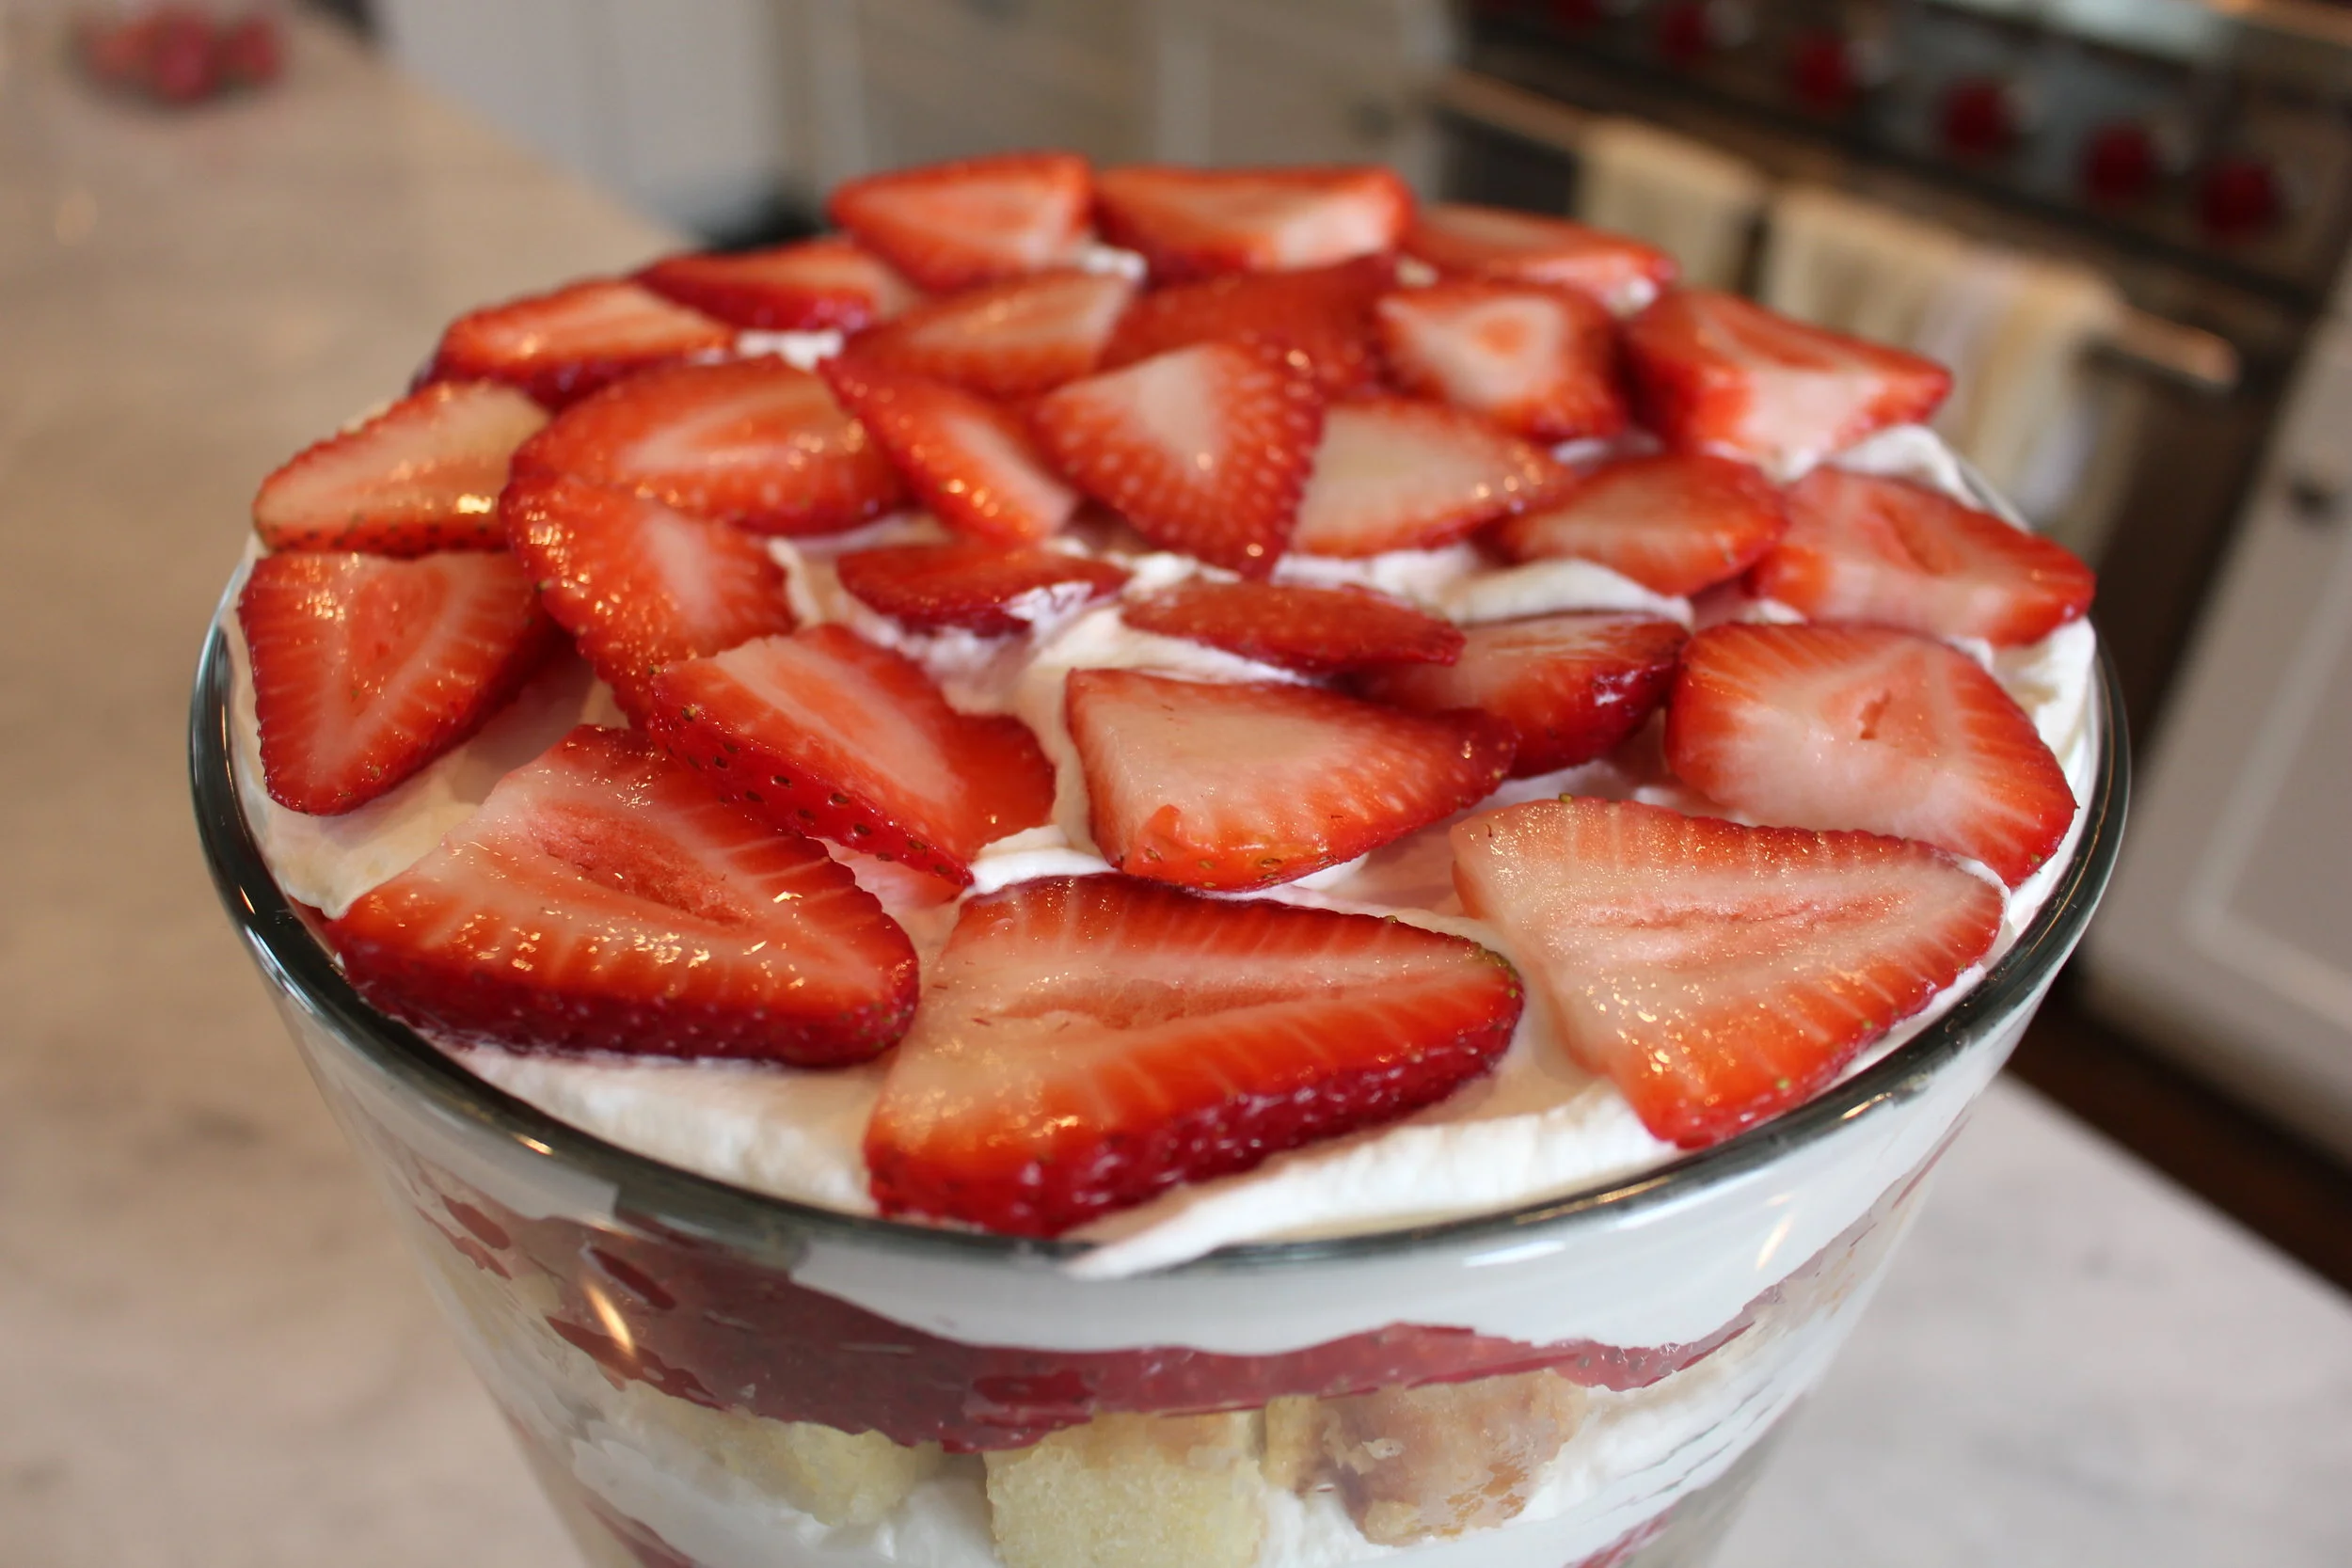
This is just so satisfying to see. Congrats on making this beautiful and tasty dessert. It is certain to be a crowd pleaser! ENJOY!!!